What Is Usoclient & How To Disable Usoclient.exe Popup

Microsoft Windows updates are essential since they fix bugs and security loopholes in Windows. But sometimes these updates cause the Windows to become unstable and create more problems then the update was supposed to fix. And one such issue that is created by Windows update is the brief usoclient.exe CMD popup at the startup. Now, most people think that this usoclient.exe pop-up appears because their system is infected with a virus or malware. But don’t worry as Usoclient.exe is not a virus and it simply appears because of Task Scheduler.
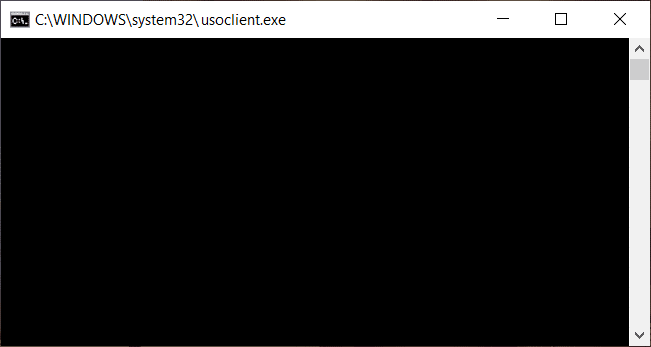
Now if the usoclient.exe appears only sometimes and doesn’t stay long you can definitely ignore the issue altogether. But if the pop-up stays long and does not go away then it’s an issue and you need to fix the underlying cause to get rid of the usoclient.exe pop-up. So without wasting any time let’s see What is usoclient.exe, and how do you disable usoclient.exe at the startup with the help of the below-listed tutorial.
What is Usoclient.exe?
Usoclient stands for Update Session Orchestra. Usoclient is the replacement of Windows Update Agent in Windows 10. It is a component of Windows 10 Update and naturally, its main task is to check for new updates automatically in Windows 10. Since usoclient.exe has replaced Windows Update Agent, so it has to handles all the tasks of Windows Update Agent such as to install, scan, pause, or resume Windows update.
Is Usoclient.exe is a virus?
As discussed above usoclient.exe is a very legitimate executable file that is associated with Windows Updates. But in some cases, a virus or malware infection is also capable of creating pop-ups to hamper the user experience or to create unnecessary issues. So it is important to check if the usoclient.exe popup is really caused by the Windows Update USOclient or due to a virus or malware infection.
To check the pop up that is appearing is Usoclient.exe or not, follow the below steps:
1.Open Task Manager by searching for it using the search bar or press Shift + Ctrl + Esc keys together.
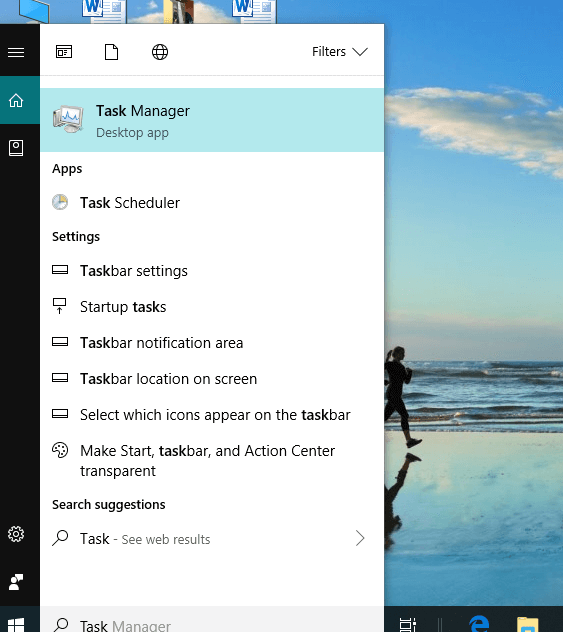
2.As soon as you hit Enter button the Task Manager window will open up.
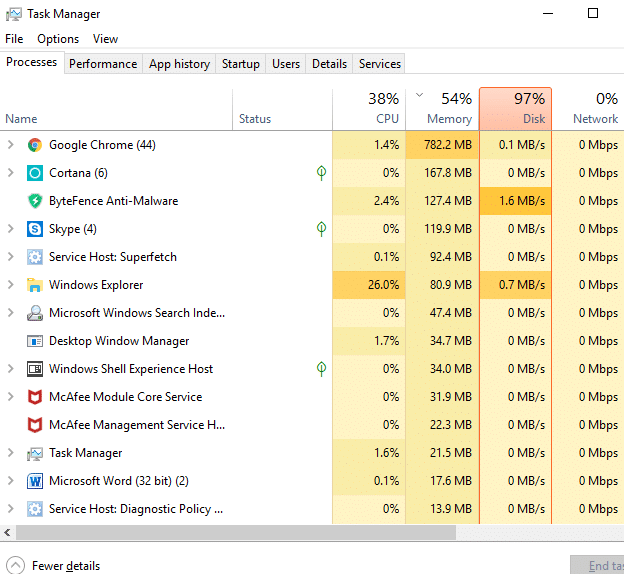
3.Under the processes tab, look for the Usoclient.exe process by scrolling through the list of processes.
4.Once you find the usoclient.exe, right-click on it and select “Open file location“.
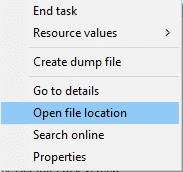
5.If the location of the file that opens up is C:/Windows/System32 then it means you are safe and there is no harm to your system.
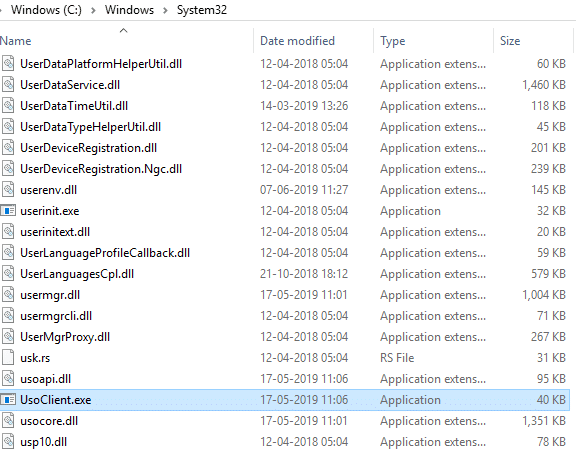
6.But if the location of the file opens anywhere else then it is definite that your system is infected with viruses or malware. In this case, you need to run powerful antivirus software that will scan & remove the virus infection from your system. If you don’t have one then you can check out our in-depth article to run Malwarebytes to remove viruses or malware from your system.
But what if the Usoclient.exe popup is actually caused by Windows Update, then your natural instinct will be to remove the UsoClient.exe from your PC. So now we will see if it is a good idea to delete the UsoClient.exe from your Windows folder or not.
Is It Ok to Delete the Usoclient.exe?
If the Usoclient.exe popup is appearing on your screen for a long time and is not easily going away, then obviously you need to take some action in order to resolve the issue. But deleting Usoclient.exe is not advisable since it may trigger some unwanted behavior from Windows. Since Usoclient.exe is a system file that is actively used by Windows 10 on a day-to-day basis, so even if you delete the file from your system the OS will recreate the file at the next boot. In short, there is no point in deleting the Usoclient.exe file as this will not fix the pop-up issue.
So you need to find some solution which will fix the underlying cause of the USoclient.exe popup and will resolve this problem altogether. Now the best way to do this is to simply disable the Usoclient.exe on your system.
How to Disable Usoclient.exe?
There are several methods using which you can easily disable the Usoclient.exe. But before you go ahead and disable the Usoclient.exe, it is important to understand that by disabling it you are preventing your computer from staying up-to-date with the latest Windows updates that will make your system more vulnerable as you won’t be able to install security updates & patches released by Microsoft. Now if you are OK with this then you can proceed with the below methods to disable the Usoclient.exe
3 Ways to Disable UsoClient.exe in Windows 10
Before proceeding, make sure to create a restore point just in case something goes wrong.
Method 1: Disable Usoclient.exe using Task Scheduler
You can disable the Usoclient.exe pop-up to appearing on your screen using Task Scheduler, to do so follow the below steps:
1.Press Windows Key + R then type taskschd.msc and hit Enter to open Task Scheduler.

2.Navigate to the below path in the Task Scheduler window:
Task Scheduler Library > Microsoft > Windows >UpdateOrchestrator
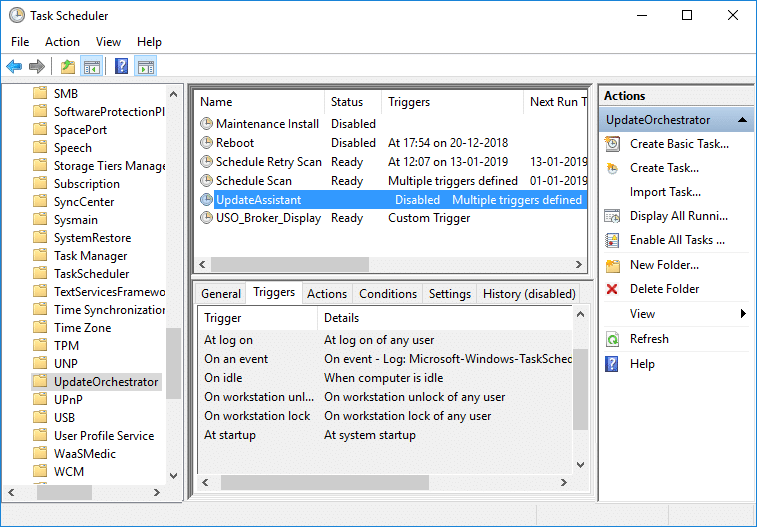
3.Once you reached the selected path, click on UpdateOrchestrator.
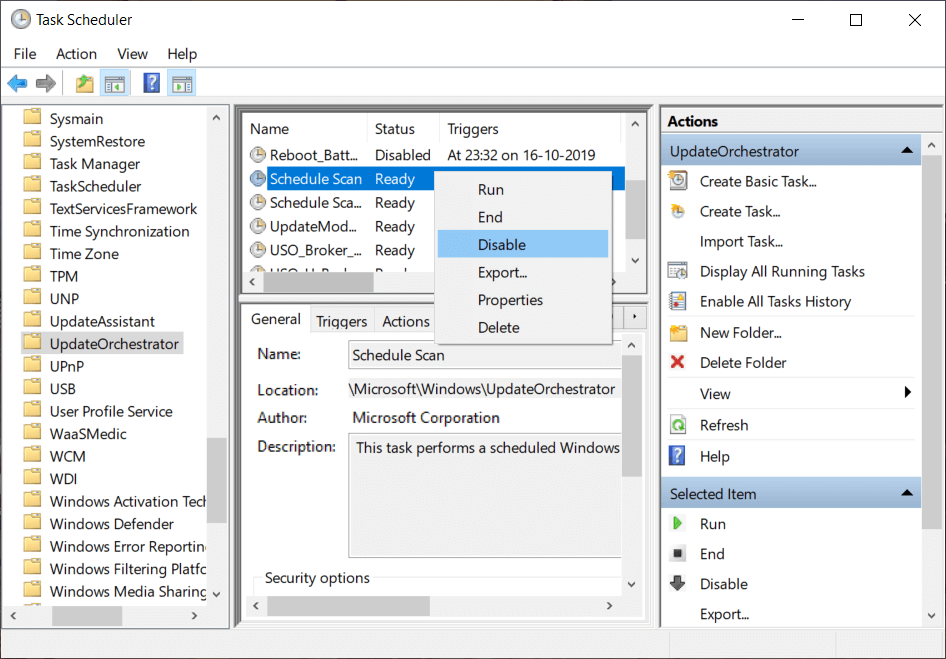
4.Now from the middle window pane, right-click on the Schedule Scan option and select Disable.
Note: Or you can click on Schedule Scan option to select it then from the right-window pane click on Disable.
5.Close Task Scheduler window and reboot your PC to save changes.
After the computer restarts, you will notice that the Usoclient.exe pop up will no longer appear on your screen.
Method 2: Disable Usoclient.exe using Group Policy Editor
You can disable the Usoclient.exe pop-up to appearing on your screen using Group Policy Editor. This method only works for Windows 10 Pro, Education, & Enterprise edition version, if you’re on Windows 10 Home then you need to either install Gpedit.msc on your system or you can directly go to the next method.
Let’s see how to disable automatic restart for Automatic Updates by opening your Group Policy Editor:
1.Press Windows Key + R then type gpedit.msc and hit Enter.

2.Now navigate to the following location under Group Policy Editor:
Computer Configuration > Administrative Templates > Windows Components > Windows Update
3.Select Windows update than in the right window pane, double-click on “No auto-restart with logged on users for scheduled automatic updates installations“.
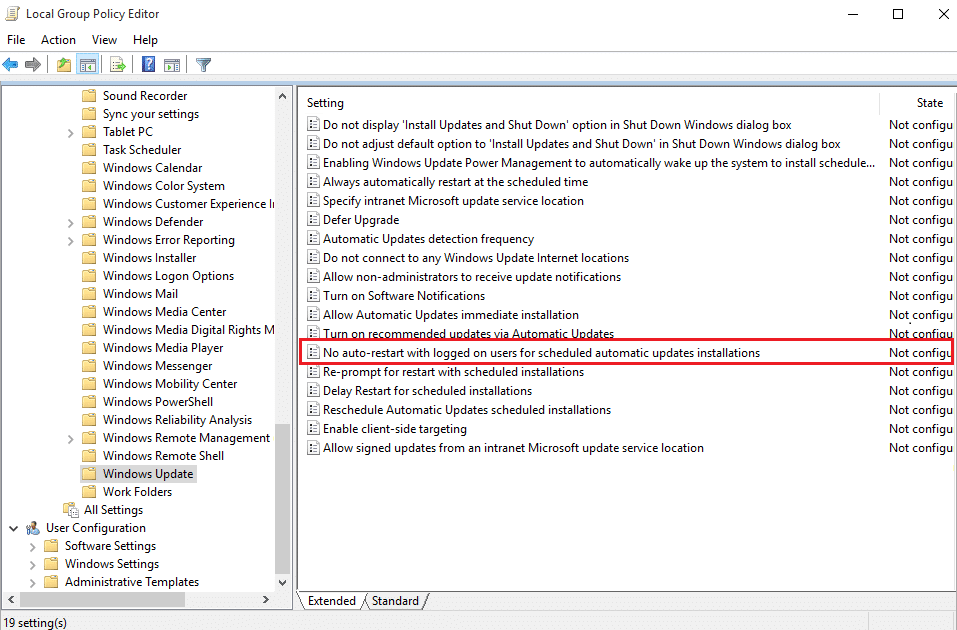
4.Next, Enable the No auto-restart with logged on users for scheduled automatic updates installations setting.
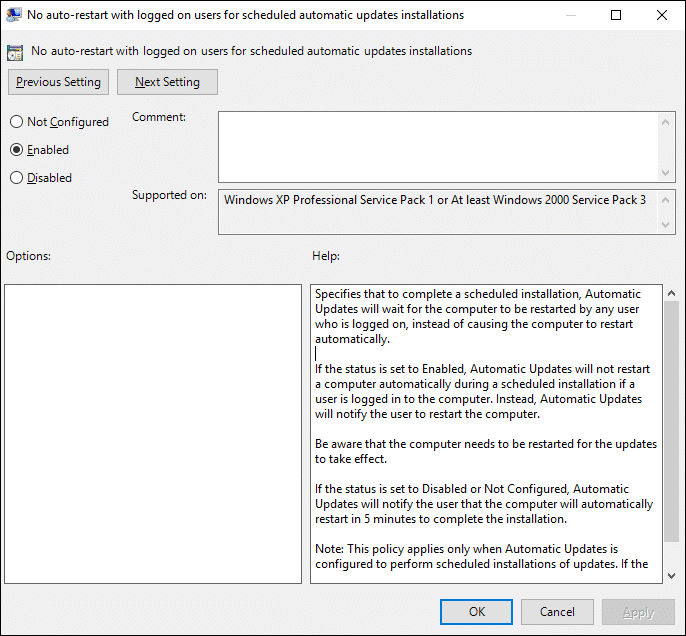
5.Click Apply followed by OK.
6.Close Group Policy Editor and restart your PC.
Method 3: Disable Usoclient.exe using Registry Editor
You can also use Registry Editor to disable Usoclient.exe pop at startup. This method involves creating a Dword 32-bit value called NoAutoRebootWithLoggedOnUsers.
To use Registry Editor to disable Usiclient.exe follow the below steps:
1.Press Windows Key + R then type regedit and hit Enter.

2.Now navigate to the following folder under Registry Editor:
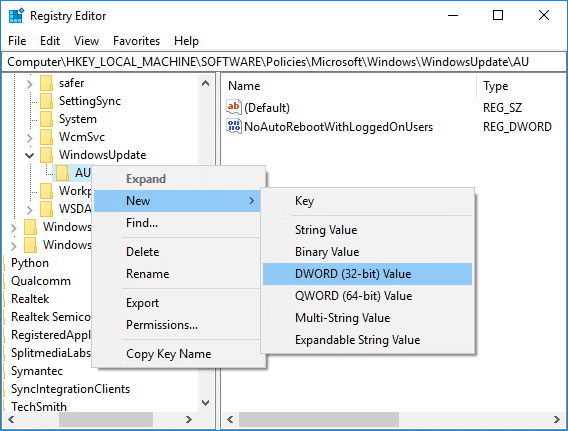
HKEY_LOCAL_MACHINESOFTWAREPoliciesMicrosoftWindowsWindowsUpdateAU
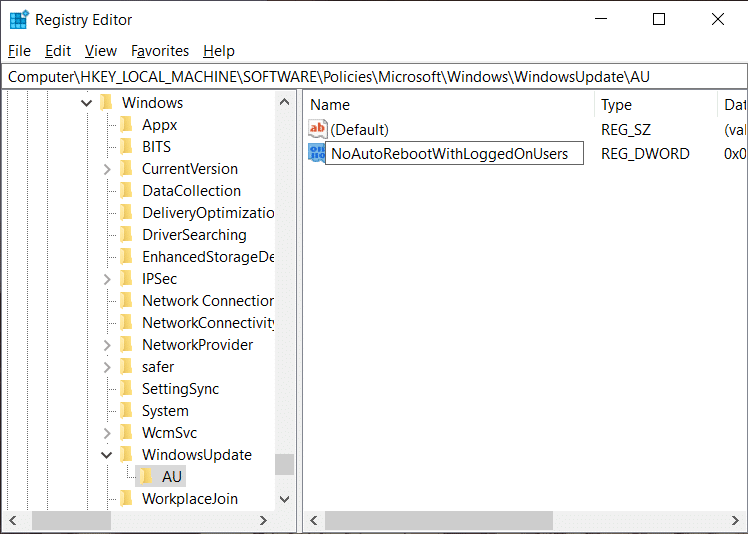
3.Right-click on the AU folder and select New > DWORD (32-bit) Value.
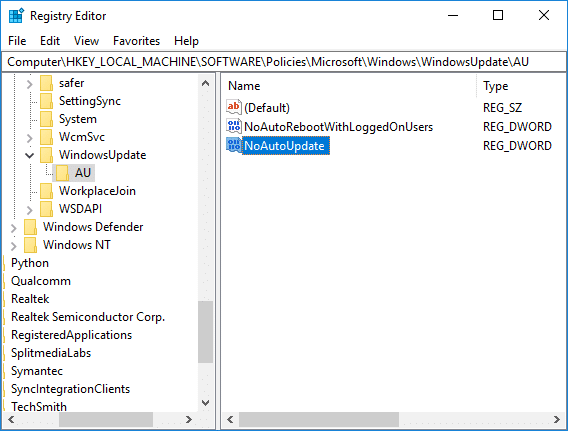
4.Name this newly created DWORD as NoAutoRebootWithLoggedOnUsers.
5.Double-click on NoAutoRebootWithLoggedOnUsers and set it’s value to 1 by entering 1 in the Value data field.

6.Click OK and close the Registry Editor.
7.Reboot your PC to save changes and after the computer restarts, you will find out that the Usoclient.exe pop up will no longer be visible.
So the next time you see the USOClient.exe pop-up at the startup you don’t need to be alarmed unless the pop-up stays there and conflicts with Windows startup. If the popup causes issue then you can use any one of the above methods to disable the Usoclient.exe and let it not interfere with your system startup.
Recommended:
I hope the above steps were able to help you Disable Usoclient.exe in Windows 10 but if you still have any queries regarding this guide then feel free to ask them in the comment’s section.