How to Change Windows 10 Boot Logo
Windows has become synonymous with its modern blue-tiled logo. It can be seen in the black backdrop whenever PC is powered on. Windows gives tons of customization abilities to its users which include changing the default boot logo to any other picture. In this article, we bring to you a helpful guide that will teach you how to change Windows 10 boot logo, edit Windows startup and also look into Windows 10 boot screen changer.
![]()
How to Change Windows 10 Boot Logo
Here are some necessary pre-requisites to change Windows 10 boot logo.
- Windows should be running on UEFI boot mode.
- Secure boot must be disabled.
- Administrative privileges are required.
Most modern Windows PC come with UEFI while older systems use Legacy BIOS. You can follow our guide below to check which one your system is running. Follow our guide to Check if your PC is using UEFI or Legacy BIOS.
Windows 10 doesn’t allow changing boot logo but there is a safe way to do it. HackBGRT is an open-source and free command-line tool used to change boot logo. Follow these steps to do so.
Note: Using HackBGRT, GIFs or transparent images cannot be used as the boot logo and the required image resolution is 300px x 300px.
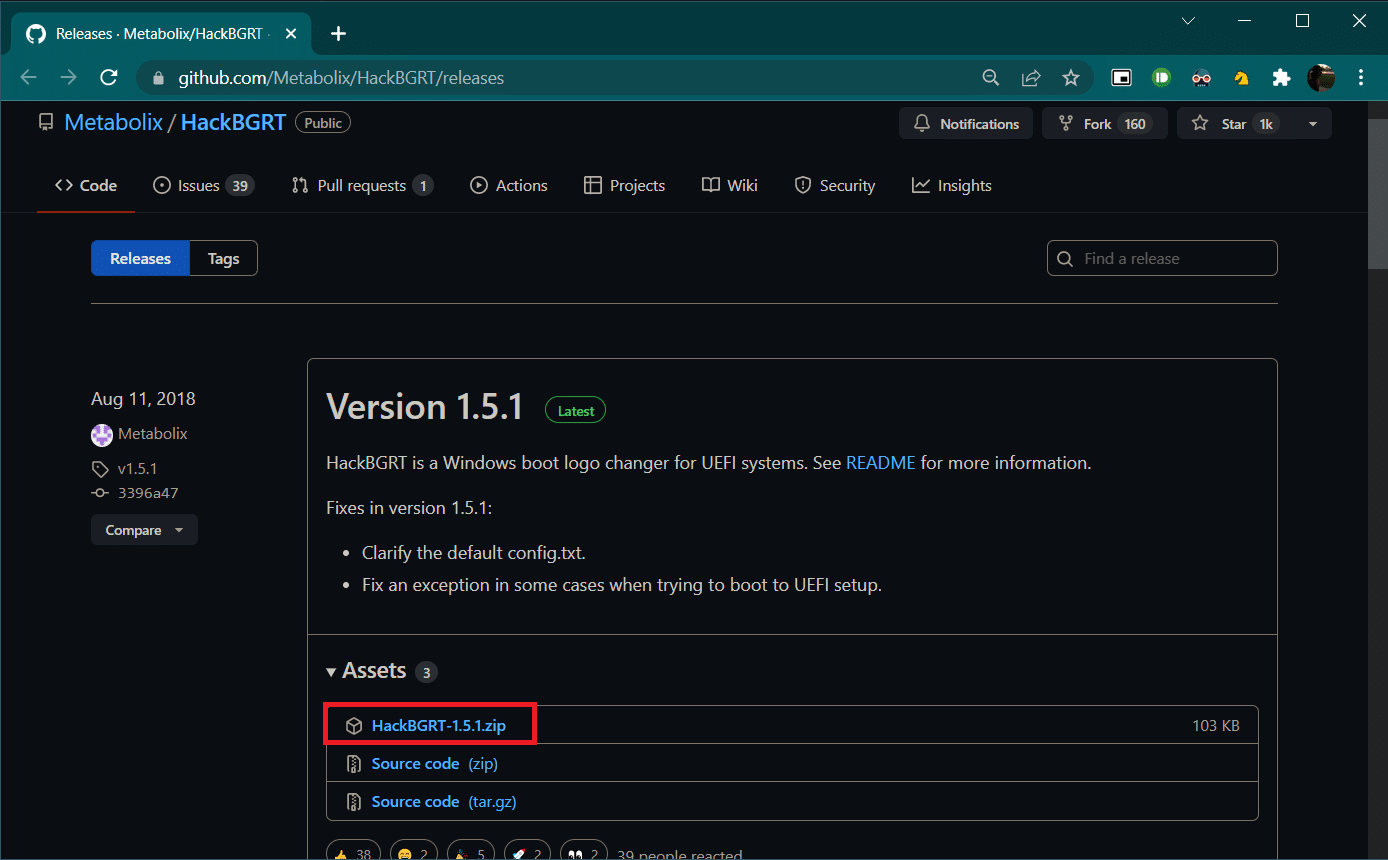
1. Go to download page of HackBGRT and download zip file for the latest version (1.5.1).
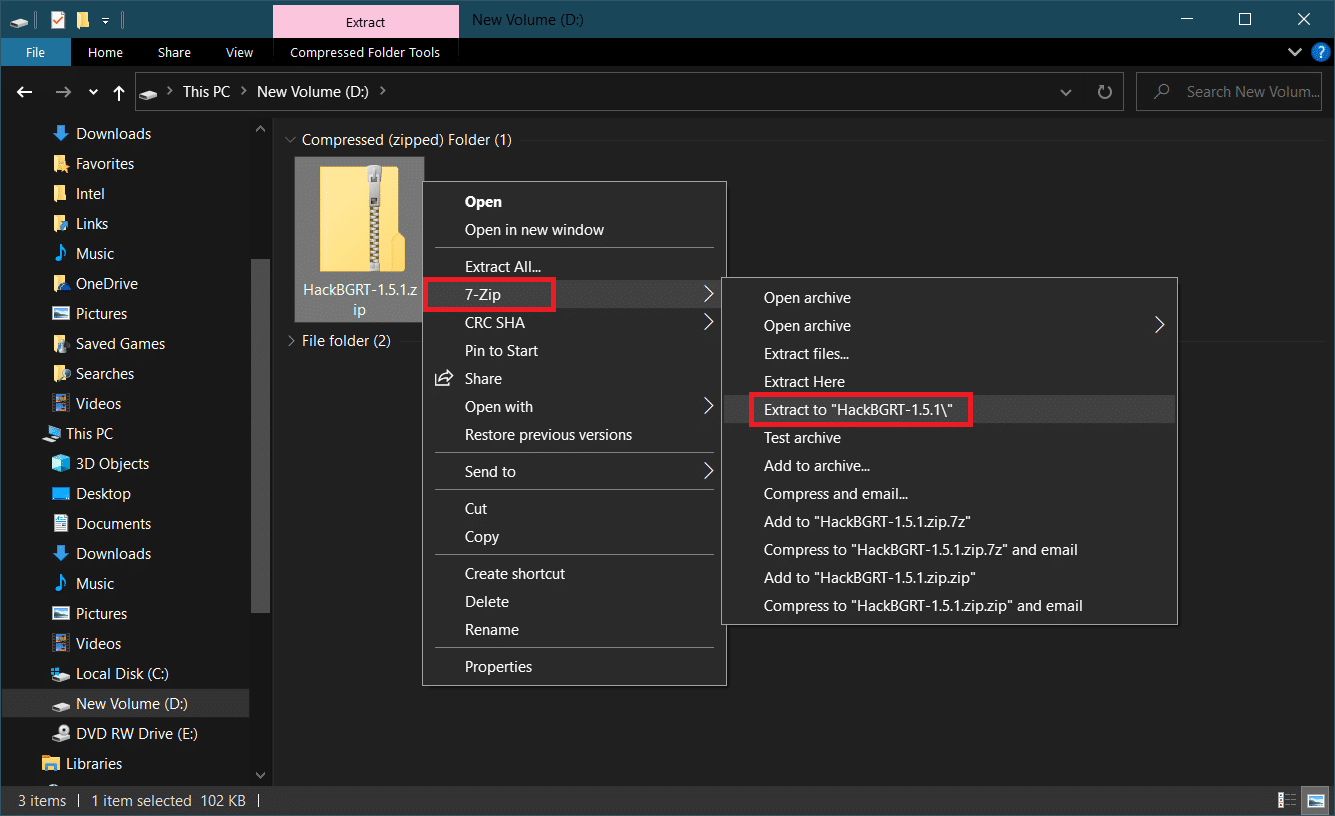
2. Once downloaded, unzip HackBGRT – 1.5.1.zip using appropriate tool like 7-zip.
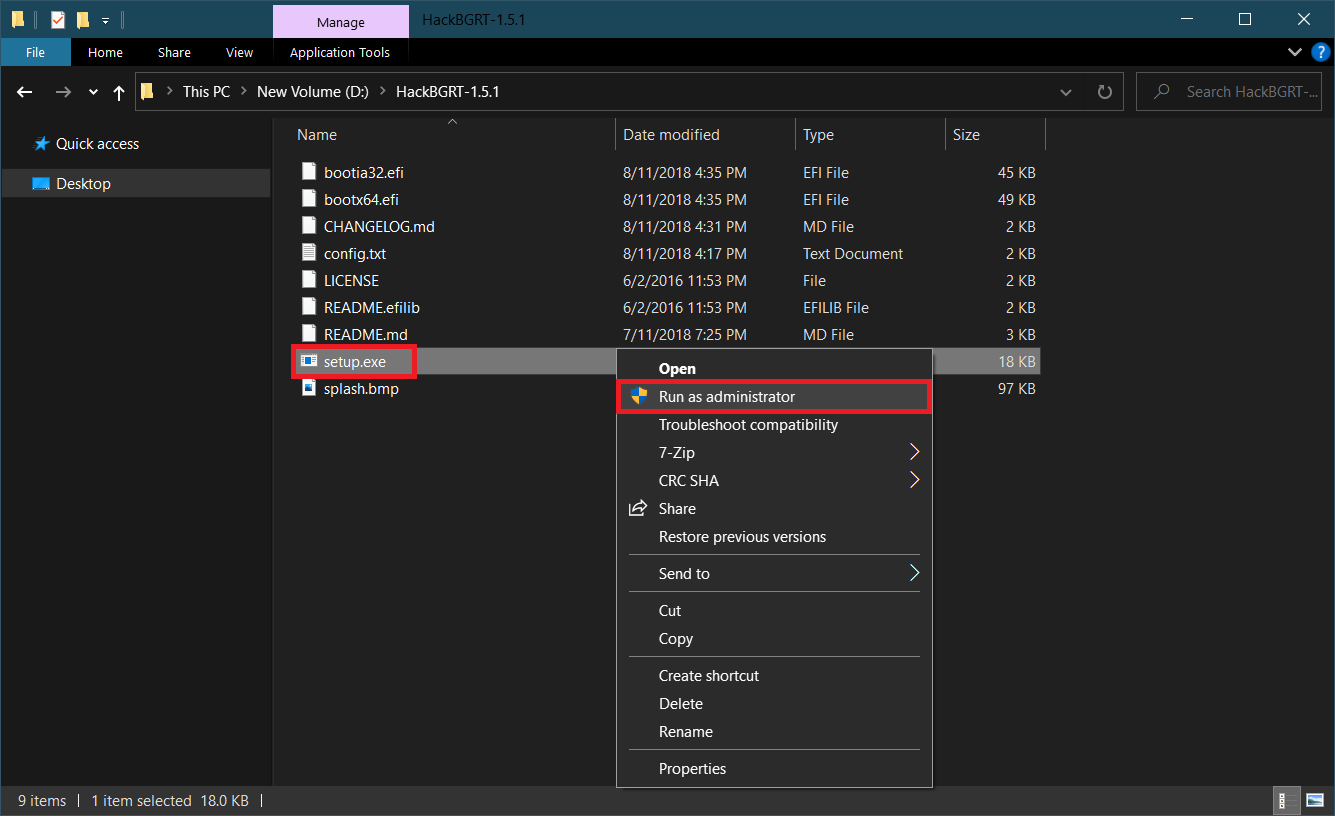
3. In the extracted folder, right–click on setup.exe file and select Run as administrator from context menu.
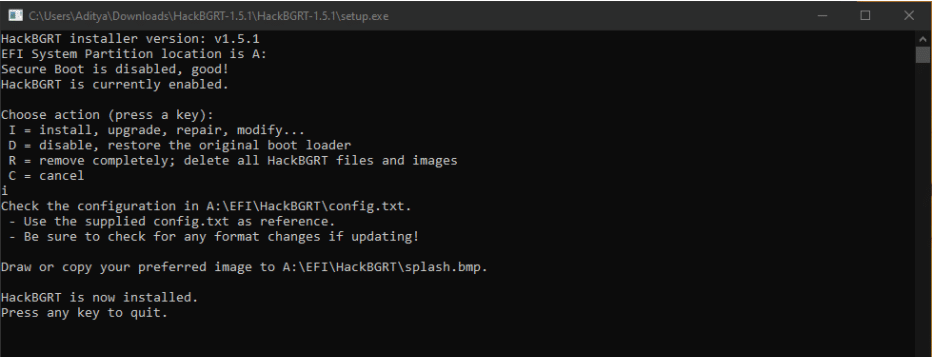
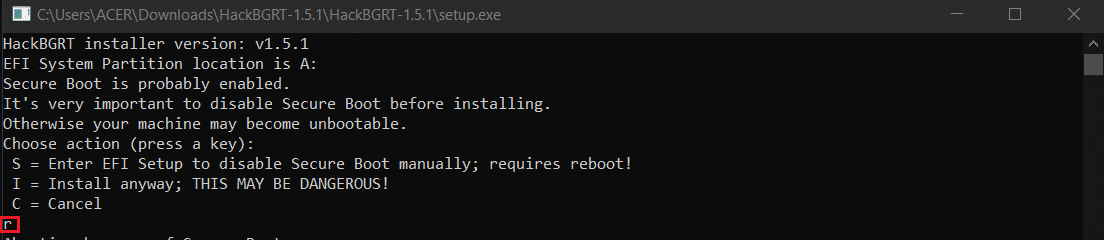
4. HackBGRT will open Command Prompt window. HackBGRT will detect location of UEFI System Partition and check if Secure Boot has been disabled. Information regarding the same will be displayed.
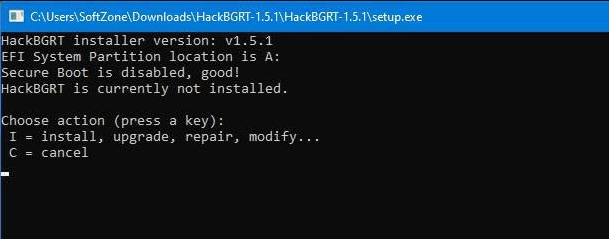
5. Install HackBGRT by pressing the I key.
6. After executing the install command HackBGRT config file will open up in Notepad. Close it by changing it.
7. HackBGRT will automatically launch the Paint application now with its logo on it.
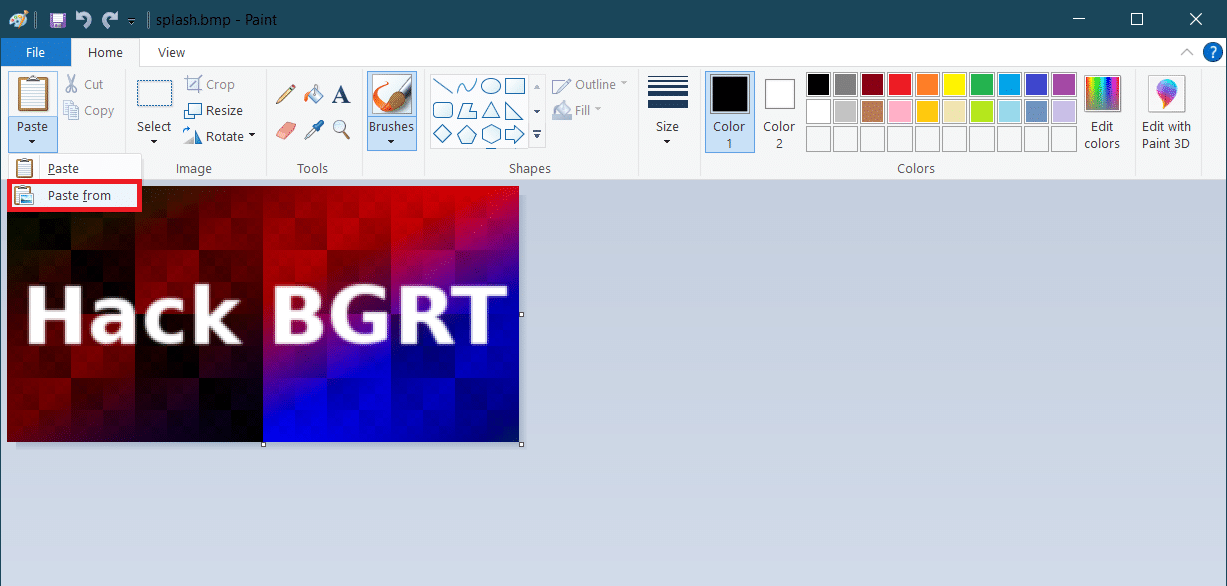
8. To replace the boot logo with your preferred image, expand the Paste drop-down list and select Paste from the option.
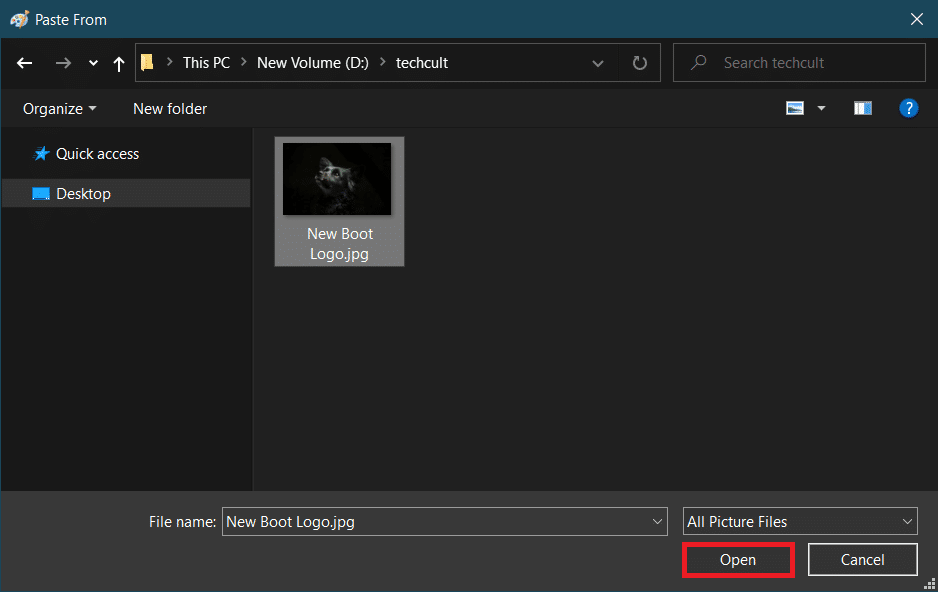
9. Locate image file you wish to set as new boot logo, select it and click on Open.
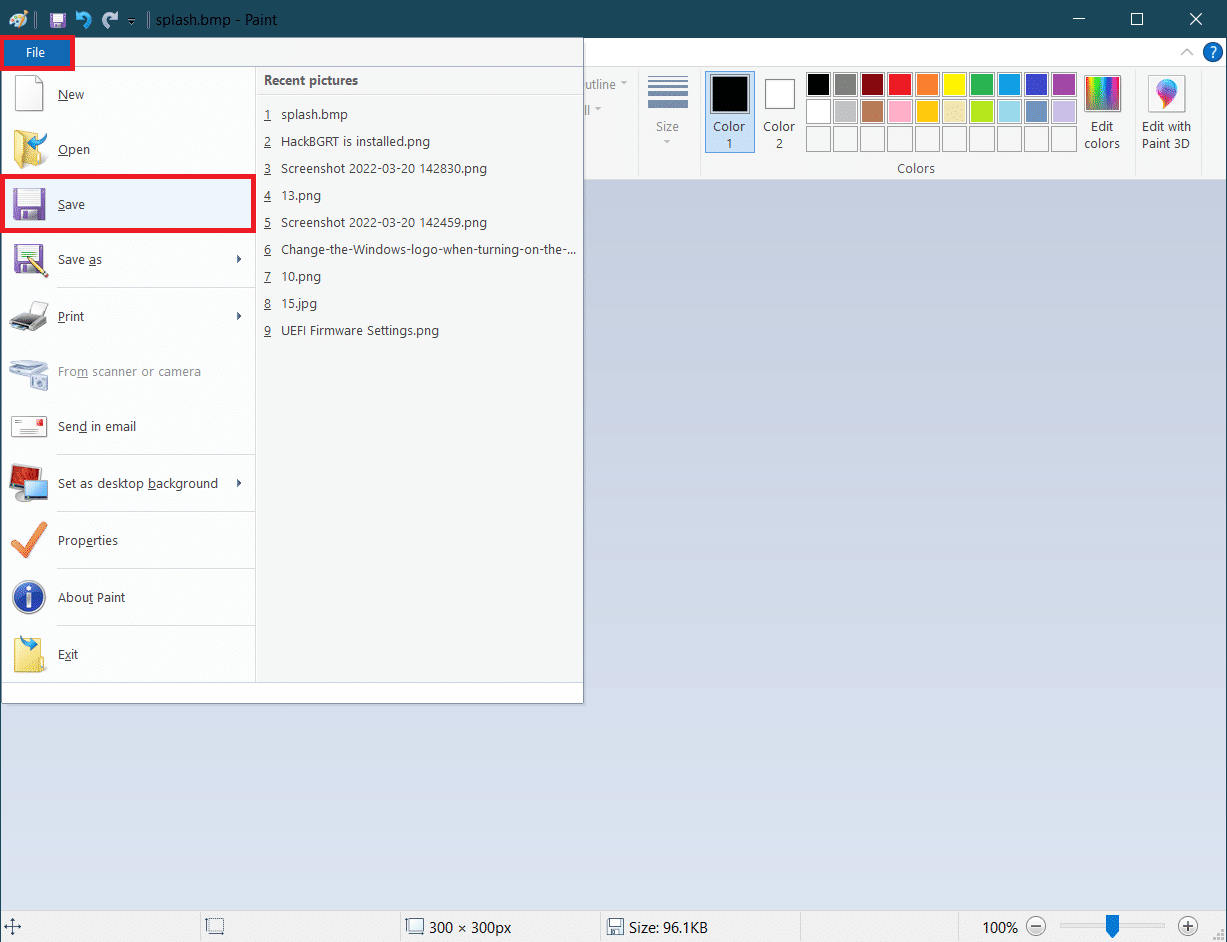
10. Edit it as you wish and once satisfied, click on File > Save. Close the Paint application window.
11. Look for confirmation message HackBGRT is now installed and then close Command Prompt.
12. Finally, reboot the PC and you will see the new boot logo.
Also Read: What is Windows 10 Boot Manager?
How to Revert back to default Windows Boot Logo
If you wish to revert back to the original Windows 10 boot logo, you will need to remove the HackBGRT application. Follow these steps to do so.
1. Follow Step 3 from the previous method to open the HackBGRT setup file as administrator.
2. You will see additional options to remove and disable HackBGRT.
Note: If you want to keep the application, press the D key to disable it and it will restore the default boot logo.
3. Press the R key to execute the remove command. It will remove HackBGRT completely from your System.
4. Once you receive HackBGRT has been removed confirmation message, press any key to quit the Command Prompt window.
The Default Windows logo will now be restored.
Also Read: How to Boot Windows 10 into Recovery Mode
How to Disable Secure Boot
If your Windows PC is running UEFI then you will need to disable Secure boot to change Windows 10 boot logo. Secure boot ensures that the device boots using only system-manufactured trusted software. If enabled, it will prevent the third-party applications from running and changing the boot logo. Follow these steps to check whether it is enabled.
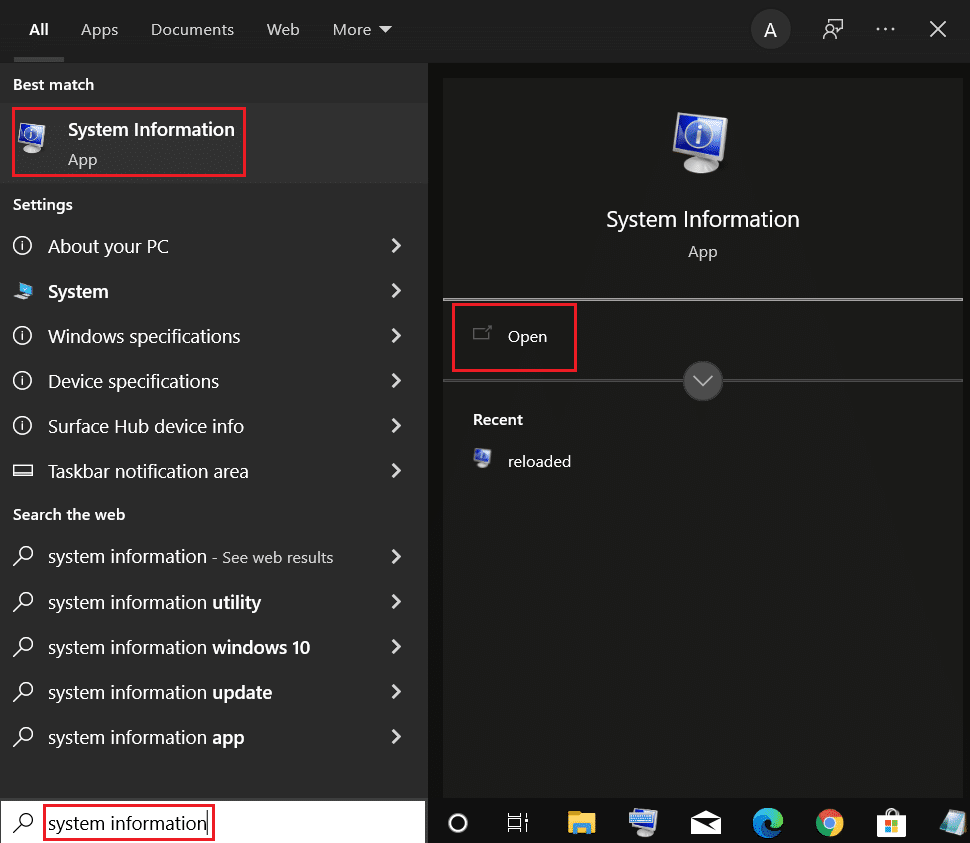
1. Press the Windows key and type System Information, and click on Open.
2. Check whether Secure Boot State is On or Off.
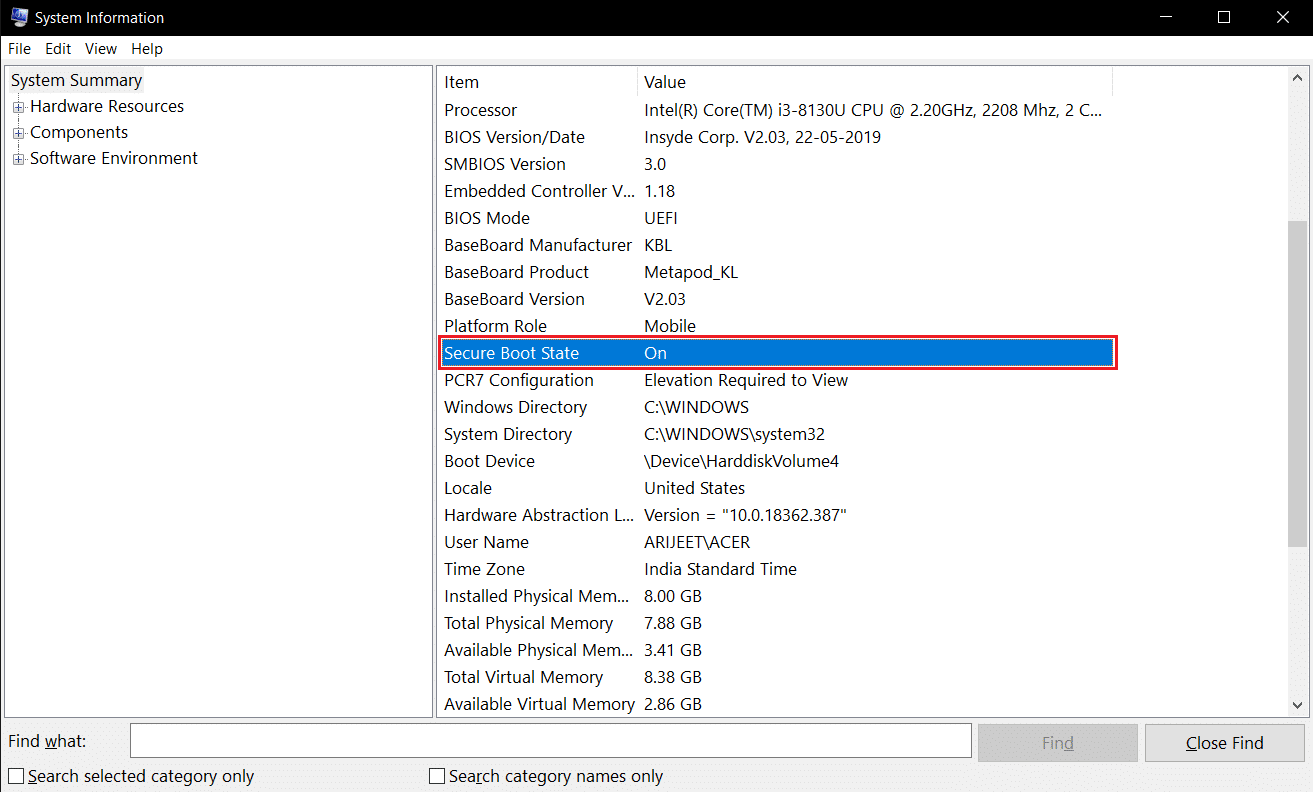
If it is On, follow the steps below to disable it.
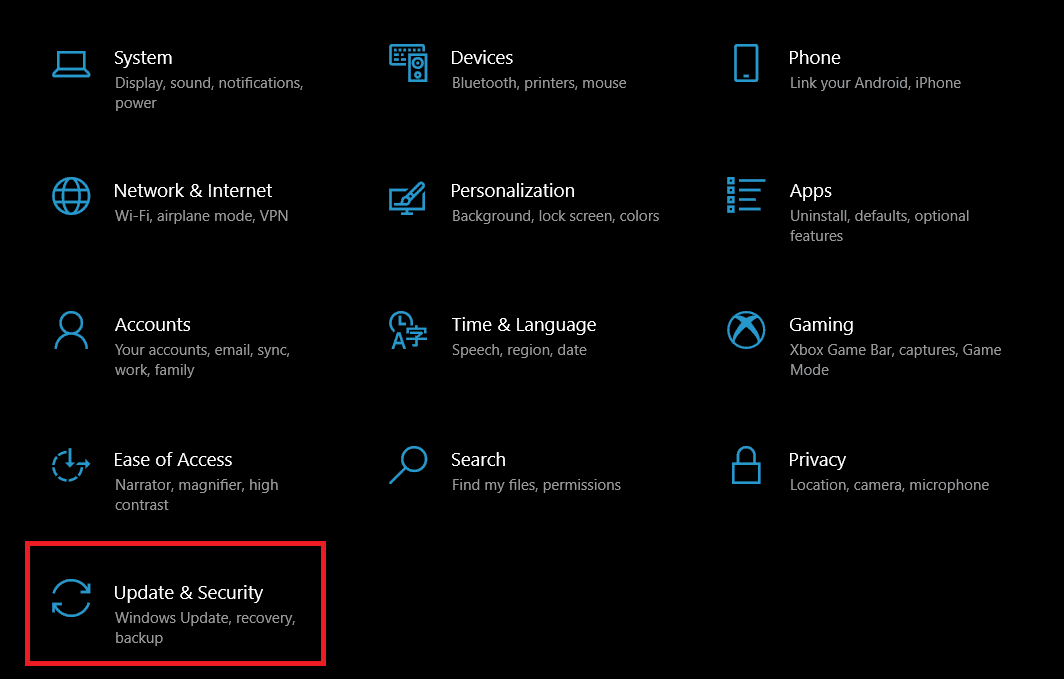
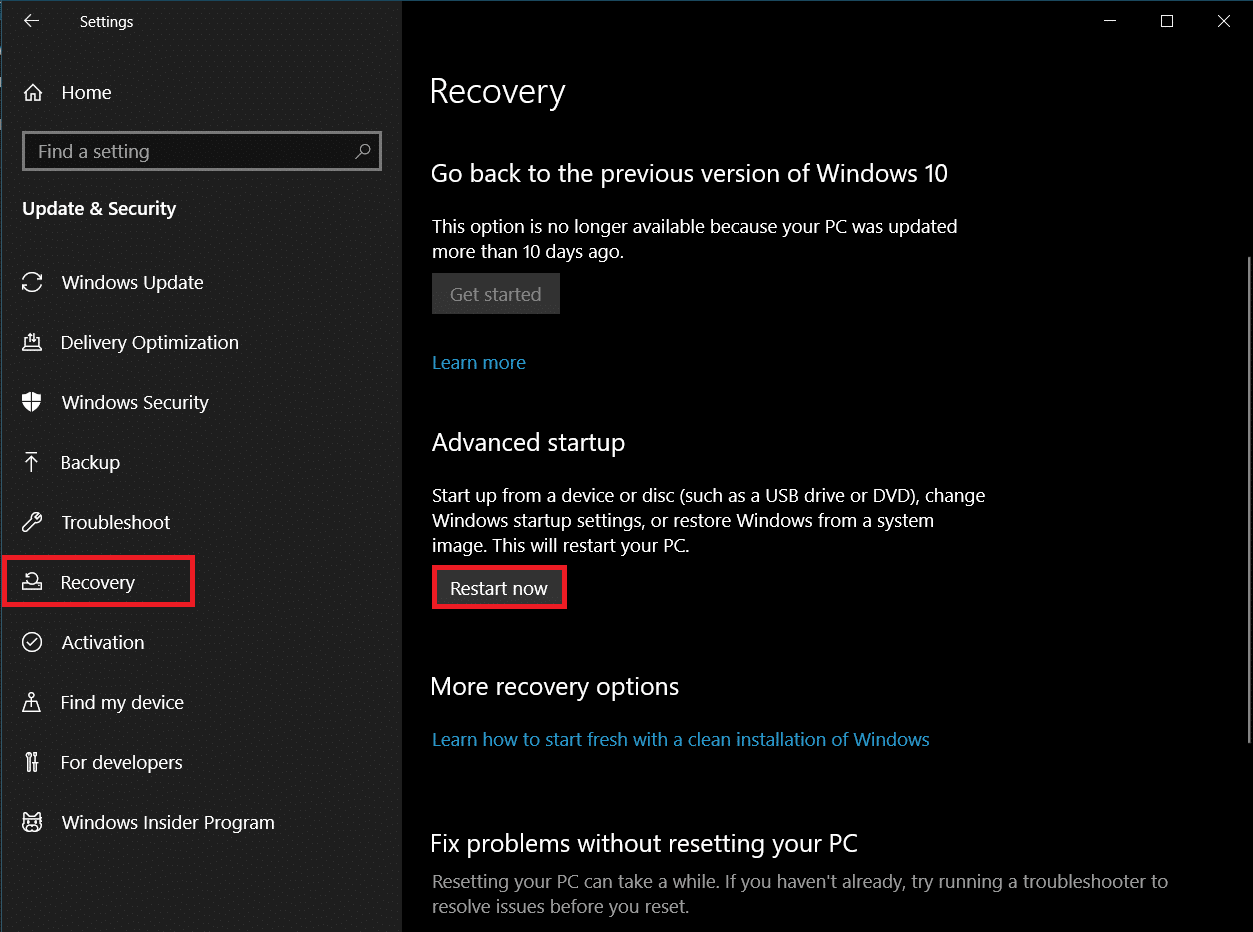
1. Launch Settings application by pressing Windows + I keys and clicking on Update & Security tile.
2. Move to Recovery tab and click on Restart now button under Advanced Startup.
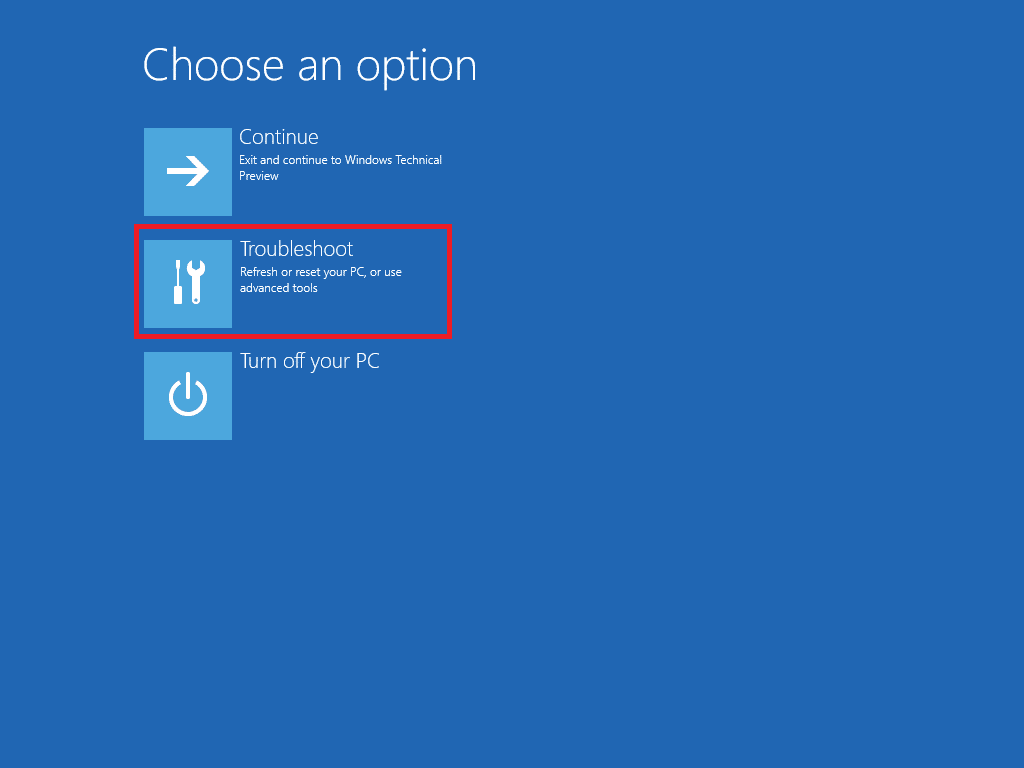
3. On the Choose an Option screen, click on Troubleshoot.
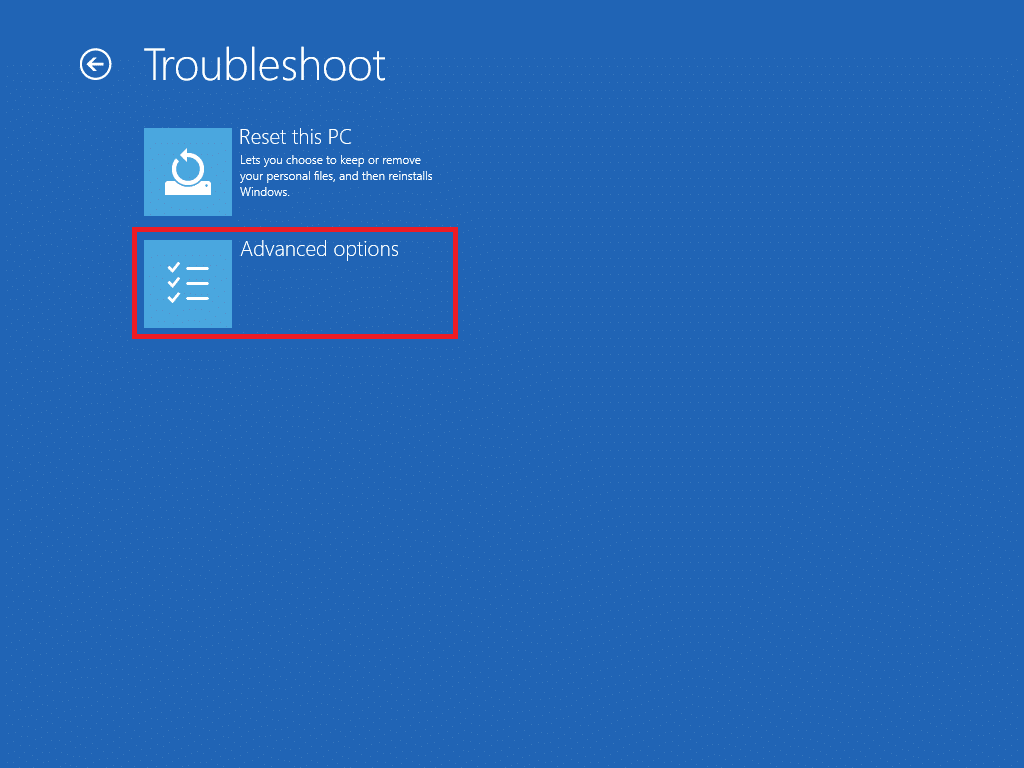
4. Click on Advanced Options.
5. Select UEFI Firmware Settings and click on Restart on the next screen.
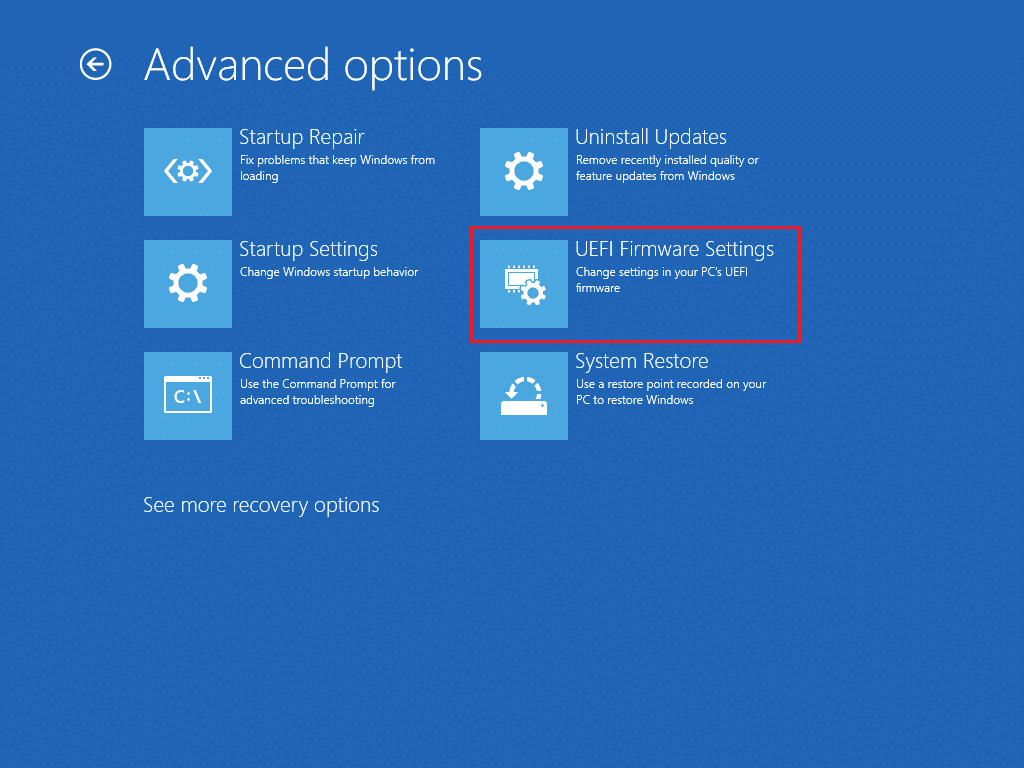
6. Your system will now boot into the BIOS menu.
Note: The placement of Secure Boot settings varies for each manufacturer. Read our article to access BIOS settings in Windows 10.
7. Using Arrow Keys go to the Boot tab and find the Secure Boot option.
8. Press Enter key or use + or – to change its status to Disabled, Press F10 to confirm changes.
Restart your PC and now you are ready to change the Windows 10 boot logo.
Recommended:
We hope that this guide was helpful and you were able to change Windows 10 boot logo. We showed how to edit Windows startup using Windows 10 boot screen changer application, HackBGRT. If you have any queries or suggestions then feel free to drop them in the comments section.