Do you need to rename several files at once in
Windows? It can be quite the task to do it manually, but Windows supports
scripts that you can run to automate the renaming process, saving you loads of
time.
As an example, consider a case like in the example image above where you have a folder of hundreds of images each named Copy of and then a word or two, like Copy of Black Tea.jpg.
Instead of manually renaming each file to delete “Copy of” or to change those words to something else, you could run a script to do all the renaming for you.
Software programs and cameras often append a
specific set of characters to exported files, so this script comes in handy in
those circumstances.
How to Make the Renaming Script
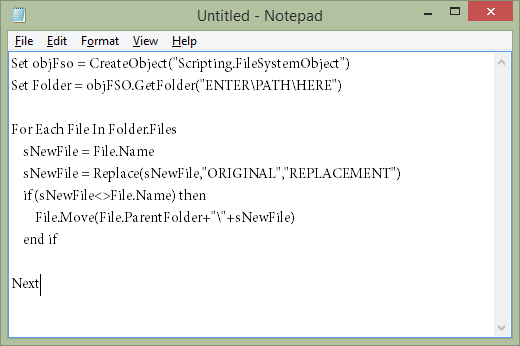
A script is essentially a carefully crafted set
of commands to tell the computer exactly what to do. Here’s the “find and
replace” script we’re dealing with:
Set objFso = CreateObject(“Scripting.FileSystemObject”)
Set Folder = objFSO.GetFolder(“ENTERPATHHERE”)
For Each File In Folder.Files
sNewFile = File.Name
sNewFile = Replace(sNewFile,”ORIGINAL”,”REPLACEMENT”)
if (sNewFile<>File.Name) then
File.Move(File.ParentFolder+””+sNewFile)
end if
Next
To use this script requires a text editor.
Notepad, built-in to Windows, will do just fine.
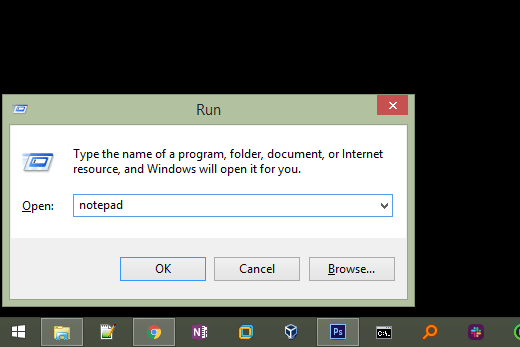
Step 1: Open Notepad. You can
do this by searching for Notepad in the Start menu or by executing the notepad
command in the Run dialog box (WIN+R).
Step 2: Copy the script
exactly as it’s shown above, and paste it into Notepad.
Step 3: Edit the file rename script to make it apply to your unique
situation.
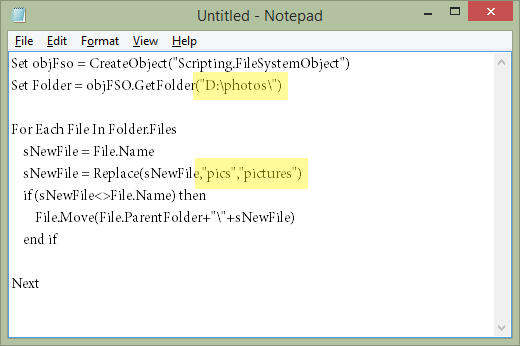
To do that, you need to change the text called ENTERPATHHERE to the exact folder where your soon-to-be-renamed files are located.
For example, maybe you want to rename a group of files in a folder on your desktop, in which case your folder path might look like this: C:UsersMattDesktopConverted MP3s.
To make the script always apply to the folder
it’s currently located in, just change the path to .. That is, a period and then a backslash, without a space. Using
the script this way lets you drop it into any folder and have it automatically
apply to only that folder.
Also change ORIGINAL
to the characters you want to replace, and delete REPLACEMENT so that you can enter the text that should replace the
original characters. In other words, you can read this line of the script as “replace THIS with THIS.”
Note: Make sure you keep
the quotes in every instance you see them. They need to remain in the folder
path and the replace section.
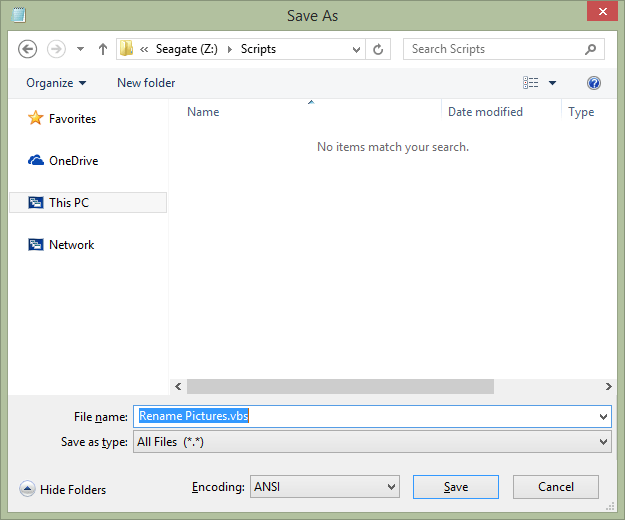
Step 4: Go to File > Save As and name the file anything you like, but be sure to change
the “Save as type” option to All Files
(*) and append .vbs to the end
of the file name.
Step 5: You can now close out of Notepad and execute the VBS file to
apply the script.
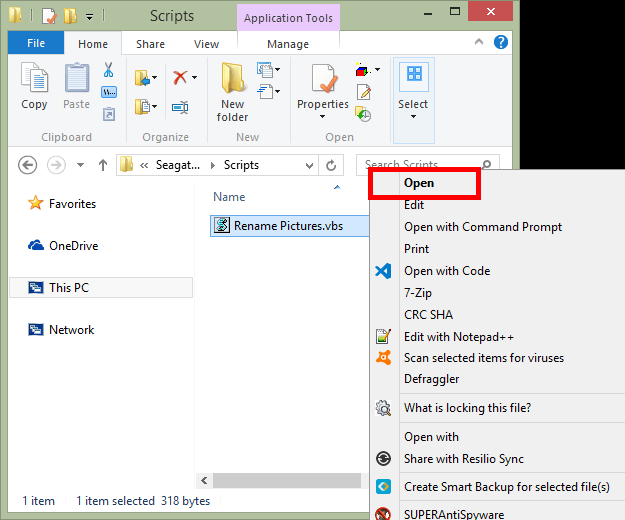
That’s it! To edit the VBS file to
change the location of the files to rename, or to adjust what to replace in the
files, just right-click the VBS file like you see above, but instead of opening
it, choose Edit.
How
to Bulk Rename Files in Windows 10
If you’re using Windows 10, there’s
a built-in renaming feature that’s easy to use and might be exactly what you’re
after. This method is unique compared to the script above because it works even
if the files have completely different filenames.
In other words, these two methods
have completely different use cases. Let’s say you have 100 files that each
have the word house in them along
with other random characters. You want to keep all the characters untouched but
make the word house into home. The
script is great for that.
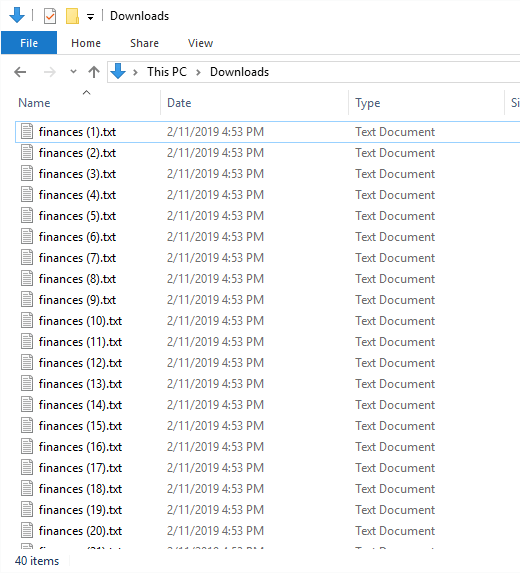
However,
if the 100 files are all named random characters and you want them to be really
similar like housepics, you can use
the Windows 10 renaming function to rename the first to housepics (1), the second to housepics
(2), the third to housepics (3),
and so on.
Here’s how to do this in Windows 10:
Step
1: Highlight the files you want to
rename.
Step
2: Press the F2 key or right-click one of the selected files and choose Rename.
Step
3: Type the filename you want to use
and then press Enter.
Instantly, every selected file will
use the exact same filename. If each file is using a different file extension,
they’ll all be named identically, but if they have the same file extension, a
number will be appended to the end since two or more files can’t use the same
filename in the same folder.