How to Create Bootable Windows 11 USB Drive

If you ever have problems with your operating system and need to reinstall it, creating a bootable USB stick is always a smart idea. Bootable USBs are also useful because of their tremendous portability and compatibility. Moreover, creating one is not a difficult task anymore. There are many tools that can carry out this task with minimum user intervention. Today we are going to learn how to create a bootable Windows 11 USB Drive using Rufus.
How to Create Bootable Windows 11 USB Drive
You can make a USB drive bootable with a popular tool called Rufus. To do so, you need the following:
- Download Rufus tool,
- Download & install Windows 11 ISO file.
- USB drive with at least 8 GB of available storage space.
Step I: Download & Install Rufus & Windows 11 Disk Image (ISO)
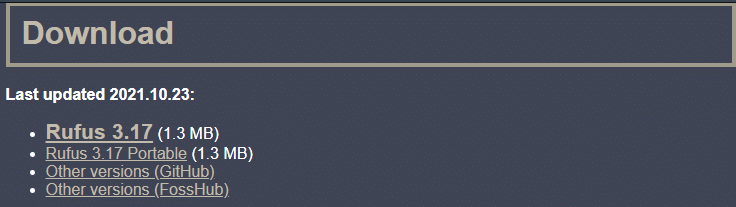
1. Download Rufus from its official website linked here.
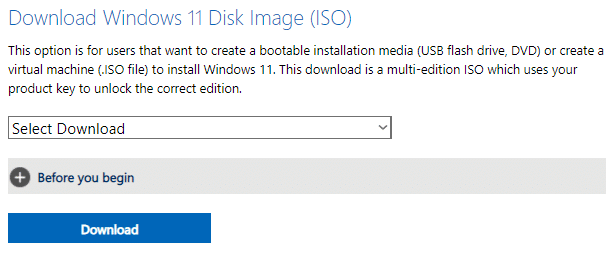
2. Download the Windows 11 ISO file from the official Microsoft website.
3. Plug-in 8GB USB device into your Windows 11 PC.
4. Run Rufus .exe file from File Explorer by double-clicking on it.
5. Click on Yes in the User Account Control prompt.
6. Select the USB Drive from the Device drop-down list in Drive Properties section, as shown.

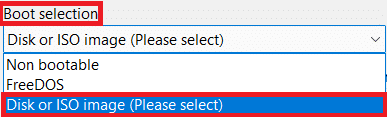
7. From the drop-down list for boot selection, select Disk or ISO image (Please select) option.
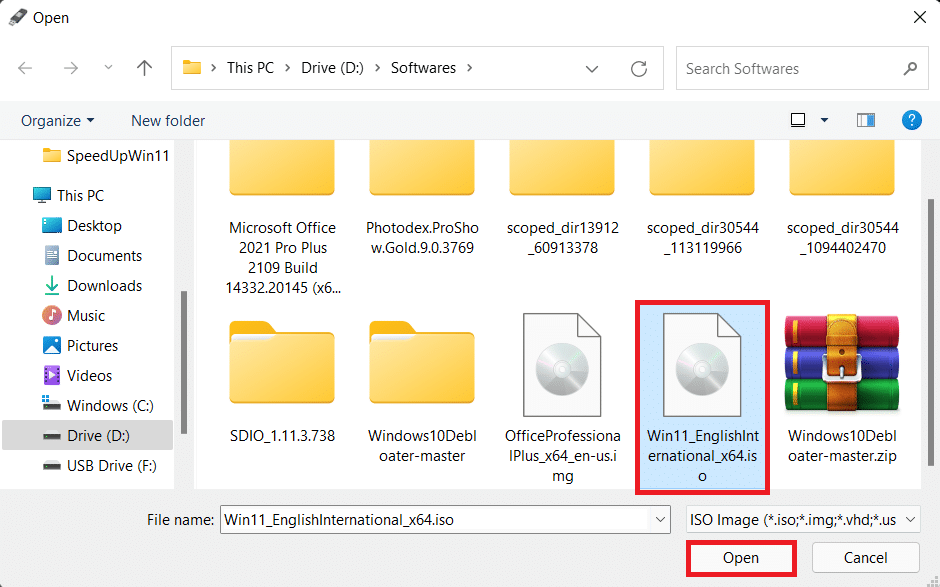
8. Click on SELECT next to Boot selection. Then, browse to select Windows 11 ISO image downloaded before.
Also Read: How to Use Rufus to Create Windows to go USB Drive
Step II: Make Bootable USB Drive for Windows 11
After the said installations, follow the given steps to create a bootable Windows 11 USB Drive with Rufus:
1. Click on the Image option drop-down list & select the Standard Windows 11 installation (TPM 2.0 + Secure Boot) option.

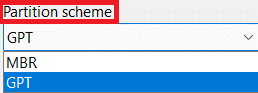
2. Choose MBR, if your computer runs on legacy BIOS or GPT, if it uses UEFI BIOS from Partition scheme drop-down menu.
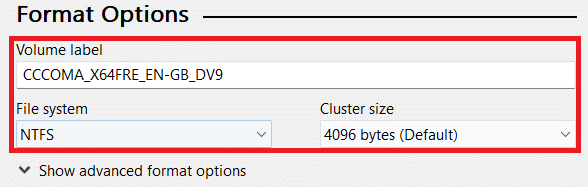
3. Configure other options like Volume label, File system, & Cluster size under Format Options.
Note: We believe it is best to leave all these values to default mode to avoid any issues.
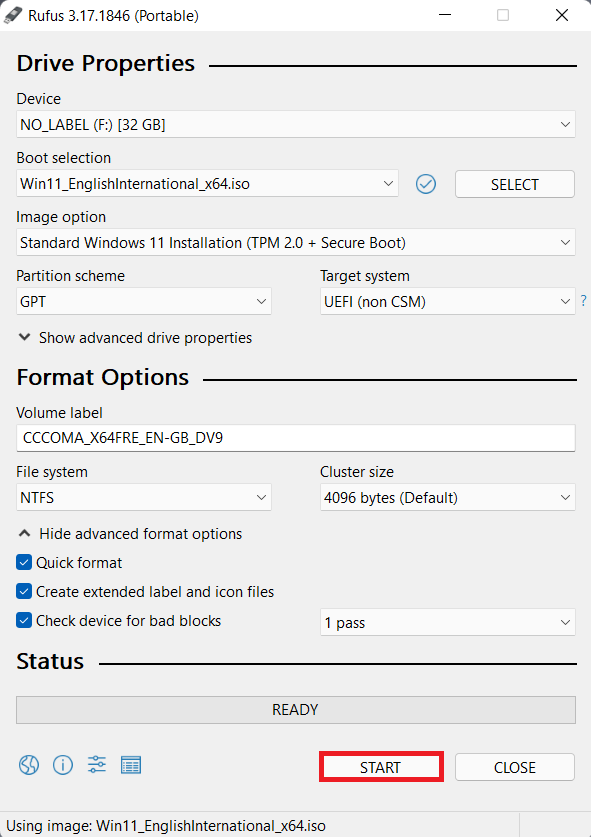
4. Click on Show advanced format options. Here, you will find the given options:
- Quick format
- Create extended label and icon files
- Check the device for bad sectors.
Leave these settings checked as it is.

5. Lastly, click on START button to create bootable Windows 11 USB Drive.
Also Read: How to Download and Install Windows 11 Updates
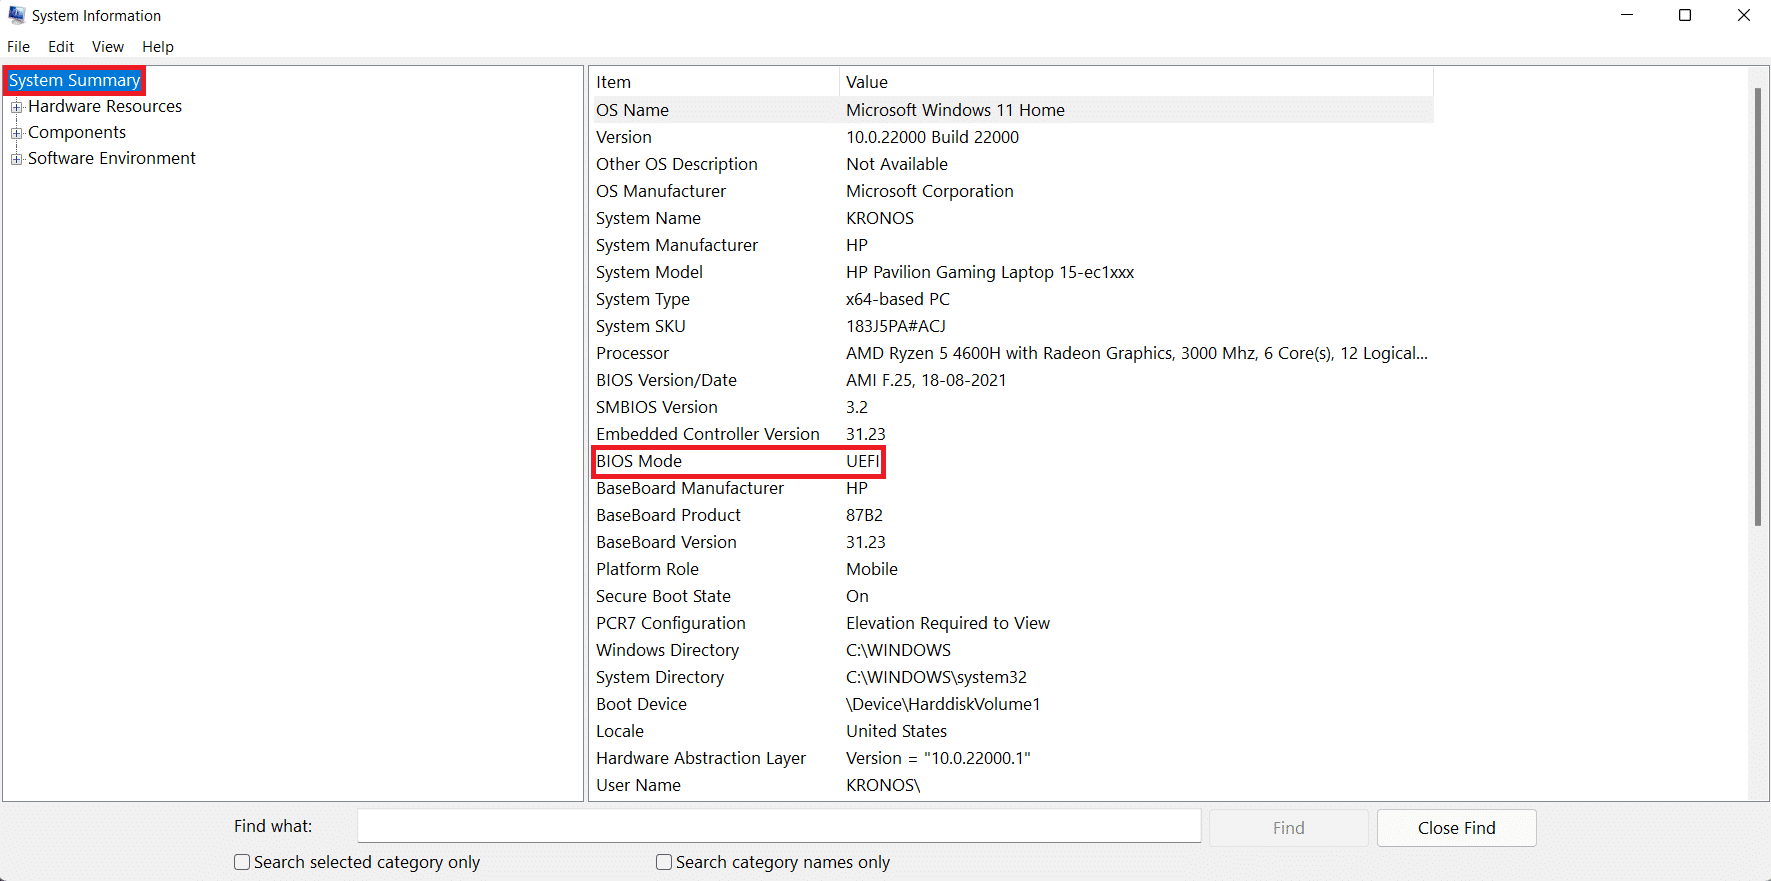
Pro Tip: How to Check BIOS Type in Windows 11
To know which BIOS is installed on your computer and make an informed decision for Step 10 above, follow the given steps:
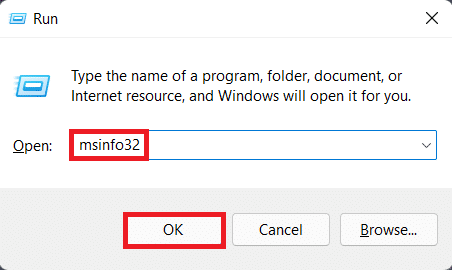
1. Open the Run dialog box by pressing Windows + R keys together
2. Type msinfo32 and click on OK, as shown.
3. Here, find the BIOS Mode under System Summary details in System Information window. For instance, this PC runs on UEFI, as depicted below.
Recommended:
We hope you found this article interesting and helpful about how to create bootable Windows 11 USB Drive. You can send your suggestions and queries in the comment section down below. We would love to know which topic you want us to explore next.