Windows 10 has a serious bug since it’s inception which makes text blurred on users PC and the problem is faced system-wide by the user. So it doesn’t matter if you go to System Settings, Windows Explorer or Control Panel, all the text will be somewhat blurred because of the DPI Scaling Level for Displays feature in Windows 10. So today we are going to discuss How To Change DPI Scaling Level for Displays in Windows 10.
Change DPI Scaling Level for Displays in Windows 10
何か問題が発生した場合に備えて、必ず復元ポイントを作成してください。
Method 1: Change DPI Scaling Level for Displays Using Settings App
1. Press Windows Key + I to open Settings and then click on システム。

2. From the left-hand menu, make sure to select ディスプレイ。
3. If you have more than one display, then select your display at the top.
4.今下 テキスト、アプリ、その他のアイテムのサイズを変更する、選択 DPI percentage ドロップダウンから
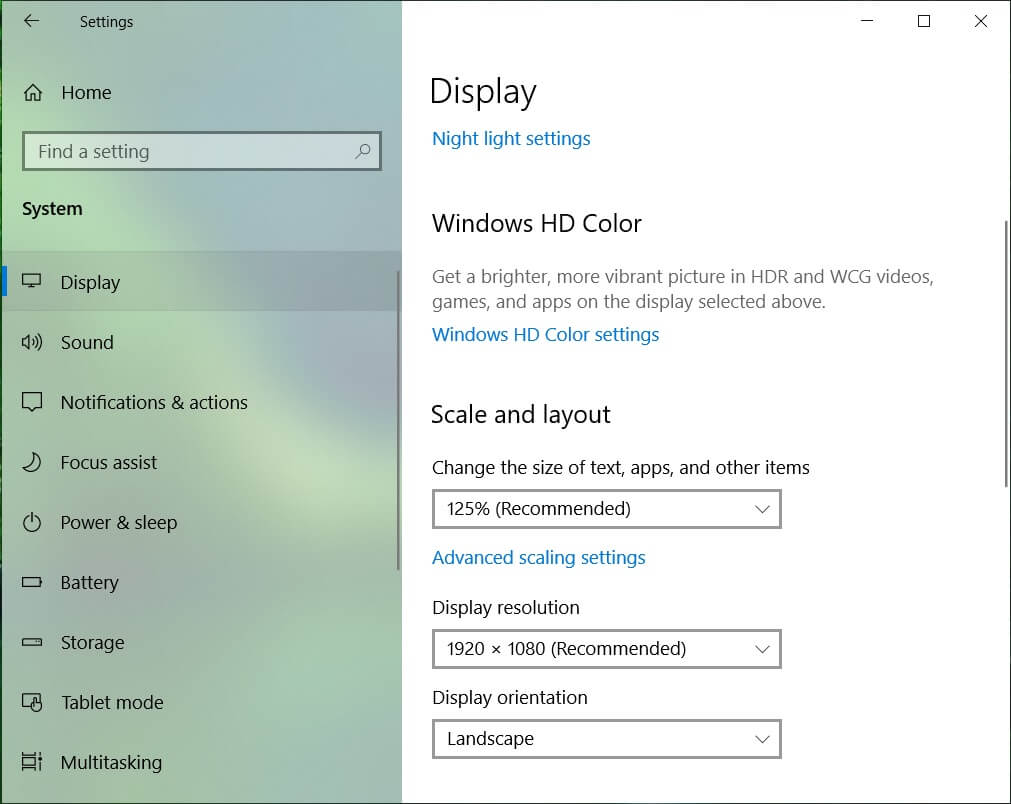
5. Click on the Sign out now link to save changes.
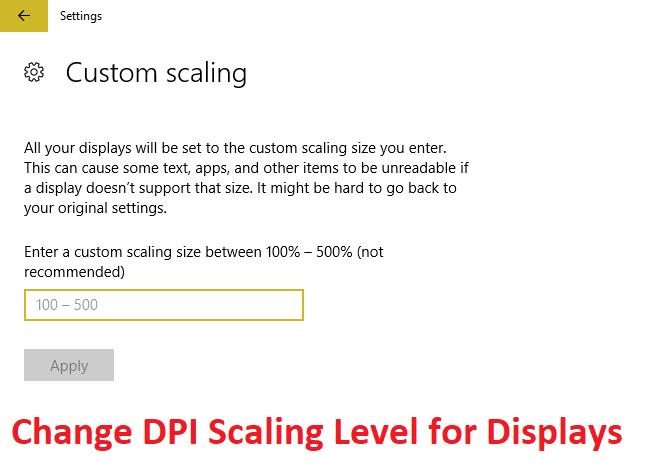
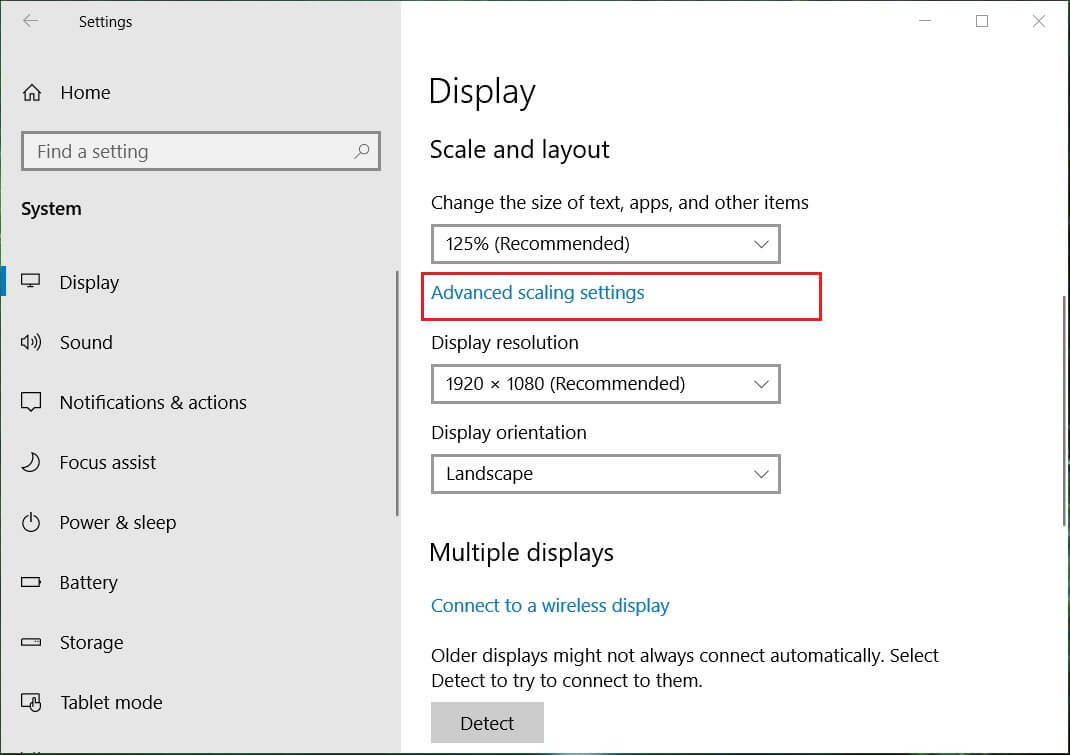
Method 2: Change Custom DPI Scaling Level for All Displays in Settings
1. Press Windows Key + I to open Settings and then click on システム。
2. From the left-hand menu, make sure to select ディスプレイ。
3. Now under Scale and layout click Custom scaling.
4. Enter a custom scaling size between 100の% - 500% for all the displays and click on Apply.

5. Click on Sign out now to save changes.
Method 3: Change Custom DPI Scaling Level for All Displays in Registry Editor
1. Windows キー + R を押して、次のように入力します。 regeditを Enterキーを押します。

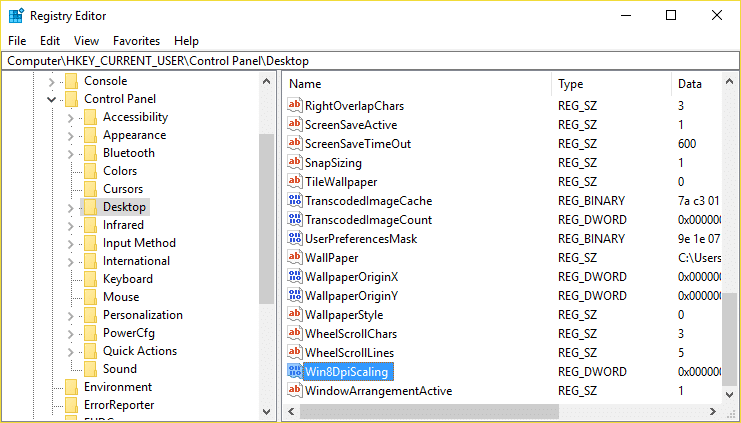
2. Navigate to the following Registry key:
HKEY_CURRENT_USERControlのPanelDesktop
3. Make sure you have highlighted デスクトップ in the left window pane and then in the right window pane double click on LogPixels DWORD.
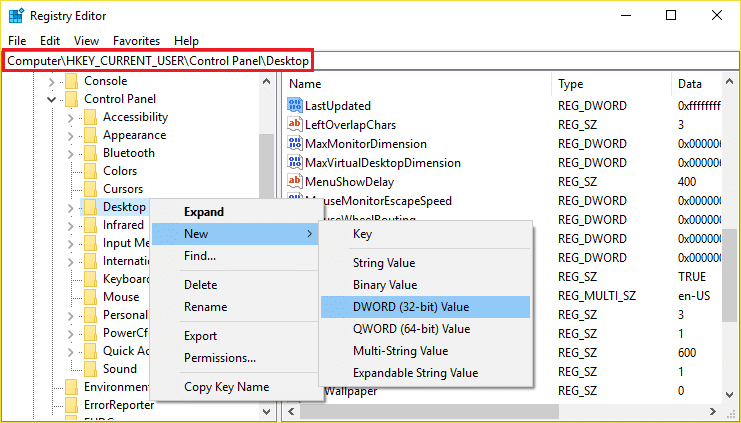
注: If the above DWORD doesn’t exist, you need to create one, right-click on Desktop and select New > DWORD (32-bit) value. Name this newly created DWORD as LogPixels.
4。 選択 10進数 under Base then change its value to any of the following data and then click OK:
| DPI Scaling Level |
実行日 |
| Smaller 100% (default) | 96 |
| 中 125% | 120 |
| Larger 150% | 144 |
| Extra Large 200% | 192 |
| Custom 250% | 240 |
| Custom 300% | 288 |
| Custom 400% | 384 |
| Custom 500% | 480 |
![]()
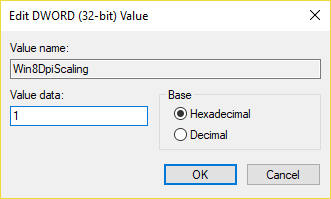
5. Again make sure Desktop is highlighted and in the right window pane double click on Win8DpiScaling.
注: If the above DWORD doesn’t exist, you need to create one, right-click on Desktop and select New > DWORD (32-bit) value. Name this DWORD as Win8DpiScaling.
6. Now change its value to 0 if you have chosen 96 from the above table for LogPixels DWORD but if you have chosen any other value from the table then set its 値を1に設定します。
7. [OK] をクリックして、レジストリ エディターを閉じます。
8. PC を再起動して変更を保存します。
推奨:
それはあなたがうまく学んだことです How To Change DPI Scaling Level for Displays in Windows 10 ただし、この投稿に関してまだ質問がある場合は、コメントのセクションで遠慮なく質問してください。
")
