Fix An Ethernet Cable is Not Properly Plugged In

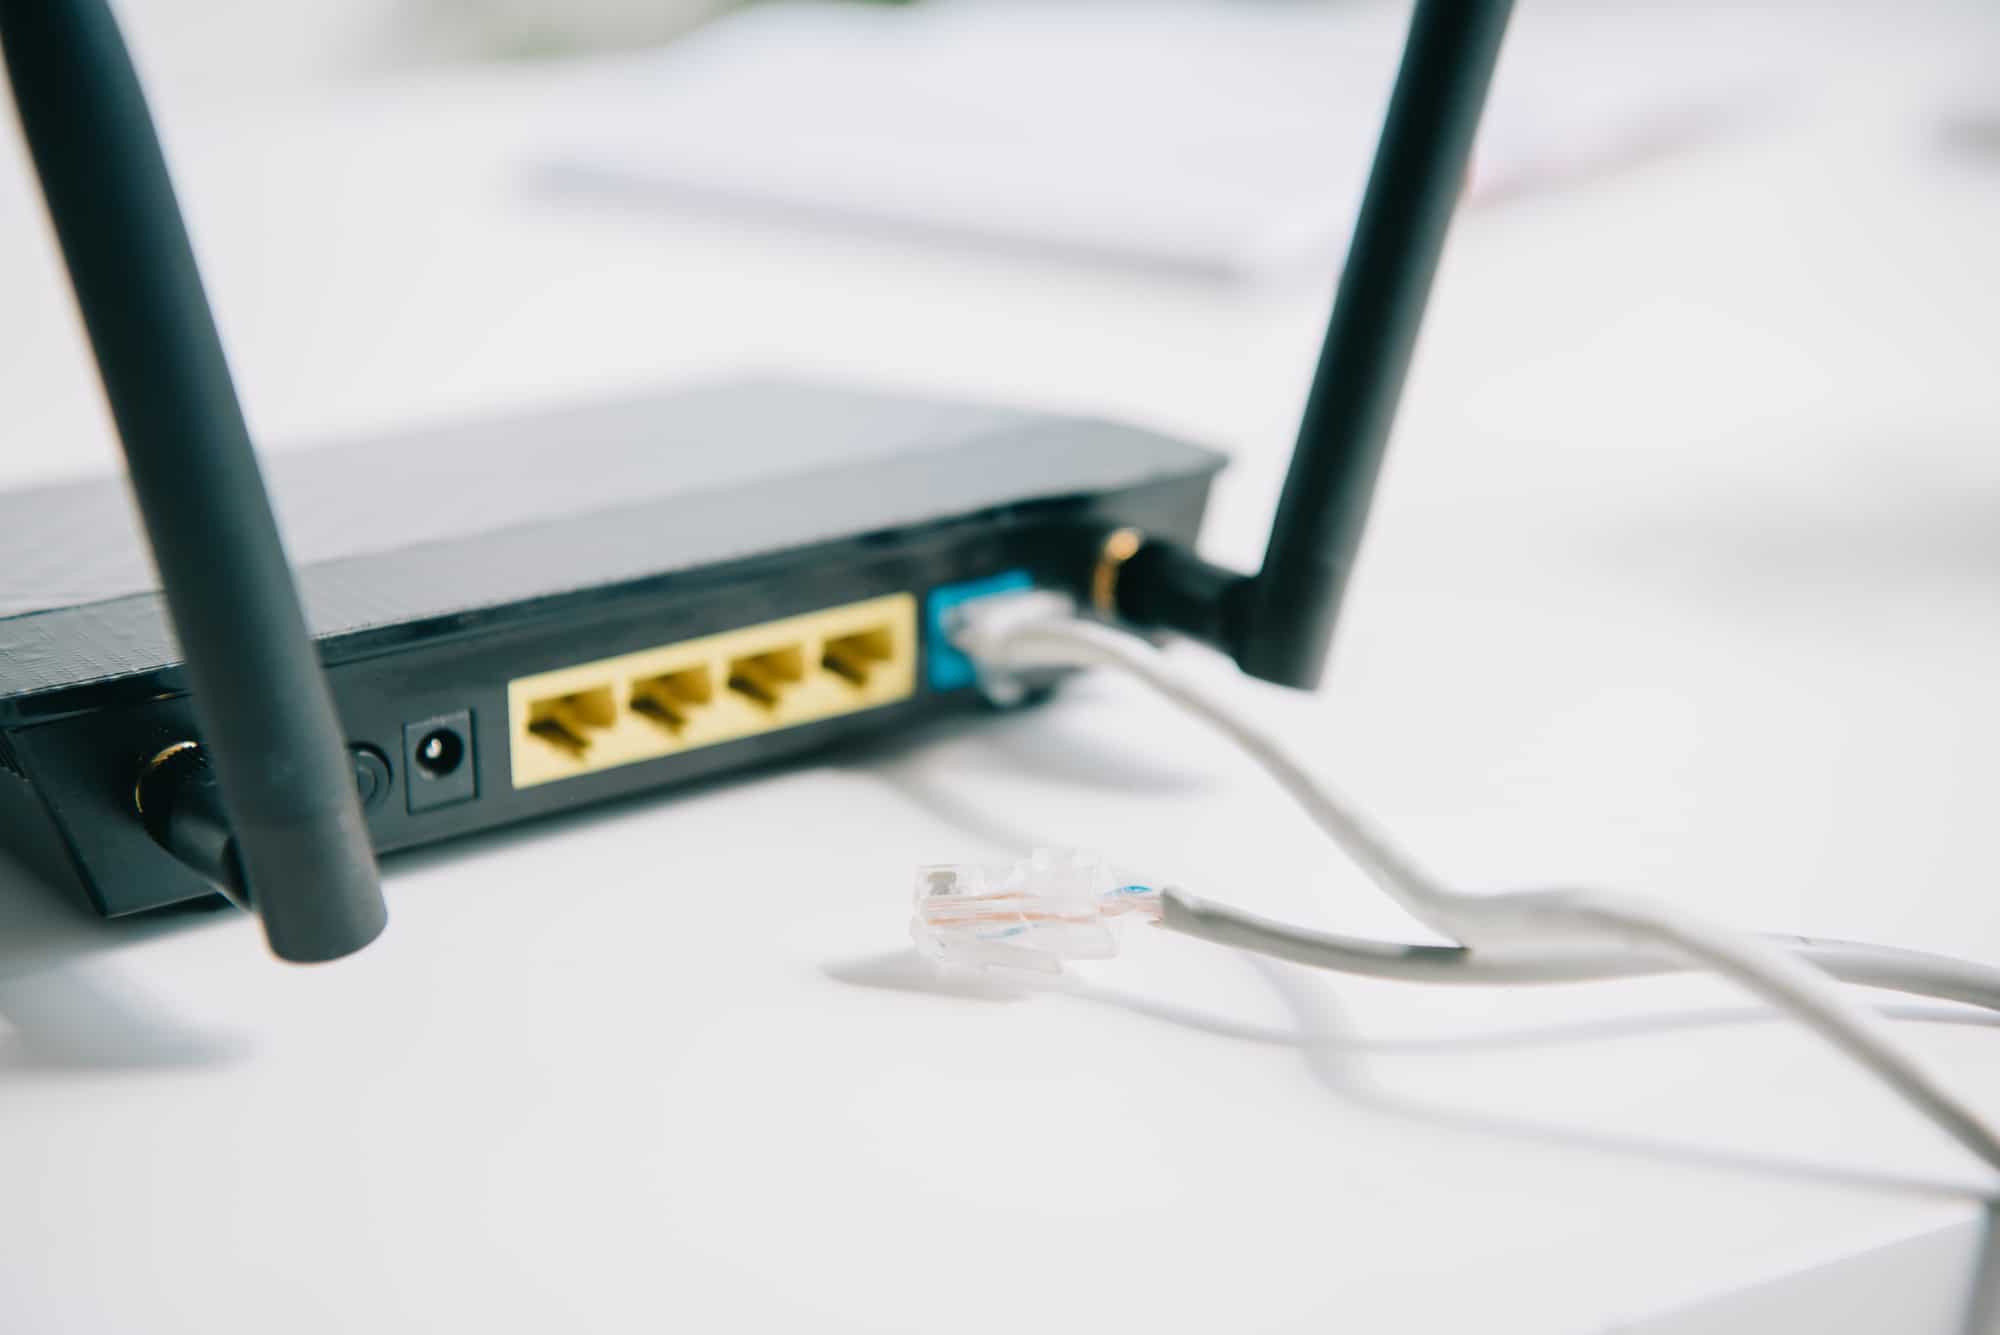
The main benefit of using an ethernet cable over a wireless connection is having a more secure network. Your data is more secure with a wired Ethernet connection than Wi-Fi, which is slightly vulnerable because of its connectivity with other devices and sharing form factor. However, Wi-Fi became more popular due to its wireless internet offering to multiple devices. However, many users and professionals still prefer ethernet connections for maximum security, speed, and reliability. And, if you are among the users of the ethernet connection and facing an error message that an ethernet cable is not properly plugged in, you are at the right place. We bring to you a perfect guide that will help you fix the issue of network cable is not properly plugged in or network cable might be broken.
How to Fix An Ethernet Cable is Not Properly Plugged In Error
This issue may occurs possibly due to the following reasons.
- Network cable might be broken, damaged, or improperly plugged in.
- Error in Ethernet port.
- Changes in Network Settings due to malware or other interference.
- Outdated network adapter.
Here we have shown all the troubleshooting methods to fix network cable is not properly plugged in problem.
Method 1: Clean Ethernet Port
The first thing you should do is start cleaning the Ethernet cable port. Unplug the wire, wipe the port with a dry cloth, blow some air to remove dust particles, and make sure it is clean and in good condition. There’s also a possibility that network cable might be broken or damaged from either side, then you might need to replace it. After cleaning it, plug it back in to check if it’s working.
Method 2: Test Cable on Another PC
The issue of an ethernet cable is not properly plugged in can also be caused not just because of the broken or damaged cable, however, the port can be faulty and not functioning properly. Therefore, we recommend trying the Ethernet cable on another PC. If it works properly on another PC, then the problem lies in the port of the computer.
Also Read: Fix Ethernet Not Working in Windows 10 [SOLVED]
Method 3: Connect to Wi-Fi Router
If you have a Wi-Fi router, then you can try plugging the Ethernet cable into the router and which will turn the connection wireless; you can connect it through Wi-Fi. If you don’t have a router, then try the next method.
Method 4: Power Cycle PC
Power cycle will refresh the network connection settings and hopefully will fix the error of network cable is not properly plugged in. Do the following:
Option I: On Laptop
1. Unplug the charger from the laptop, shut it down, and remove the battery if possible.
2. Press the power button continuously for 30 seconds.
3. After 10-15 minutes, put the battery back into the laptop, connect the charger, and then turn it on.
Option II: On Desktop
1. Shut down your PC and unplug all cables, including the Ethernet cable.
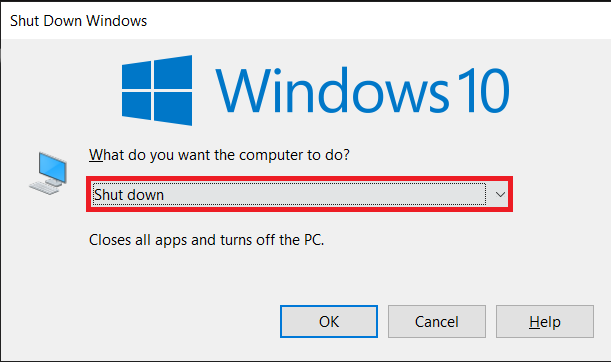
2. Then press the power button continuously for 30 seconds.
3. After 10-15 minutes, reconnect all the cables to the PC and turn on your system.
Also Read: Fix Computers Not Showing Up on Network in Windows 10
Method 5: Run Network Adapter Troubleshooter
If there’s any internal error or some faults in the network settings, then you can try the network adapter troubleshooter to fix the error. Follow our guide on how to troubleshoot network connectivity problems on Windows 10.

Method 6: Update Network Driver
The issue of network cable is not properly plugged in can also be caused due to an outdated or corrupted network driver. Follow these steps to update the driver:
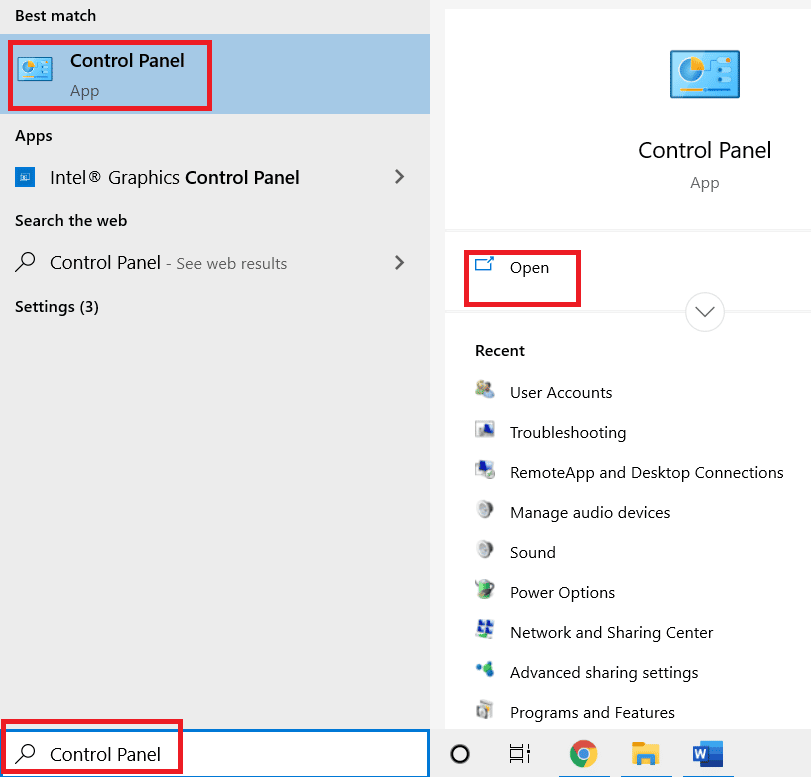
1. Hit the Windows key, type Control Panel, then click on Open.
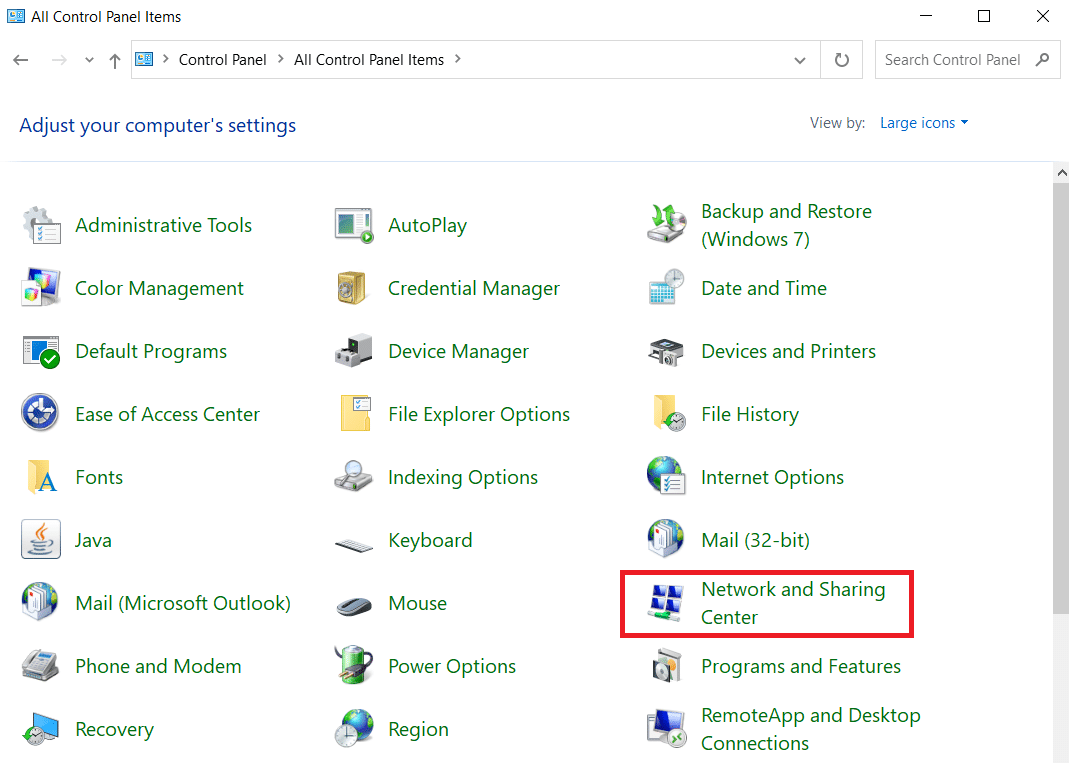
2. Set the View by mode to Large icons.
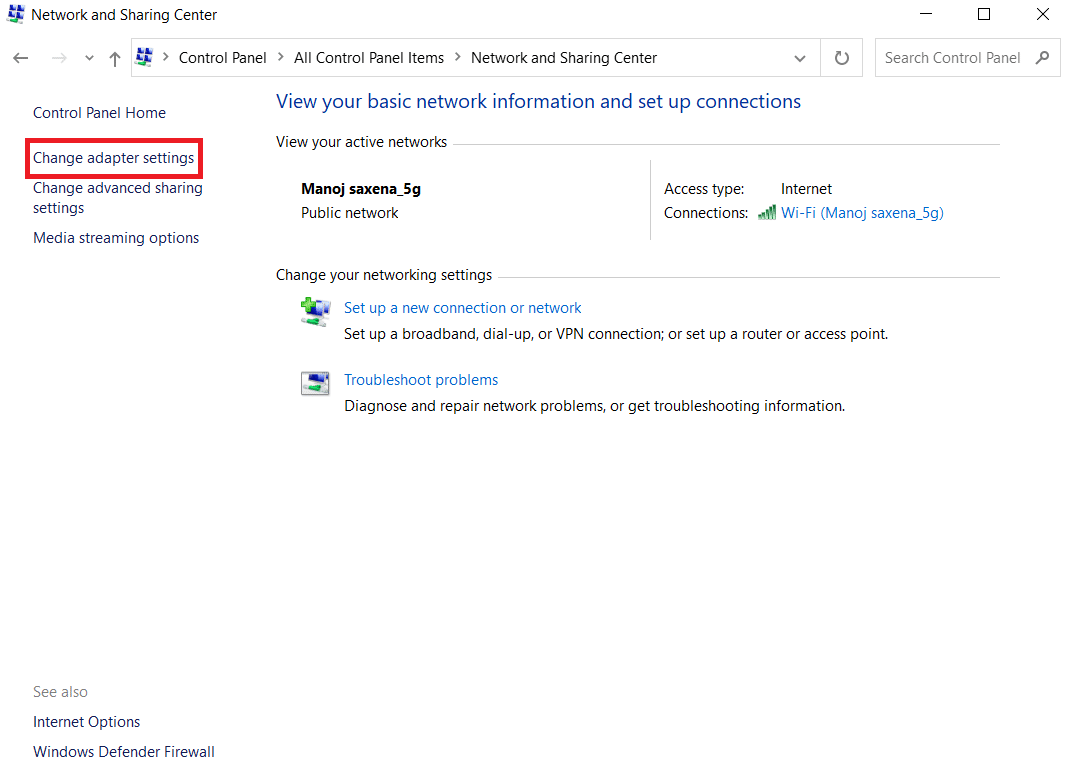
3. Here, click on Network and Sharing Center setting.
4. Now, click on Change adapter settings option.
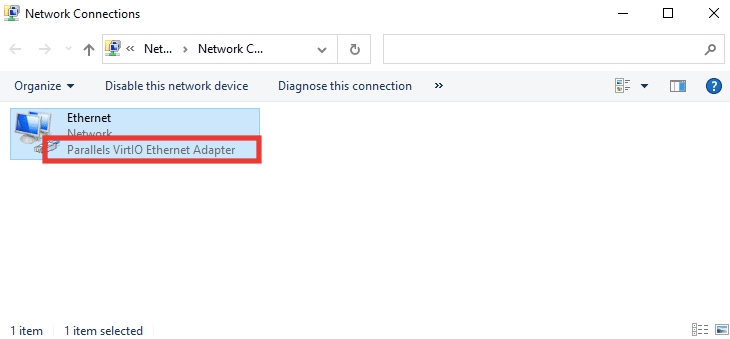
5. Then, note the ethernet adapter details.
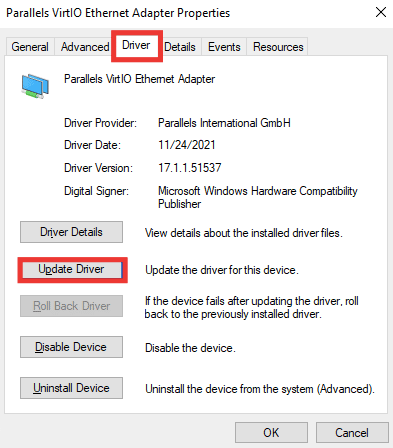
6. Finally, update your network driver. Read our guide on how to update network adapter drivers on Windows 10.
Also Read: Fix Windows 10 Netwtw04.sys Blue Screen Error
Method 7: Re-enable Network Adapter
If Network cable is not properly plugged in – error message still appears while connecting to the internet, then you should try to re-enable network adapter from the settings in case it has been disabled due to any changes in settings. Follow these steps to re-enable adapter:
1. Navigate to Network and Sharing Center menu and click on Change adapter settings option as shown in above Method 6.
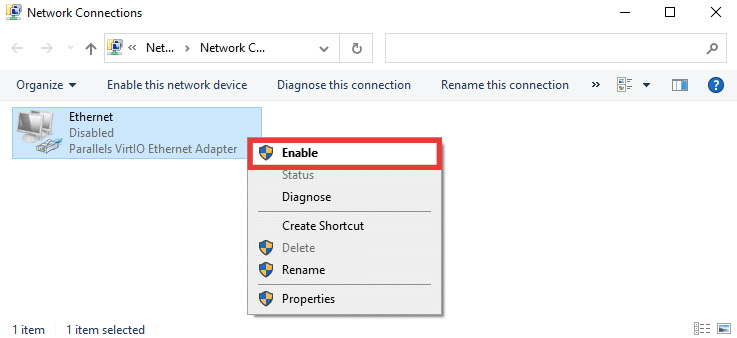
2. Right-click on connected network adapter and click on Disable.
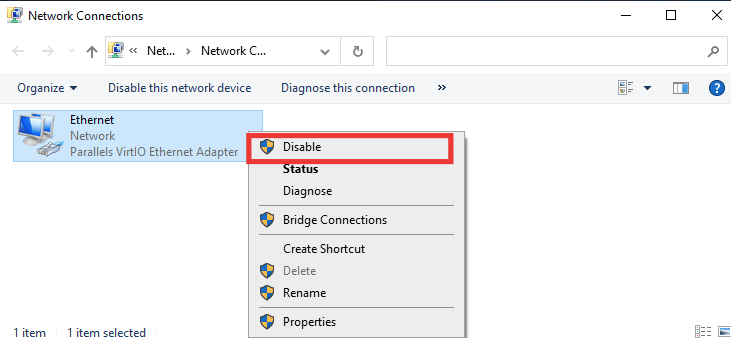
3. Right-click again on the same network adapter and click on Enable.
Method 8: Disable Antivirus Temporarily (If Applicable)
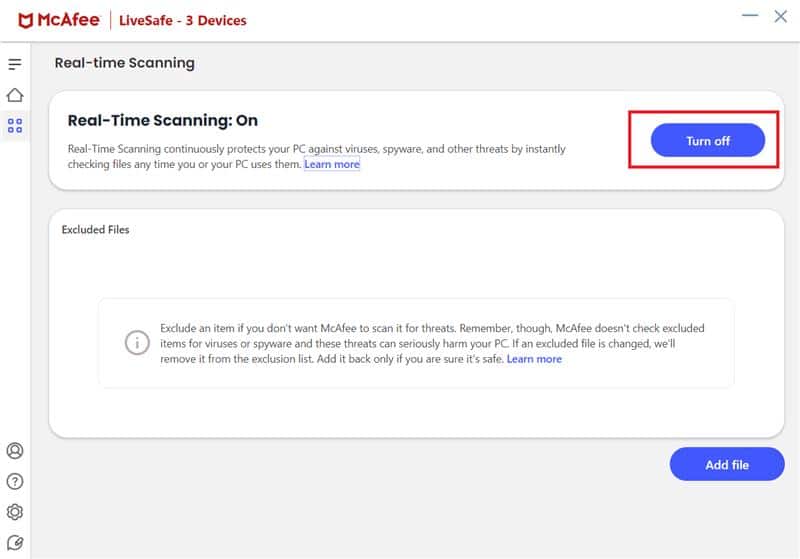
It is also possible that the antivirus software or firewall settings may be interfering with the network settings and causing the error message that an Ethernet cable is not properly plugged in. To fix it, disable your current antivirus software. If that works, then you should replace your antivirus software. Follow our guide to disable Antivirus temporarily on Windows 10.
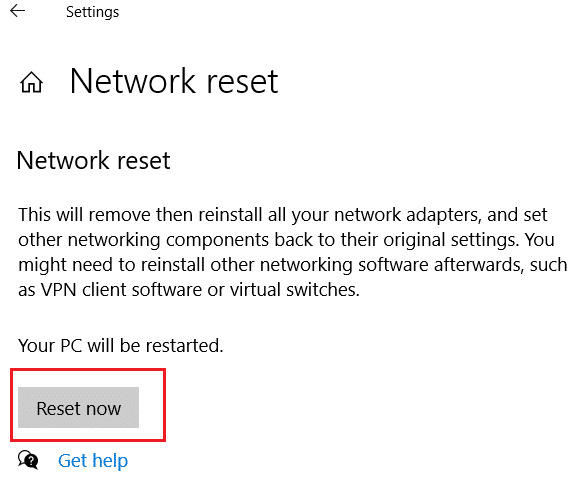
Method 9: Reset Network Settings
This method will remove and reset all the network settings and adapters, set every network component back to its original state, and probably will fix the problem of network cable is not properly plugged in. Read our guide on how to reset network settings on Windows 10.
Also Read: Fix Ethernet Doesn’t Have a Valid IP Configuration Error
Method 10: Modify Duplex Settings
By default, network adapters test the network connection and apply the best possible settings. Full duplex refers to a two-way connection that transmits two or more connections. Half duplex means transmitting data in only one direction. When the network adapter cannot determine the best settings for the connection, possibly due to malware, viruses, or other faulty settings, the error message network cable is not properly plugged in or network cable might be broken appears. Do the following to change duplex settings:
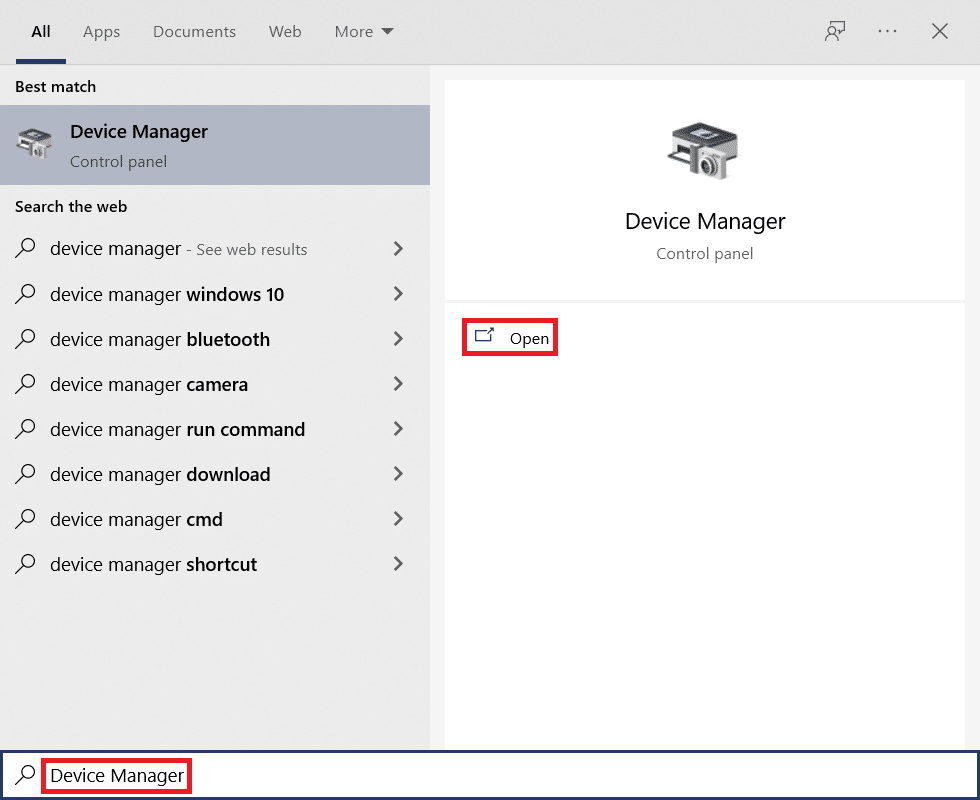
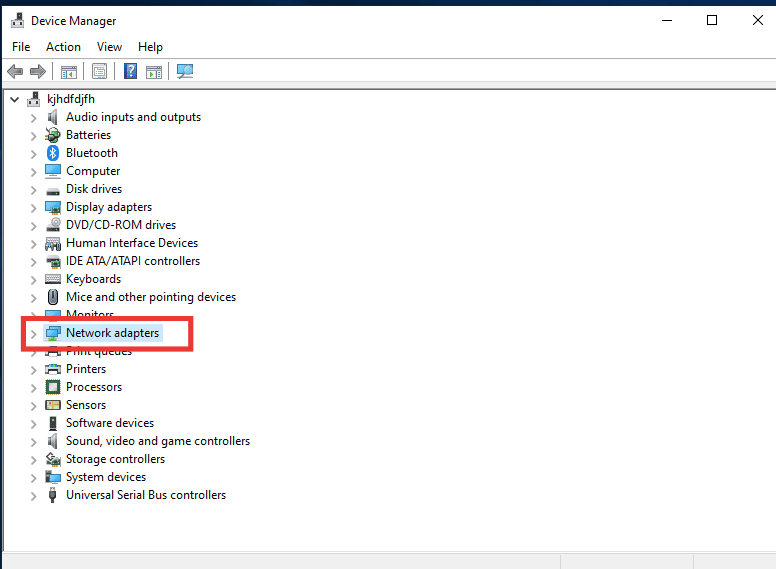
1. Press the Windows key and type Device Manager, click on Open.
2. Double-click on Network adapters to expand the menu.
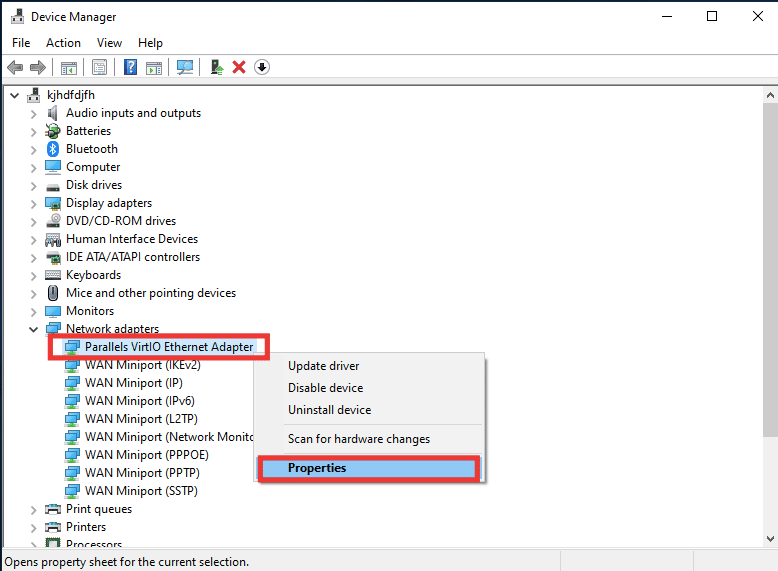
3. Now, select the Network driver that is in use, right-click on it and click on Properties.
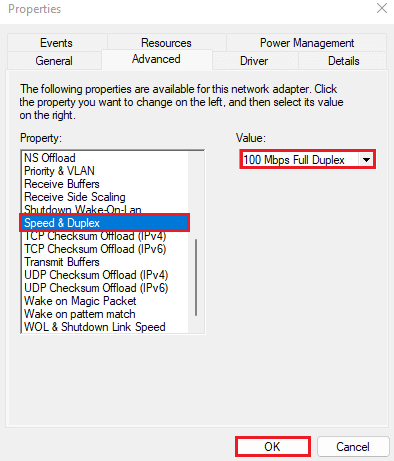
4. Go to Advanced tab, click on Speed & Duplex from the Property list.
5. Here, change the value to either 1.0 Gbps Full Duplex or 100 Mbps Full Duplex. Then, click on OK to save changes.
By doing this, it will pick the right network connection value for the Ethernet connection and hopefully will fix the problem of error message network cable is not properly plugged in.
Recommended:
We hope that this guide was helpful and you were able to fix an ethernet cable is not properly plugged in error. Let us know which method worked for you best. If you have any queries or suggestions regarding any tech-related issues, then feel free to drop them in the comments section below.