How to Move Installed Programs To Another Drive In Windows 10

When we install any application, software, or program on our PC or laptop, by default, it gets installed in the C-drive. Hence, with time, the C-drive starts filling up and the system speed slows down. This also affects the performance of other pre-installed applications, programs, and software. To prevent this, it is recommended to move some applications, software, and programs from the C-drive to any other empty folder or drive to free some space in it.
However, sometimes, some of the applications, software, and programs do not function well if moved to another location. Therefore, the best way is to uninstall the program, install it again, and then move it to the desired location. This process is long and not suitable if the application, program, or software is big and important for the user.
Therefore, Windows comes with a built-in utility that allows moving the applications, programs, and software from the system drive or C-drive to another location without uninstalling. But this built-in utility works only for the applications or programs which are manually installed and not for the pre-installed applications. This does not mean that you cannot move those pre-installed apps and programs. For them, you just need to put in some extra effort.
In this article, we will see different methods using which you can move the new as well as pre-installed applications, software, and programs from the C-drive to another drive.
How to Move Installed Programs To Another Drive In Windows 10
As discussed above, moving modern apps & programs from the C-drive is easy and it can be done by using the Windows built-in utility. But to move traditional applications and programs, you need to take the help of third-party applications like the Steam Mover or Application Mover. How these applications can be used to move traditional applications and programs is discussed below:
1. Move Modern Applications or Programs using Windows Built-in Utility
Follow the given steps to move the modern applications and programs from the C-drive to another drive using the Windows built-in utility:
1. Open Settings of your computer by searching for it using the search bar.

2. Hit the enter button and Window Settings will open up.
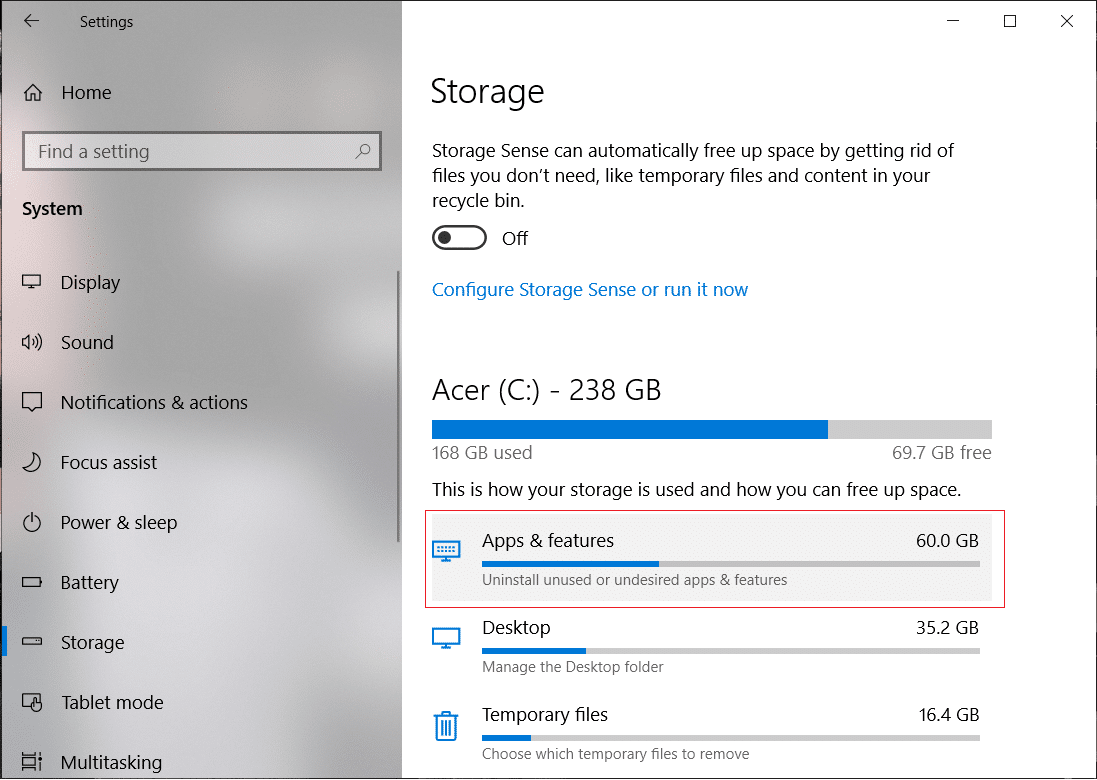
3. Under Settings, click on the System option.

4. Under System, select Storage option from the menu appears at the left panel.
5. From the right side window, click on Apps & features option.
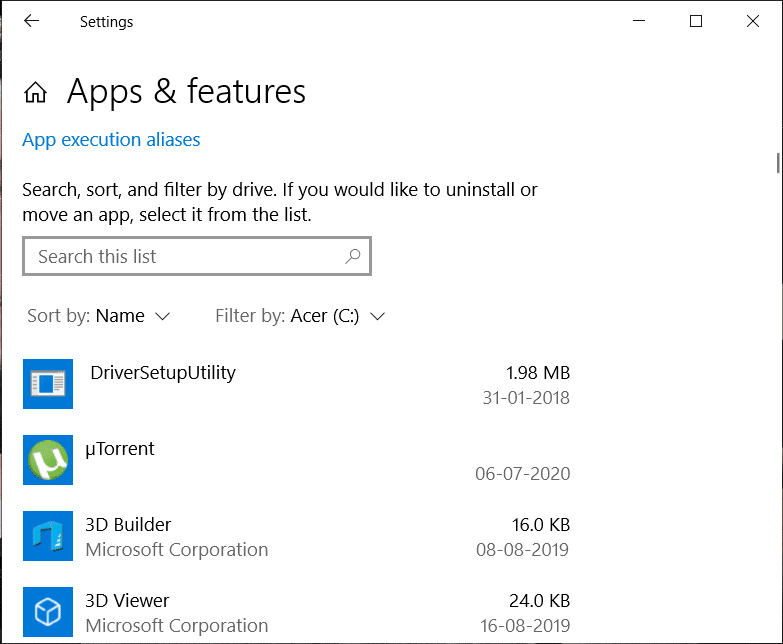
6. A list of all the apps and programs installed on your system will appear.
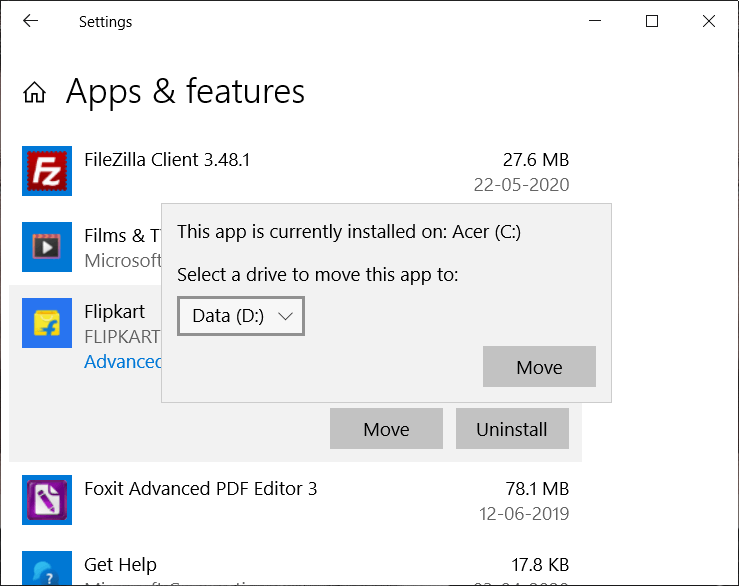
7. Click on the application or the program you want to move to another drive. Two options will appear, click on the Move option.
Note: Remember, you will only be able to move those applications and programs which you have installed from the store and not the pre-installed ones.

8. A dialog box will open up which will prompt you to select the drive where you want to move the selected app.
9. Select the drive from the dropdown menu where you want to move the selected application or program.
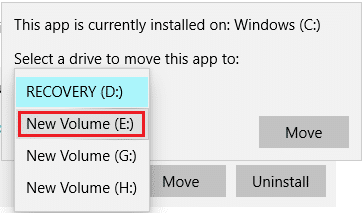
10. After selecting the drive, click on the Move button.
11. Your selected application or program will start moving.
Once the process is completed, the selected application or program will move to the selected drive. Similarly, move the other applications to free some space on the C-drive.
2. Move Installed Applications and Programmes using Steam Mover
You can use the third party application Steam Mover, to move the pre-installed application or program from the C drive.
Steam Mover: Steam Mover is a free program to move the games, files, and folders of the installed applications or programs from the C-drive to another drive to free some space on the C-drive. The tool does its job within seconds and with no issues.
To move the installed applications and programs from the C-drive to another drive using the Steam Mover, follow the below steps:
1. First of all download Steam Mover using this link.
2. Visit the above link and click on the Download button. The SteamMover.zip file will start downloading.
3. Once the download is completed, unzip the downloaded zip file.
4. You will get a file with the name SteamMover.exe.
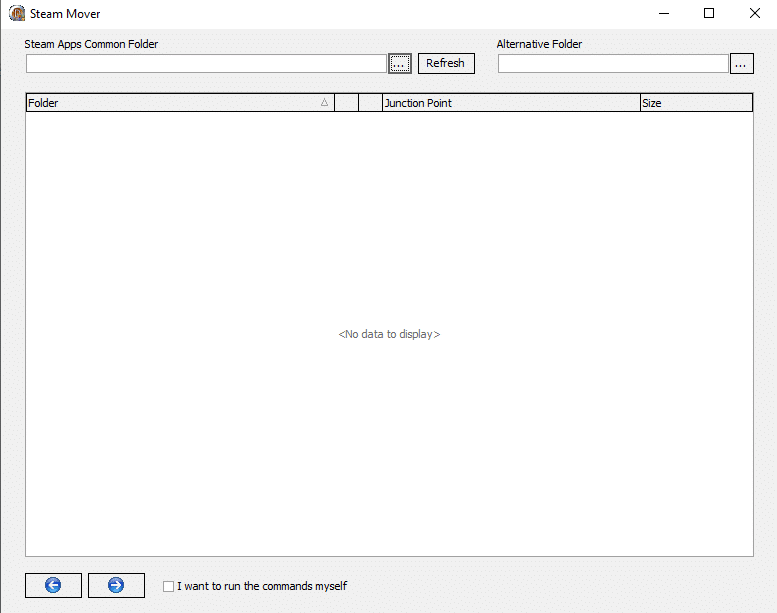
5. Double-click on the extracted file to run it. Steam Mover will open up.
6. Click on the Browse button and select the folder which contains all the pre-installed applications and programs and click OK. Generally, all the pre-installed applications & programs are available inside the program files folder under the C-drive.
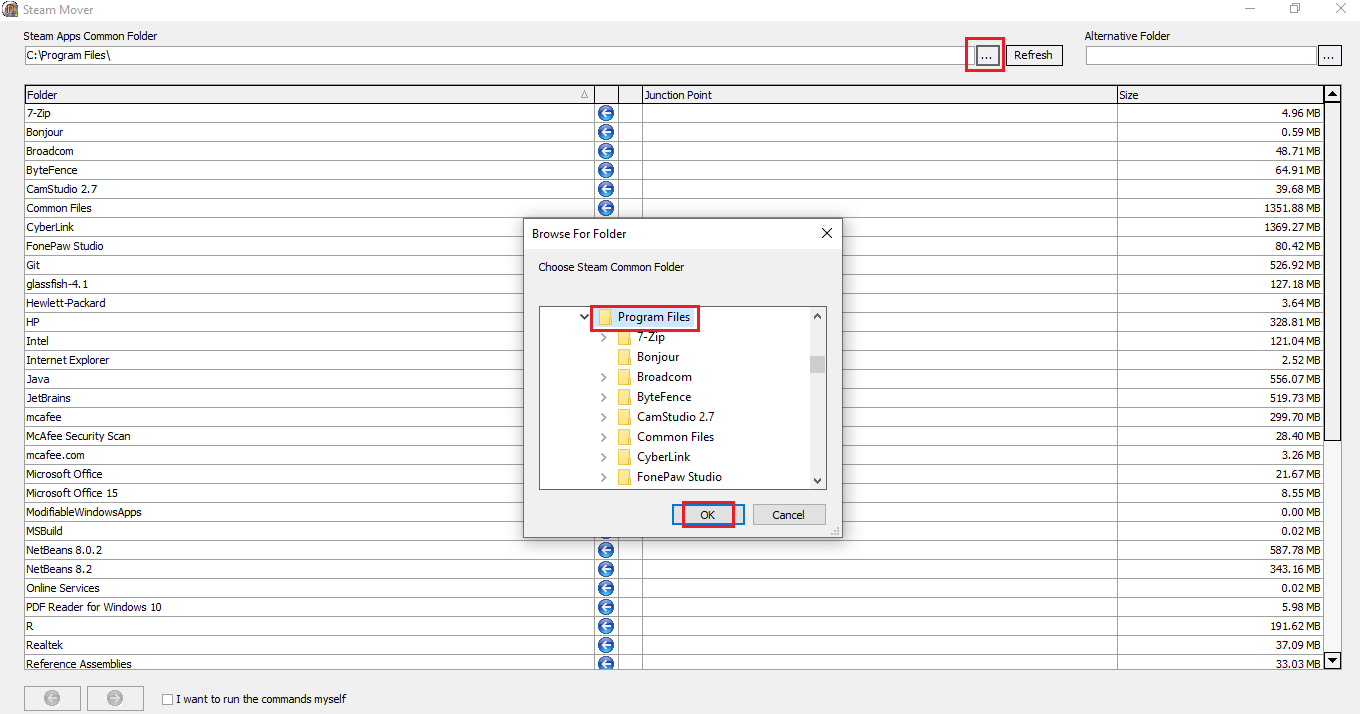
7. All the files and folders in the C-drive will appear.
8. Now, inside the Alternate folder, browse the location where you want to move the installed applications and programs. Click on the OK button after selecting the location folder.
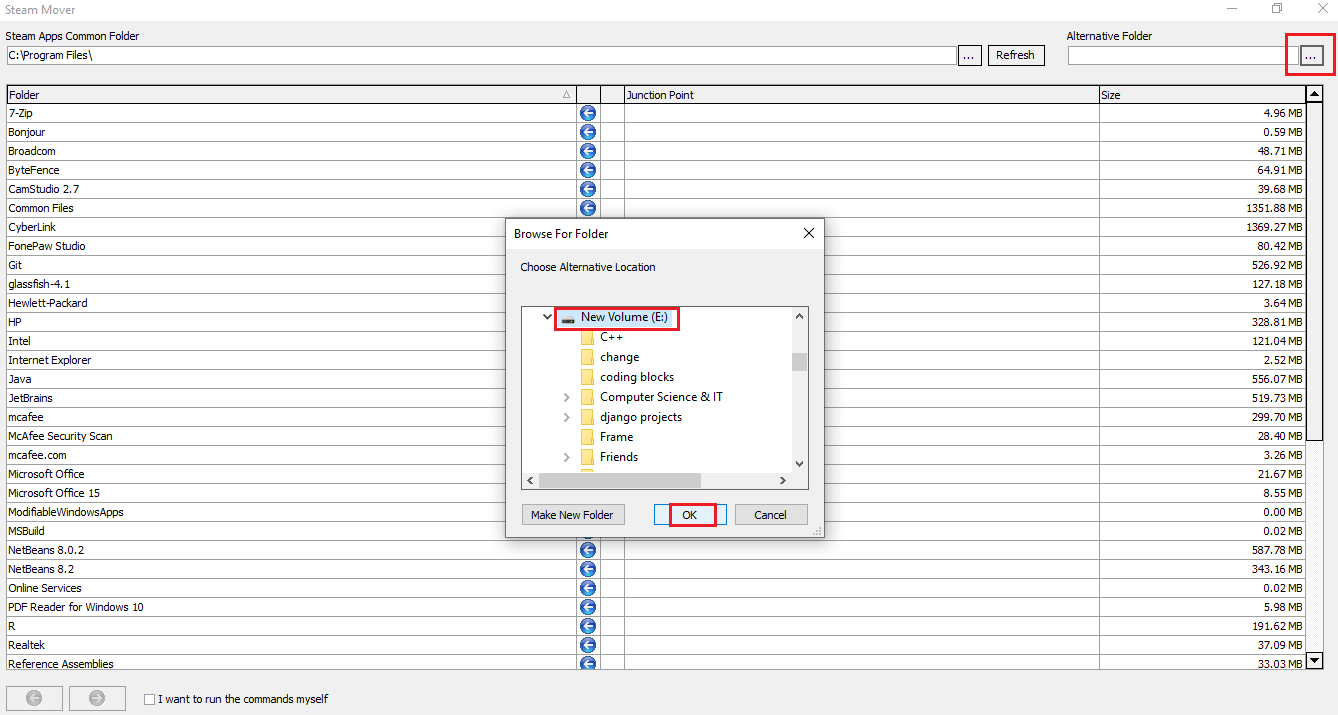
9. After selecting both the folders, click on the Arrow button available at the bottom of the page.
![]()
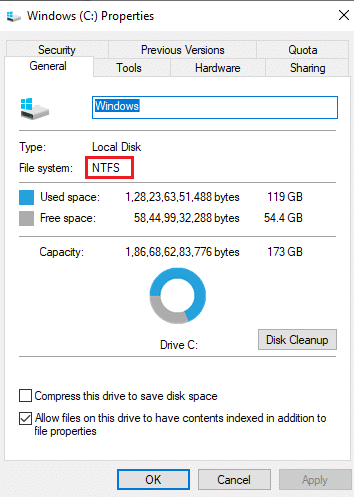
Note: Before doing this process make sure the C drive is in an NTFS format and not FAT32 format. This is because the Steam Mover moves the applications and software by creating junction points. Hence, it does not work on the FAT32 formatted drivers.
10. Once you will click on the arrow, a command prompt window will appear which will show the commands that are running to change the location of different selected folders.
![]()
11. After the execution is completed, to confirm that the selected folders have moved to the alternate folder, go to the alternate folder location and check there. All the selected C-drive applications and programs must have moved there.
After completing the above steps, the pre-installed applications and programs will move to another drive using Steam Mover.
Also Read: Force Uninstall Programs which won’t Uninstall In Windows 10
3. Move Installed Applications and Programmes using Application Mover
Similar to the Steam Mover, you can move pre-installed applications and programs from C drive to another drive using Application Mover. It is also a third party application.
Application Mover: Application Mover moves the installed programs and applications from one path to another path on your hard disk. It takes the files of the path that are found in the “Current Path” field and moves them to the path that is specified under the “New Path” field. It is compatible with almost all the versions of Windows operating systems like the Vista, Windows 7, Windows 8, and Windows 10. Also, the 32-bit and 64-bit versions are available.
To move the installed applications and programs from the C-drive to another drive, follow the below steps:
1. First of all download Application Mover using this link.
2. According to your Windows version, click on the SETUPAM.EXE file.

3. Once you will click on the link, your file will start downloading.
4. After the download is completed, double-click on the downloaded file (.exe) to open it.
5. Click on the Yes button when asked for confirmation.
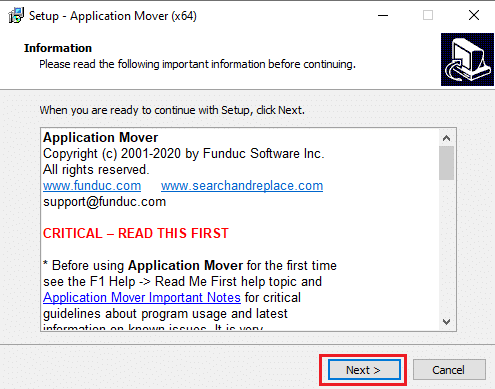
6. The Setup Wizard for Application Mover will open up.
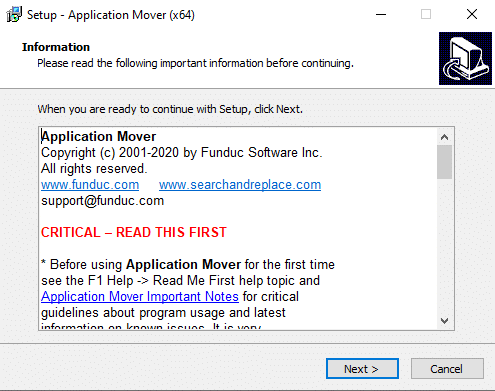
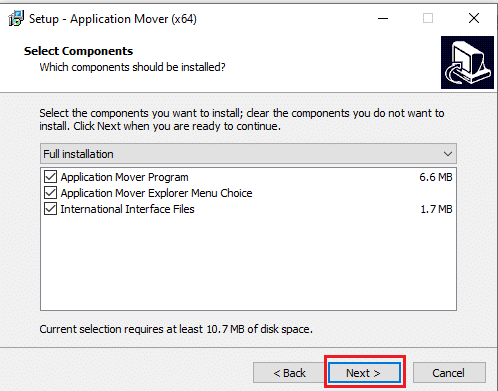
7. Click on the Next button to continue.
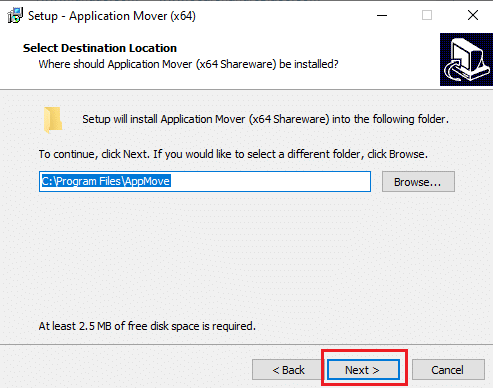
8. Browse the location where you want to save the Application Mover. It is advised to select the default location. Click on the Next button to proceed.
9. Again click on the Next button.
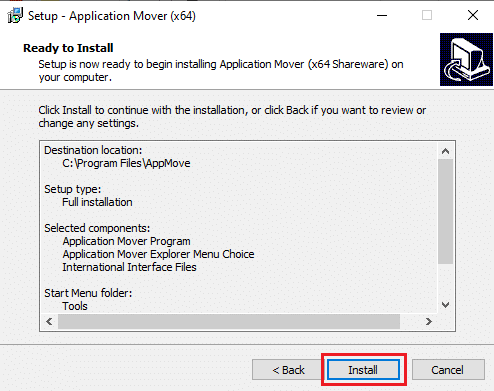
10. Finally, click on the Install button to start the installation.
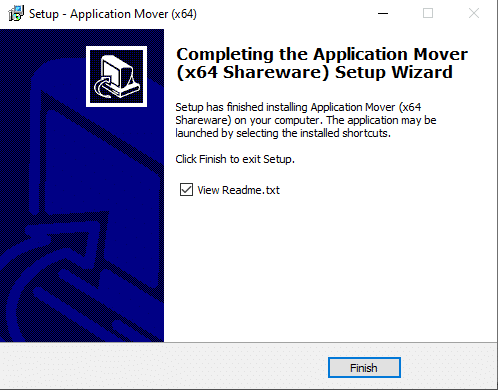
11. Once the installation is completed, click on the Finish button.
12. Now, open the Application Mover using the Taskbar Search. Click on Yes when asked for confirmation.
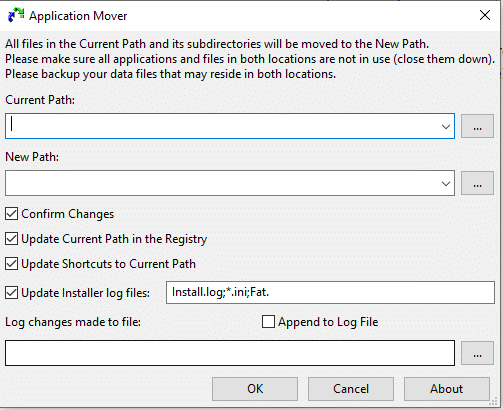
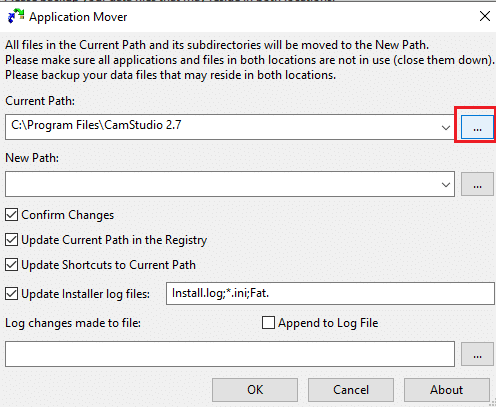
13. Now, browse the location for the Current path and select the program which you want to move from the C drive.
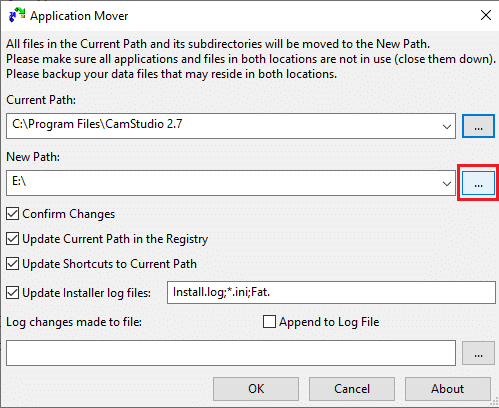
14. Browse the location for the New path and select the folder where you want to move the selected program.
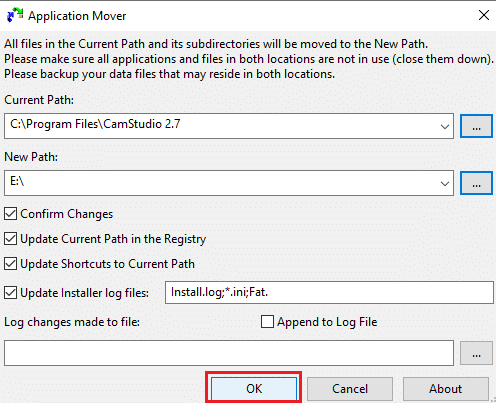
15. After selecting both the paths, click on the OK button to continue.
Note: Make sure all the checkboxes are selected before you press OK.
16. After some time, your selected program will move from the C-drive to the selected drive. To confirm, go to the folder you have selected under the New Path field and check there.
17. Similarly, move the other applications and programs from the C-drive to another drive to free some space on the C-drive.
After completing the above steps, the selected pre-installed applications and programs will move to another drive using Application Mover.
Recommended:
Hopefully, using the above methods, you will be able to move the programs and the applications which are either pre-installed or installed by you from the C-drive to another drive in Windows 10.