Fix Steam Remote Play Not Working in Windows 10

If your system and other devices are connected to Steam, you can play Steam games on both devices through the Steam Remote Play Together option. With the help of this feature, you can invite your friends online to play your favorite game without installing or launching the game on their device. It could be made possible by the Steam Link app. Yet, you may face the Steam Remote Play not working issue, and this problem may annoy you when you are in the middle of your game. So, continue reading as this article will give you a list of methods to fix the Steam Remote Play together not working problem.
How to Fix Steam Remote Play Not Working in Windows 10
There are several causes for Steam Remote Play Together not working, and some of them are mentioned below for you to read and understand.
- Outdated Steam Client/Beta version
- Inadequate power supply
- Incorrect network (IPv6) setting
- Outdated drivers, Windows/games
In these cases, you will face an error message: Couldn’t connect to the remote computer. Few users have reported that the Remote Play together works for the host and not the guests. And in rare cases, the host gets a black/sliced screen while using the feature.
On the other hand, when a connection is established, the mouse, keyboard, or controllers do not work, or sometimes you may pick the wrong characters automatically when you face the problem.
Both Steam and non-Steam users face the said problem, and it is encountered on all the Operating Systems like Windows, Linux, Mac, etc. Follow the below discussed basic troubleshooting steps to fix the issue before heading towards major ones.
Method 1: Basic Troubleshooting Steps
Begin with these simple steps before moving on to the more complicated steps if you do not attain a fix.
1. Restart PC: Firstly, you are advised to restart your PC. In most cases, a simple restart will fix the issue without any challenging layouts. Once done, check if the issue is resolved.
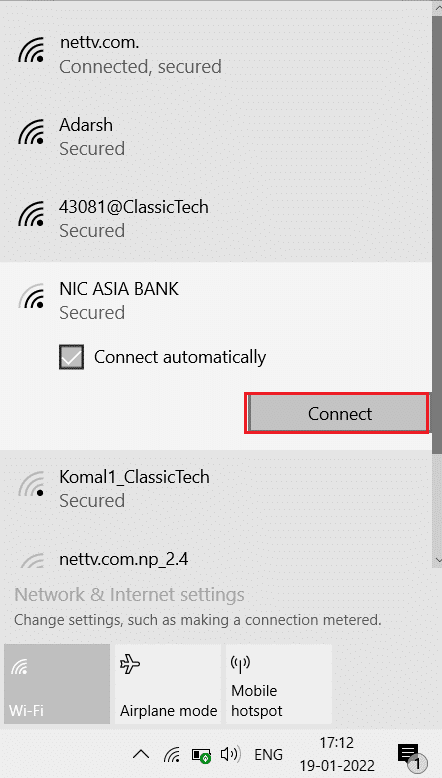
2. Connect to only one network: If you use multiple network connections, stay on only one network to reduce the complications.
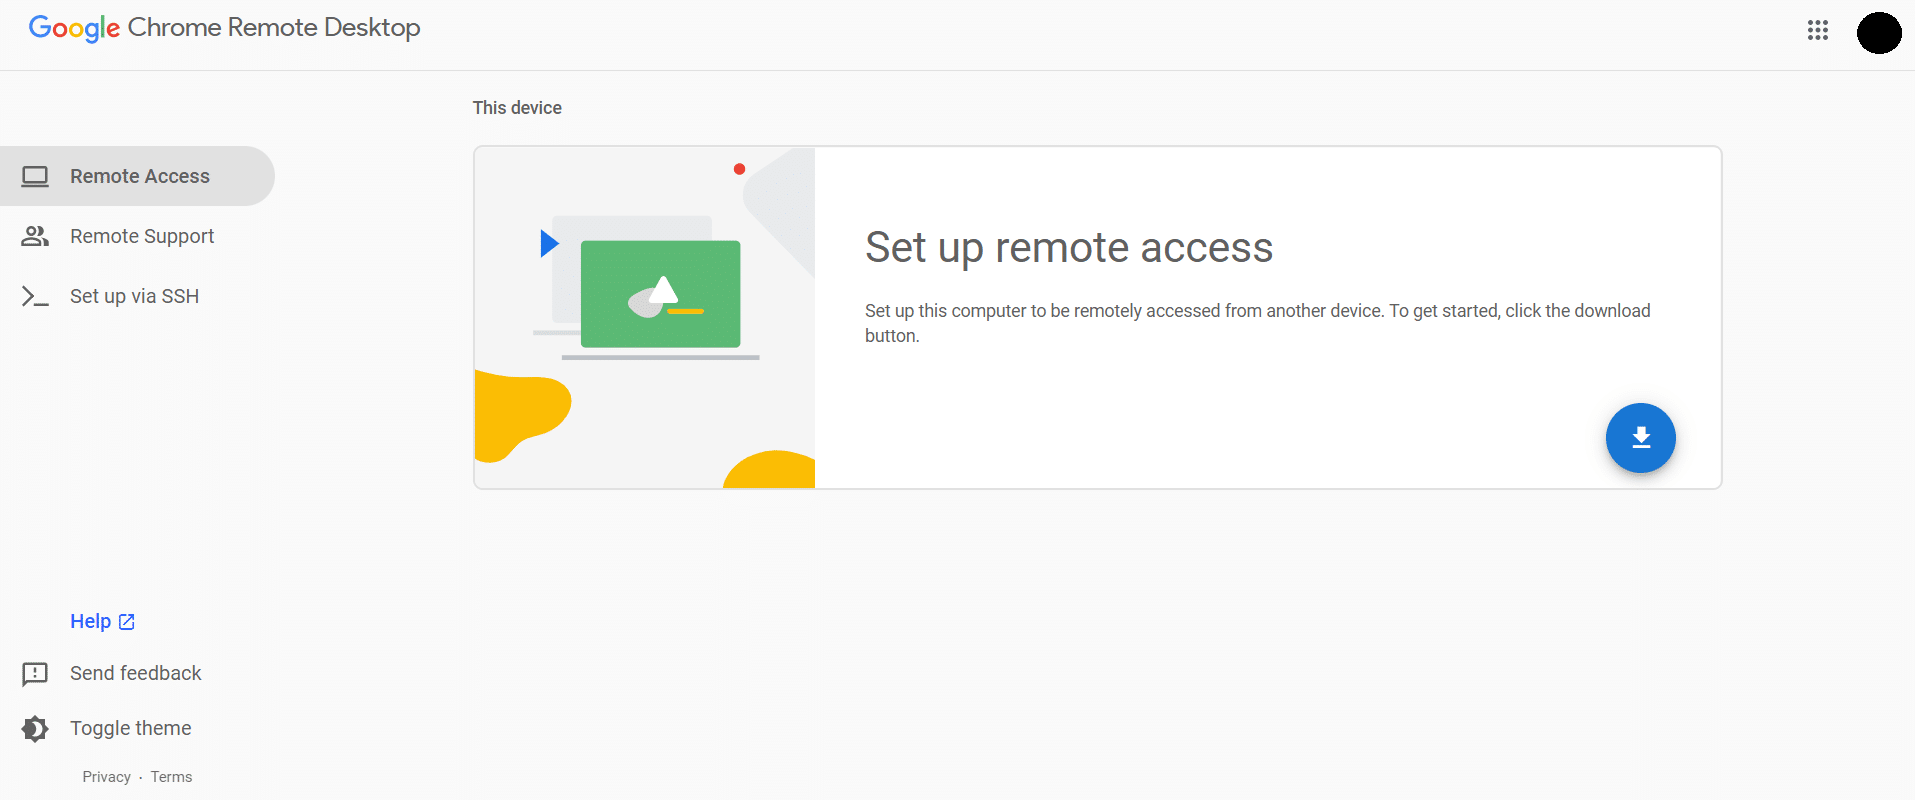
3. Disconnect Remote Desktop: Exit from other remote desktop sessions like Chrome Remote Desktop, Remote, etc.
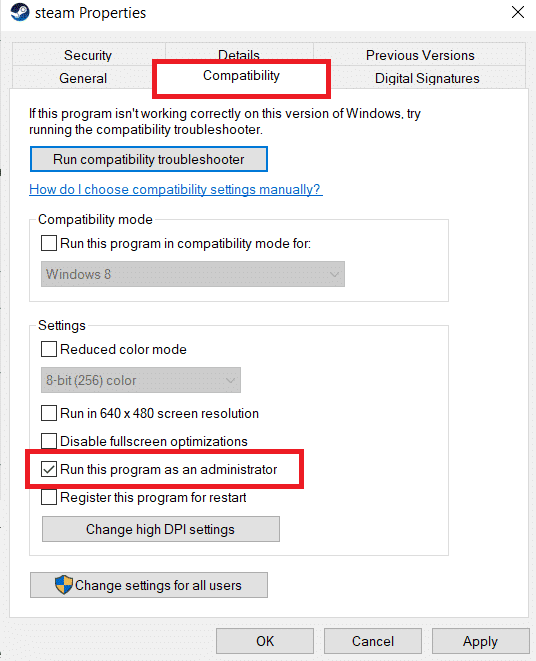
4. Run Steam with Administrator Privileges: You can also fix this Steam Remote Play not working issue if you Run Steam as an administrator.
5. Run Speedtest: Slow or unstable internet connectivity will contribute to Steam remote play not working issue. First, check your internet stability and speed by running a Speedtest. If you find your network connectivity too slow and unstable, then you have to troubleshoot it. Until your internet speed and stability are up to the optimum level, you will encounter Steam remote play not working issues.

6. Remote Play Compatibility: Lastly, check if your game supports Remote Play feature. Without the feature, implementing the methods will be a waste of time. Follow the steps as instructed below to check if your game supports Remote Play.
1. Launch Steam and navigate to STORE.
2. Now, search for your game in the search menu as shown below. Here, ARK: Survival Evolved is taken as an example.

3. Now, scroll down the right menu and check for the features whether it supports the Remote Play option or not. Refer to the pic.
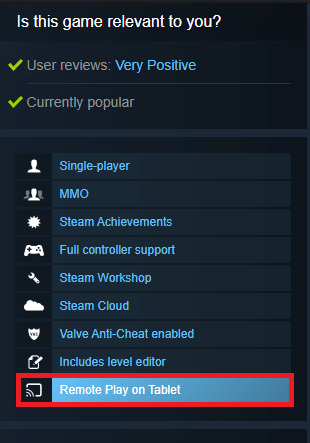
Once you are sure that your game supports the Remote Play feature, follow the below-discussed methods.
Now, let us move toward the more complex methods which may fix the Steam remote play not working issue for you. Read and follow each method and the steps carefully.
Note: You are advised to implement the troubleshooting methods in both host and guest systems if applicable.
Also Read: How to Backup Steam Games
Method 2: Verify Integrity of Game Files
It is essential to verify the integrity of games and game cache to ensure that your game runs on the latest version and all the programs are up to date. Furthermore, the corrupt files and corrupt data have to be updated if needed to ensure the normal functionality of the games. To verify the integrity of game files, follow the below-mentioned steps.
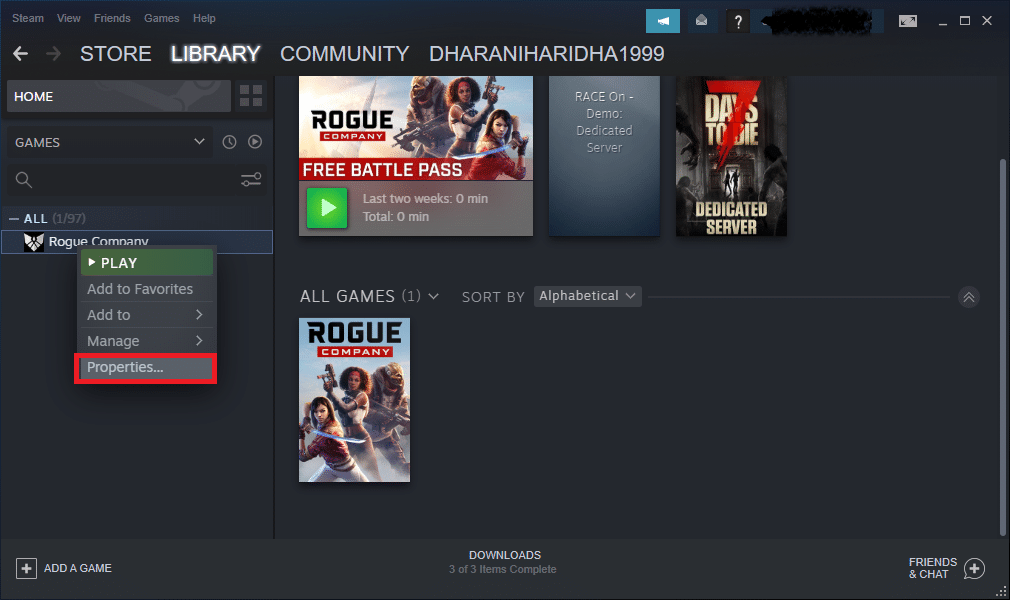
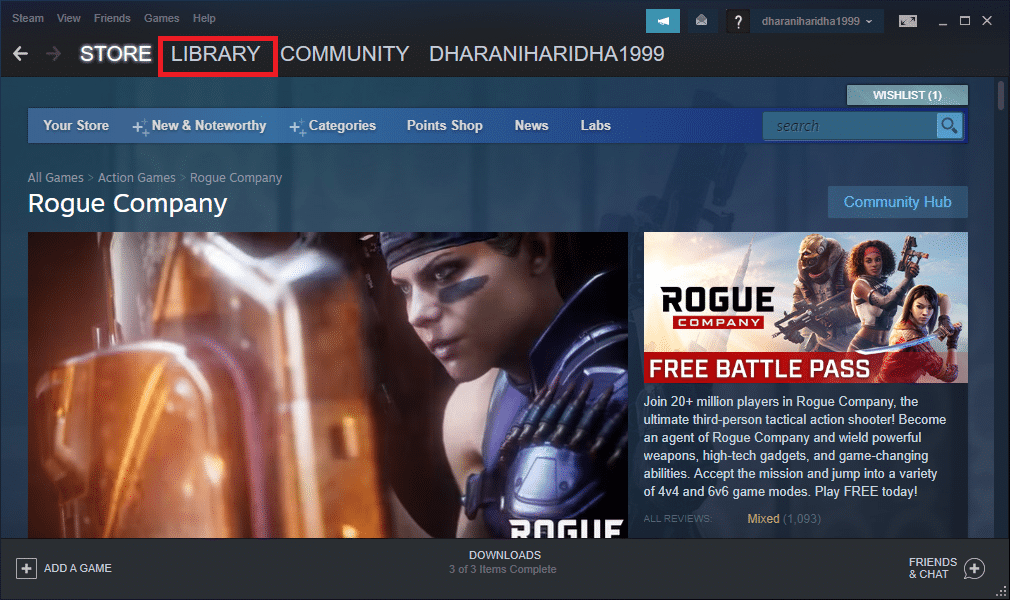
1. Launch Steam and navigate to LIBRARY.

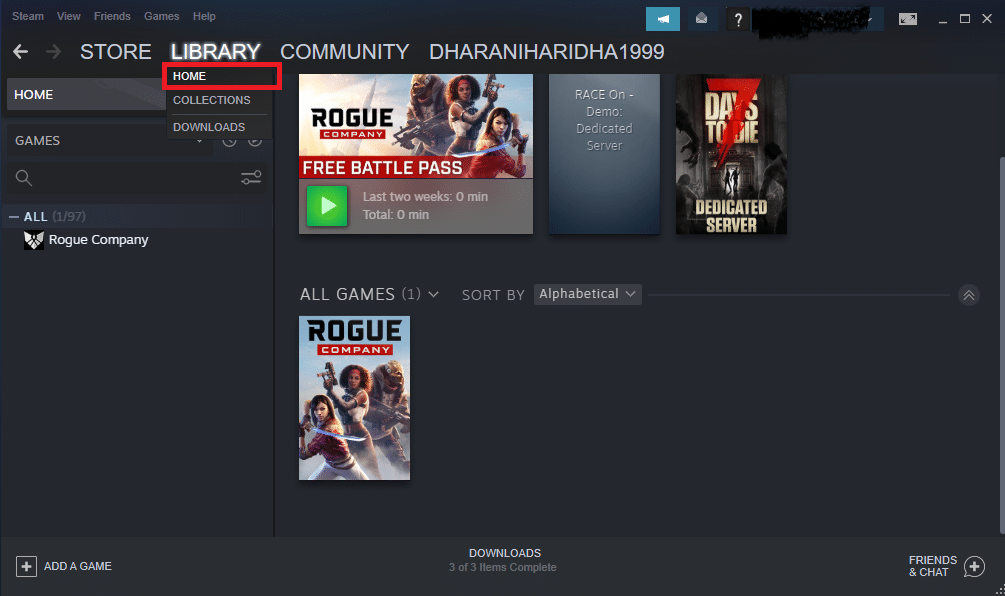
2. Now, click on HOME and search for the game where you face the issue in the library.

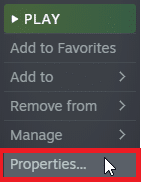
3. Then, right-click on the game and select the Properties… option.
4. Now, switch to the LOCAL FILES tab and click on Verify integrity of game files… as depicted in the below picture.
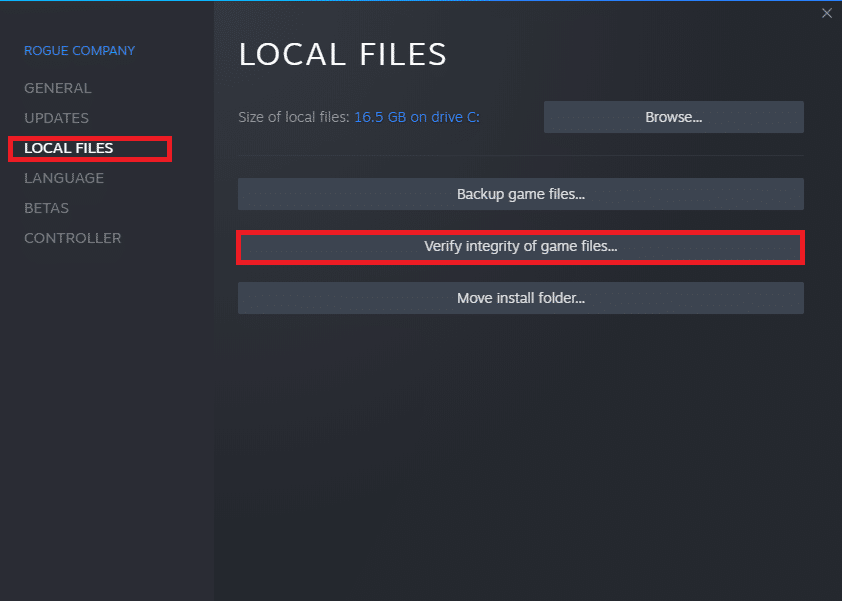
5. Wait for Steam to complete the verification process, and once done, download the necessary files to load.
However, if you still cannot fix the issues in the Steam game, follow the below-mentioned methods.
Method 3: Opt-Out of Steam Beta Client
Few reports confirm that the probability of Steam remote play not working issue is more if you are using a Beta version of Steam. However, several affected users declared that exiting the Beta version could solve the problem, and they are clueless about how this fixes the problem. Hence, opt-out of Steam Beta. Here is how to do it.
1. Launch Steam and go to Settings as shown in the above methods.
2. Now, switch to the Account tab and select the CHANGE… option under Beta participation. Refer to the pic.

3. Now, click on the drop-down menu and choose NONE- Opt out of all beta programs.
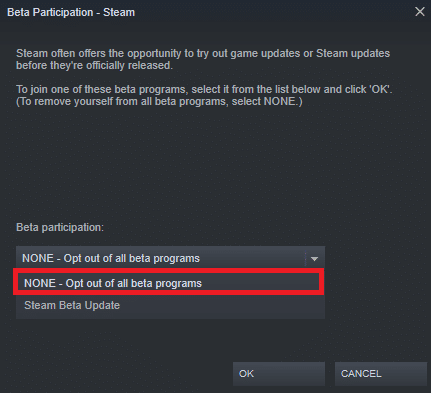
4. Click on OK to save the changes.
5. In this step, you will receive a prompt displaying: This setting will not take effect until you have restarted Steam. Click on RESTART STEAM to confirm the prompt.

6. Launch the Steam app again.
Also Read: How to Uninstall Steam Games
Method 4: Re-enable Remote Play
You may face Steam remote play together not working issue if you have any glitches in Remote Play settings. Hence, the primary troubleshooting step is to tweak its settings and restart your system. Here is how to do that.
1. Launch Steam with your login credentials in the client system.
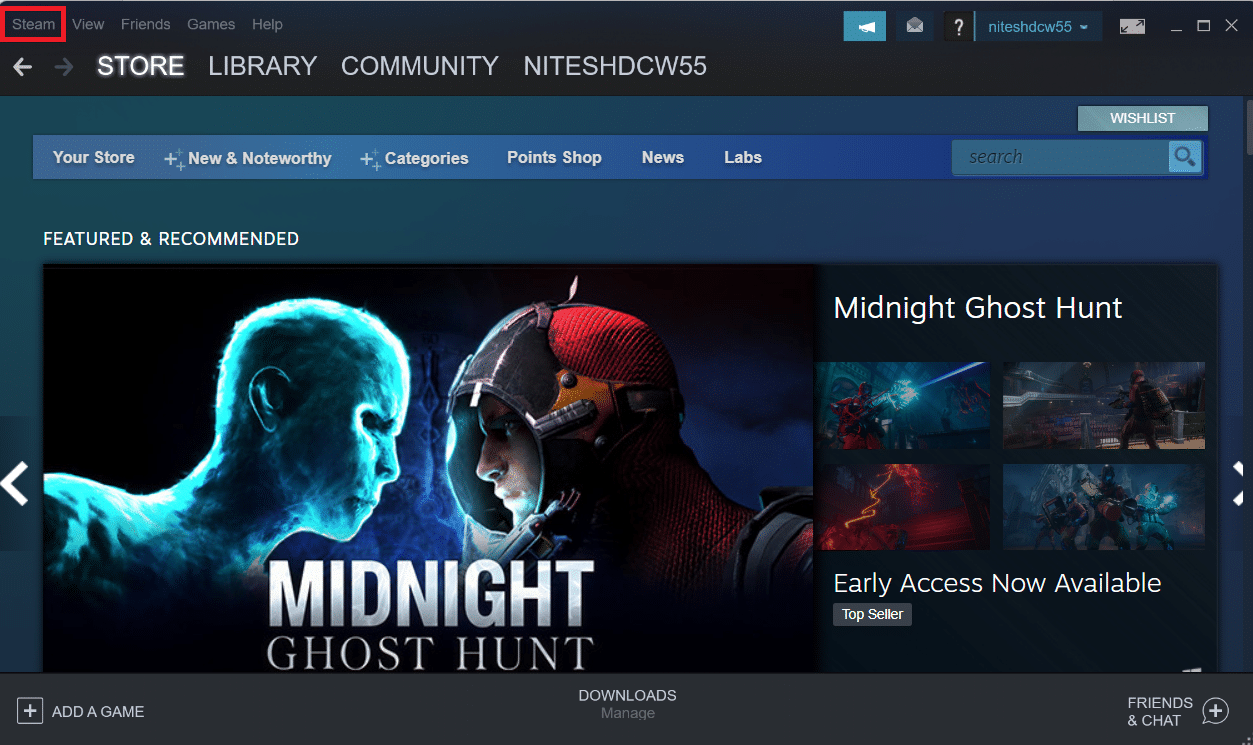
2. Now, click on the Steam tab at the top left corner of the screen as shown.
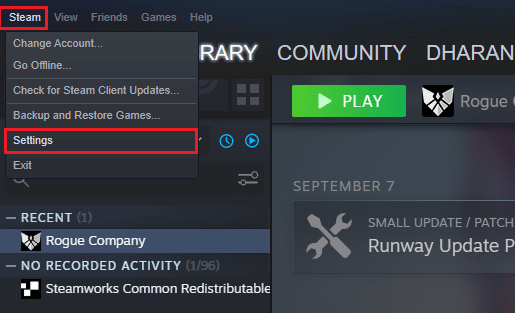
3. Now, select the Settings option in the drop-down menu.
4. Here, in the Settings window, click on the Remote Play tab on the left pane and uncheck the option Enable Remote Play to disable the feature.

5. Now, repeat the steps to disable Remote Play in the guest system and restore them once done.
6. Again, launch Steam in both systems and check the option Enable Remote Play in the Settings window.
Check if you have fixed the issue. Disabling the feature and enabling it again will solve any glitches in the Settings if they exist.
Method 5: Disable Hardware Decoding
The hardware decoding feature in Steam will transfer the load of the CPU for processing graphics video to the GPU. Thus, your system will run smoother, and GPU will do a better job than the CPU. But, if your GPU is outdated or incompatible with the game, you may face several conflicts while playing it. Hence, you are advised to disable the feature in the host system, and still, if you have the issue, implement the steps in the guest system or vice versa.
1. Launch Steam and navigate to Settings as instructed in the above methods.
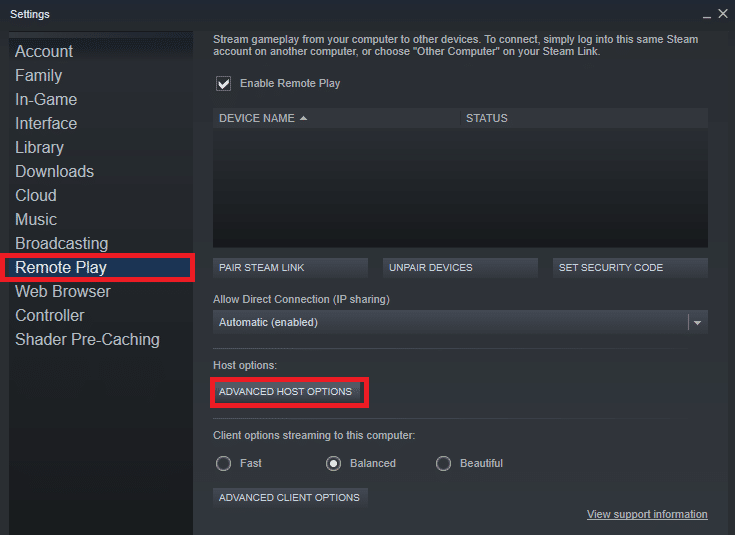
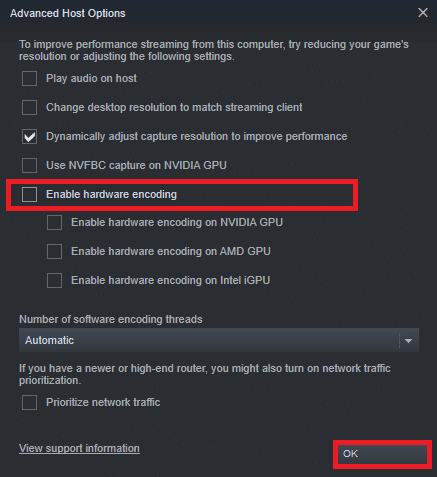
2. Now, in the Settings tab, switch to the Remote Play tab followed by ADVANCED HOST OPTIONS, as shown below.
3. Now, uncheck the option Enable hardware encoding option and click on OK as shown below.
Also Read: Fix Steam Image Failed to Upload
Method 6: Disable IPV6
In spite of the fact that IPv6 has added advantages over IPv4, there are a few limitations in it. However, when your system does not adapt IPv6 protocol, then you will face the Steam Remote Play together not working issue. Hence, you are advised to disable IPv6 as instructed below.
Note: Here, steps are demonstrated for a Wi-Fi connection. If you are using an Ethernet connection, choose the settings accordingly.
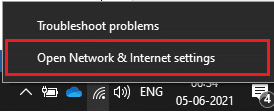
1. Right-click on the Wi-Fi icon displayed at the right-most corner of the screen and click Open Network & Internet settings.
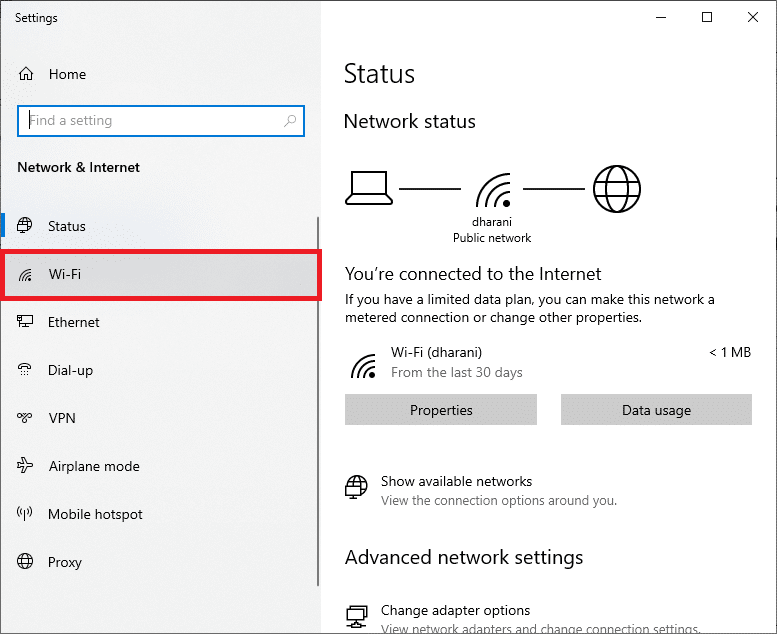
2. Now, the Settings window will pop up on the screen. Click on Wi-Fi.
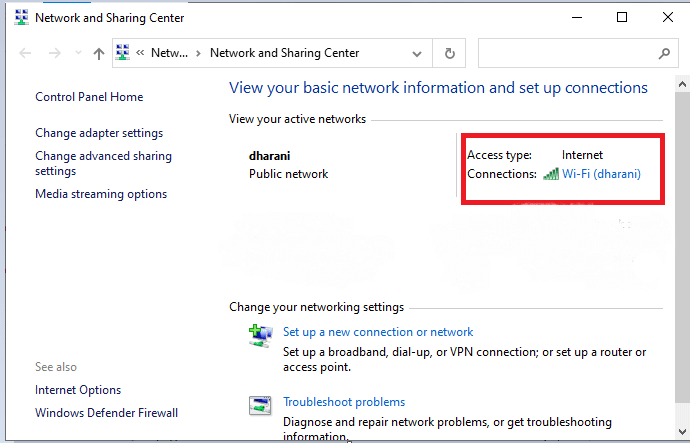
3. When you scroll down the right menu, double click on Network and Sharing Center under Related settings.
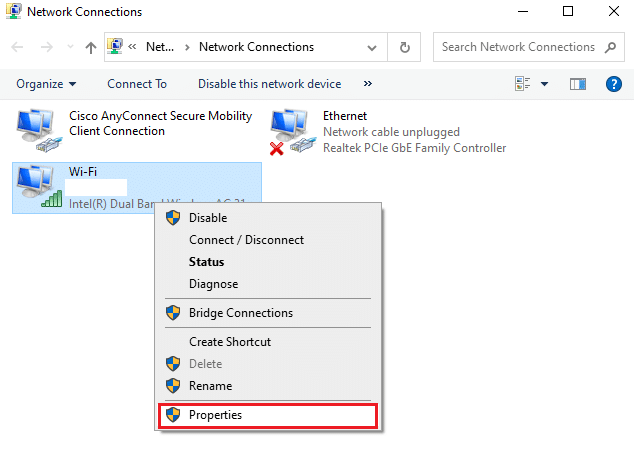
4. Again, double-click on Connections.
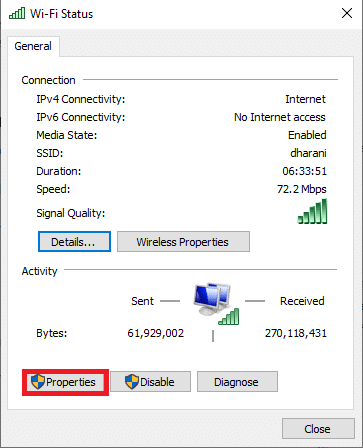
5. Now, click on Properties.
6. Now, the Wi-Fi Properties window will pop up. Now, uncheck the Internet Protocol Version 6(TCP/IPv6) option, as shown below.
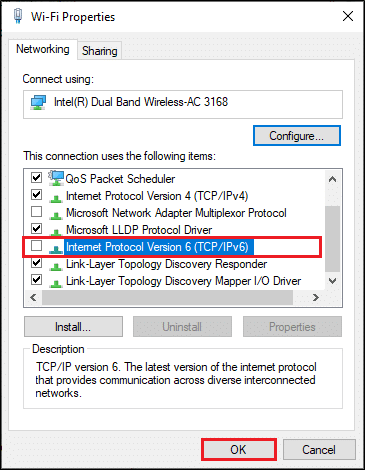
7. Finally, click on OK to save the changes and check if the issue is resolved.
Additional Fix: If you use multiple network connections, navigate to Network and Sharing Center, then select Change adapter settings. Now right-click on the adapter and select the Disable option. Likewise, disable all the additional connections except the one you are using and check if the issue is resolved.

Method 7: Release or Renew IPs
If you are using a DHCP server and an IP refresh, the host cannot find the guest system leading to Steam remote play not working issue. Thus, implement the below-instructed steps to release and renew the IPs of both computers.
1. Firstly, disconnect the network (either LAN or Wi-Fi) and try to use the Remote Play option in Steam which fails since there is no internet.
2. Then, exit Steam, connect to the network again, and check if the issue persists or not.
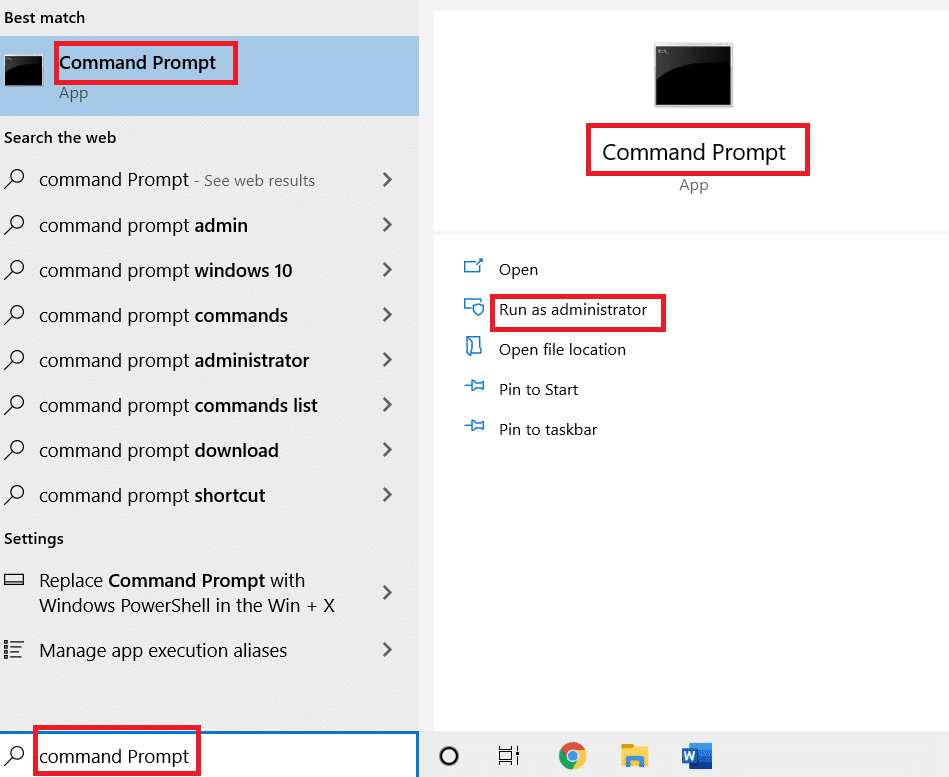
3. Still, if you face the issue, press the Windows key, type Command Prompt and click on Run as administrator.
3. Enter the following command and hit Enter key.
ipconfig /release
ipconfig /renew
Note: You are advised to enter the commands mentioned above one by one and hit enter after typing each command.
4. Then, reboot your PC to save the changes in both systems.
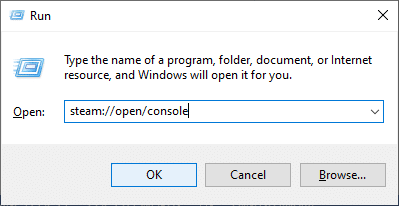
5. Open the Run dialog box and type steam://open/console then, hit the Enter key.
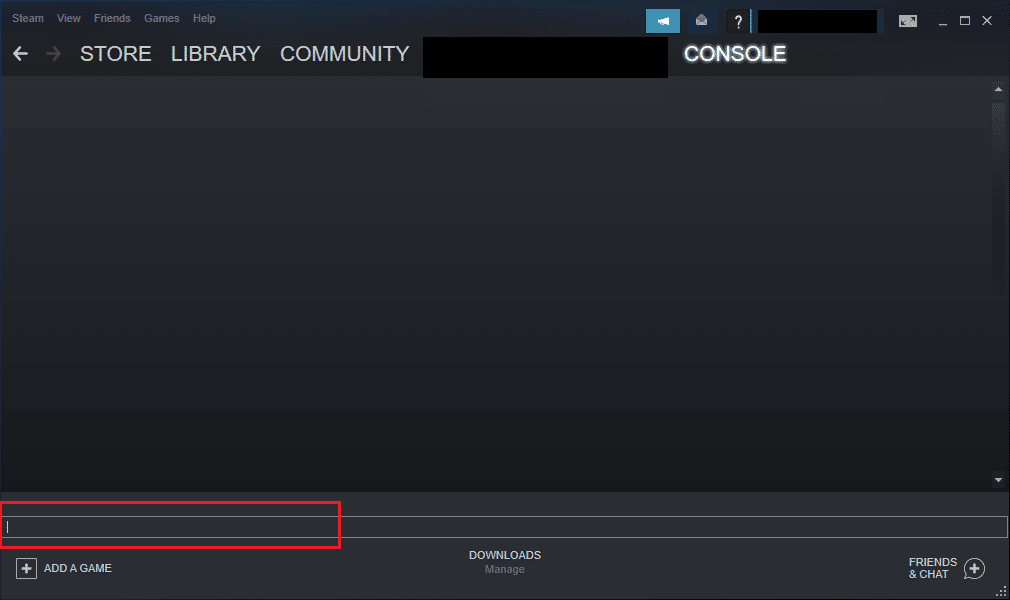
6. Here, type the following in the Steam console. Please enter the IP address of the host system in the highlighted portion of the command.
connect_remote <IP address of the host system>:27036
Still, if you face the issue, use a Static IP address as discussed below.
Also Read: How to Play Steam Games from Kodi
Method 8: Use Static IP address
Many devices use a dynamic IP address that changes over time. This is in contrast to the static IP address where you cannot change it. Few remote access services trust static IPs for their function, and hence, to resolve the issue, assign a static IP address to your device as discussed below. Ensure you implement this method in both guest and host systems.
1. Launch Command Prompt with administrative privileges.
2. Type the following commands one by one and hit Enter key after each command.
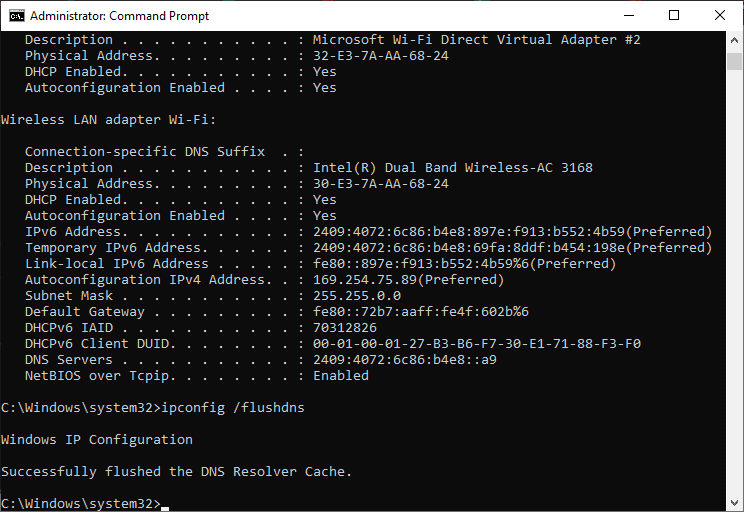
ipconfig /release
ipconfig /renew
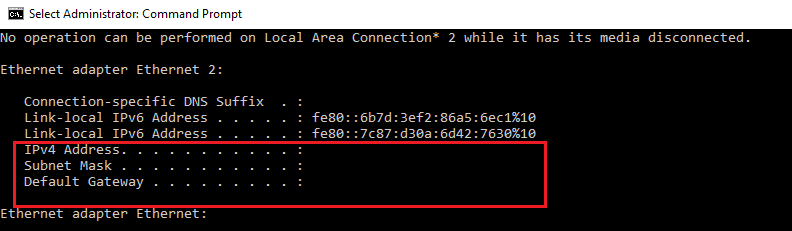
3. Note down the IPv4 Address, Subnet Mask and Default Gateway address as shown above.
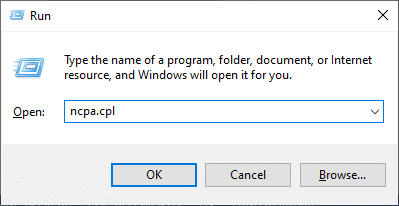
4. Now, launch the Run dialog box and type ncpa.cpl, and hit Enter key.
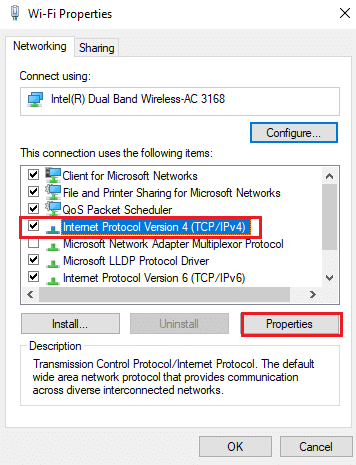
5. Here, right-click on your network and select the Properties option.
6. Here, select Internet Protocol Version 4 (TCP/IPv4) and click on Properties, as shown.
7. Now, type the IPv4 Address, Subnet Mask, and Default Gateway address which you have noted down in Step 2.
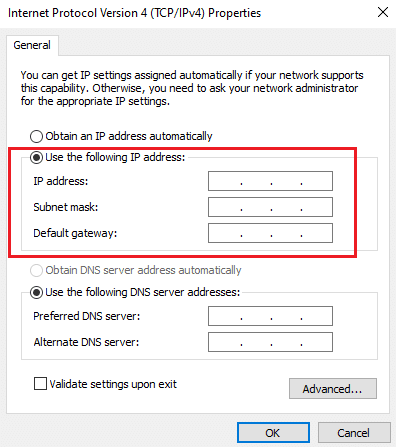
8. Finally, click on OK to save the changes.
Method 9: Update Steam Client and Game
If you use an outdated Steam application, you cannot access Remote Play. Hence always make sure you use an updated version of Steam and game before giving an invite request.
Option I: Update Steam Client
Follow the upcoming steps to update the Steam Client on your system.
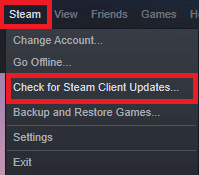
1. Launch Steam and navigate to the menu bar.
2. Now, click on Steam followed by Check for Steam Client Updates… as highlighted below.
3. If you have any new updates to be downloaded, install them and ensure your Steam client is up-to-date.

4. Now, relaunch Steam.
Also Read: How to Add Microsoft Games to Steam
Option II: Update Games
It is always essential that your game runs at its latest version to avoid any conflicts. Until your game is updated, you cannot log in to servers successfully. Updates are released to fix any bug in the game. Hence, you may improve your gameplay, and all the technical issues will be resolved.
1. Launch Steam and navigate to LIBRARY.
2. Now, click on HOME and search for your game.
3. Then, right-click on the game and select the Properties… option.
4. Now, switch to the UPDATES tab and click on the button to update the game if available.
Method 10: Update Graphics Card Drivers
If the current drivers in your system are incompatible/outdated with Steam files, then you will face the Steam remote play not working issue. Therefore, you are advised to update your device and drivers to prevent the said problem.
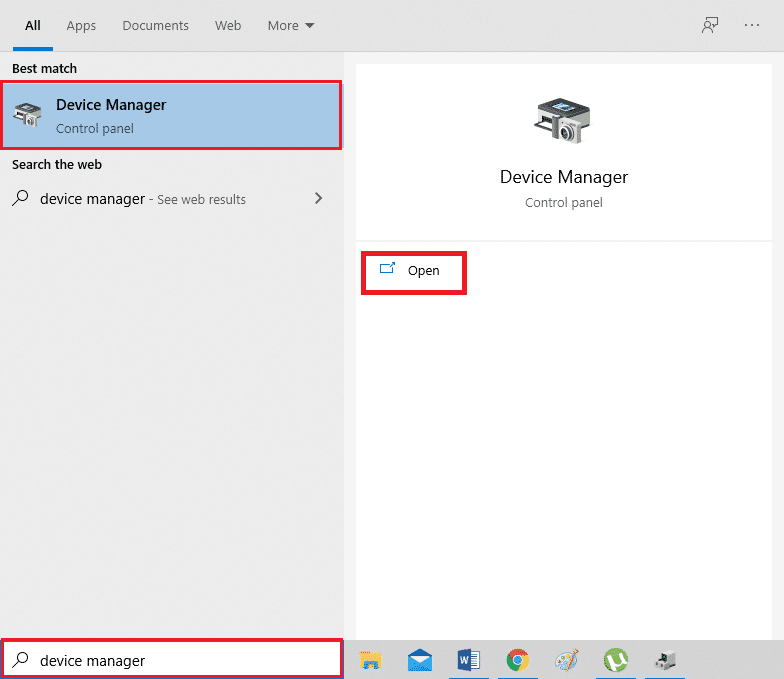
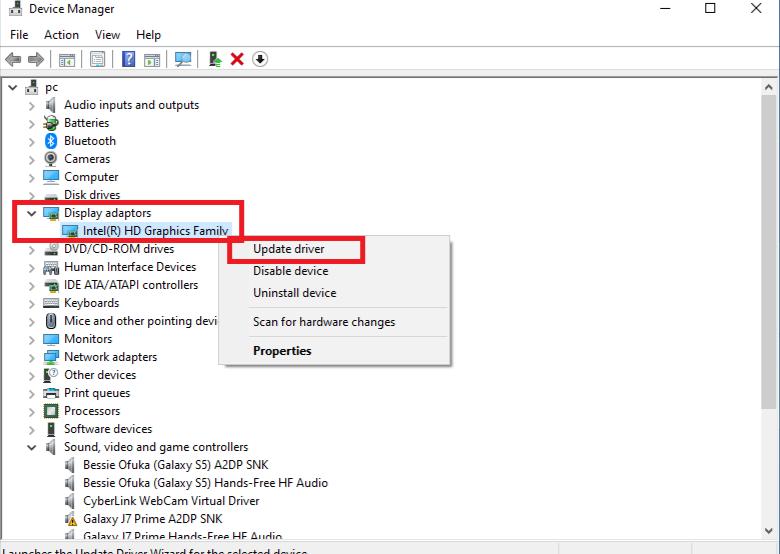
1. Press the Windows key, type Device Manager, and click on Open.
2. You will see the Display adapters on the main panel; double click on it to expand it.
3. Now, right-click on your video card driver (say Intel(R) HD Graphics Family) and click Update driver. Refer to the above picture.
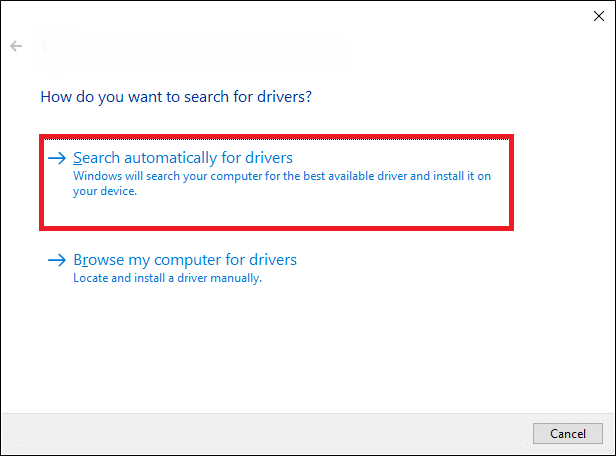
4. Now, click on Search automatically for drivers options to locate and install a driver automatically.
5A. Now, the drivers will be updated to the latest version if they are not updated.
5B. If they are already in an updated stage, the screen displays the following message, The best drivers for your device are already installed.
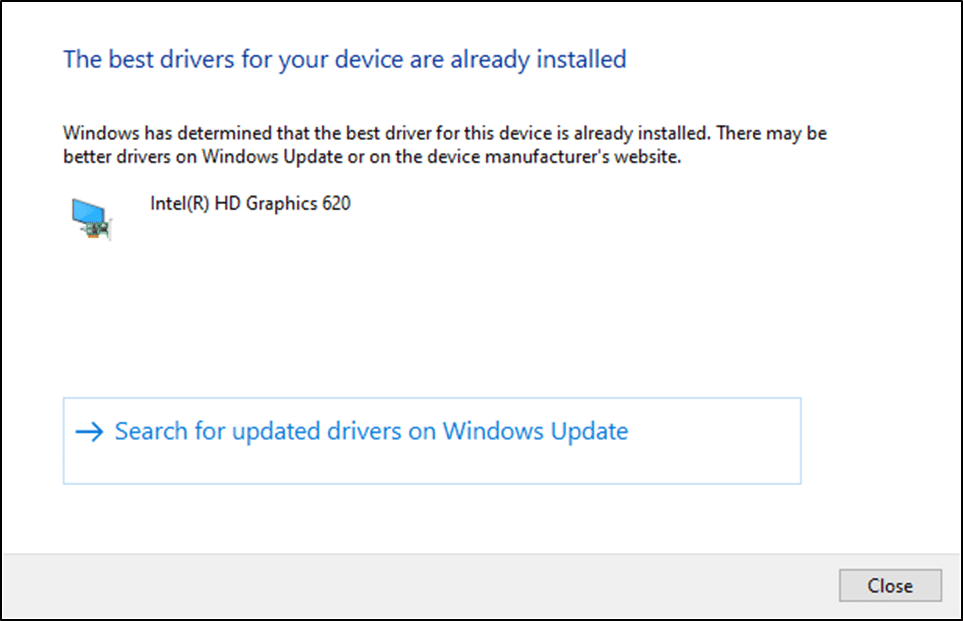
6. Click on Close to exit the window.
Restart the PC, and check if you have a fixed Steam remote play not working in your system.
Also Read: How to Disable Steam Overlay in Windows 10
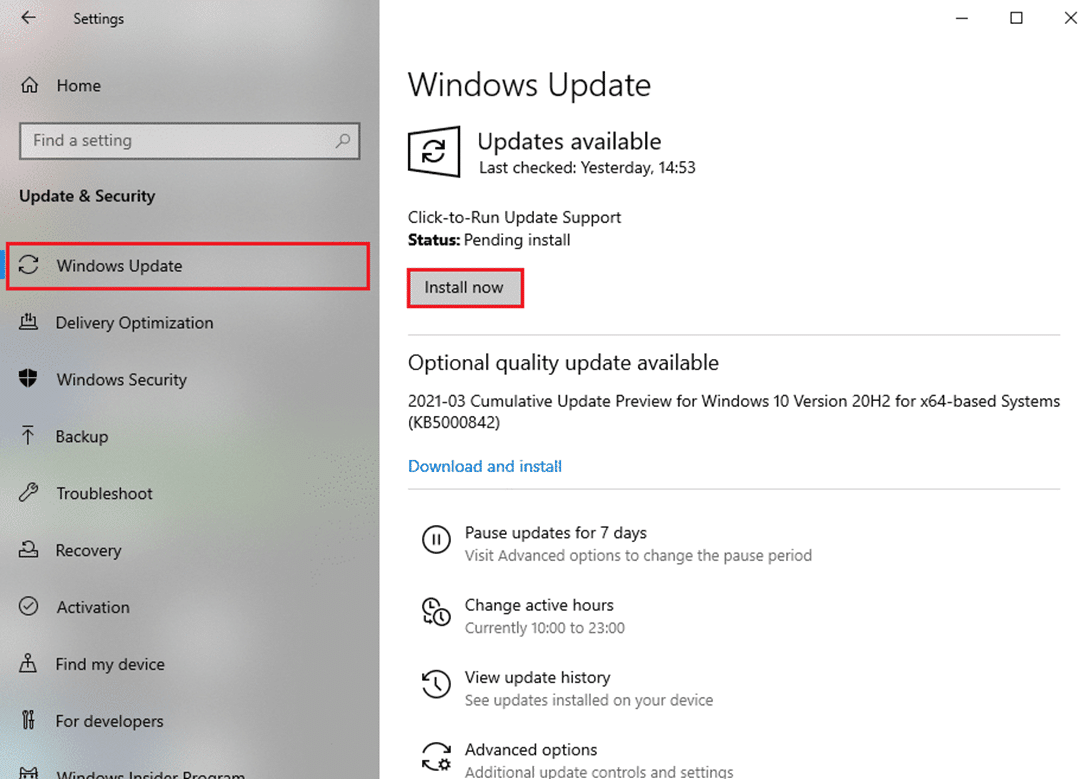
Method 11: Update Windows
If you did not obtain any fix by the above methods, then there are few chances that you might have bugs in your system. Installing new updates will help you to fix the bugs in your system. Otherwise, the files in the system will not be compatible with the Steam files leading to Steam remote play not working issue. Read our guide on How to Download and Install Windows 10 Latest Update to update your system and fix the Steam Remote Play together not working issue.
Method 12: Disable Antivirus Temporarily (If Applicable)
Sometimes, an antivirus program will prevent you from accessing any remote accessing features, and from resolving this Steam Remote Play together not working issue. So, disable it temporarily or add exceptions to the particular website. Read our guide on How to Disable Antivirus Temporarily on Windows 10 to resolve the said issue.
Also Read: Fix Steam Keeps Crashing
Method 13: Disable Windows Defender Firewall (Not Recommended)
Some users reported that the Steam remote play not working issue disappeared when Windows Defender Firewall was turned off. Follow these steps to disable it:
Note: Disabling the firewall makes your system more vulnerable to malware or virus attacks. Hence, if you choose to do so, make sure to enable it soon after you are done fixing the issue.
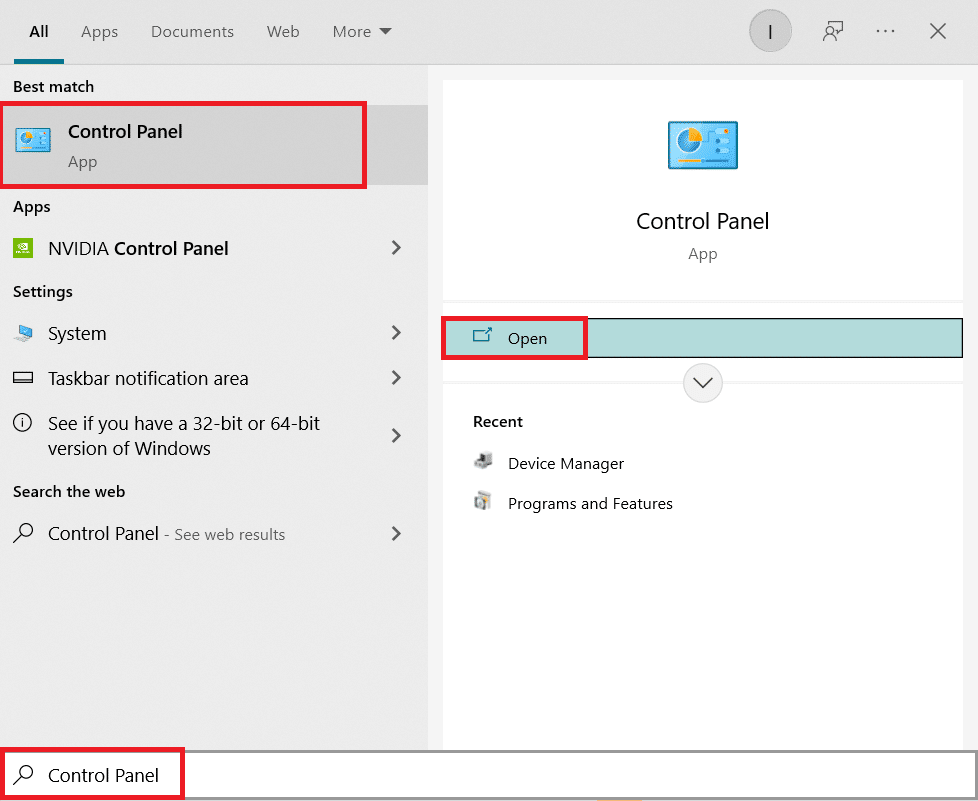
1. Hit the Windows key, type control panel, and click on Open.
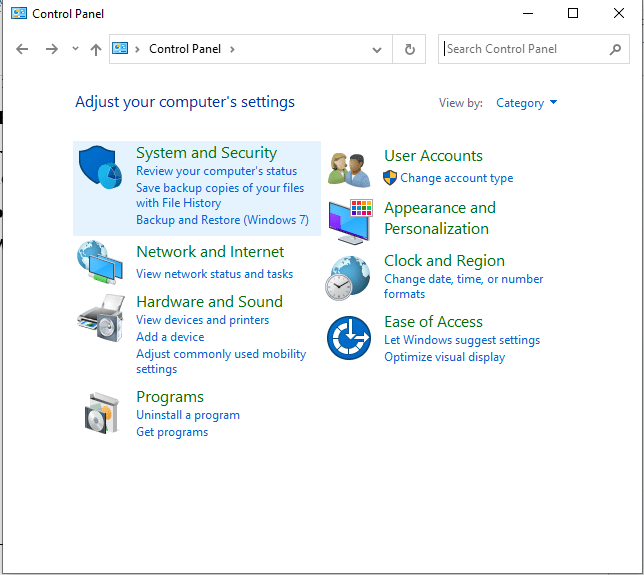
2. Here, set View by: to Category, then select System and Security.
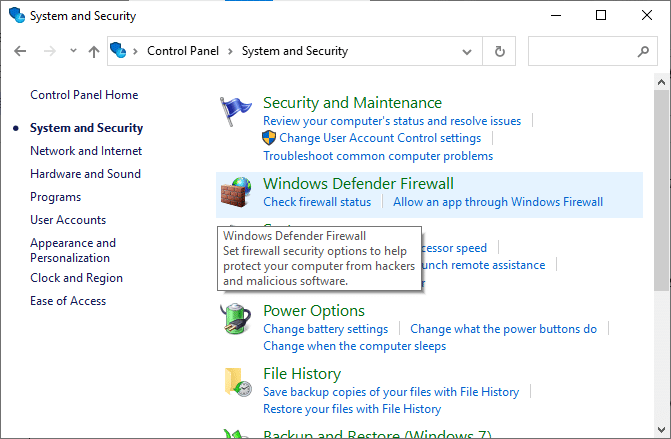
3. Now, click on Windows Defender Firewall, as shown here.
4. Select the Turn Windows Defender Firewall on or off option from the left menu. Refer to pic below.

5. Now, check the boxes next to the Turn off Windows Defender Firewall (not recommended) option wherever available on this screen. Refer given picture.
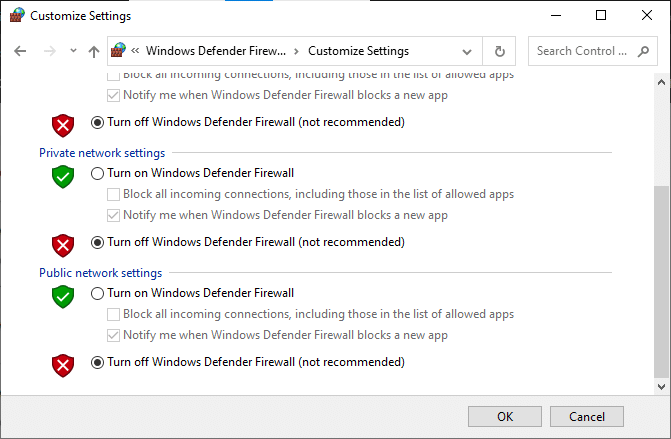
6. Finally, reboot the PC and check if the Steam workshop not downloading issue is fixed now.
Recommended:
We hope that this guide was helpful and you were able to fix Steam remote play not working issue on Windows 10. Let us know which method worked for you the best. Also, if you have any queries/suggestions regarding this article, then feel free to drop them in the comments section.