GUIDE: Easily Backup your Windows 10 PC

How to create a backup of your Windows 10 PC: If you use Windows 10 then you may be aware that it is full of bugs which sometimes leads to critical system damage, in which case your hard disk might fail. If that happens then chances are you might lose your important data on your hard disk. This is why creating a full system backup of your PC is recommended in order to protect your important data, in case of a critical system failure.
While there are many third-party backup applications out there in the market but Windows 10 has an inbuilt Backup and Restore feature which we will use to create a full backup of Windows 10 PC. Backup and Restore were originally introduced in Windows 7 and it still works the same way in Windows 10. Windows Backup will backup all your files, folders, and drives which essentially backup the whole system.
You also have a choice to include a system image in the backup which can be used as a recovery disc. The best part is that once you create a backup, you can run the system backup on a regular basis using Schedule feature in Backup and Restore. Anyway, without wasting any time let’s see How to create a backup of your Windows 10 PC with the help of the below-listed tutorial.
Easily Backup your Windows 10 PC
Make sure to create a restore point just in case something goes wrong.
1.Type control in Windows Search then click on Control Panel from the search result.

2.Now click “System and Security” then click “Backup and Restore (Windows 7)“.

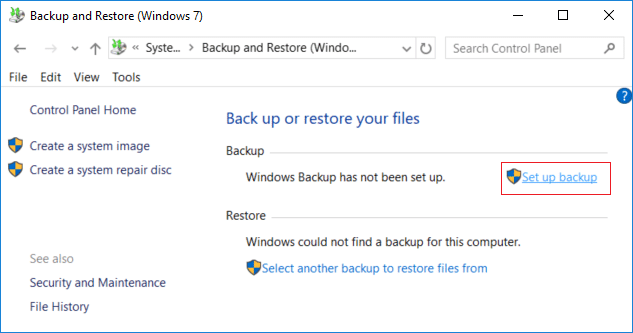
3.Now click on “Set up backup” link under Backup.
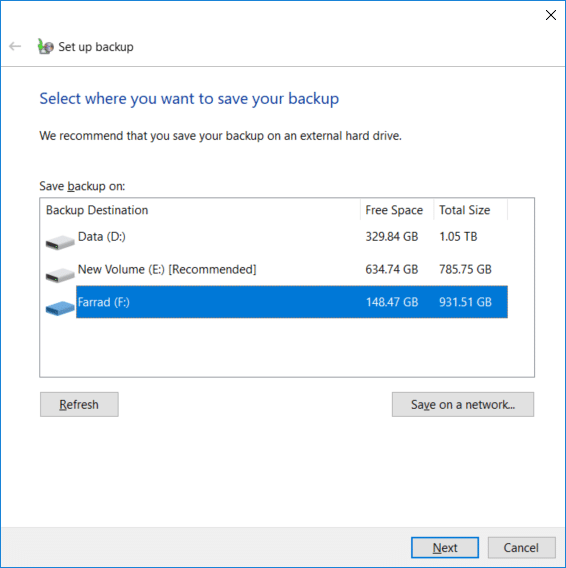
4.Select the external hard disk which you want to store Windows backup and click Next.
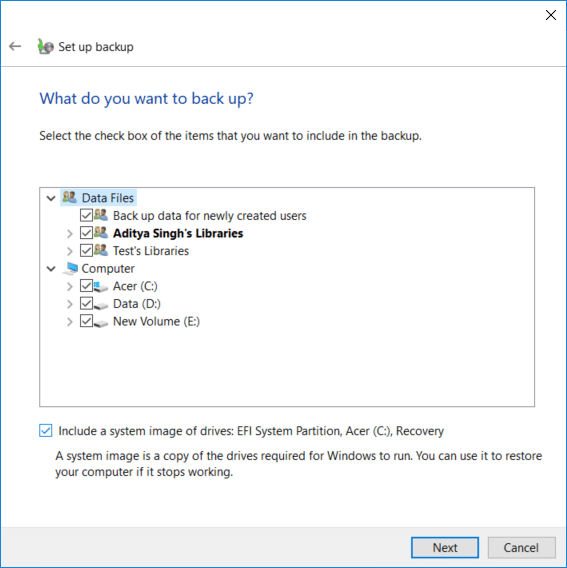
5.On “What do you want to back up” screen select “Let me choose” and click Next.
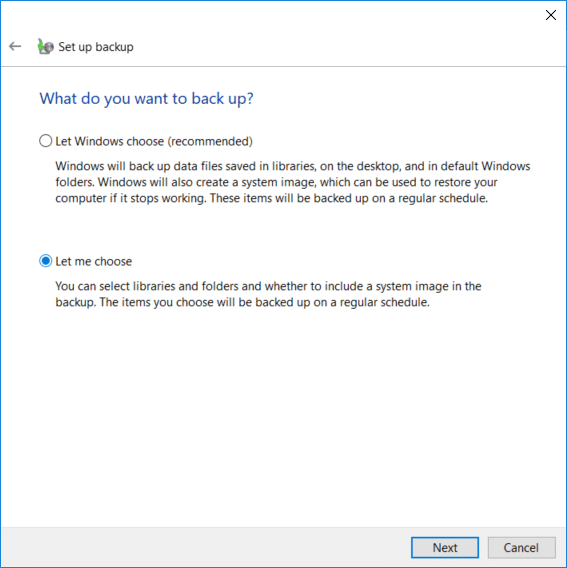
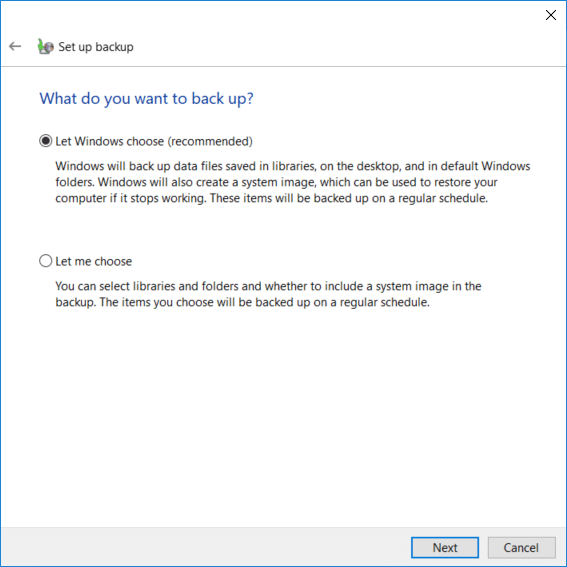
Note: If you do not want to choose what to back up, then select “Let Windows choose” and click Next.
6.Next, make sure to checkmark every item on the next screen in order to create a full backup. Also, check all drives under “Computer” and make sure to checkmark “Include a system of drives: System Reserved, (C:)” then click Next.
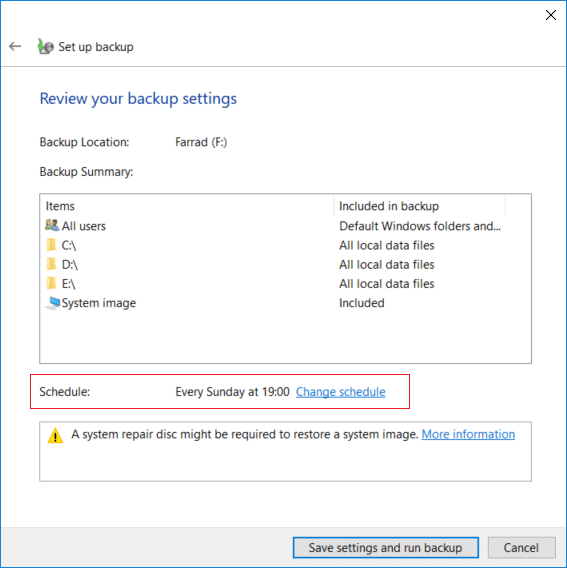
7.On the “Review your backup Settings” click on “Change schedule” next to Schedule.
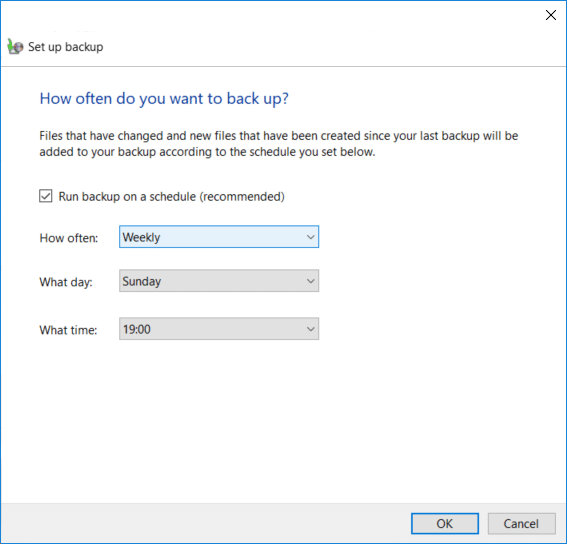
8.Make sure to check mark “Run backup on a schedule (recommended)” then from the available drop-down select how often, what day and what time you want to run the backup and click OK.
9.Finally, review all your settings then click Save settings and run the backup.
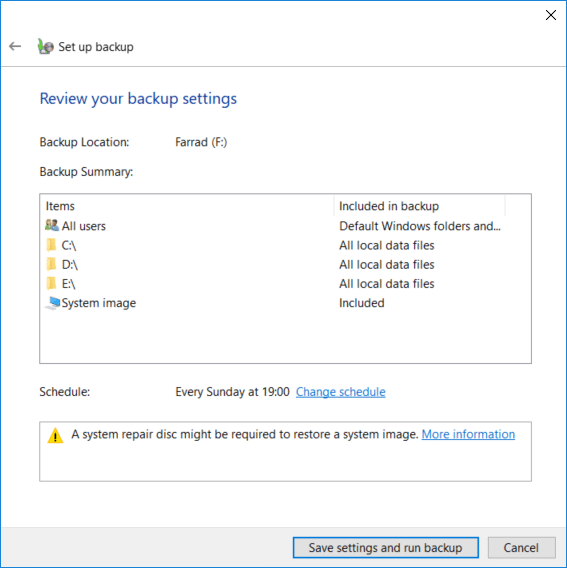
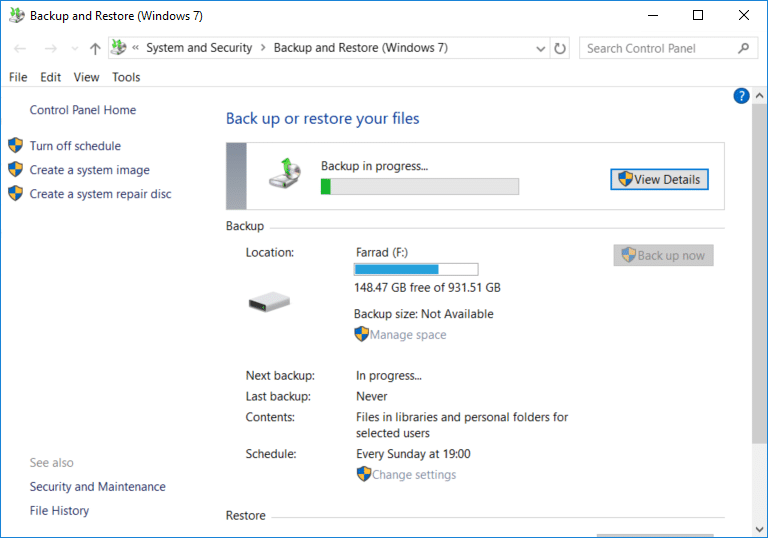
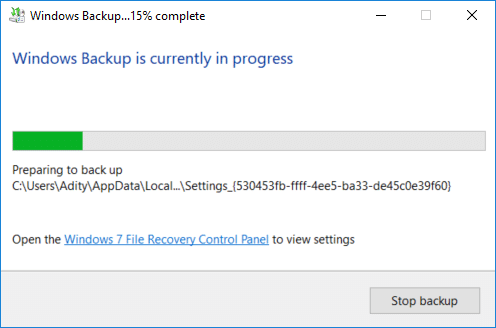
After this step, Windows will start creating your full system backup. You won’t be able to change settings at this point but you can click “View detail” button to see what files and folders are backed up by Windows 10.
This is How to create a backup of your Windows 10 PC but if you want to change the schedule of this backup or delete some old copies of the backup then continue with this tutorial.
How to Delete Old Windows Backups
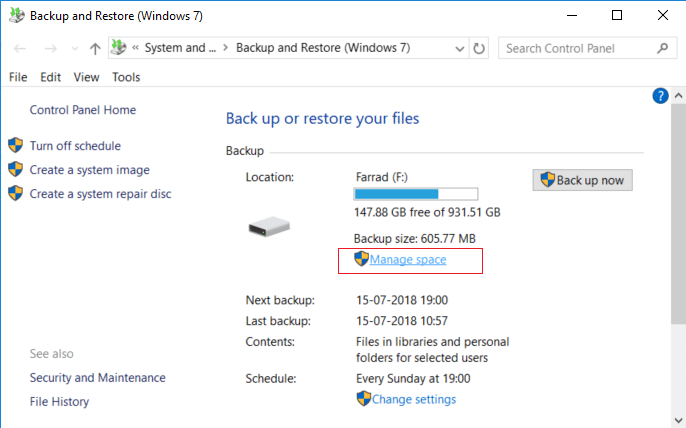
1.Again navigate to “Backup and Restore (Windows 7)” then click on “Manage space” under Backup.
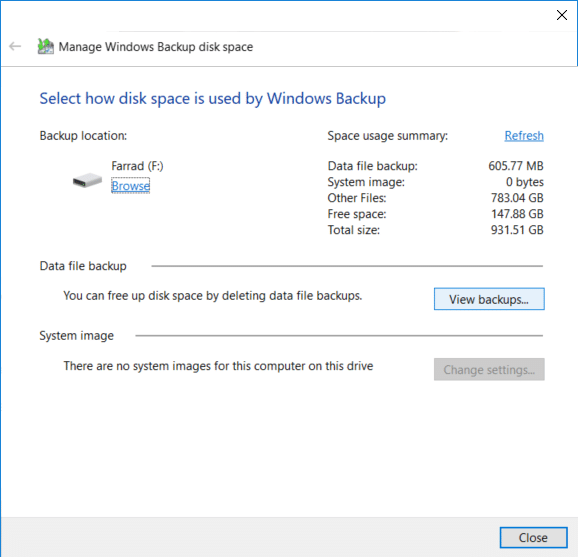
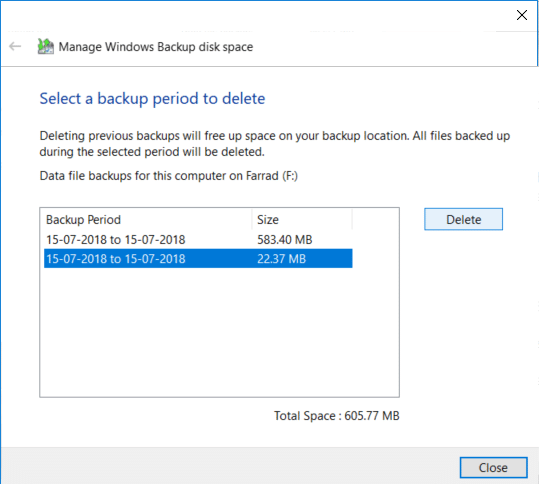
2.Now under Data file backup click on “View backups“.
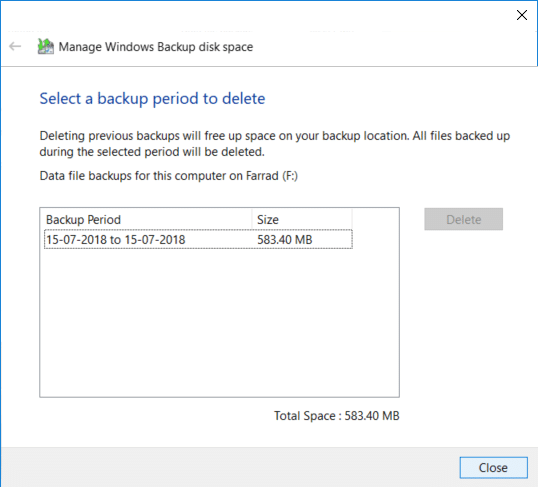
3.On the next screen, you will see all the backups made by Windows, if you need to free up space on the drive then select the oldest backup from the list and click Delete.
4.Repeat the above steps, if you need to free up more space then click Close.

Note: Do not delete the latest backup made by Windows.
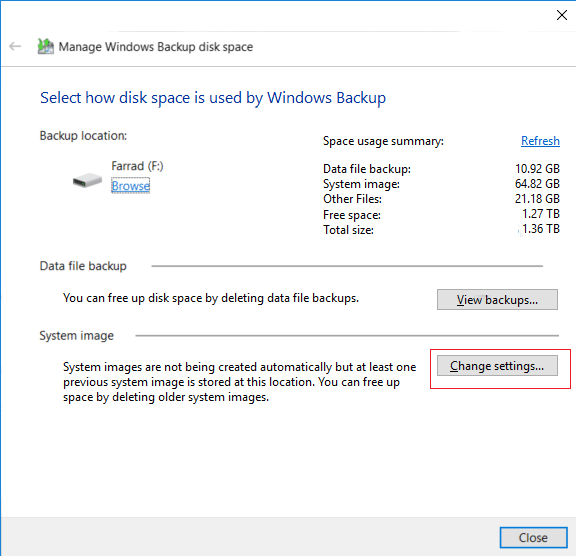
5.Next, click “Change settings” under System image on “Select how disk space is used by Windows Backup” window.
6.Select “Retain only the most recent system image” then click OK.
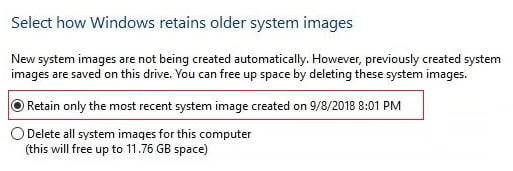
Note: By default Windows store all the system images of your PC.
How to Manage Windows Backup Schedule
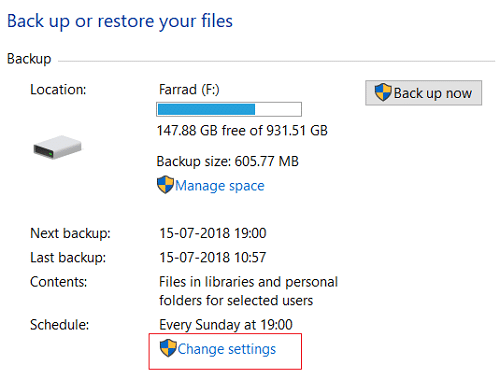
1.Again navigate to “Backup and Restore (Windows 7)” then click on “Change settings” under Schedule.
2.Make sure to keep on clicking on Next until you reach the “Review your backup settings” window.
3.Once you reach on the above window click on “Change schedule” link under Schedule.
4.Make sure to check mark “Run backup on a schedule (recommended)” then from the available drop-down select how often, what day and what time you want to run the backup and click OK.
5.Finally, review your backup settings then click on Save settings.
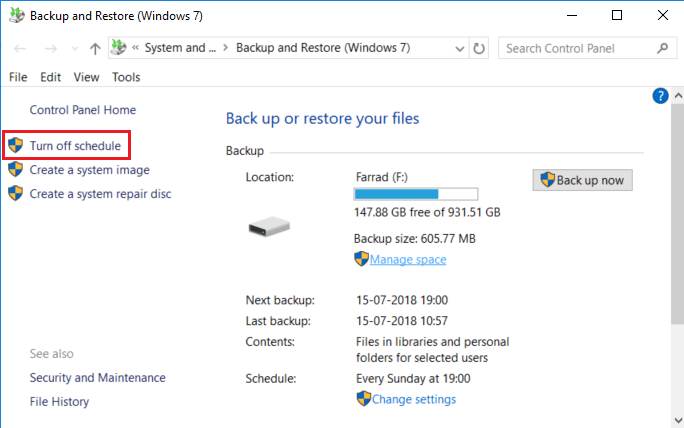
Note: If you need to turn off system backup, you need to click on “Turn off schedule” link in the left window pane on “Backup and Restore (Windows 7)” and if you need to immediately run backup then you don’t need to change schedule as you can just click “Back up now” button.
How to Restore individual files from backup
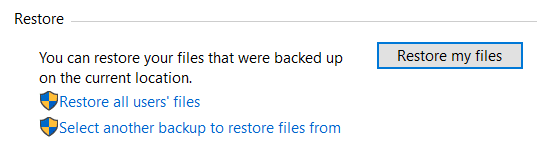
1.Navigate to “Backup and Restore (Windows 7)” in Control Panel then click on “Restore my files” under Restore.
2.Now if you need to restore individual files then click on “Browse for files” and if you need to restore folders then click on “Browse for folders“.
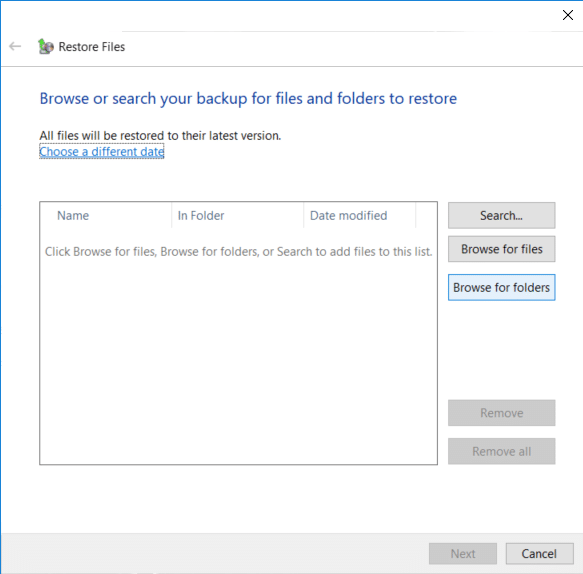
3.Next, browse the backup and select the files or folders you want to restore then click Add files or Add folder.

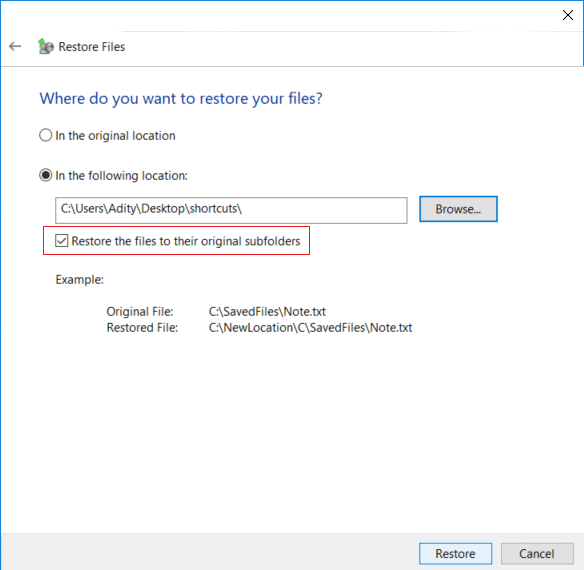
4.Click Next button then you have a choice to restore the files or folders to their original location or you could select an alternative location.

5.It’s recommended to checkmark “In the following location” then select the alternative location then make sure to checkmark “Restore the files to their original subfolders” and click Restore.
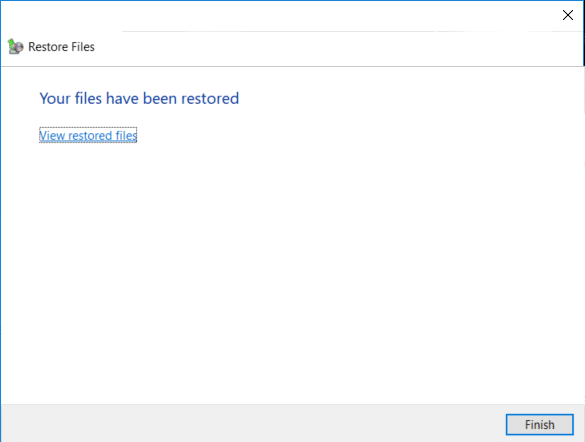
6.Finally, click Finish once the restore is completed.
Now you have learned How to create a backup of your Windows 10 PC, How to Manage Windows Backup Schedule, and How to Restore individual files from backup, it’s time you should also learn How to restore the entire system on Windows 10 using the below method.
How to restore the entire System on Windows 10
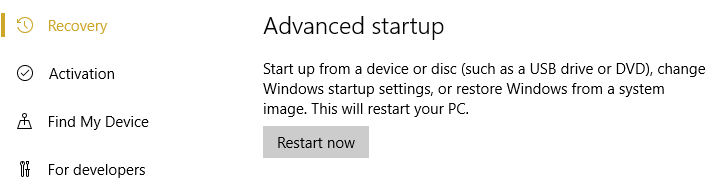
If you can access your PC then you could access the Troubleshoot screen by going to Settings > Update & Security > Recovery then click on “Restart now” under Advanced startup.
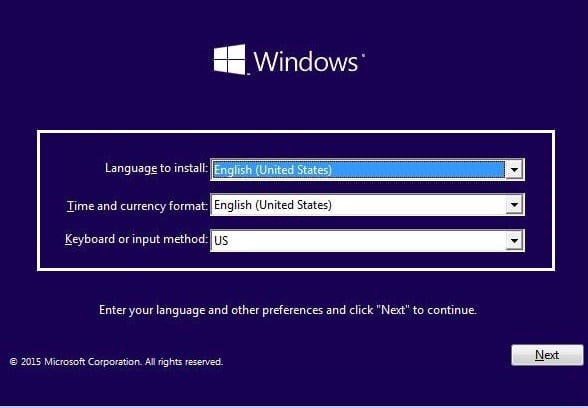
1.Make sure to boot your PC using Windows 10 installation/recovery disc or USB.
2.On the Windows Setup page select your language preferences, and click Next.
3.Click Repair your computer at the bottom.

4.Now choose Troubleshoot and then Advanced Options.
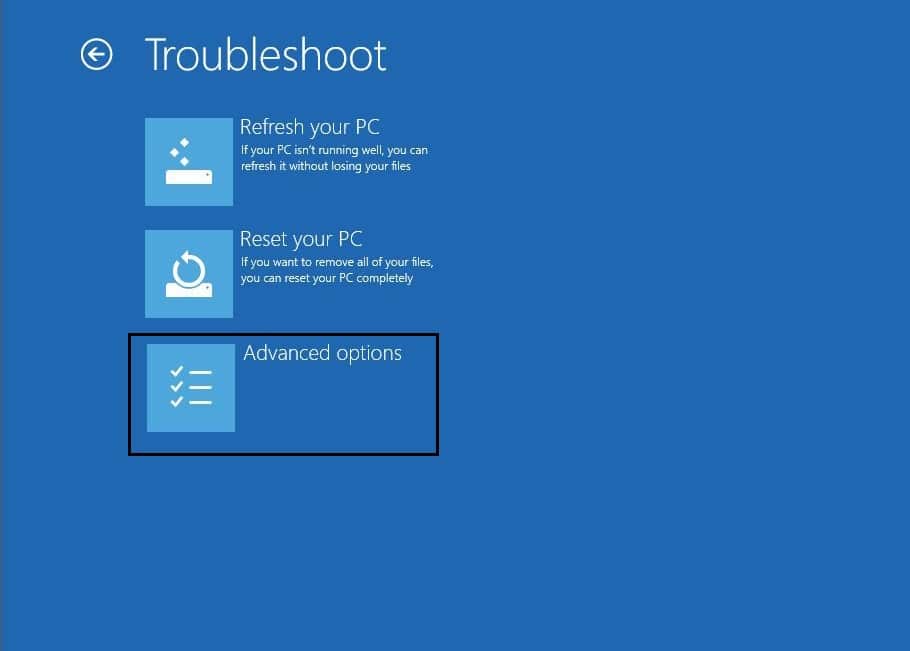
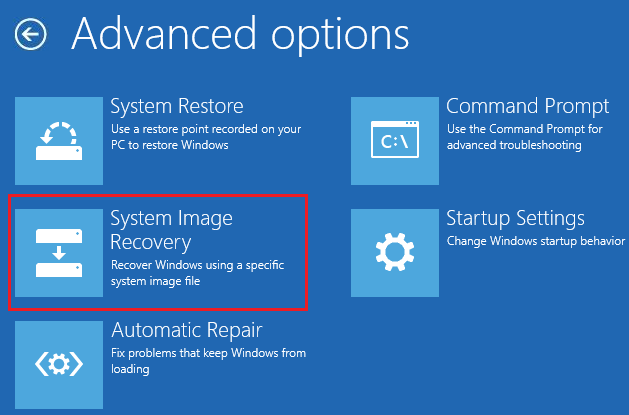
5.On the Advanced Option screen click on “System Image Recovery“.
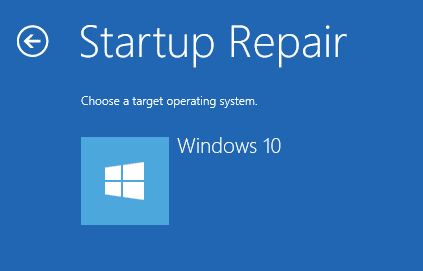
6.Then on the “Choose a target operating system” select Windows 10.
7.On “Re-image your computer” screen make sure to checkmark “Use the latest available system image” then click Next.
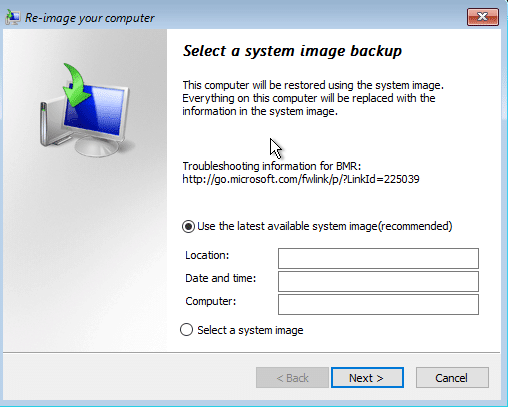
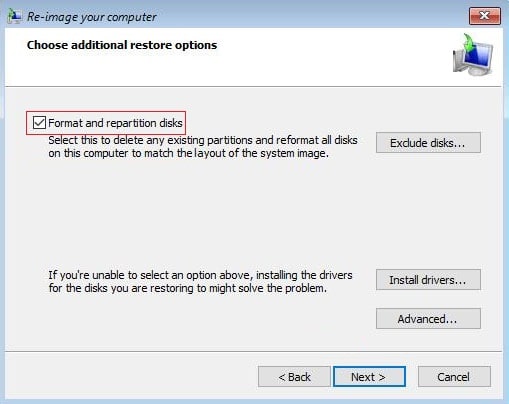
8.If you’re restoring the system backup on a new hard disk then you can checkmark “Format and repartition disk” but if you’re using it on your existing system then uncheck it and click Next.
9.Finally, click Finish then click Yes to confirm.

Recommended:
That’s it, you successfully learned How to create a backup of your Windows 10 PC but if you still have any queries regarding this tutorial then feel free to ask them in the comment’s section.