How to Test PSU with Multimeter

The Power Supply Unit is an essential component of all servers for the normal functionality of the IT infrastructure. Today, almost every system comes with a PSU during purchase. The PSU does not deliver direct power to your computer, as it converts Alternating Current (AC) to Direct Current (DC) by using its internal components. If your computer does not obtain an adequate power supply or the PSU fails, you might face several consequences, like the system may become unstable or your computer might not boot from the start menu. In this case, you have to go for testing methods to analyze its working state. If you are trying to do so, then you are at the right place! We bring a perfect guide that will help you learn how to test PSU with multimeter. So, continue reading to know everything in detail.
How to Test PSU with Multimeter
Before getting to know how to test PSU with multimeter, here are some of the signs you face when the Power Supply Unit fails.
- PC won’t boot at all: When there is a problem with Power Supply Unit, your PC will not boot normally. As a result, the system will fail to start, and it is often termed a dead computer.
- PC restarts randomly or Shuts Down: If your PC restarts randomly or shuts down during the start-up, it indicates a PSU failure.
- Blue Screen of Death: If your PC screen turns blue, there are more chances that the PSU is not in good condition.
- Freezing: When your PC screen freezes for no reason without a blue or black screen, there might be a hardware problem over here.
- Lag and Stuttering: Sudden lag and stuttering is the most common problem, which you can confirm through the testing methods.
- Screen Glitches: This is one of the most common reasons that indicates soon to be dead Power Supply Unit.
- Noise from the Fan: If your PC is idle and you hear high noise, and the fan is running at the highest RPM, check if the system is overheated. If not, then it indicates the Power Supply Unit is failing. Ensure the system is not overheated without any reason.
- Overheating: Excessive overheating might also be a sign of the poor performance of the Power Supply Unit.
- Smoke or burning smell: If the Power Supply Unit is entirely dead, it might expel smoke along with a burning smell.
Precautionary Steps
When you can confirm you have an error with PSU and want to know how to test PSU with multimeter, then continue reading this section to troubleshoot it before following the testing methods.
Method 1: Remove USB Devices & Disc
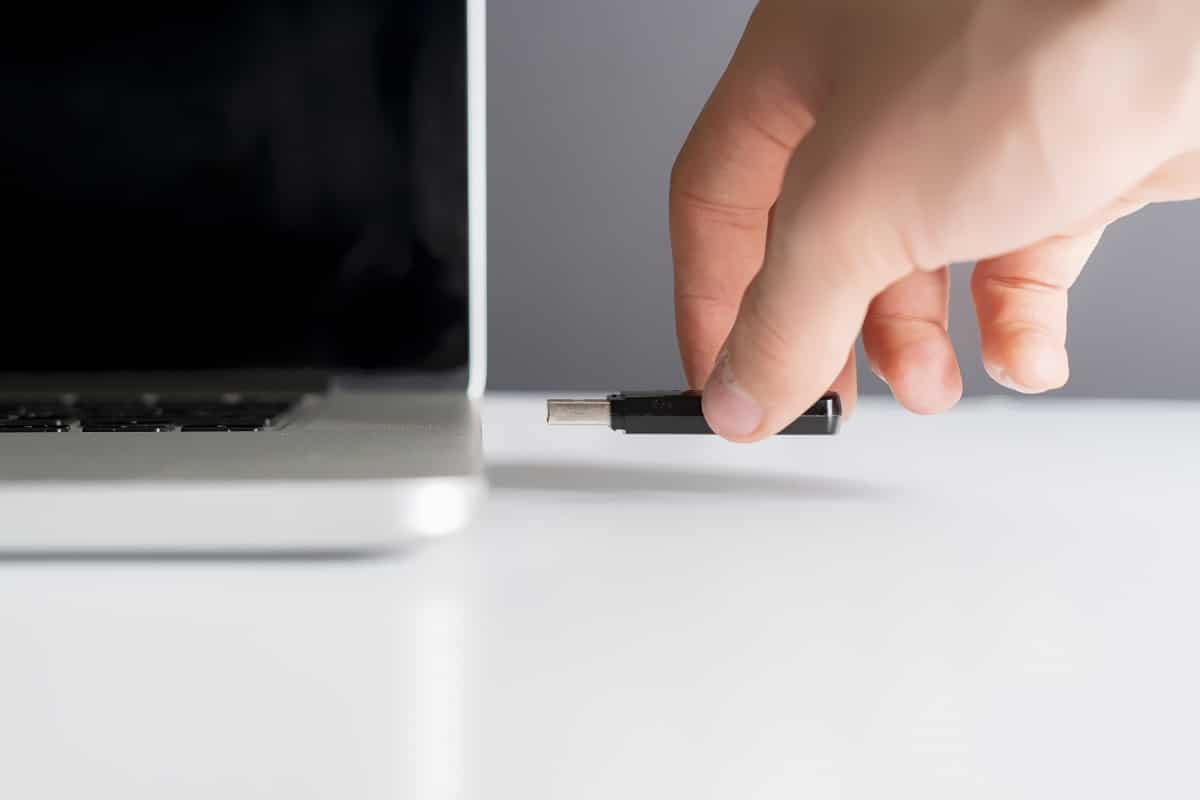
If you have any DVDs, Compact Discs, or USB devices connected to your PC, then disconnect them and reboot your computer. You are advised to remove the external devices with intense care to avoid any data loss.
1. Navigate and locate the Safely Remove Hardware and Eject Media icon on the taskbar.
2. Now, right-click on the icon and select the external device you want to remove from your PC.
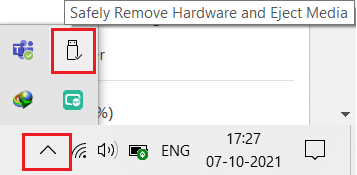
3. Likewise, remove all other external devices safely from the system and reboot your PC.
Method 2: Remove New Hardware
You can try disconnecting any new external or internal hardware and peripheral devices you got recently. If you find your computer working well after removing the hardware devices, then the new hardware may not be compatible with the system.
Also Read: How to Test Power Supply
Method 3: Disconnect all Cables
If the computer does not have enough power supply, you might face several difficult conflicts to resolve. Even if there are power interruptions during your work, the original functionality of the system is disturbed. Also, if you use an old, damaged, or unreliable cable, the connection will keep disconnecting from the device.
Even if the system speed is very high, you will not get uninterrupted service when the wires are broken. Ensure the wires are not damaged and if they are not in optimum condition, then replace them with a new one before knowing how to test PSU with multimeter.
1. Plug out the power cables from the power strip and try connecting the system to a wall outlet. This will work in most cases.
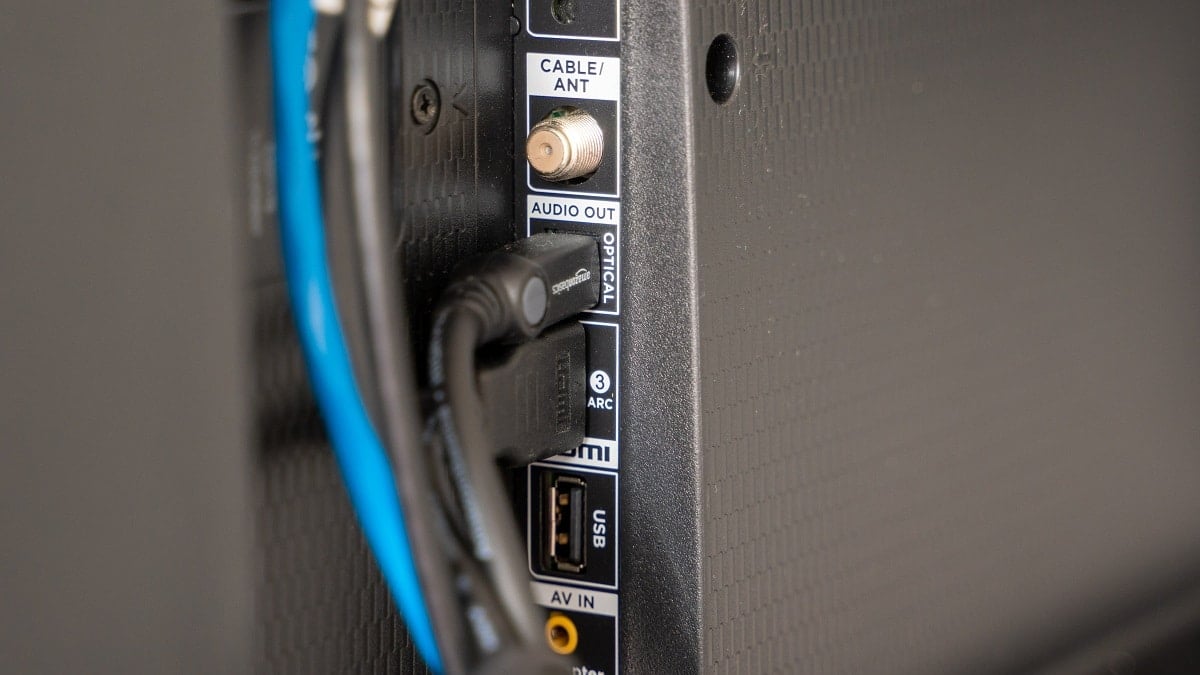
2. Disconnect all the other cables from the computer. For example, you may have a
- VGA cable – the cable that is used to connect the VGA port of the monitor to your computer,
- DVI cable – the cable that is used to connect the DVI port of the monitor to your computer,
- HDMI cable – the cable that is used to connect the HDMI port of the monitor to your computer,
- PS/2 cable – cables that connect keyboards and mouse on PS/2 ports of the system),
- Ethernet cable – cable that brings network connection to the system,
- Other audio and USB cables.
3. Please wait for some time and then connect them back. Ensure you hear a typical beep sound while restarting the PC.
Likewise, connectors are essential components of composite or component cables that are required for proper network connectivity. You should always ensure that all the connectors in the system are tightly held up with the cable and are in good condition. Replace them if they are damaged. Then, disconnect all the cables.
Method 4: Disconnect All Expansion Cards
An expansion card is also an adapter card or accessory card used to add functions to the system through the expansion bus. Examples of expansion cards include sound cards, graphics cards, network cards, etc. All these expansion cards are used to improve the functionalities of their specific functions.
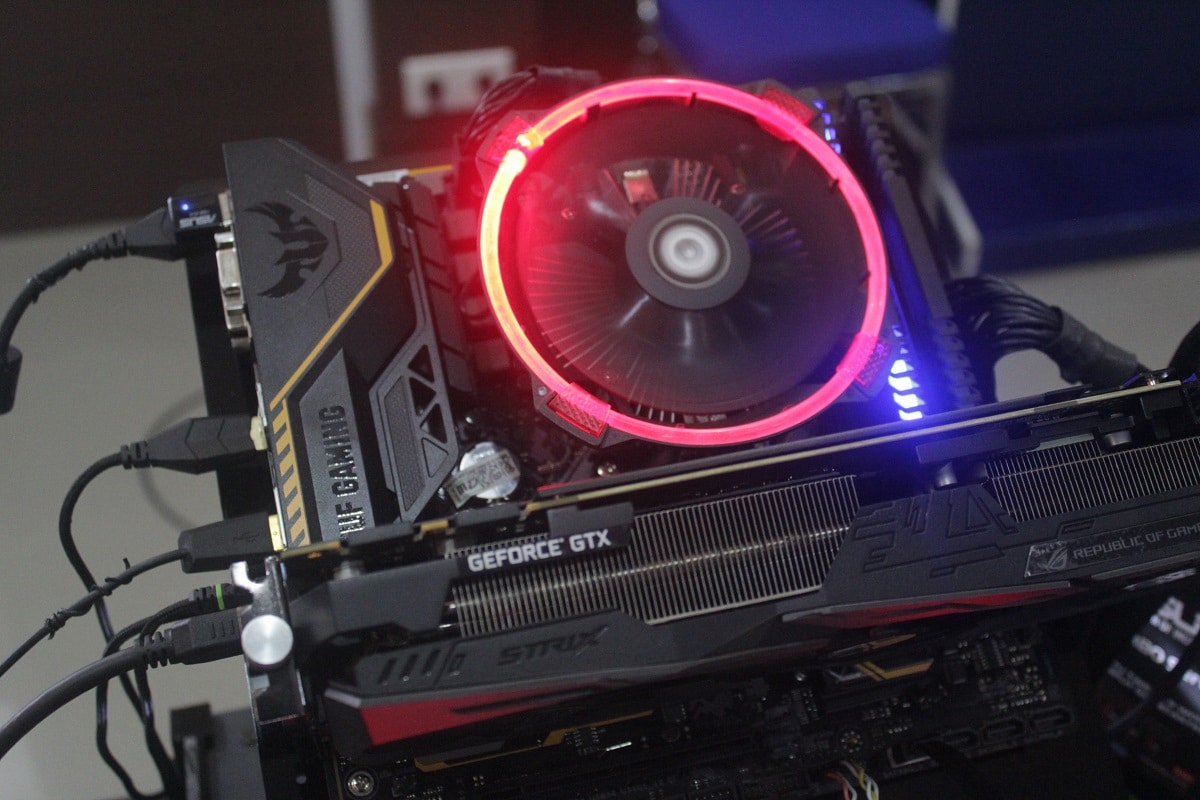
For instance, a graphics card is used to enhance the video quality of your games, movies, etc. Sometimes, these expansion cards might trigger a problem in the system. Hence, disconnect all the expansion cards from the system. If this method didn’t fix the issue, then it is better to try other methods mentioned below before knowing how to test PSU with multimeter.
Also Read: How to Tell If Your Graphics Card is Dying
Method 5: Ventilate PC
The lifespan of your PC will be reduced when you start using it at high temperatures. Constant overheating will wear down the internal components and the system as well. When the system is heated to the maximum temperature, the fans will spin at the highest RPM. Yet, the system may not cool down to the required level. In this case, the GPU will develop a load of heat, leading to Thermal Throttling. Here, the fans and the system will become incapable of lowering the heat.
Hence, the expansion cards will reduce their performance to generate less heat. It will lead to the worst performance in your PC, and in extreme cases, the expansion cards will get killed if the temperature does not decrease. Hence,
1. Always ensure to keep the system cool and maintain proper ventilation.

2. Leave the system idle for some time when it is subjected to overheating or after continuous usage.
3. Add better cooling systems if your computer has damaged air flow cables and dust build-up.
Method 6: Maintain Clean and Ventilated Ambience
Unclean surroundings might also contribute to the poor performance of the system since the accumulation of dust will block the ventilation to the computer. It will increase the temperature of the system, and thereby all the internal components, including the Power Supply Unit might get damaged, causing the system to crash sometimes.
1. Clean the vents of the monitor and ensure there is enough space for proper ventilation.
2. Avoid placing your PC on a soft surface like pillows. It will make the system sink into the surface and block the air ventilation.
3. You can use a compressed air cleaner to clean the vents in the system. Be careful not to damage any internal components in it.
If none of the above troubleshooting methods worked, continue reading to learn how to test PSU with multimeter.
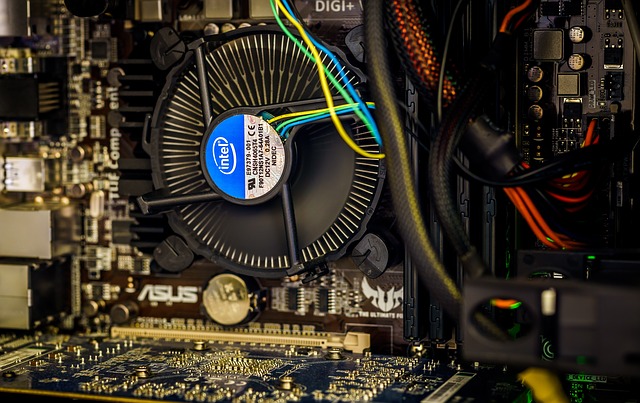
Method 7: Disconnect and Connect RAM and CPU
If none of the above methods work, try disconnecting the CPU and RAM from the motherboard. Also, check if the RAM is compatible with your PC.
1. Disconnect the CPU and remove RAM from the motherboard.
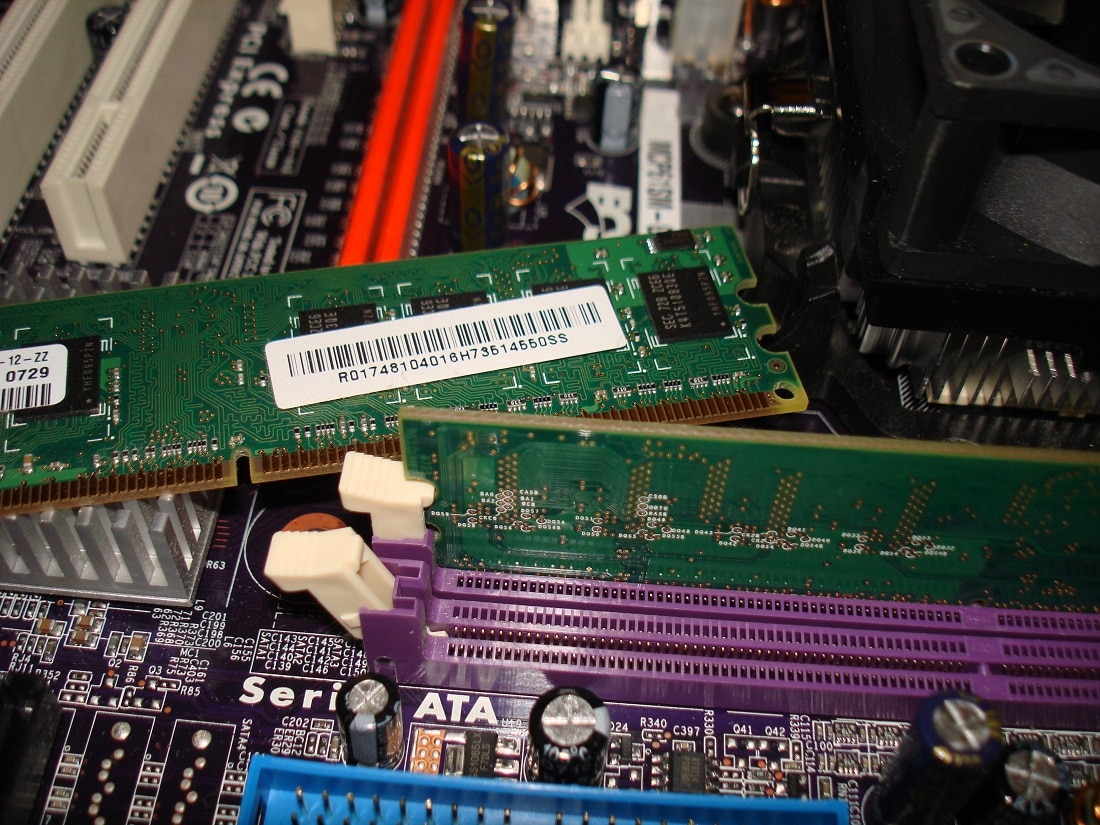
2. After a few minutes, connect the CPU and insert RAM back into the motherboard.
3. Check if the RAM, CPU, and motherboard are working well. If there are any associated issues, contact a professional repair center or replace them if necessary.
Also Read: How Much RAM Do I Need for Windows 10
Perform PSU Test with Multimeter
If you correctly execute the steps to test PSU with multimeter, you can confirm if there is a problem with the Power Supply Unit and replace it if needed.
Note: The below-mentioned steps are demonstrated using a standard ATX power supply.
1. Take all the above precautionary methods before you manually test PSU with multimeter.
Note: Don’t skip this step since you are dealing with high voltage electricity.
2. Shut down your PC, and unplug all the cables. Make sure you have disconnected everything from the system.
3. Place your computer on a non-static flat surface. Open the computer case and flip the switch off at the back of the PSU.
4. Now, disconnect all the power connectors that are connected to the internal components.
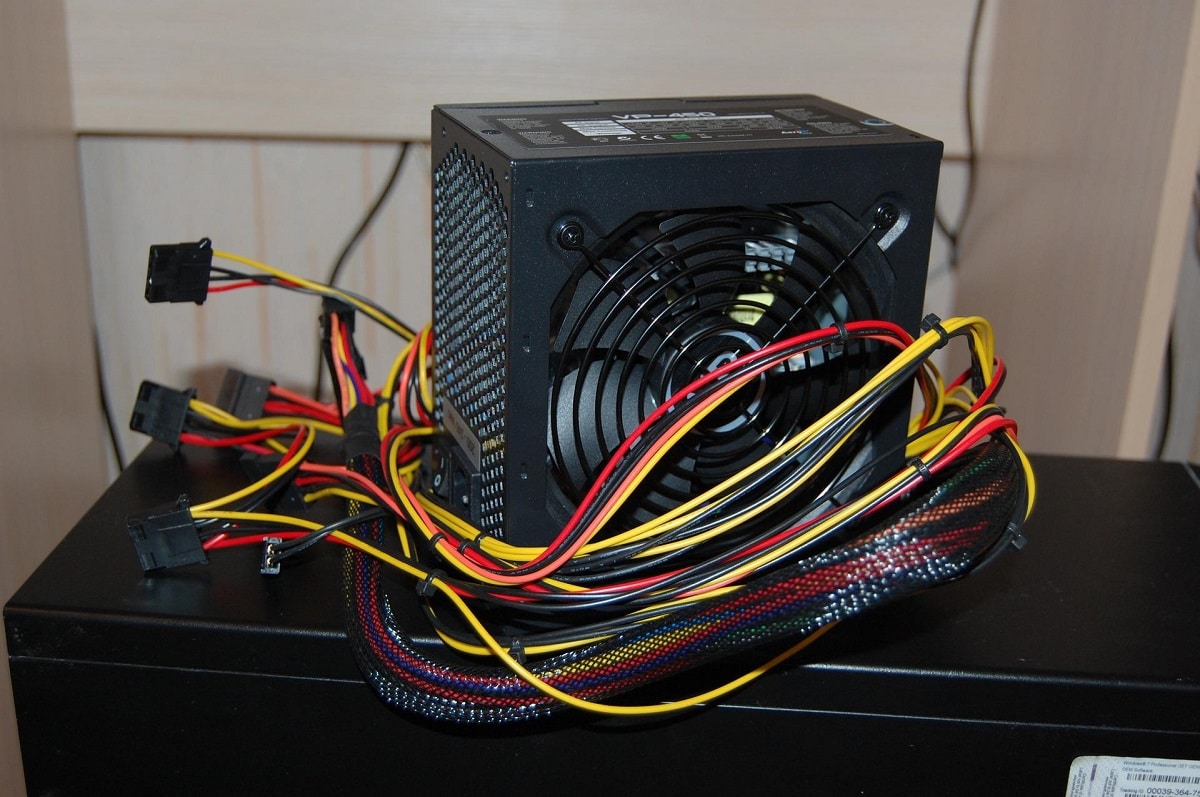
5. After you disconnect the connectors, group them along with the power cables to continue the test efficiently.
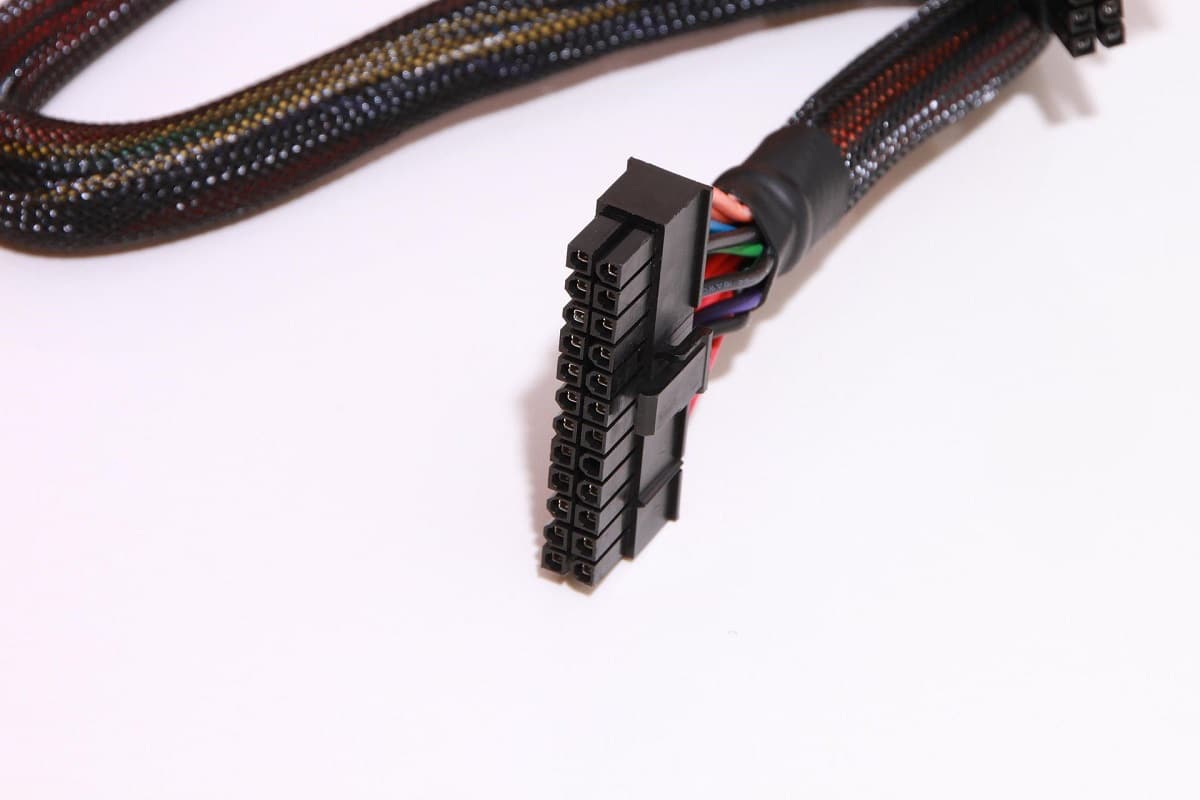
6. Take a wire and connect the pins 15 and 16 to the 24-pin motherboard power connector. Use the table for your reference.
| Pin | Name | Wire Color | Description |
| 1 | +3.3V | Orange | +3.3 VDC |
| 2 | +3.3V | Orange | +3.3 VDC |
| 3 | COM | Black | Ground |
| 4 | +5V | Red | +5 VDC |
| 5 | COM | Black | Ground |
| 6 | +5V | Red | +5 VDC |
| 7 | COM | Black | Ground |
| 8 | PWR_ON | Gray | Power Good |
| 9 | +5VSB | Purple | +5 VDC Standby |
| 10 | +12V1 | Yellow | +12 VDC |
| 11 | +12V1 | Yellow | +12 VDC |
| 12 | +3.3V | Orange | +3.3 VDC |
| 13 | +3.3V | Orange | +3.3 VDC |
| 14 | -12V | Blue | -12 VDC |
| 15 | COM | Black | Ground |
| 16 | PS_ON# | Green | Power Supply On |
| 17 | COM | Black | Ground |
| 18 | COM | Black | Ground |
| 19 | COM | Black | Ground |
| 20 | NC | White | -5 VDC (Optional – Removed in TX12V v2.01) |
| 21 | +5V | Red | +5 VDC |
| 22 | +5V | Red | +5 VDC |
| 23 | +5V | Red | +5 VDC |
| 24 | COM | Black | Ground |
7. You can set the power supply voltage according to your country at the back of the PSU by reading the list of voltages and frequencies (Hz) around the world.
8. Now, plug the Power supply into the wall socket.
9. Flip the switch at the back of the PSU to turn it on. Now, check if the fan starts to spin, if it does, then continue with the following steps. If the fan doesn’t spin, then the PSU is faulty, and you should replace it.
Note: Some Power Supply Units might not have a button at the back of them. Hence, in this case, the fan begins to spin as soon as you plug the unit into the wall to test PSU with multimeter.
Also Read: How to Use Performance Monitor on Windows 10 (Detailed GUIDE)
10. Take the multimeter and turn the setting to VDC (Volts DC).
Note: If there isn’t an auto-ranging feature on the multimeter, then fix the range to 10.00V.
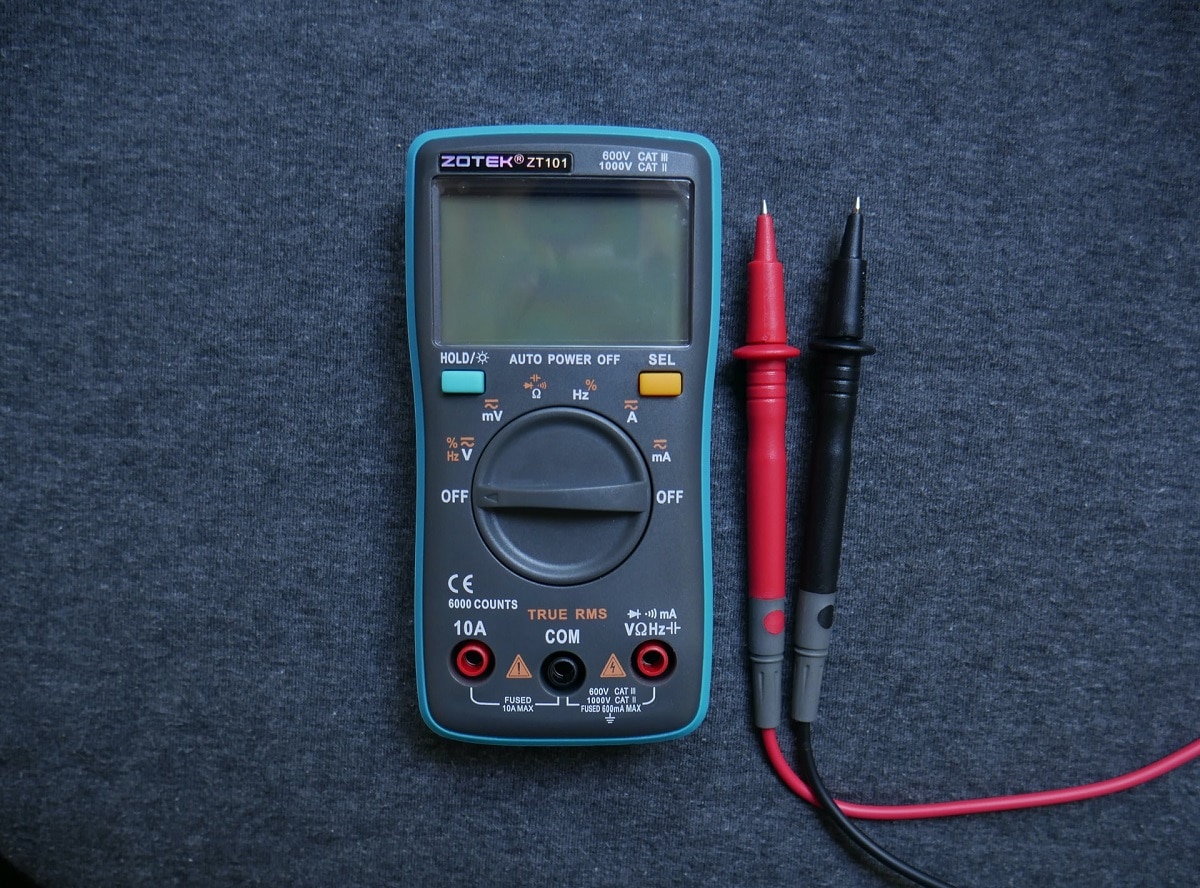
11. You have two probes in the multimeter. The Black probe is the negative probe, and the red probe is the positive probe. Connect the black probe with any black ground pins.
12. Now, plug in the positive probe with every pin that carries a voltage on the 24-pin motherboard power connector. Ensuring voltage supply across these pins will confirm if there is a power supply across each pin.
Note: +3.3 VDC, +5 VDC, -5 VDC (optional), +12 VDC, and -12 VDC voltage lines are inbuilt within the pins.
13. Note down the multimeter readings and make sure these values come under the tolerance level, as tabulated below.
| Voltage Rail | Tolerance | Minimum Voltage | Maximum Voltage |
| +3.3VDC | ± 5% | +3.135 VDC | +3.465 VDC |
| +5VDC | ± 5% | +4.750 VDC | +5.250 VDC |
| +5VSB | ± 5% | +4.750 VDC | +5.250 VDC |
| -5VDC (if used) | ± 10% | -4.500 VDC | -5.500 VDC |
| +12VDC | ± 5% | +11.400 VDC | +12.600 VDC |
| -12VDC | ± 10% | -10.800 VDC | – 13.200 VDC |
14A. If the voltage values do not come under the tolerable range, it indicates a PSU failure, and you have to replace it.
14B. If the voltage values come under the tolerable range, then you can continue testing with the load.
15. Flip the switch at the back of the PSU to turn it off and disconnect it from the wall.
16. Remove the wire you have plugged into the 4-pin motherboard power connector.
17. Now, reconnect all the internal components.
18. Next, turn on the Power Supply Unit by flipping the switch at the back of it and power on the PC.
Note: You can turn ON the PC without its case. It is entirely safe to operate without the computer case. However, if your PC does not turn on without its case, you have to move its appropriate jumper on the motherboard.
19. Repeat Steps from 11-13 with other power connectors and ensure that the voltage values recorded come under the tolerable range (Refer to the table in Step 13). If the recorded value falls too far away from the tolerable limit, you have to replace the PSU.
20. After you replace the faulty PSU or if the PSU had no problem, then turn off the PC and cover the computer with its case.
21. Now, turn on your PC and check if the problem still exists, if yes, then try troubleshooting the problem as the PSU is not causing the issue now.
Recommended:
We hope that this guide was helpful and you have learned how to test PSU with multimeter and how to troubleshoot PSU-related problems. So let us know how this article helped. Also, if you have any queries/suggestions regarding this article, then feel free to drop them in the comments section.