How to Delete Temp Files in Windows 10

Windows is the most widely used Operating System in the world. There are several essential files in the OS that are responsible for your device to operate properly; at the same time, there are plenty of unnecessary files and folders as well that take up your disk space. Both cache files and temp files occupy a lot of space on your disk and may slow down the performance of the system.
Now, you might be wondering can you delete AppData local temp files from the system? If yes, then how can you delete Temp Files on your Windows 10 computer?
Deleting temp files from Windows 10 system will free up space and will boost up the performance of the system. So if you are looking to do so, you are at the right place. We bring to you a perfect guide that will help you with deleting temp files from Windows 10.
How to Delete Temp Files in Windows 10
Is It Safe to Delete Temp Files from Windows 10?
Yes! It is safe to delete temp files from Windows 10 PC.
Programs used in the system create temporary files. These files are closed automatically when the associated programs are closed. But because of several reasons, this does not always happen. For example, if your program crashes in the middle of the way, then the temporary files are not closed. They remain open for a long time and enlarge in size day by day. Hence, it is always recommended to delete these temporary files periodically.
As discussed, if you find any file or a folder in your system that is no longer in use, those files are called temp files. They are neither opened by the user nor used by any application. Windows will not allow you to delete open files in your system. Hence, deleting temp files in Windows 10 is perfectly safe.
1. Temp Folder
Deleting temp files in Windows 10 is a wise choice to boost your system performance. These temporary files and folders are not necessary beyond their initial needs by the programs.
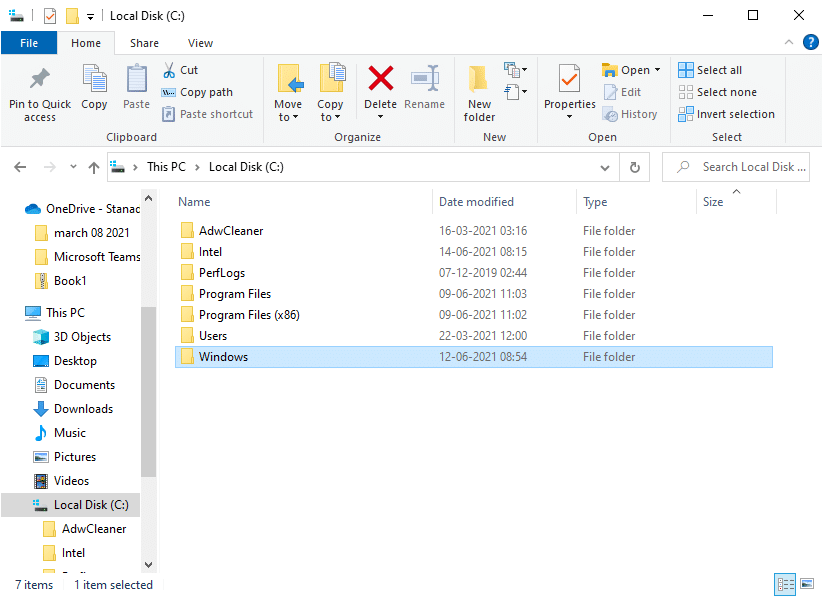
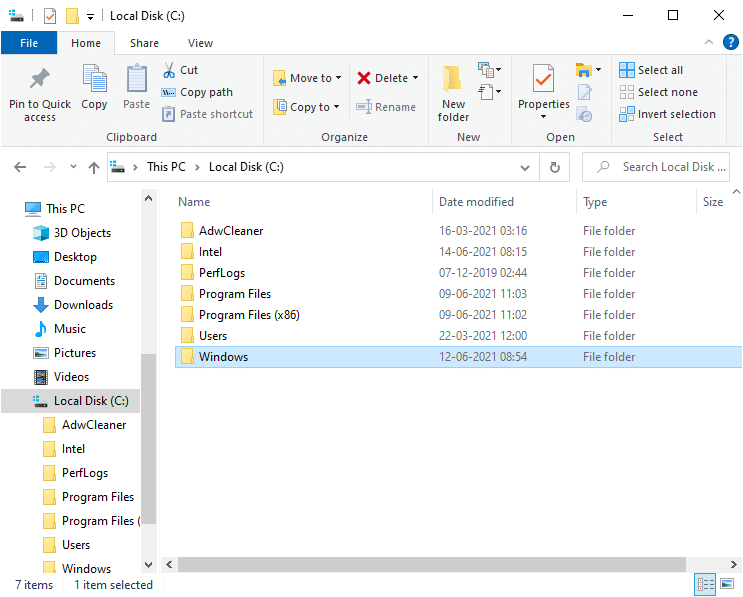
1. Navigate to Local Disk (C:) in the File Explorer
2. Here, double-click on Windows folder as depicted in the picture below.
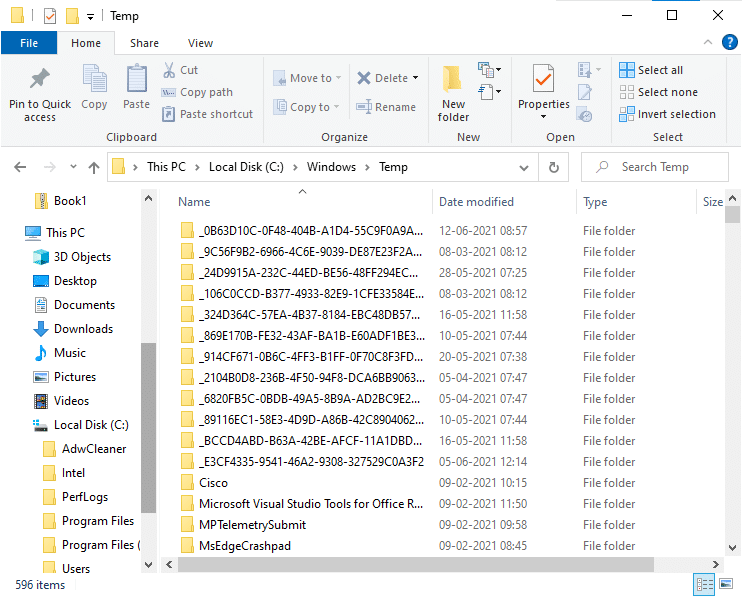
3. Now click on Temp & select all the files and folders by pressing Ctrl and A together. Hit the delete key on the keyboard.
Note: An error message will be prompted on the screen if any of the associated programs are open on the system. Skip it to continue deleting. Some temp files cannot be deleted if they are locked when your system runs.
4. Restart the system after deleting temp files from Windows 10.
How to delete Appdata Files?
1. Press Windows Key + R then type %localappdata% and hit Enter.

2. Finally, click on Temp and remove the temporary files in it.
2. Hibernation Files
The hibernation files are enormous, and they occupy huge storage space in the disk. They are never used in the day-to-day activities of the system. The hibernate mode saves all the information of open files in the hard drive and allows the computer to be turned off. All the hibernate files are stored in C:hiberfil.sys location. When the user turns ON the system, all the work is brought back up on the screen, from exactly where it was left off. The system does not consume any energy when it is in hibernate mode. But it is recommended to disable the hibernate mode in the system when you are not using it.
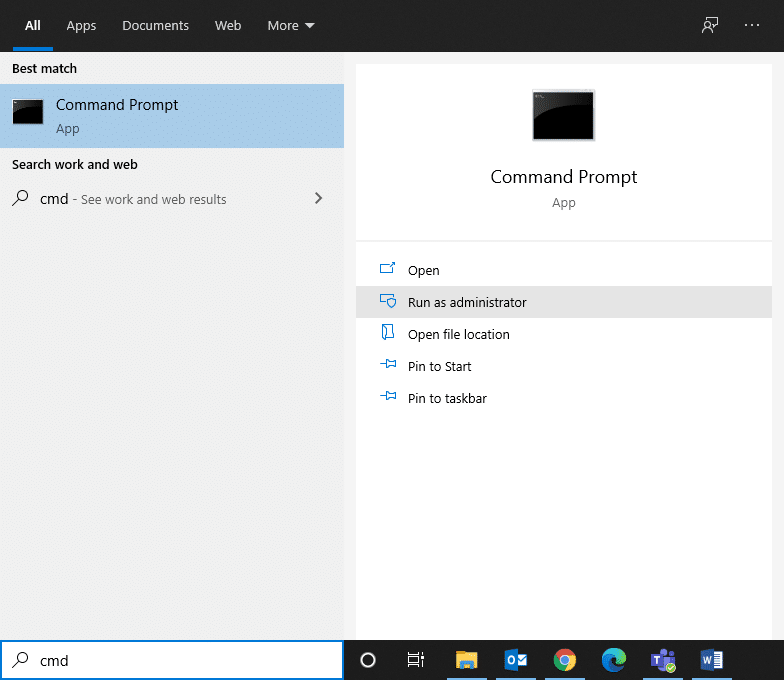
1. Type command prompt or cmd in Windows search bar. Then, click on Run as administrator.
2. Now type the following command in Command Prompt window and hit Enter:
powercfg.exe /hibernate off
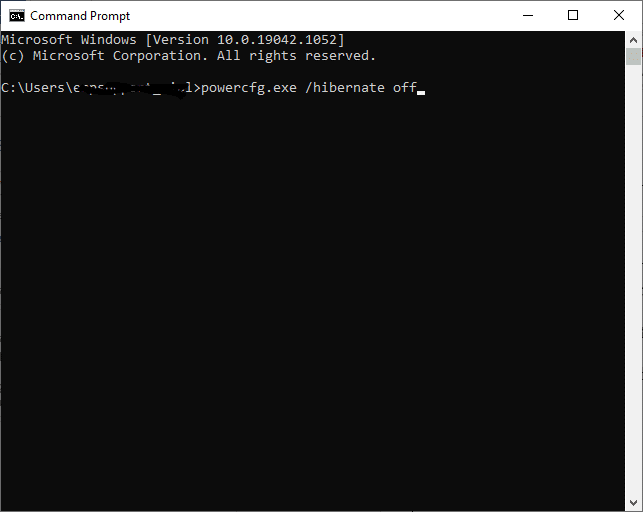
Now, the hibernate mode is disabled from the system. All the hibernate files in C:hiberfil.sys location will be deleted now. The files in the location will be deleted once you have disabled the hibernate mode.
Note: When you disable hibernate mode, you cannot achieve a fast startup of your Windows 10 system.
Also Read: [SOLVED] Unable To Execute Files In The Temporary Directory
3. Program Files Downloaded in the System
The files downloaded in the C:WindowsDownloaded Program Files folder are not used by any programs. This folder contains the files that are used by ActiveX controls and Java applets of Internet Explorer. When the same feature is utilized on a website with the help of these files, you do not need to download it again.
Program files downloaded in the system are of no use since ActiveX controls, and Java applets of Internet Explorer are not used by people nowadays. It occupies disk space unnecessarily, and hence, you should clear them in periodic intervals of time.
This folder often seems to be empty. But, if there are files in it, delete them by following this process:
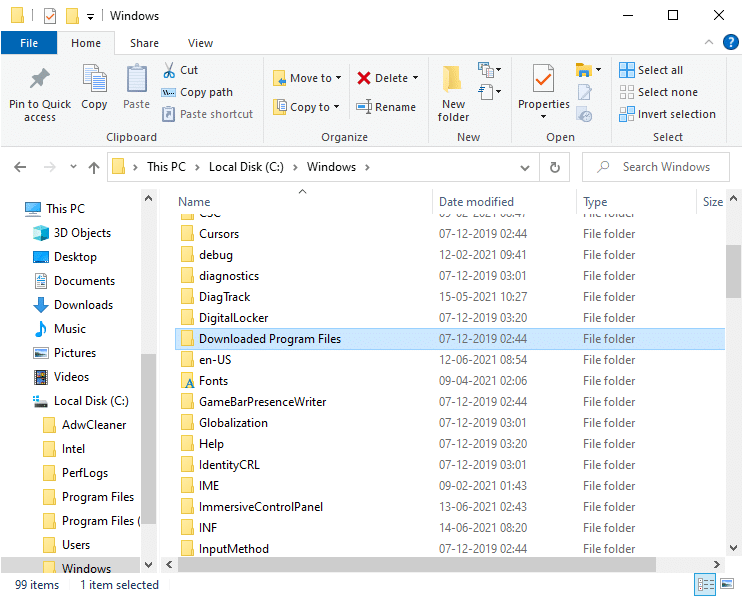
1. Click on to Local Disk (C:) followed by double-clicking on the Windows folder as shown in the below picture.
2. Now, scroll down and double-click on the Downloaded Program Files folder.
3. Select all the files stored here, and hit the Delete key.
Now, all the downloaded program files are removed from the system.
4. Windows Older Files
Whenever you upgrade your Windows version, all the files of the earlier version are saved as copies in a folder marked Windows Older Files. You can use these files if you wish to go back to the older version of Windows available before the update.
Note: Before deleting the files in this folder, backup the file you want to use later (the files necessary to switch back to previous versions).
1. Click on your Windows key and type Disk Cleanup in the search bar as shown below.
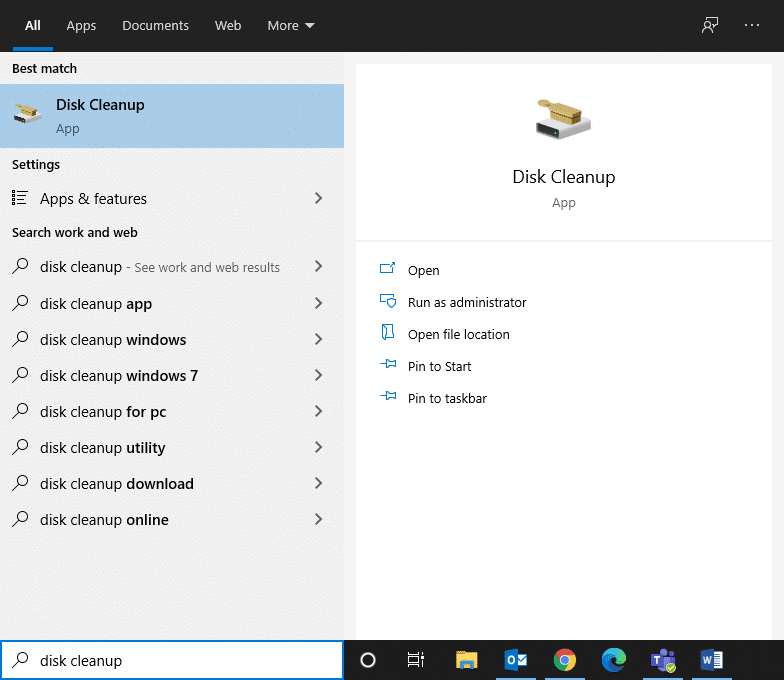
2. Open Disk Cleanup from the search results.
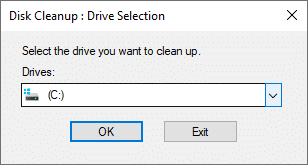
3. Now, select the drive you want to clean.
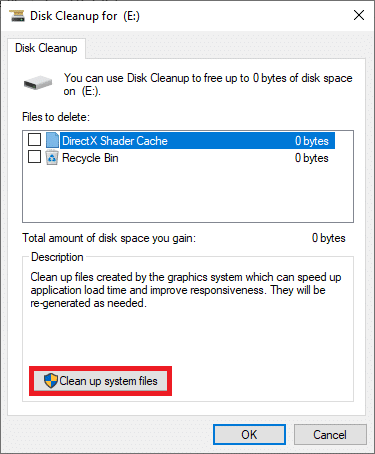
4. Here, click on Clean up system files.
Note: Windows removes these files automatically every ten days, even if they are not deleted manually.
5. Now, go through the files for Previous Windows installation(s) and delete them.
All the files in C:Windows.old location will be deleted.
5. Windows Update Folder
The files in the C:WindowsSoftwareDistribution folder are recreated every time there’s an update, even after deletion. The only way to tackle this problem is to disable Windows Update Service on your PC.
1. Click on the Start menu and type Services.
2. Open the Services window and scroll down.
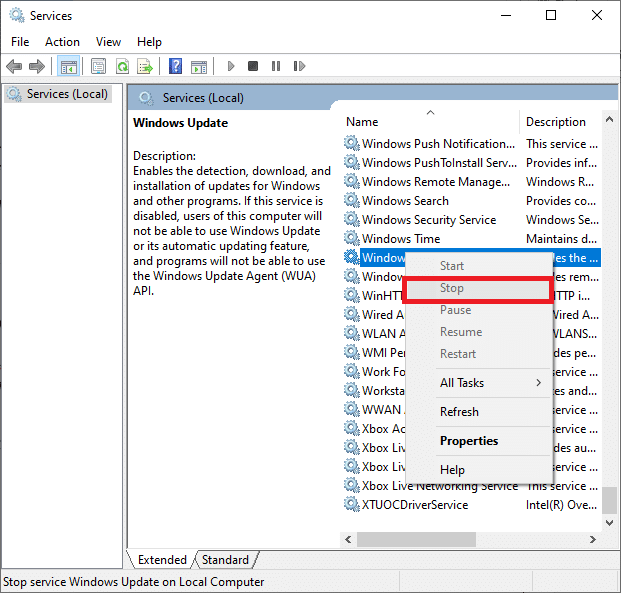
3. Now, right-click on Windows Update and select Stop as depicted in the picture below.
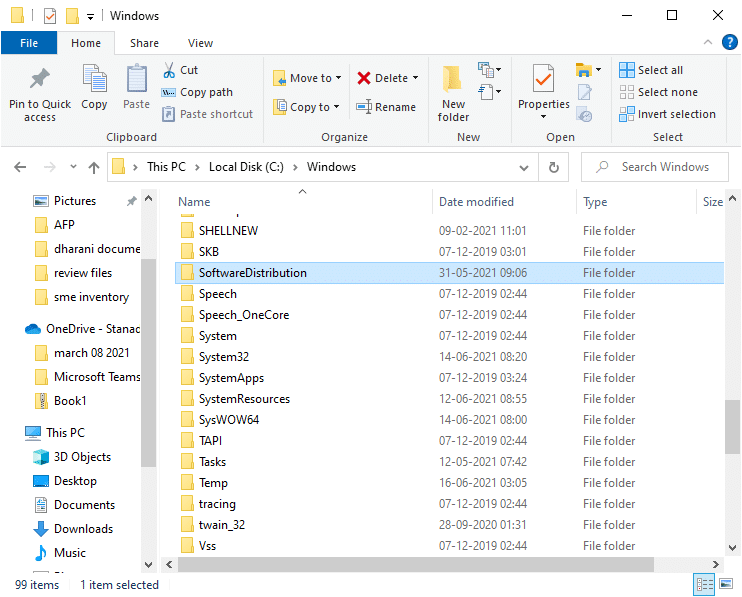
4. Now, navigate to Local Disk (C:) in the File Explorer
5. Here, double-click on Windows and delete the SoftwareDistribution folder.
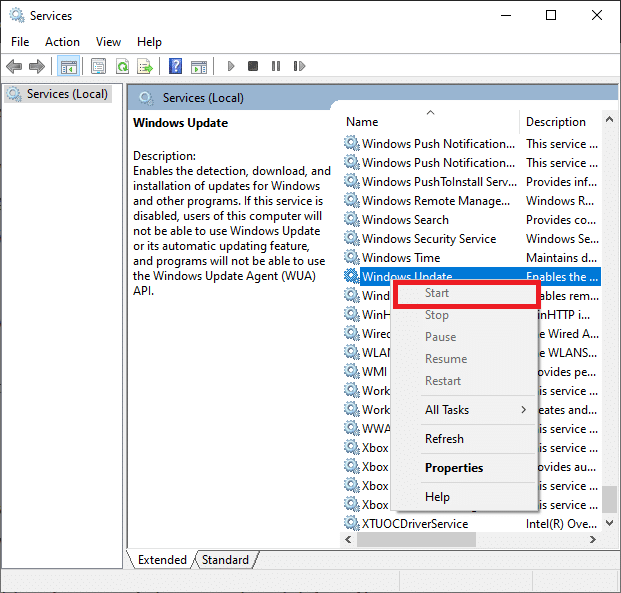
6. Open the Services window again and right-click on Windows Update.
7. This time, select Startas depicted in the below picture.
Note: This procedure can also be used to bring Windows Update back to its original state if the files have gotten corrupt. Be cautious while deleting the folders because some of them are placed in protected/hidden locations.
Also Read: Unable to empty Recycle Bin after Windows 10 Creators Update
6. Recycle Bin
Although recycle bin is not a folder, a bulk of junk files are stored here. Windows 10 will automatically send them to the recycle bin whenever you delete a file or a folder.
You can either restore/delete the individual item from the recycle bin or if you want to delete/restore all the items, click on Empty Recycle Bin/ Restore all items, respectively.
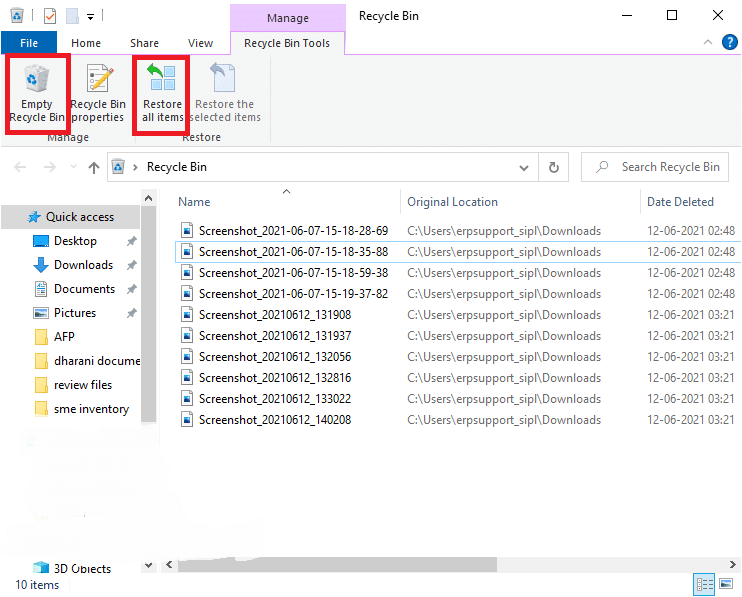
If you do not want to move items to recycle bin once deleted, you can choose to remove them from your computer directly as:
1. Right-click on the Recycle bin and select Properties.
2. Now, check the box titled “Don’t move files to the Recycle Bin. Remove files immediately when deleted” and click OK to confirm the changes.
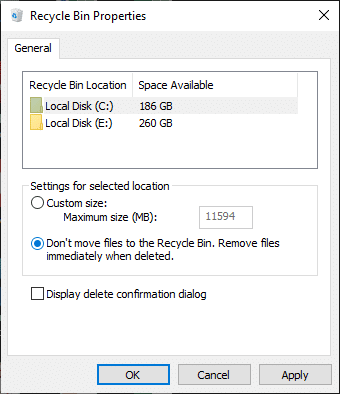
Now, all the deleted files and folders will no longer be moved to Recycle bin; they will be deleted from the system permanently.
7. Browser Temporary Files
The cache acts as a temporary memory that stores the web pages you visit and fastens your surfing experience during subsequent visits. Formatting issues and loading problems can be solved by clearing the cache and cookies on your browser. Browser temporary files are safe to be deleted from a Windows 10 system.
A. MICROSOFT EDGE
1. Press Windows Key + R then type %localappdata% and hit Enter.
2. Now click on Packages and select Microsoft.MicrosoftEdge_8wekyb3d8bbwe.
3. Next, navigate to AC, followed by MicrosoftEdge.
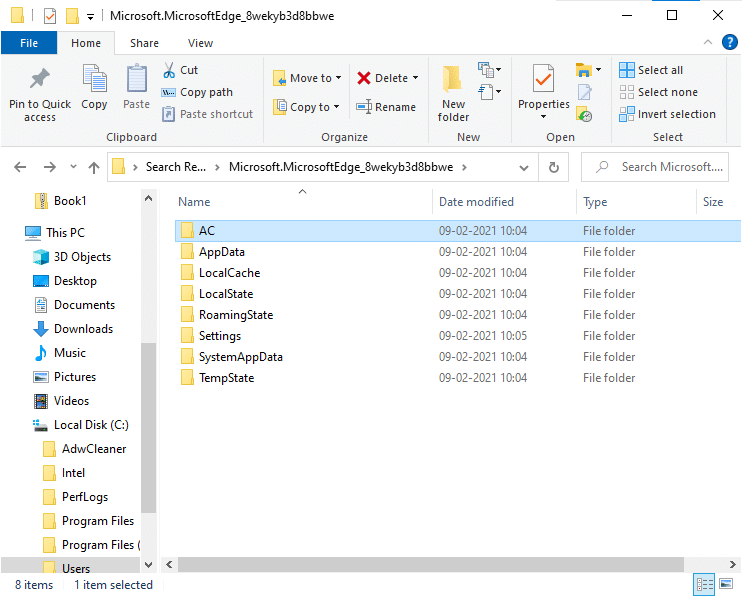
4. Finally, click on Cache and Delete all the temporary files stored in it.
B. INTERNET EXPLORER
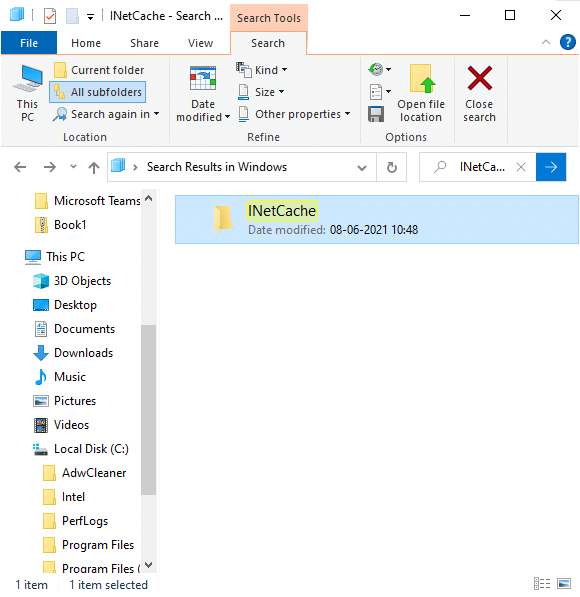
1. Press Windows Key + R then type %localappdata% and hit Enter.
2. Here, click on Microsoft and select Windows.
3. Finally, click on INetCache and remove the temporary files in it.
C. MOZILLA FIREFOX
1. Press Windows Key + R then type %localappdata% and hit Enter.
2. Now, click on Mozilla and select Firefox.
3. Next, navigate to Profiles, followed by randomcharacters.default.
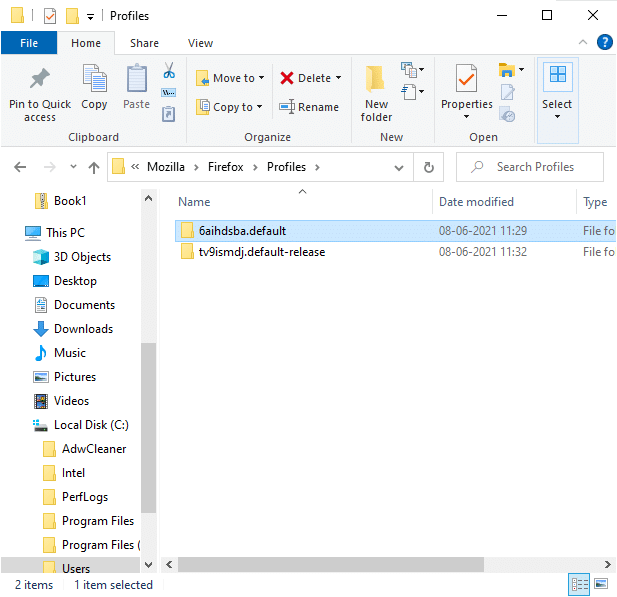
4. Click on cache2 followed by entries to delete the temporary files stored here.
D. GOOGLE CHROME
1. Press Windows Key + R then type %localappdata% and hit Enter.
2. Now, click on Google and select Chrome.
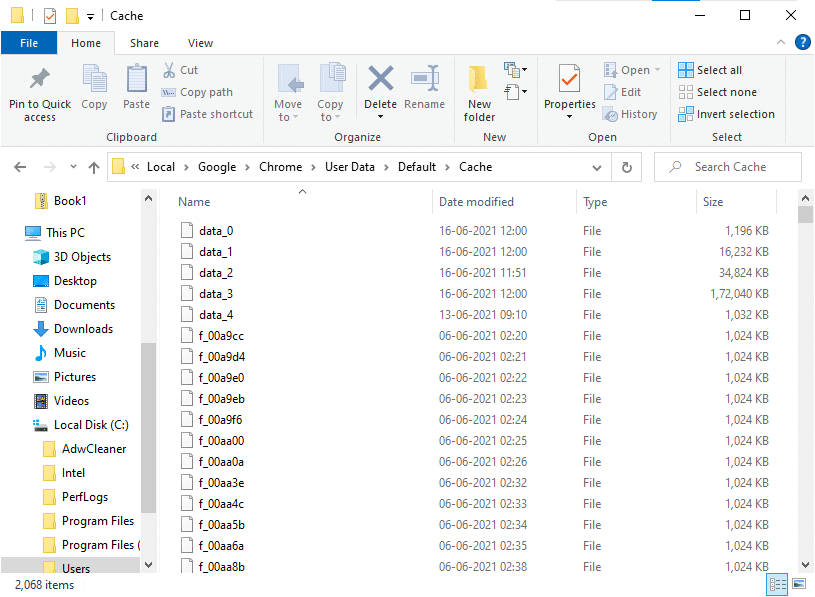
3. Next, navigate to User Data, followed by Default.
4. Finally, click on Cache and remove the temporary files in it.
After following all the above methods, you will have cleared all the temporary browsing files safely from the system.
8. Log Files
The systematic performance data of applications are stored as log files on your Windows PC. It is recommended to delete all the log files safely from the system to save storage space and boost the performance of your system.
Note: You should only delete the files that end in “.LOG” and leave the rest as they are.
1. Navigate to C:Windows.
2. Now, click on Logs as depicted in the picture below.
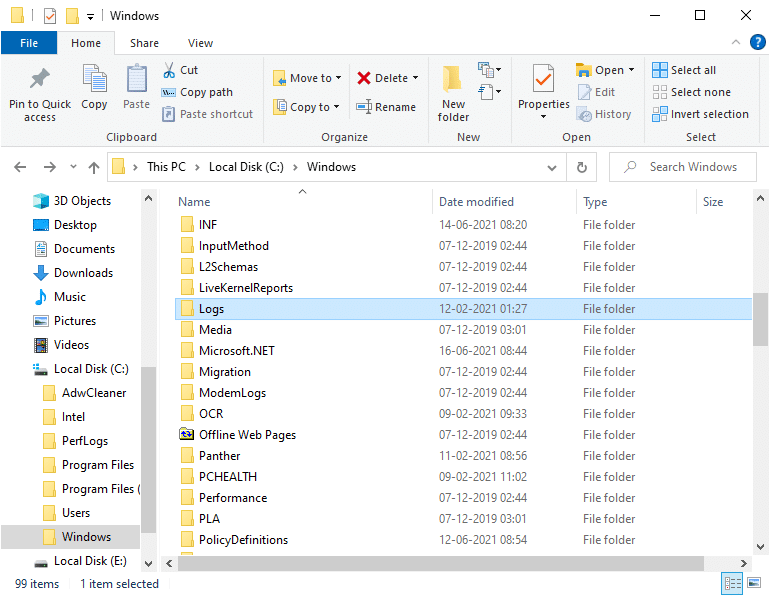
3. Now, delete all the log files that have .LOG extension.
All the log files in your system will be removed.
Also Read: How to Repair Corrupted System Files in Windows 10
9. Prefetch Files
Prefetch files are temporary files that contain the log of frequently used applications. These files are used to reduce the booting time of applications. All the contents of this log are stored in a hash format so that they cannot be decrypted easily. It is functionally similar to cache and at the same time, it occupies disk space to a greater extent. Follow the below procedure to remove Prefetch files from the system:
1. Navigate to C:Windows as you did earlier.
2. Now, click on Prefetch.
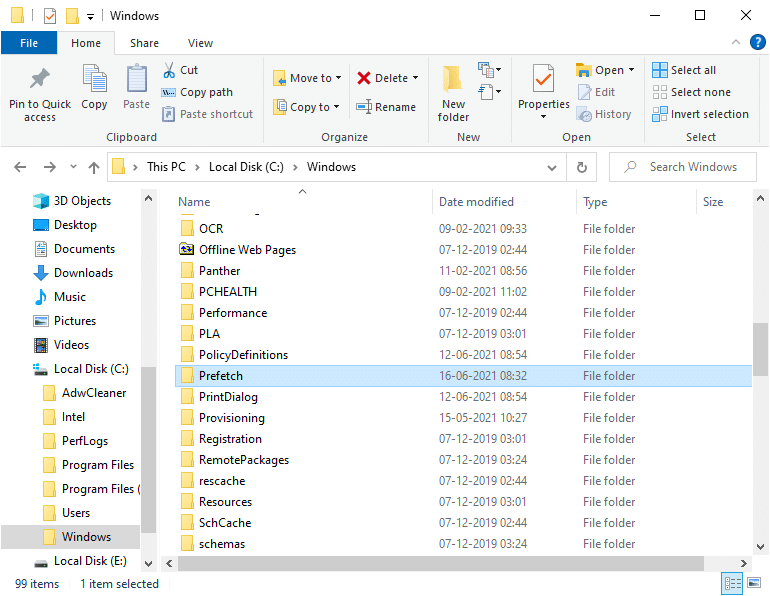
3. Finally, Delete all the files in the Prefetch folder.
10. Crash Dumps
A crash dump file stores the information belonging to each specific crash. It contains information about all the processes and drivers that are active during the said crash. Here are some steps to delete crash dumps from your Windows 10 system:
1. Press Windows Key + R then type %localappdata% and hit Enter.
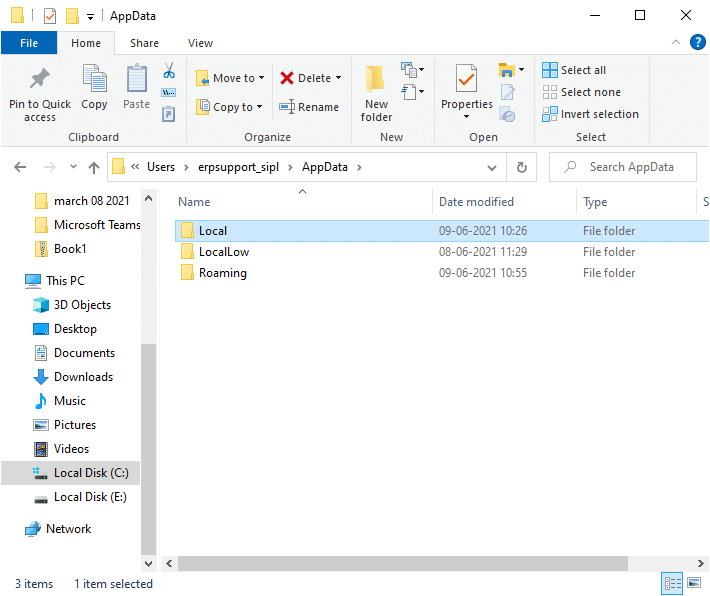
2. Now, click on CrashDumps and delete all the files in it.
3. Again, navigate to the Local folder.
4. Now, navigate to Microsoft > Windows > WER.
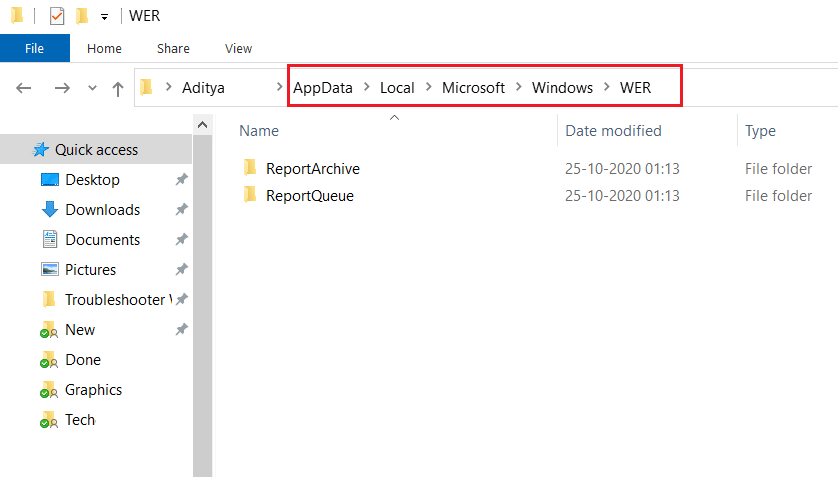
5. Double-click on ReportArchive and delete the temporary crash dump files from here.
Recommended:
We hope that this guide was helpful and you were able to delete temp files on your Windows 10 PC. Let us know how much storage space you could save with the help of our comprehensive guide. If you have any queries/comments regarding this article, then feel free to drop them in the comments section.