10 Ways To Back Up Your Android Phone Data [GUIDE]

Back Up Your Android phone are important. Without a backup, you could lose all the data on your phone such as photos, videos, files, documents, contacts, text messages, etc. In this article, we will make sure your important data is always protected with this easy-to-follow Android backup guide.
Evidently, your Android device is a part of everything that is going on in your life. Your phone plays a more important role than PCs or laptops right now. It contains all your contact numbers, cherished memories in the form of pictures and videos, essential documents, interesting apps, etc., etc.
Of course, these features come in handy when you have your Android device with you, but what if you lose your phone or it gets stolen? Or maybe you want to change your Android device and get a new one? How will you manage to transfer the entire cluster of data to your current phone?
Well, this is the part where backing up your phone plays a big role. Yes, you are right. Backing up your data regularly will keep it safe and sound, and you can retrieve it anytime you want. There are numerous defaults as well as third-party applications that you can download from Google Play Store in order to make this work.
If that does not work for you, you can use your computer or laptop instead and transfer files manually. Don’t worry; we have got infinite solutions for you. We have jotted down a number of tips and tricks in order to help you. So, what are you waiting for? Let’s check them out!
See Also:
8 Ways to Fix Android Text Messages Stuck Downloading Error
17 Best Free Font Apps for Android Smartphone Users
7 Ways to Fix WhatsApp Not Syncing Contacts on Android
How to Search Snapchat by Phone Number
Fix Purple Screen of Death on Samsung Phone
Worried about losing your data? Back up your Android Phone Now!
#1 How to back up a Samsung Phone?
For all the ones who are crushing over a Samsung phone, you should definitely check the Samsung Smart Switch app out. You will simply have to download the Smart Switch app on your old as well as and latest device.
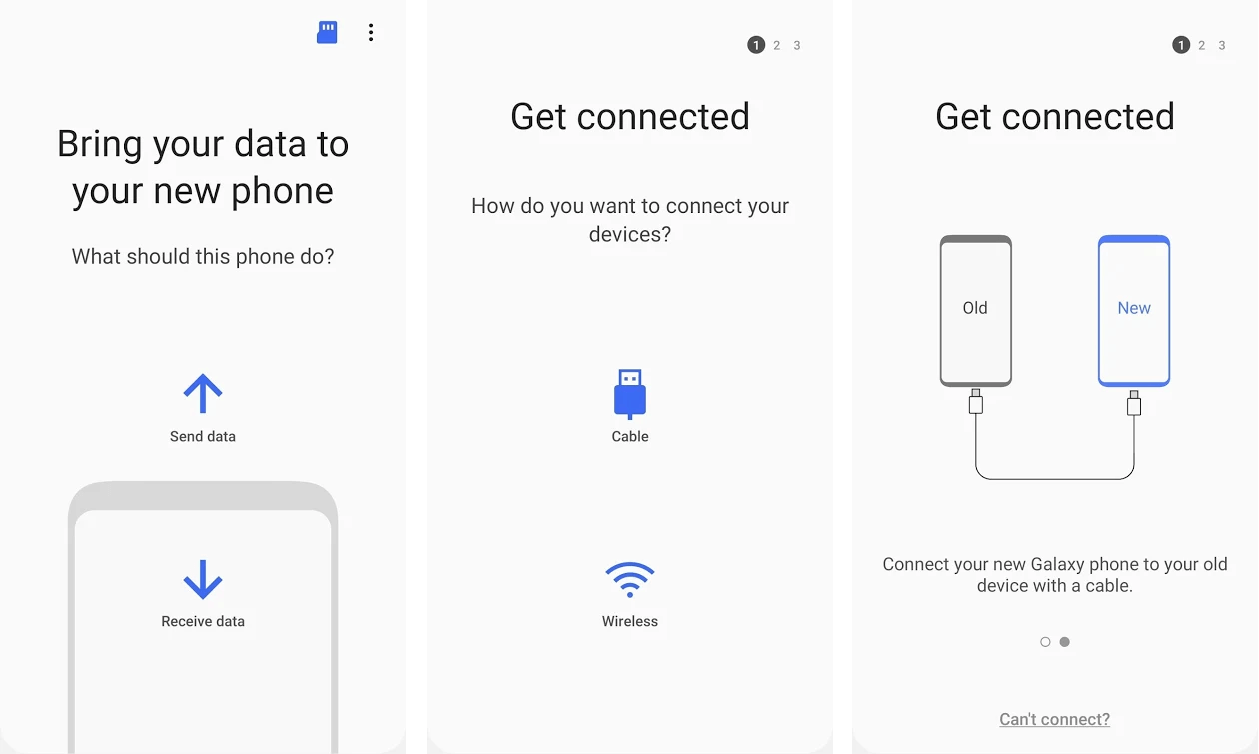
Now, you can just sit back and relax while you transfer all of the data either wirelessly or by using a USBCable. This one app is so useful that it can transfer almost everything from your phone to your PC, such as your call history, contact number, SMS text messages, photos, videos, calendar data, etc.
Follow these steps in order to use the Smart Switch app to back up your data:
1. Download and install the Smart Switch app on your Android device (the old one).
2. Now, click on the Agree button and allow all the necessary Permissions.
3. Now choose between USBCables and Wireless on the basis of which method do you want to use.
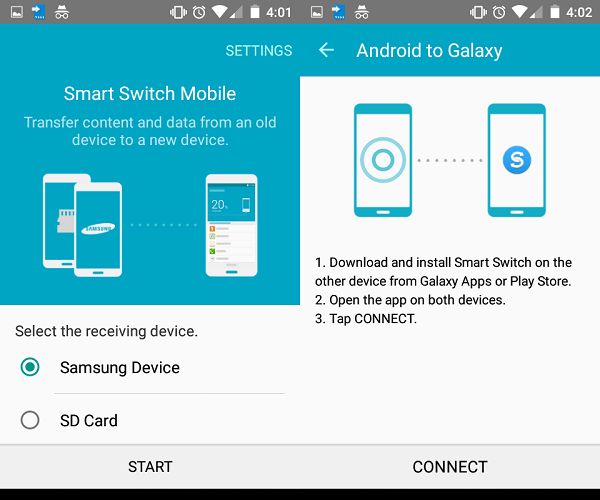
Once that is done, you can easily transfer the files and data by just following the basic instructions.
#2 How to back up photos & videos on Android
Well, who does not like capturing moments for later times, right? Our Android devices have so many amazing features. Amongst them, one of my favorites is the camera. These compact yet very convenient devices help us make memories and capture them forever.
From taking a bunch of selfies to capturing a live music festival you attended last summer, from family portraits to your pet dog giving you those puppy eyes, you can get a hold of all these memories in form of pictures and store them for eternity.
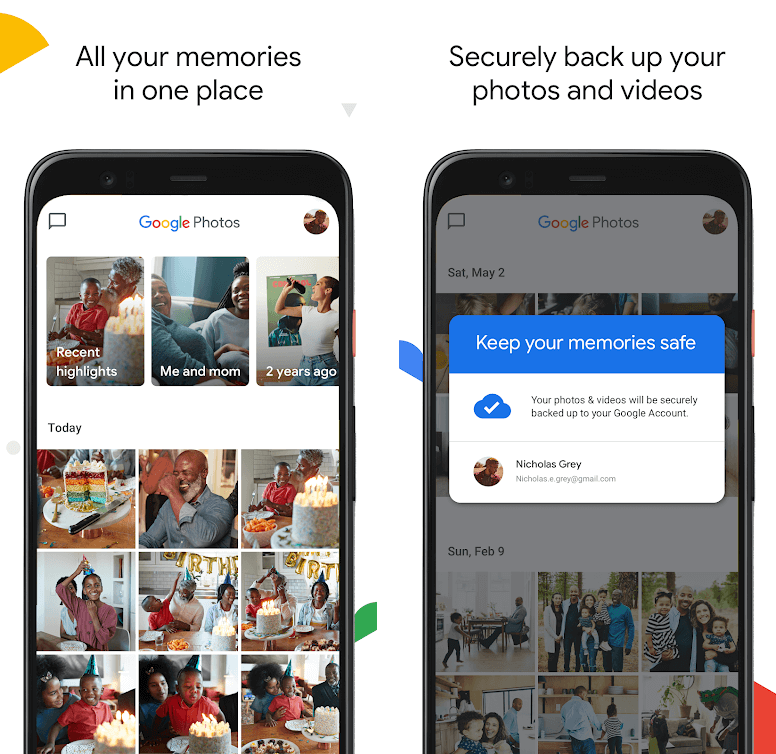
Of course, no one would like to lose out on such blissful memories. So, it is really important for you to back your photos and videos from time to time on your Cloud Storage. Google Photos is a perfect app for that. Google Photos does not even cost you anything, and it offers you an unlimited cloud backup for photos and videos.
To learn how to back up photos using Google photos, follow these steps:
1. Go to Google Play Store and search for the app Google Photos.
2. Tap on the install button and wait for it to download completely.
3. Once it is done, set it up and grant the necessary permissions.
4. Now, launch the Google Photos app.
5. Log in to your Google account by an outing in the right credentials.
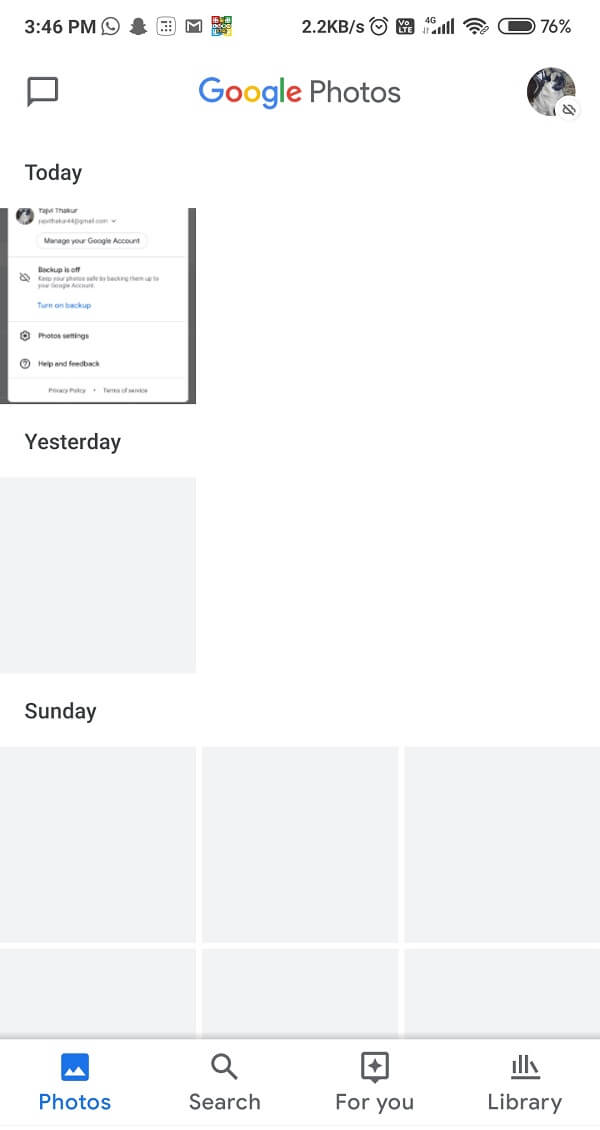
6. Now, select your profile picture icon present at the top right corner of the screen.
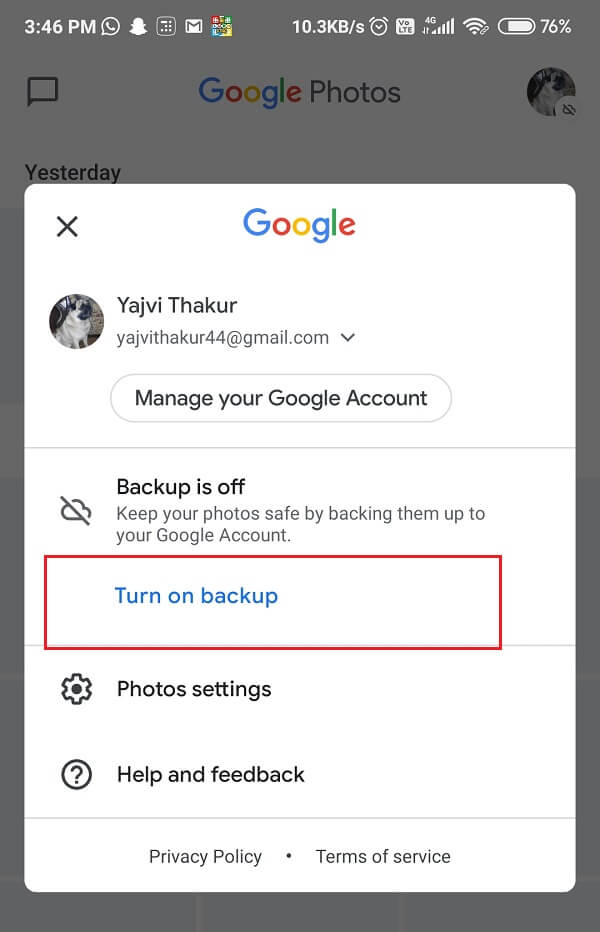
7. From the drop-down list, select Turn on Back up button.
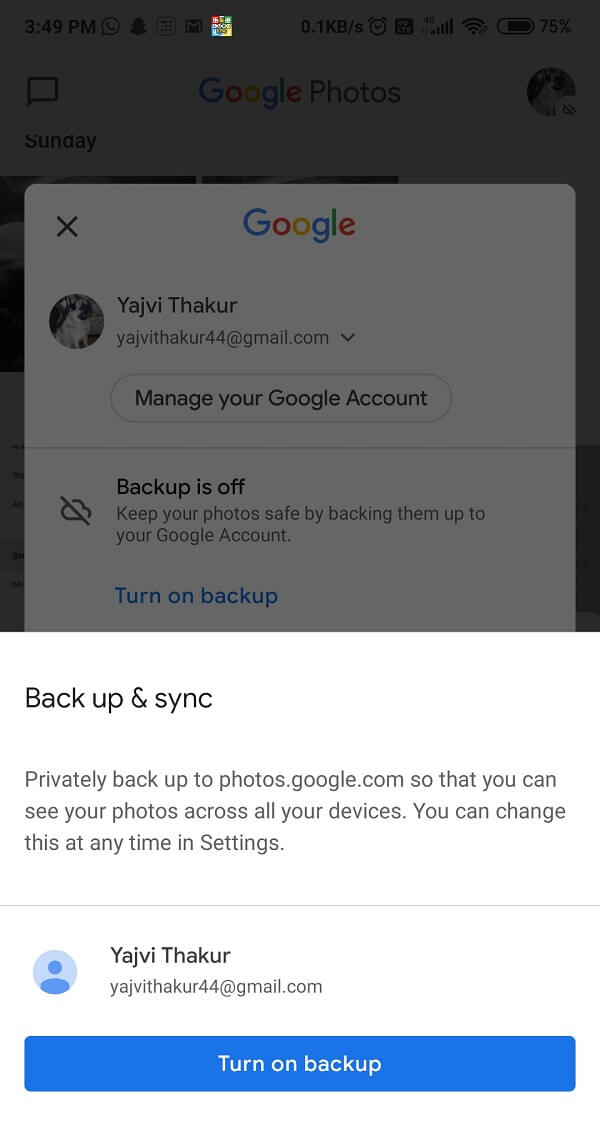
8. After doing so, Google Photos will now back up all of the photos and videos on your Android device and save them in the cloud on your Google account.
Please keep in mind that if you have too many photos and videos saved in your device, it might take a little while in order to transfer them to your Google Account. So try to be patient.
Time for some good news, from now onwards, Google Photos will automatically save any new pictures or videos that you capture on its own, provided you have an active internet connection.
Although Google Photos is all for free, and it provides you with unlimited backups of pictures and videos, it might lower the resolution of the snaps. Even though they are labeled as “high quality,” they will not be as sharp as the original images or videos.
If in case you want to back up your pictures in their full, HD, original resolution, check out Google One Cloud Storage, of which we will tell you more in a bit.
Also Read: 3 Ways to Recover your Deleted Photos on Android
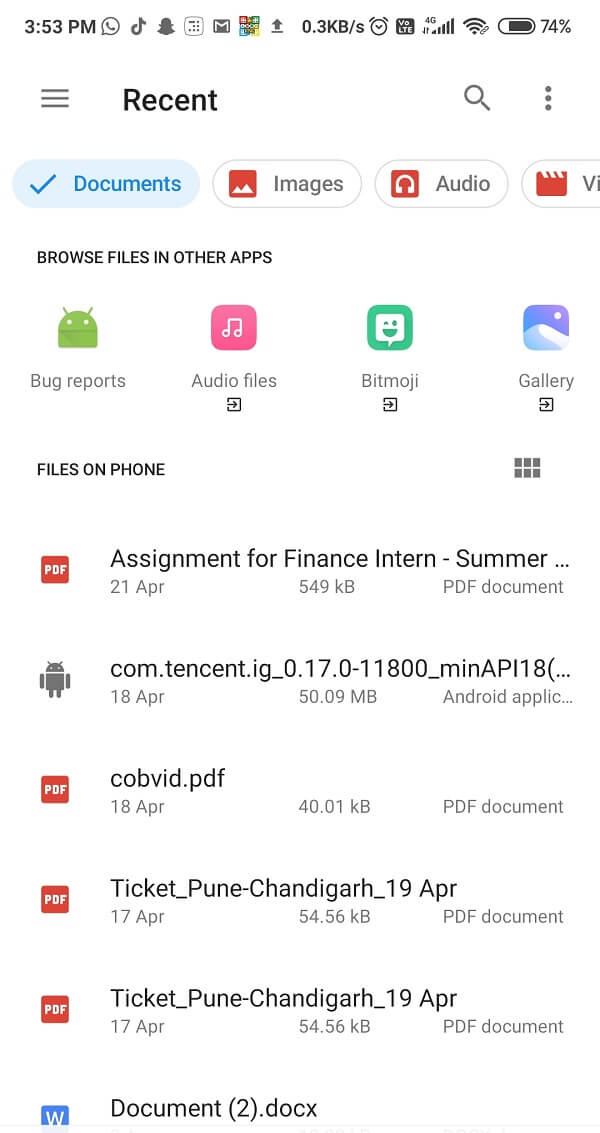
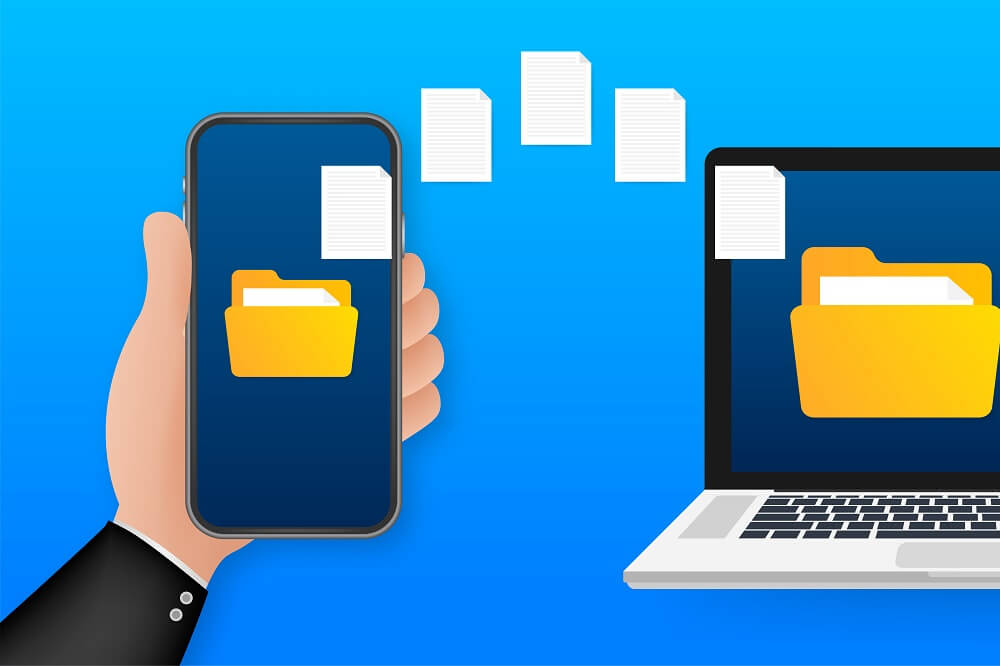
#3 How to back up files & documents on Android Phone
I guess just backing up all your photos and videos won’t be enough, as we need to think about our important files and documents too. Well, for that, I would suggest you use either Google Drive or Dropbox Cloud Storage.
Interestingly, these two cloud storage apps let you save all your important files such as word documents, PDFs file, MS presentations, and other file types and keep them safe & sound on the Cloud storage.
Follow these steps to Backup your files on Google Drive:
1. Go to the Google Drive app on your phone and open it.
2. Now, look for the + sign present at the bottom right corner of the screen and tap it.

3. Simply click on the Upload button.
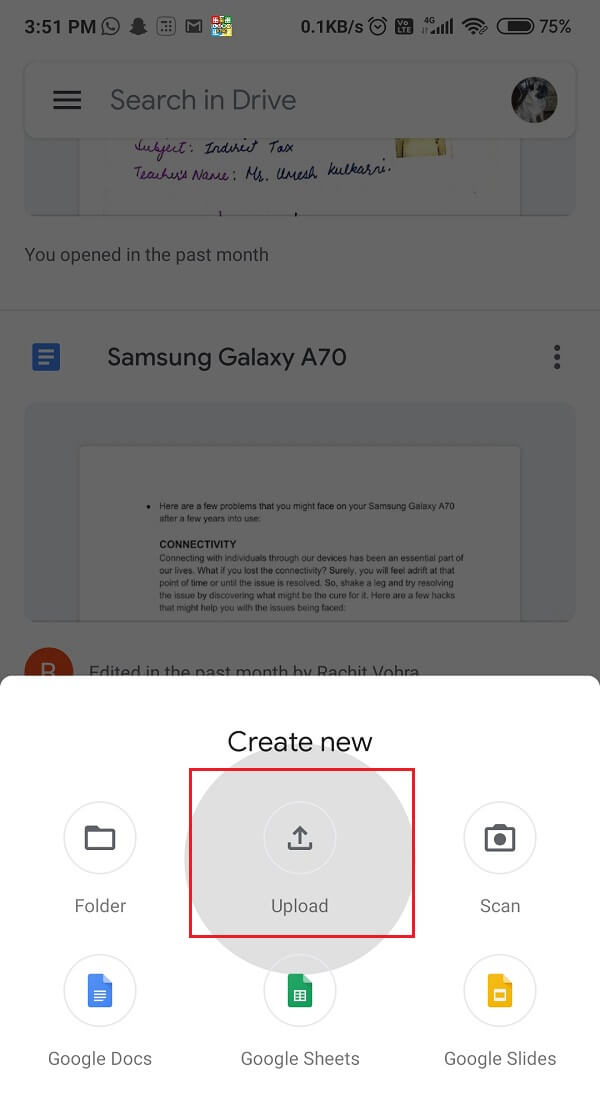
4. Now, choose the files which you want to upload and click on the Upload button.
Google Drive gives you a good 15GB of free storage. In case you require more memory, you will need to pay according to Google Cloud pricing.
Also, Google One app provides extra storage. Its plans start at $1.99 per month for 100 GB memory. It also has other such favorable options like 200GB, 2TB, 10TB, 20TB, and even 30TB, which you can choose from.
Try Using Dropbox Cloud Storage
You can also try using the Dropbox Cloud Storage instead of Google Drive.

Steps to backup files using Dropbox are as follows:
1. Visit the Google Play Store and download & install the Dropbox App.
2. Click on the install button and wait until it is downloaded.
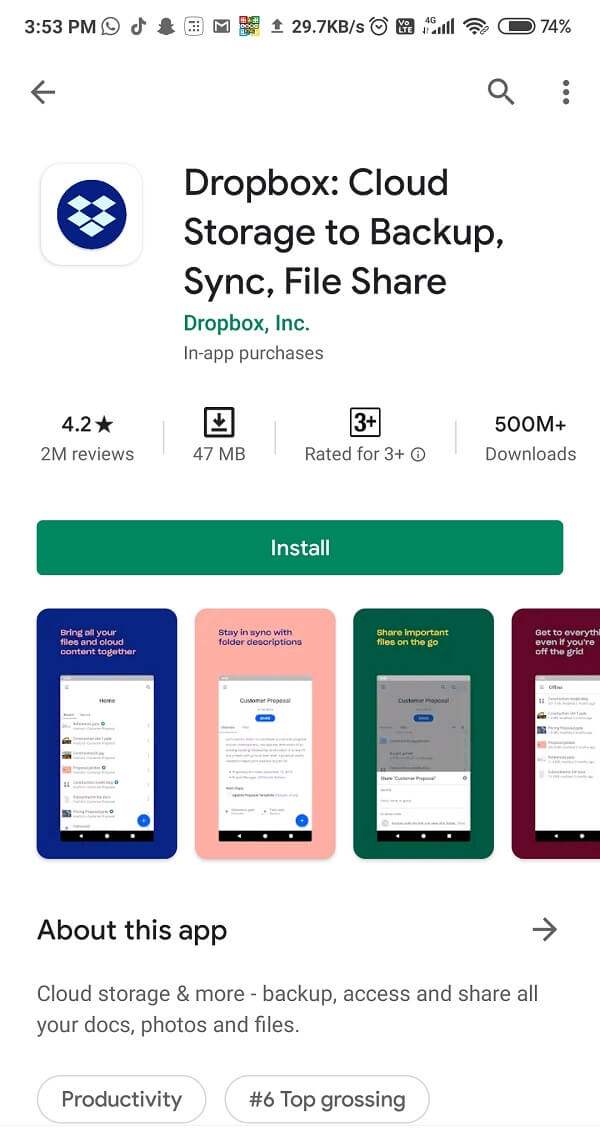
3. Once that is done, launch the Dropbox app on your phone.
4. Now, either Sign up with a new account or log in with Google.
5. Once logged in, tap on the option saying Add Directories.
6. Now find the button ‘files to sync list’ and select it.
7. Finally, add the files that you want to back up.
The only drawback of Dropbox is that it only offers 2 GB of free storage as compared to Google Drive, which gives you a good 15 GB of free space.
But of course, if you spend some money, you can upgrade your package and get Dropbox Plus, which comes with 2TB of storage and costs around $11.99 a month. In addition to that, you also get a 30-day file recovery, Dropbox Smart Sync, and other such features.
#4 How to back up SMS Text Messages on your Phone?
If you are one of those Facebook Messenger or Telegram users, then it is pretty easy for you to access your already existing messages on your new device. You just need to log in to your account, and that’s it. But, for those who still use SMS text messages, things can be a bit more complicated for you.
In order to restore your previous SMS text messages, you will have to download a third-party app from Google Play Store and back up your data. There is no other way to retrieve your conversations otherwise. After backing up your data on your old device, you can easily restore it on your new phone using the same third-party app.
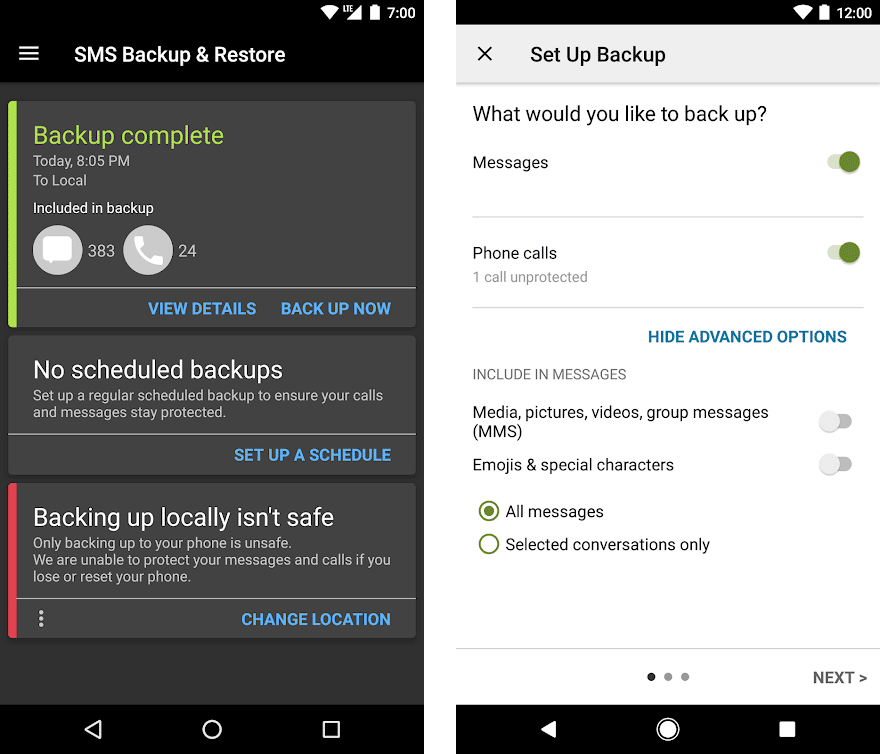
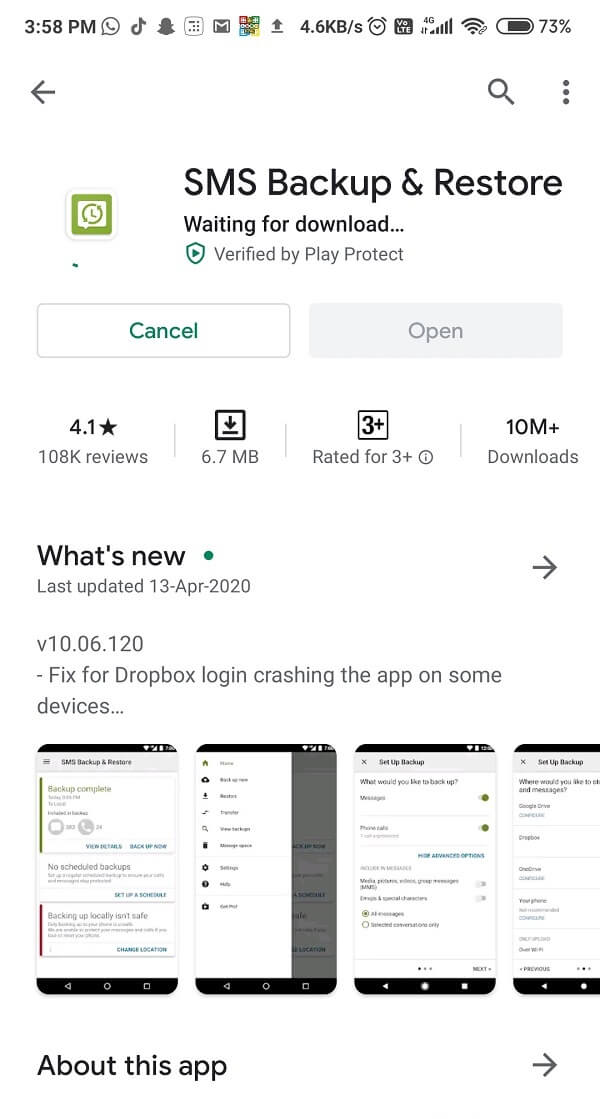
You can download the SMS Backup & Restore app by SyncTech from Google Play Store in order to back up your SMS text messages. Moreover, it is for free and is quite simple and easy to use.
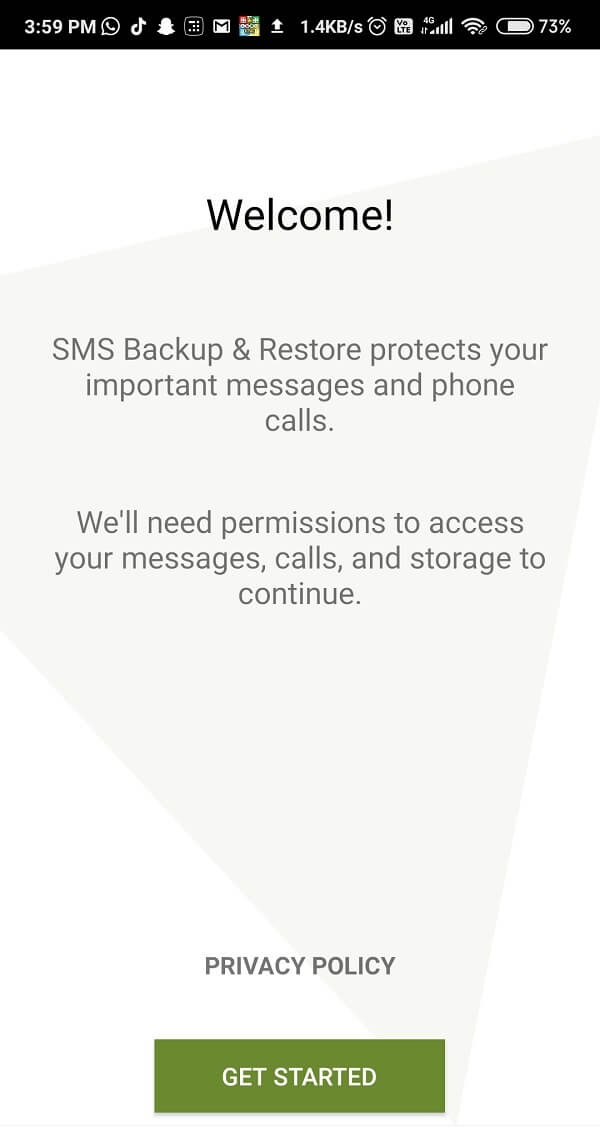
Steps to back up text messages using the SMS Backup & Restore app are as follows:
1. Go to Google Play Store and download & Install SMS Backup & Restore.
2. Click on Get Started.
3. Now, select the button saying, Set Up A Backup.
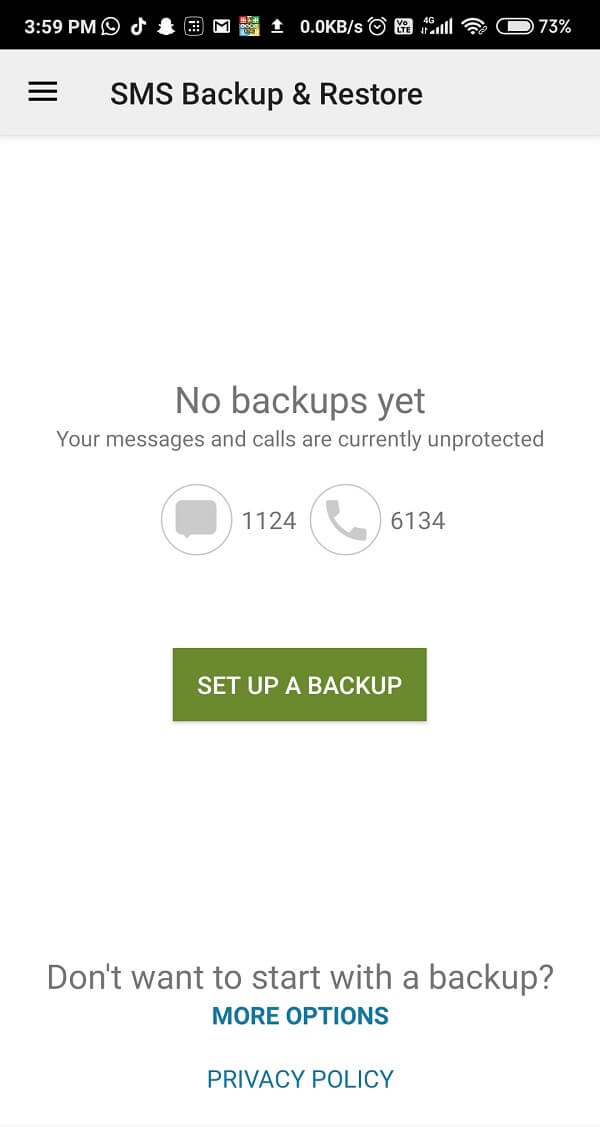
4. Finally, you will be able to Backup your selective or maybe all the text messages and press on Done.
You not only get the option to back up your SMS Text messages but you can also back up your call history too.
Also Read: Recover Deleted Text Messages on an Android Device
#5 How to back up Contact Numbers on Android?
How can we forget about backing up our contact numbers? Don’t worry, backing up your contacts is easy with Google Contacts.
Google Contacts is one such application that will help you restore your contact numbers. Some devices, such as pixel 3a and Nokia 7.1, have it pre-installed. However, there are chances that the OnePlus, Samsung, or LG mobile users use the apps which are made by their respective manufacturers only.
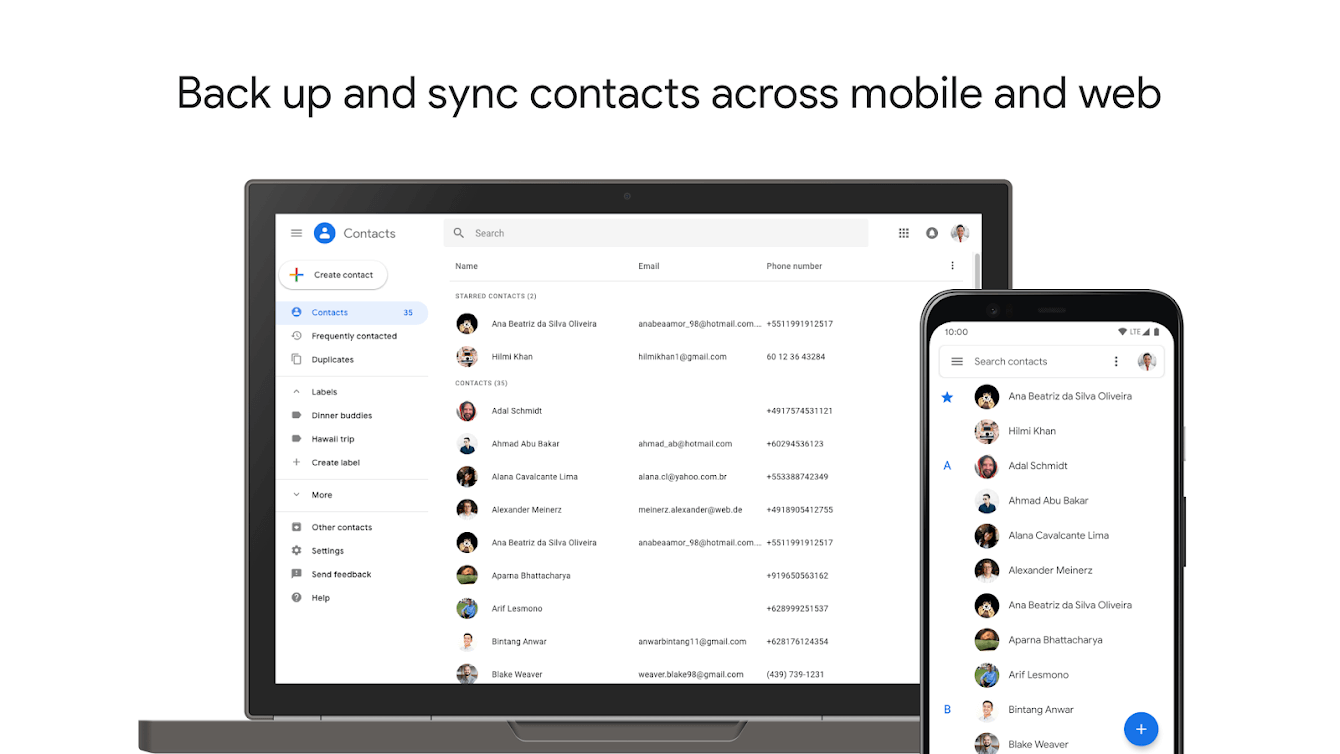
In case you already have this application on your Android device, you have to download it on your new phone and log in using your Google account. After that, your contacts will automatically sync on your new device. In addition, Google Contacts also has some awesome tools for importing, exporting, and restoring contact details and files.
Follow these steps to back up your contact numbers using the Google Contacts app:
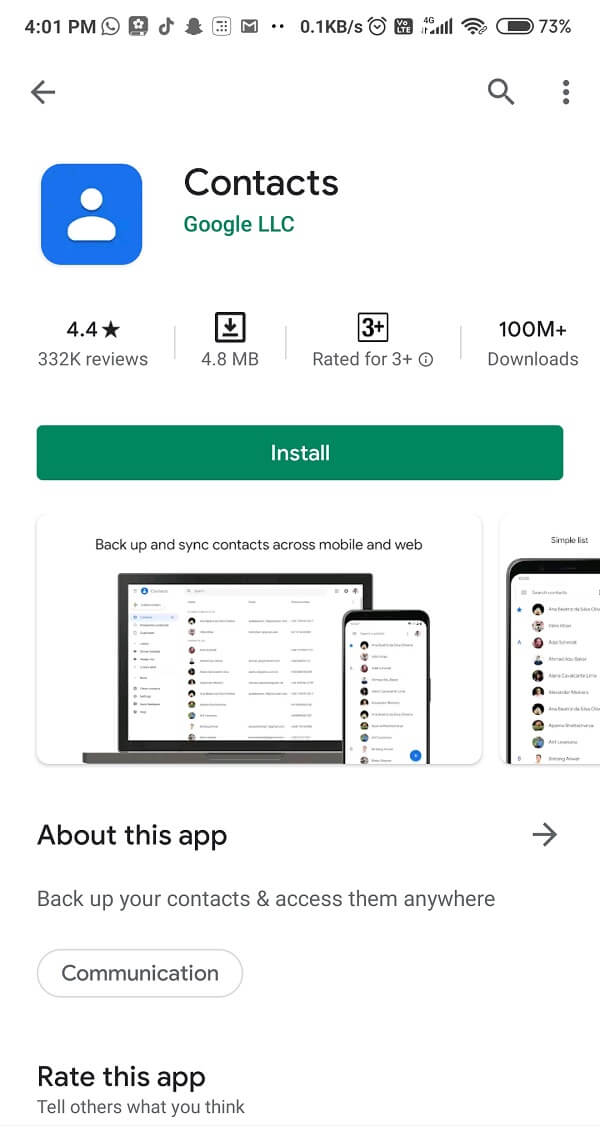
1. Download and Install the Google Contacts app from the Play Store.
2. Find the Menu button on the top left corner of the screen and click on Settings.
3. Now, you will be able to import your .vcf files and export contact numbers from your Google account.
4. Finally, press on the Restore button in order to retrieve the contact numbers you have saved in your Google account.
#6 How to back up apps on Android Device?
It’s tedious to remember which app you were using on your old device and without backing up your apps, all your information will be deleted. So, it’s crucial to back up your apps on your Android device using the following steps:
1. Look for the Settings option on your Android Device.
2. Now, click on About Phone / System.
3. Click on the Backup & reset.

4. A new page will open. Under the Google Backup and reset section, you will find an option saying, ‘Back up my data’.
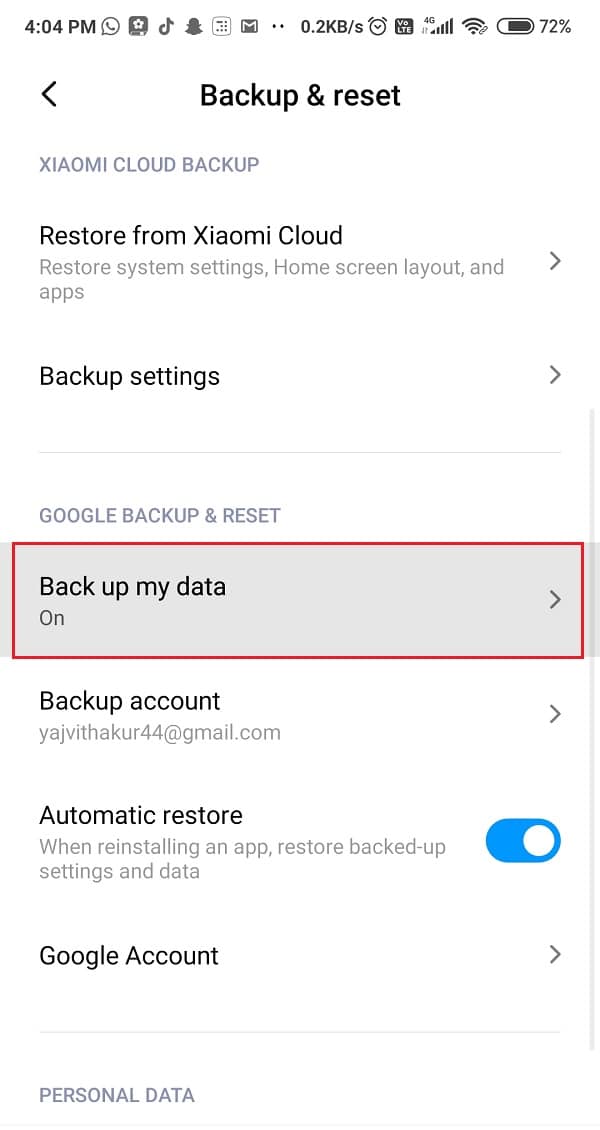
5. Toggle that button On, and you are good to go!
#7 Use Google to back up your Settings
Yes, you can back up the settings of your phone, crazy, right? Some customized settings, such as wireless network preferences, bookmarks, and custom dictionary words, can be saved to your Google account. Let’s see how:
1. Tap on the Settings icon and then find the Personal option.
2. Now, click on the Backup and reset button.
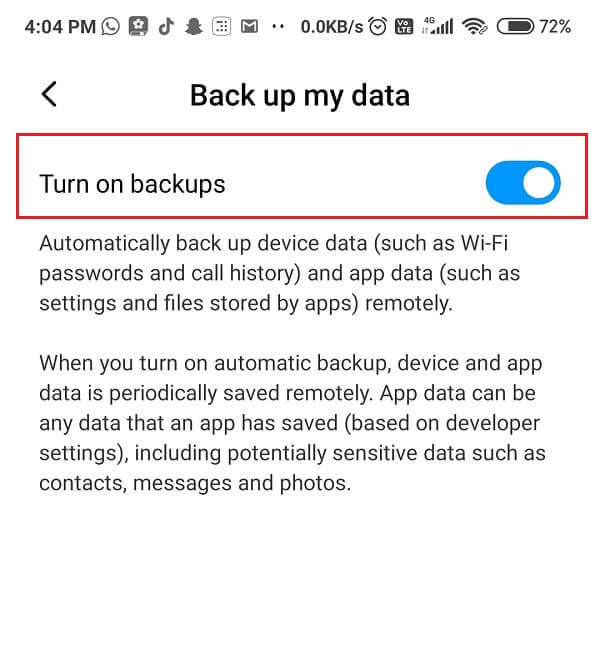
3. Toggle on the buttons saying, ‘Back up my data’ and ‘Automatic Restore’.
Or else
4. Go to your Settings option and find Accounts and Sync under the Personal section.
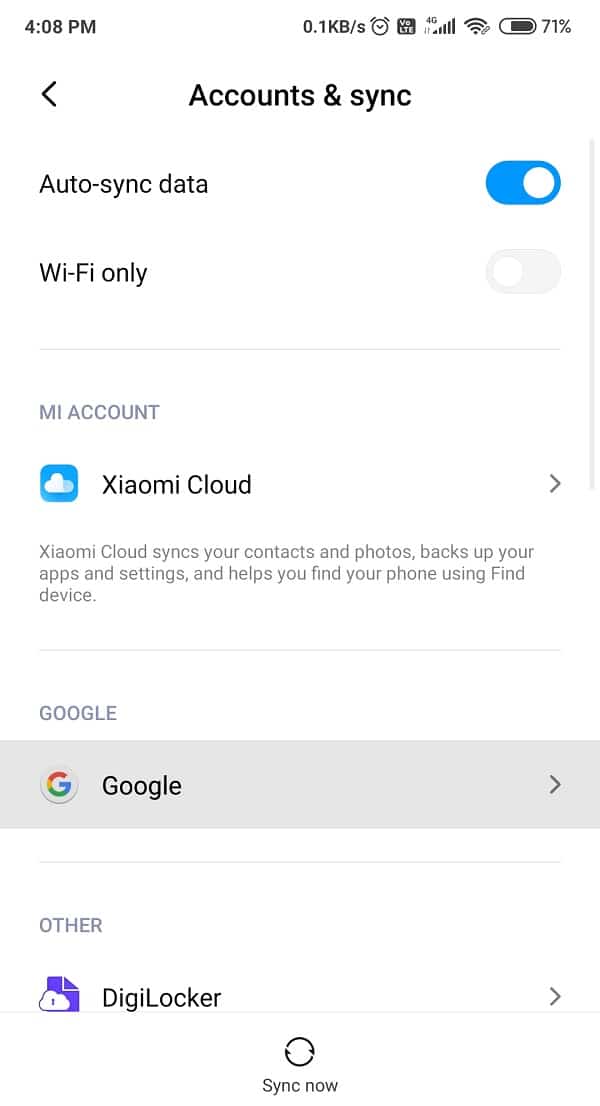
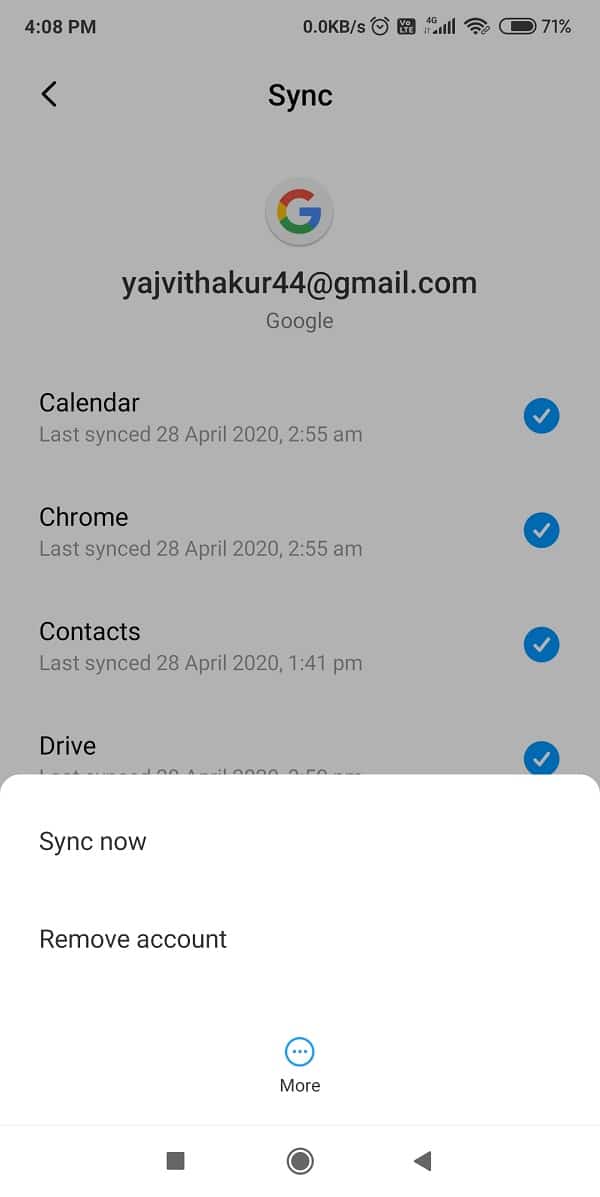
5. Choose the Google Account and check all the options in order to sync all the available data.
However, these steps may vary according to the Android device you are using.
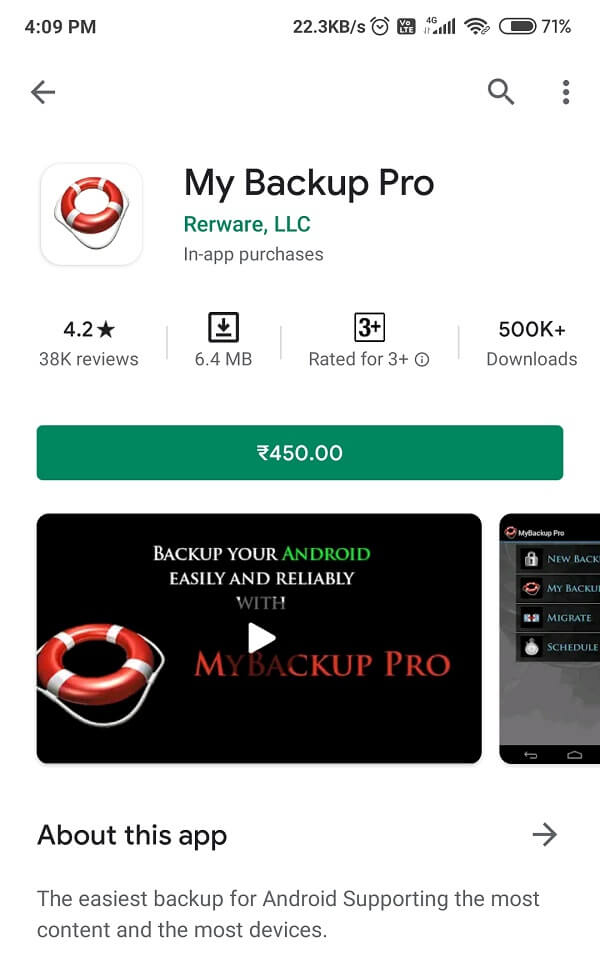
#8 Use MyBackup Pro to back up Additional Settings
MyBackup Pro is a very famous third party software that lets you back your data to secure remote servers or if you prefer, on your memory card. However, this app is not for free and it will costs you around $4.99 per month. But if you need to use the app for one-time use, then you can opt for the trial period and back your data.
Steps to use the MyBackUp pro app to back up your additional settings are as follows:
1. First, download and install the MyBackup Pro app from the Google Play Store.
2. As this is done, launch the app from your Android device.
3. Now, tap on Back up Android device to the computer.
#9 Use The Diy, Manual Method
In case you find the third-party apps phony, you can easily backup your Android phone’s data by yourself, using a data cable and your PC/ laptop. Follow these steps to do so:
1. Connect your Android device to your computer/ laptop using a USB Cable.
2. Now, open the Windows Explorer page and search for your Android device’s name.
3. Once you find it, tap on it, and you will see many folders, such as photos, videos, music, and documents.
4. Go to each folder and copy/paste the data you want to keep on your PC for protection.
This is the most authentic yet easy way to backup your data. Although this won’t back up your settings, SMS, call history, third-party apps, but it will definitely back up your files, documents, photos, or videos.
#10 Use Titanium Backup
Titanium Backup is yet another amazing third-party app that will blow your mind. To use this app to backup your data and files, follow these steps:
1. Go to the Google Play Store and download & Install the Titanium Backup app.
2. Download the app and then wait until it is installed.
3. Grant the necessary permissions after reading the disclaimer and tap on Allow.
4. Start the app and grant it root privileges.
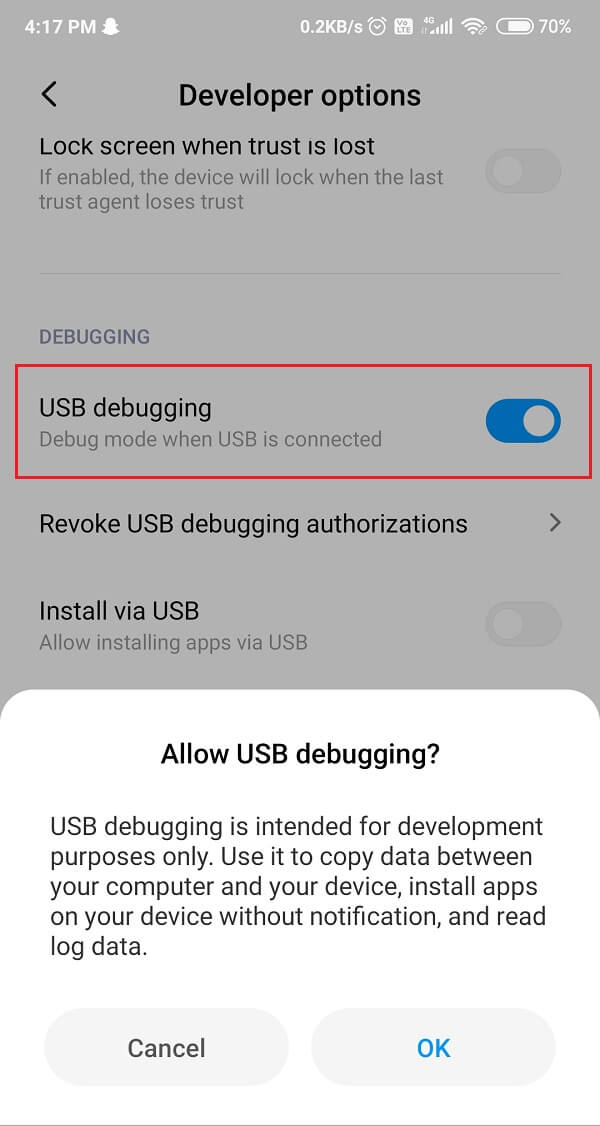
5. You will have to enable the USB Debugging feature to use this app.
6. First, enable Developer Options, then under the Debugging section, toggle On the USB Debugging option.
7. Now, open the Titanium App, and you will find three tabs sitting there.
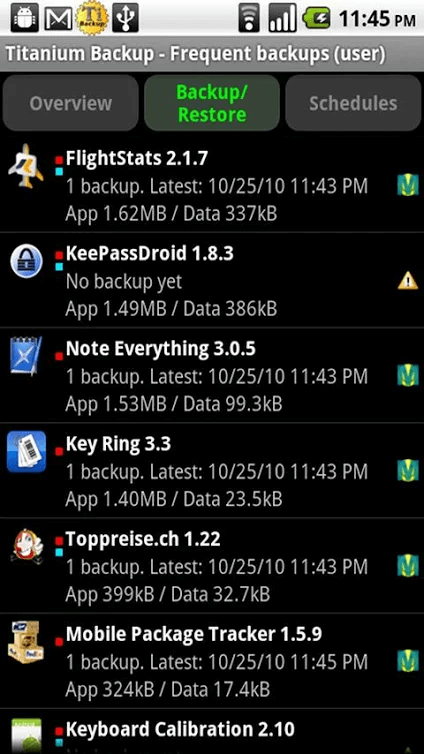
8. First would be an Overviewtab with the information of your device. The second option would be the Backup & Restore, and the last one is for scheduling regular backups.
9. Simply, tap on the Backup and Restore button.
10. You will notice a list of icons on your phone of the contents, and it will indicate whether they have or have not been backed up. The Triangular shape is the warning sign, indicating that you currently don’t have a backup and smiley faces, meaning back up is in place.
![]()
11. After backing up the data and apps, select the Small Document icon with a tick mark on it. You will be taken to the batch actions list.
12. Then select the Run buttonnext to the name of the action you want to be completed. For example, if you’d like to back up your apps, tap on Run,near Backup allUser Apps.
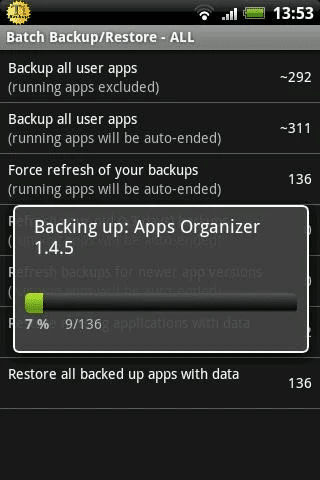
13. If you’d like to back up your system files and data, select the Runbuttonnext to the Backup all System Data tab.
14. Titanium will do that for you, but this might take some time, depending on the size of the files.
15. Once this process is successfully completed, the backed up data will be labeled with the date on which it was performed and saved.
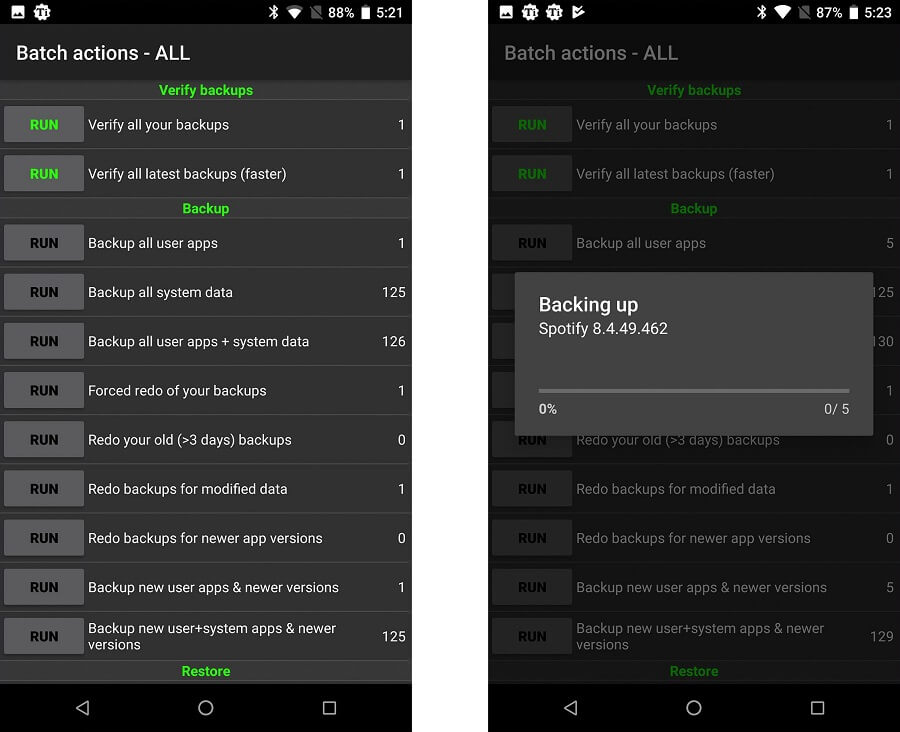
16. Now, if you want to recover data from Titanium, go to the Batch Actions screen again, drag down and you will see options, such as Restore all apps with data and Restore all system data.
17. Finally, click on the Run button, which will be present next to the name of the actions you want to restore. You can now restore everything you backed up or maybe just a few sections of it. It is your choice.
18. Lastly, click on the green checkmark present at the top right corner of the screen.
Recommended:
Losing out on your data and files can be very hurtful, and to avoid that pain, keeping your information safe and sound is very important by regularly backing it up. I hope this guide was helpful and you were able to back up your data on your Android phone. Let us know which method you would rather use to backup your data in the comment section.