Change Your MAC Address on Windows, Linux or Mac

As we all know a network interface card is a circuit board that is installed in our system so that we can connect to a network that eventually provides our machine a dedicated, full-time network connection. It is also important to know that each NIC is associated with a unique MAC (Media Access Control) address which includes Wi-Fi cards and Ethernet cards also. So, a MAC address is a 12-digit hex code having size 6 bytes and is used for uniquely identifying a host on the internet.
The MAC address in a device is assigned by the manufacturer of that device, but it is not that hard to change the address, which is commonly known as spoofing. At the core of network connection, it is the MAC address of the network interface that helps in communicating with each other where the client request is passed down through various TCP/IP protocol layers. On the browser, the web address you are looking for (let suppose www.google.co.in) is converted to an IP address (8.8.8.8) of that server. Here, your system requests your router which transmits it to the internet. At the hardware level, your network card keeps searching for the other MAC addresses for lining up on the same network. It knows where to drive the request in the MAC of your network interface. An example of how the MAC address looks like is 2F-6E-4D-3C-5A-1B.
MAC addresses are an actual physical address that is hard-coded in the NIC that can never be changed. However, there are tricks and ways to spoof the MAC address in your operating system based on your purpose. In this article, you will get to know how to change MAC Address on Windows, Linux or Mac
Change Your MAC Address on Windows, Linux or Mac
#1 Change MAC Address in Windows 10
In Windows 10, you can change the MAC address from the configuration panes of the network card in Device Manager, but some network cards may not support this feature.
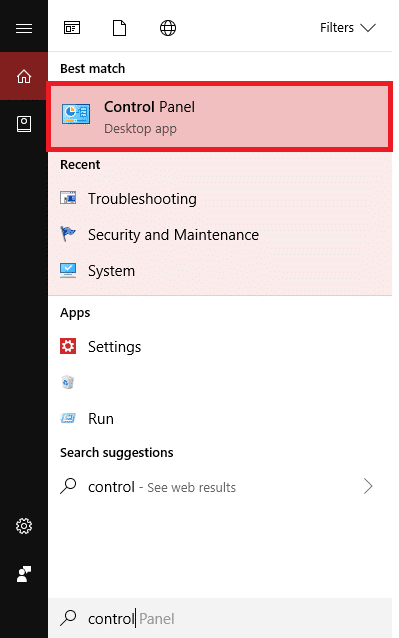
1. Open control panel by clicking on “Search bar” next to Start menu then type “Control Panel”. Click on the search result to open.
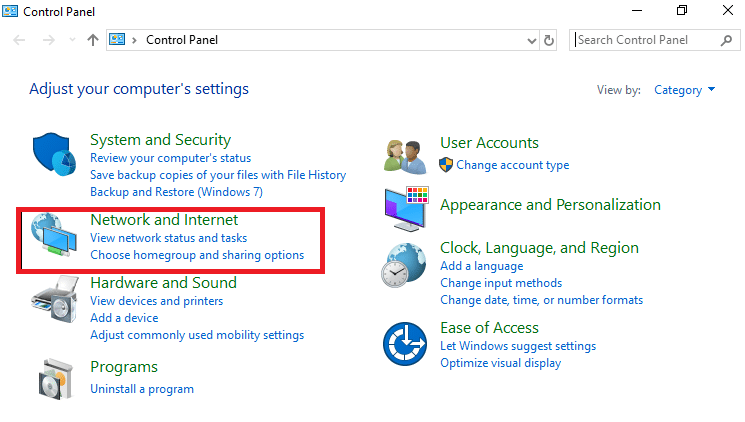
2. From the Control Panel, click on “Network and Internet” to open.
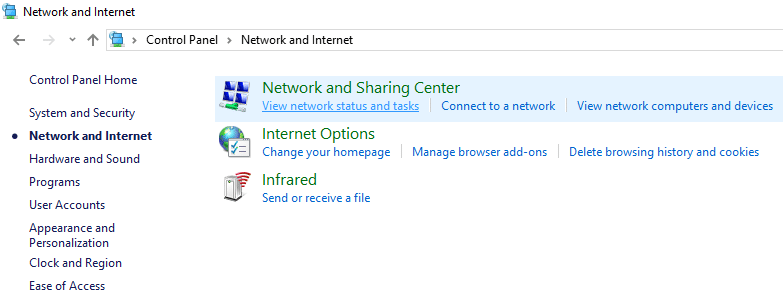
3. Now Click on Network and sharing center.
4. Under Network and sharing center double-click on your network as shown below.
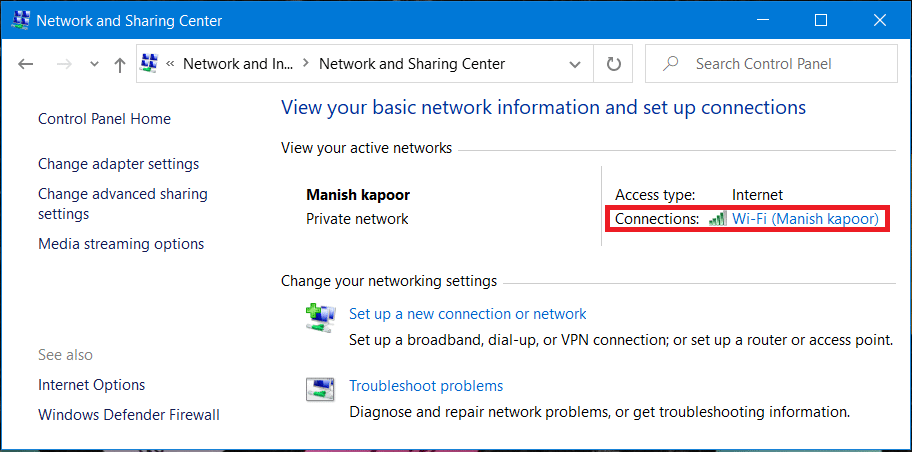
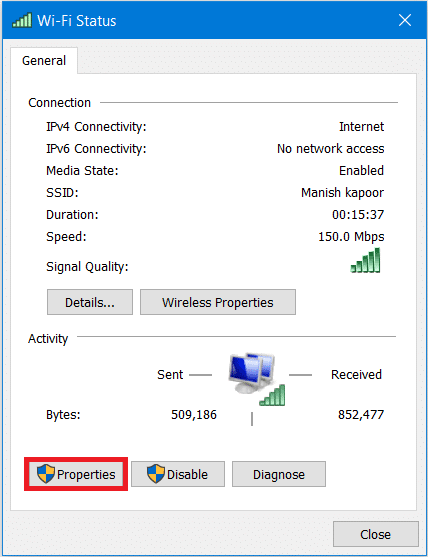
5. A Network Status dialogue box will pop-up. Click on the Properties button.
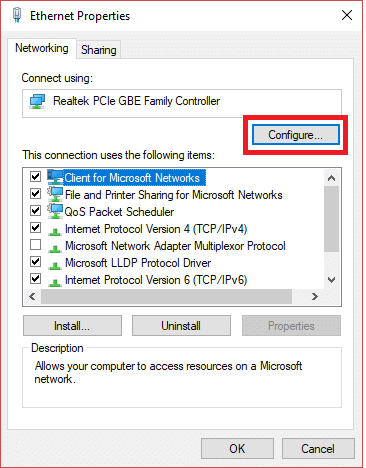
6. A network properties dialogue box will open. Select “Client for Microsoft Networks” then click on the Configure button.
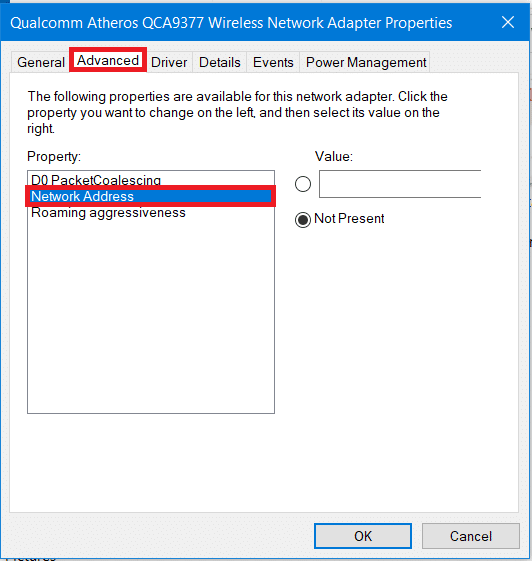
7. Now switch to the Advanced tab then click on the Network Address under Property.
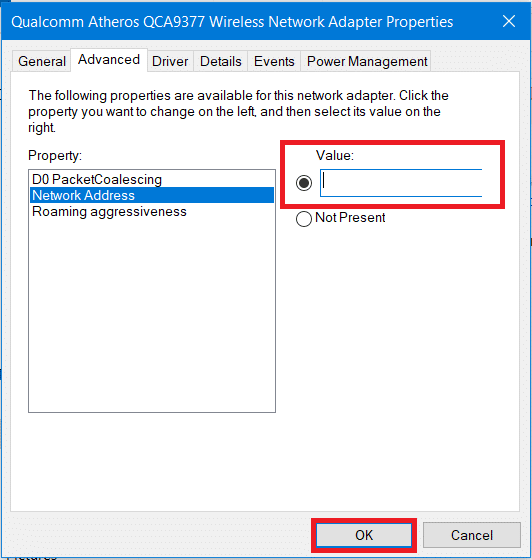
8. By default, the “Not Present” radio button is selected. Click the radio button associated with “Value” and manually enter the new MAC address then click OK.
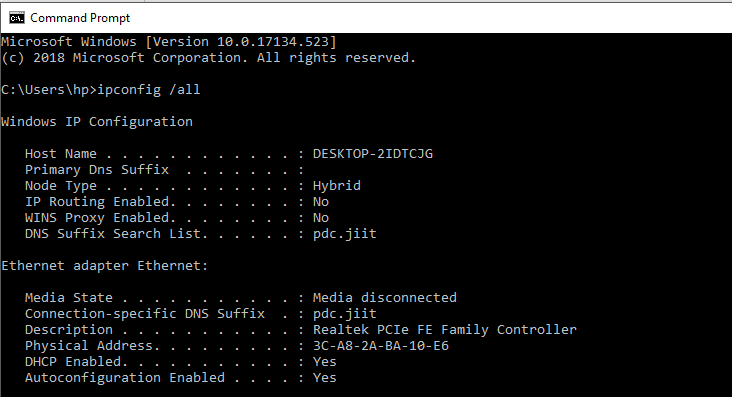
9. You can then open the command prompt (CMD) and there, type “IPCONFIG /ALL” (without quote) and hit Enter. Now check your new MAC address.
Also Read: How to Fix IP Address Conflict
#2 Change MAC Address in Linux
Ubuntu supports Network Manager using which you can easily spoof the MAC address with a graphical user interface. To change MAC address in Linux you need to follow the below steps:
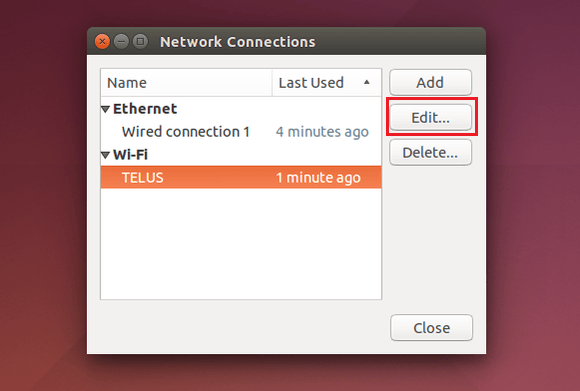
1. Click the Network icon on the top right panel of your screen then click on “Edit Connections”.
![]()
2. Now select the network connection which you want to alter then click the Edit button.
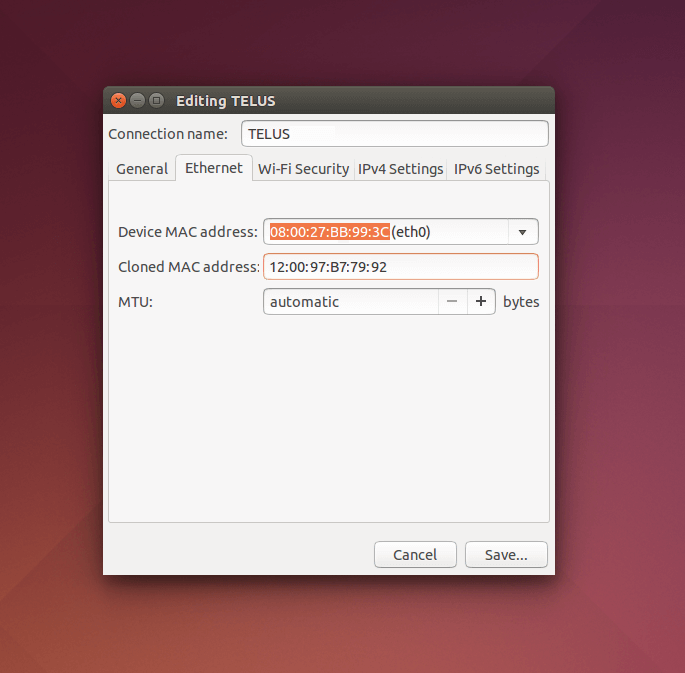
3. Next, switch to the Ethernet tab, and type a new MAC address manually in the “Cloned MAC address” field. After entering your new MAC address, save your changes.
4. You can also change the MAC address in the old traditional way. This involves running a command for changing the MAC address by turning the network interface down, and after the process is complete, again bringing the network interface back up.
The commands are
sudo ifconfig eth0 down
sudo ifconfig eth0 hw ether xx:xx:xx:xx:xx:xx
sudo ifconfig eth0 up
Note: Make sure you replace the term eth0 with your network interface name.
5. Once finished, make sure to restart your network interface and then you’re done.
Also, if you want the above MAC address to always take effect at the boot time then you will need to modify the configuration file under /etc/network/interfaces.d/ or the /etc/network/interfaces. If you don’t modify the files then your MAC address will be reset once you restart or turn off your system
#3 Change MAC Address in Mac OS X
You can view the MAC address of different network interfaces under System Preferences but you can’t change the MAC address using System preference and for that, you will need to use the Terminal.
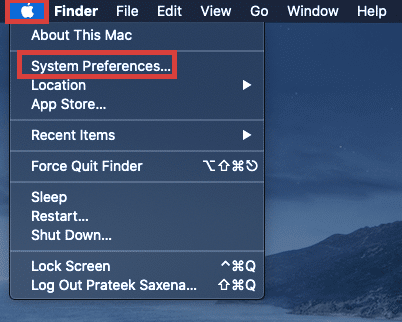
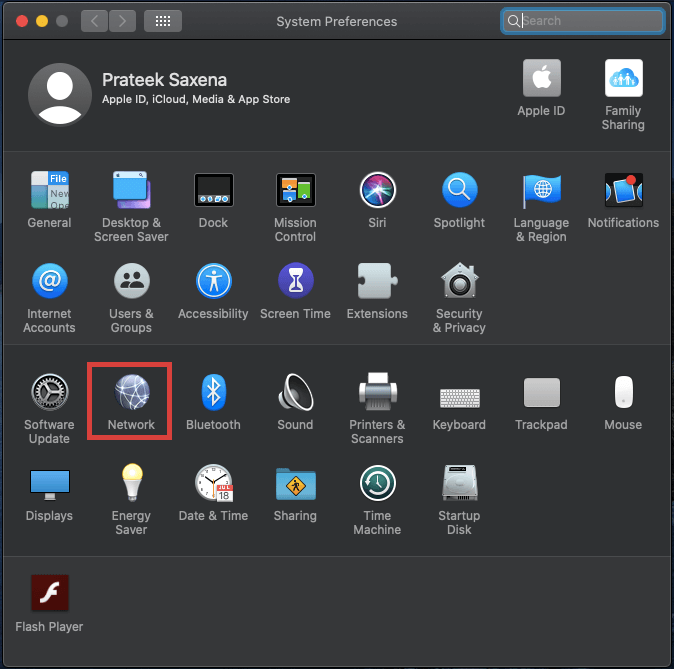
1. First, you have to find out your existing MAC address. For this, click on the Apple logo then select “System Preferences”.
2. Under System Preferences, click on the “Network” option.
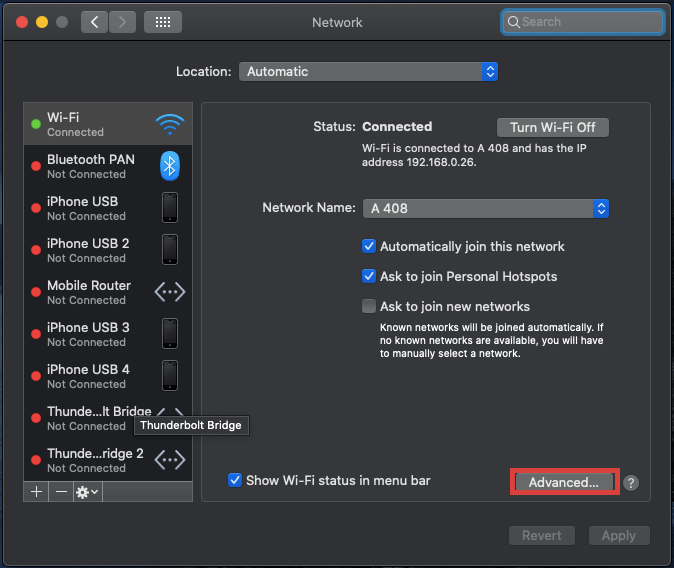
3. Now click on the “Advanced” button.
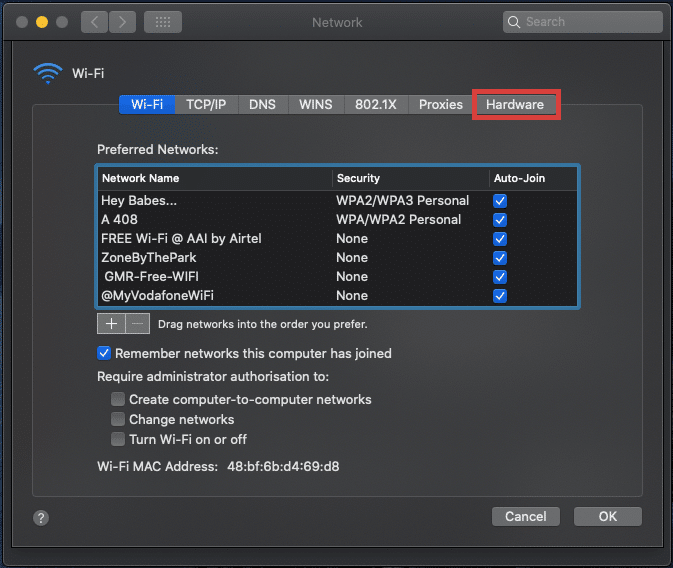
4. Switch to the Hardware tab under the Wi-Fi Properties Advance window.
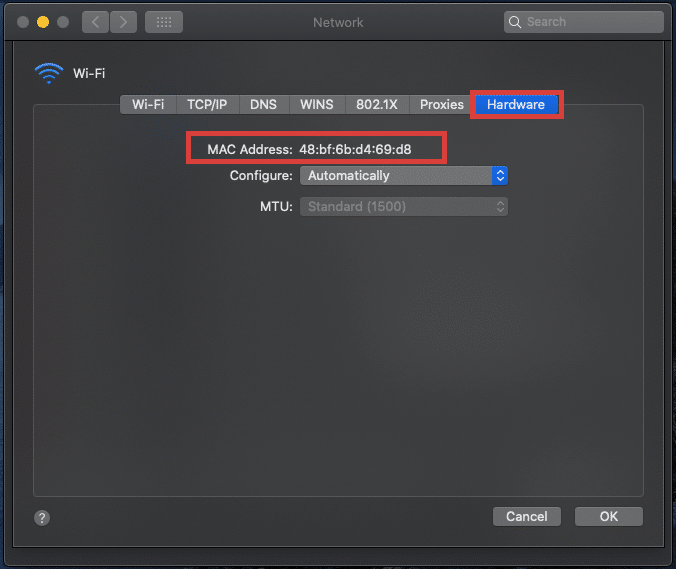
5. Now in the hardware tab, you will be able to see the current MAC address of your network connection. In most cases, you won’t be able to make changes even if you select “Manually” from the Configure drop-down.
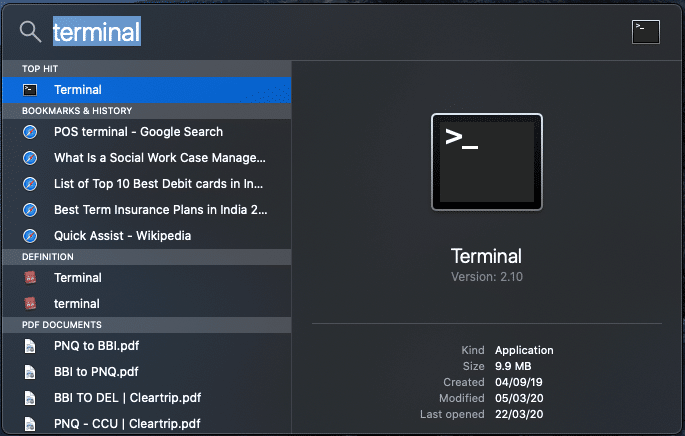
6. Now, to change the MAC address manually, open Terminal by pressing Command + Space then type “Terminal,” and hit Enter.
7. Type the following command into the terminal and hit Enter:
ifconfig en0 | grep ether
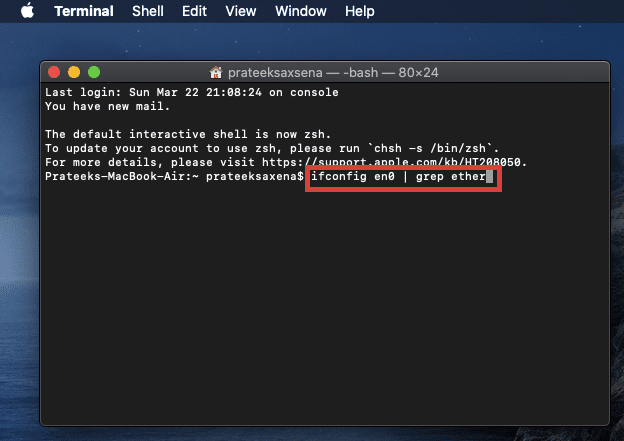
8. The above command will provide the MAC address for the ‘en0’ interface. From here you can compare the MAC addresses with that of your System Preferences.
Note: If it doesn’t match your Mac Address as you saw in System Preferences then proceed the same code while changing en0 to en1, en2, en3, and further until the Mac Address matches.
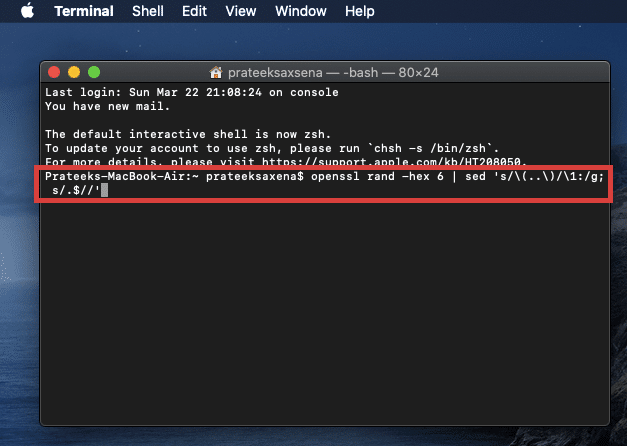
9. Also, you can generate a random MAC address, if you need one. For this, use the following code in Terminal:
openssl rand -hex 6 | sed ‘s/(..)/1:/g; s/.$//’
10. Next, once you have generated the new Mac Address, change your Mac Address by using the below command:
sudo ifconfig en0 ether xx:xx:xx:xx:xx:xx
Note: Replace XX:XX:XX:XX:XX:XX with the Mac address you generated.
Recommended:
Hopefully, using one of the above methods you will be able to Change Your MAC Address on Windows, Linux or Mac depending on your system type. But if you still have any issues then feel free to ask them in the comment section.