How to Disable Laptop Keyboard on Windows 10

In most laptops, you cannot easily replace a peripheral device and each peripheral cannot be disconnected easily. In that case, if a laptop’s keyboard stops its functionality which may be fully or partially, you can simply disconnect it and replace it with a new one. In some cases, typing is difficult on laptops when compared to desktop keyboards. To fix it, you will have to open the hood of the laptop and replace the entire setup with a built-in keyboard. This process is costly and that’s why many users prefer adding an external keyboard to the laptop and using them instead. In such cases, in most laptops a user is required to disable the built-in keyboard, and here is the way to do it. If you want to disable your laptop keyboard after getting an external keyboard on your Windows 10/11 PC, you can do it by following the steps given in this article.
How to Disable Laptop Keyboard on Windows 10
Frustrated on how to disable laptop keyboard Windows 10? Don’t worry, you are at the right place! Keyboards in laptops are made smaller by manufacturers to make them lighter and easy to carry. To operate your computer, you would require some peripheral devices like a mouse, keyboard, monitor, etc, but a laptop has a combination of all three. Windows has a few methods which allow users to disable keyboard on Windows 10 if it makes any problems. In this article, we can see how to implement the same.
Method 1: Disable Keyboard Driver
The major advantage of the Windows Operating System is that it is fully possible to disable keyboard on laptop. To disable the built-in keyboard, follow the steps below.
Note: Any computer cannot be used without a keyboard which is why you need to make sure that an external keyboard is connected to your laptop before disabling the built-in keyboard.
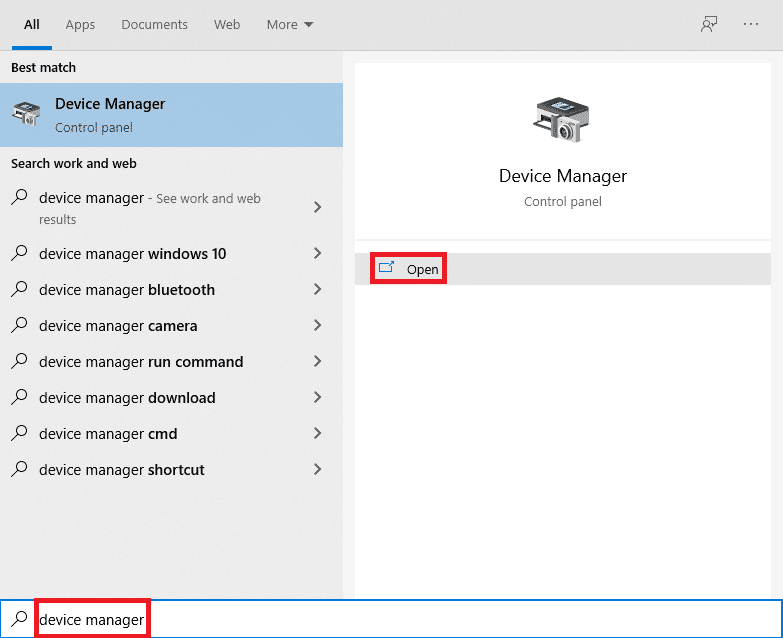
1. Hit the Windows key, type device manager and click on Open.
2. In the Device Manager window, locate the Keyboards option.
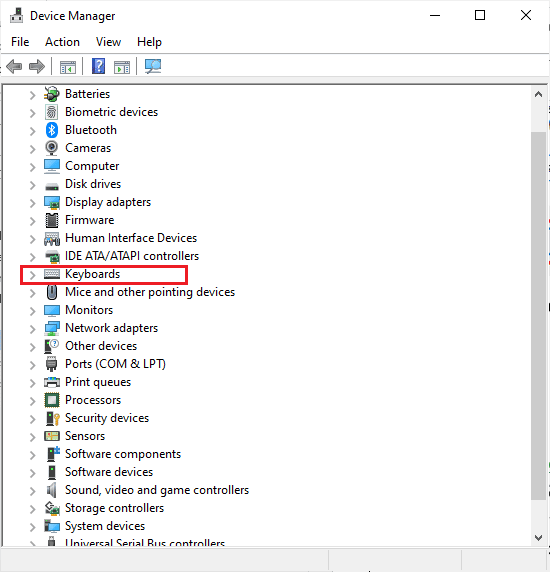
3. Double-click on Keyboards to open it. It displays all the keyboards that are connected to your laptop.
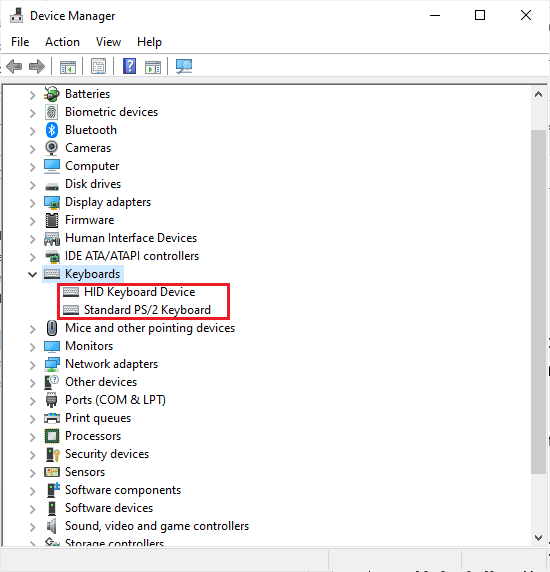
4. Locate the built-in keyboard and right-click on it.
5. Then, click on Disable.
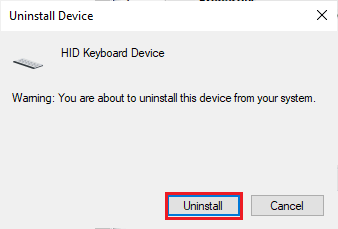
Note: If you don’t see the Disable option, click on Uninstall option to uninstall the driver instead of disabling it.

6. Click on Uninstall to uninstall it.
Even if you uninstall the driver for your laptop’s built-in keyboard, Windows 10 may automatically update the driver after detecting it, if that happens you have to do this process again from the start until the driver is uninstalled completely. If you are confused about how to delete or uninstall device drivers from your computer, have a glance at our guide on How to Uninstall and Reinstall Drivers on Windows 10.
Method 2: Disable Service that Controls PS/2 Port
If the first method didn’t help you understand how to disable laptop keyboard Windows 10, you can do the same with this alternative method. You can disable the port that controls the input and data of PS/2 Ports as most of the laptops are internally connected. Follow the steps which are given below to disable laptop keyboard using Command Prompt.
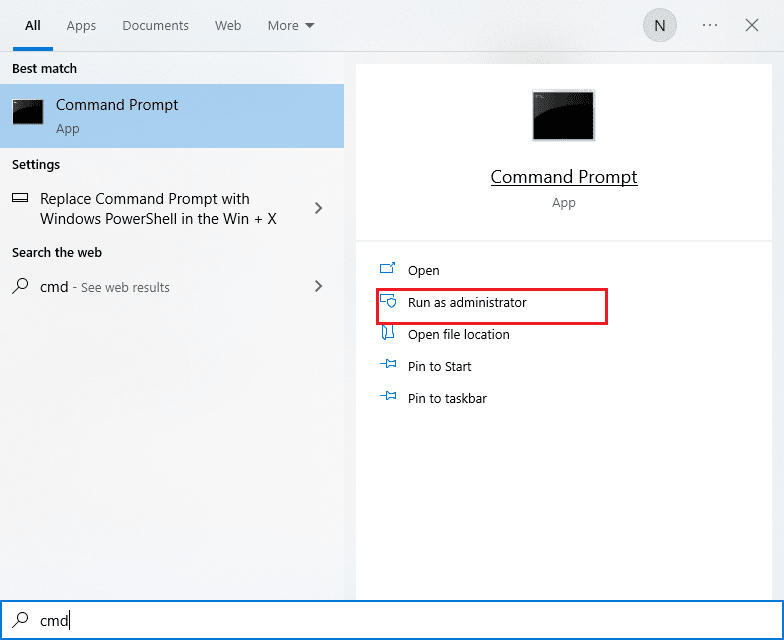
1. Press the Windows key, and type cmd. Click on Run as administrator as depicted.
2. In the command window, type the command sc config i8042prt start= disabled as shown and hit the Enter key to execute the command.

3. Wait until the command gets executed and restart your computer.
4. Your laptop keyboard will stop working.
In this way, you can disable laptop keyboard using the command prompt.
Note: In case, if you want to use your keyboard back in the future use the following command sc config i8042prt start= auto
Also Read: Fix keyboard Input lag in Windows 10
Method 3: Through Local Group Policy Editor
If the above two methods don’t help you learn how to disable laptop keyboard Windows 10, you can use the Group Policy Editor to restrict the device installation. This method will prevent your Laptop keyboard from reinstalling when you start your device. Follow the steps below to disable keyboard Windows 10.
Note: Before going into this process, please make a kind note that this method is only applicable on the devices which are running on Windows 10 Pro and Enterprise edition.
1. Launch the Device Manager through Windows Search bar.
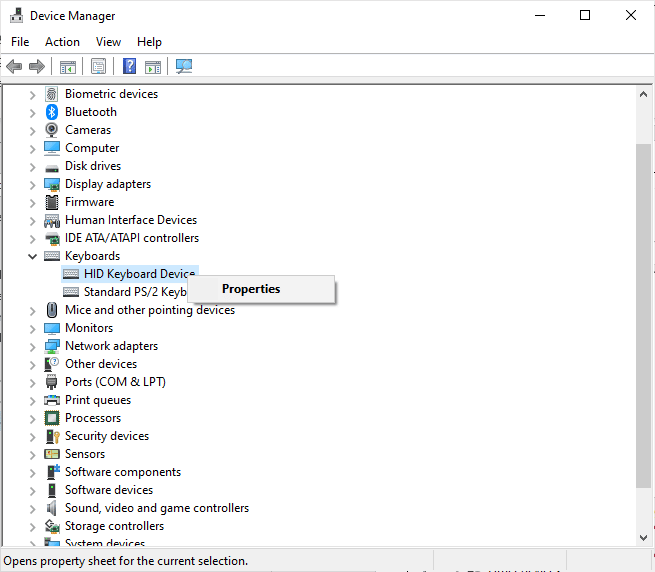
2. Locate Keyboards from the list and expand your driver by double-clicking on them.
3. Right-click on the driver and select the Properties option.
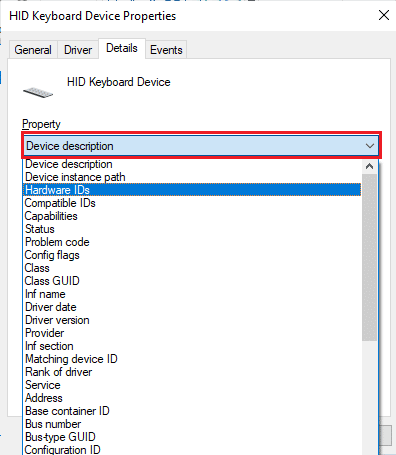
4. Now, switch to the Details tab and expand the Property menu by clicking the drop-down menu.
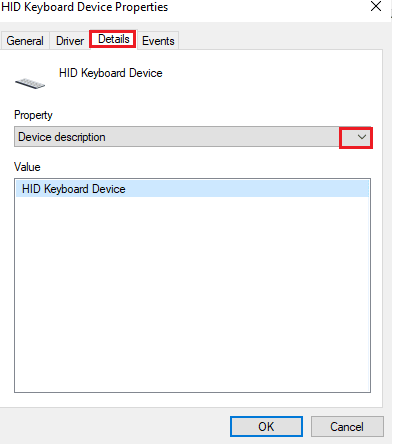
5. Choose Hardware IDs from the Device description drop-down menu.
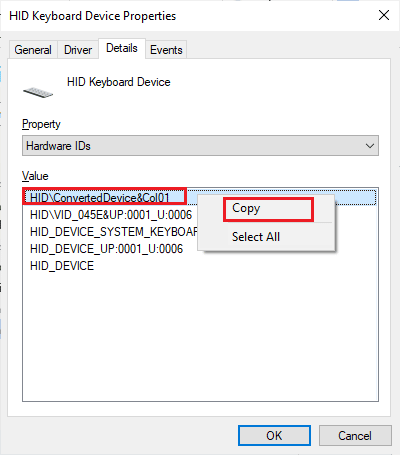
6. Under the Value section choose the first option [HIDConvertedDevice&Col01] and right-click on it. Click on Copy to copy the text.
7. Press Windows + R keys simultaneously to open the Run dialog box.
8. Type gpedit.msc and hit Enter key to open the Local Group Policy Editor.
Note: You can also type Local Group Policy Editor in the search bar and open it.
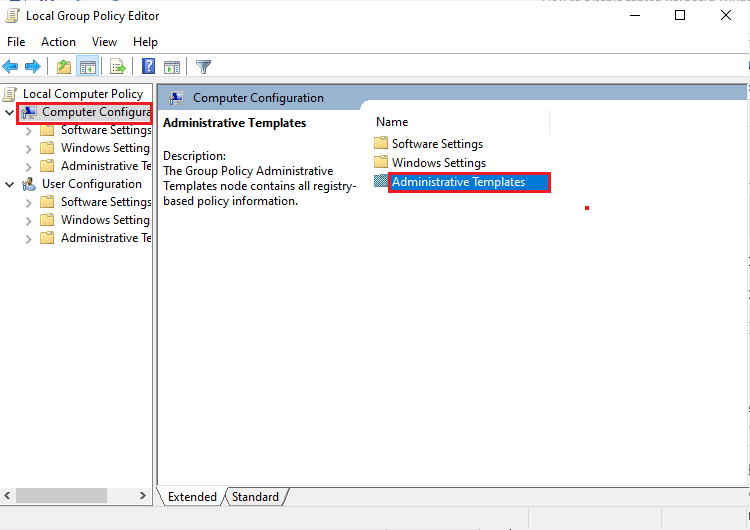
9. Expand Computer Configuration > Administrative Templates by double-clicking on them.
10. Now, double-click on System.
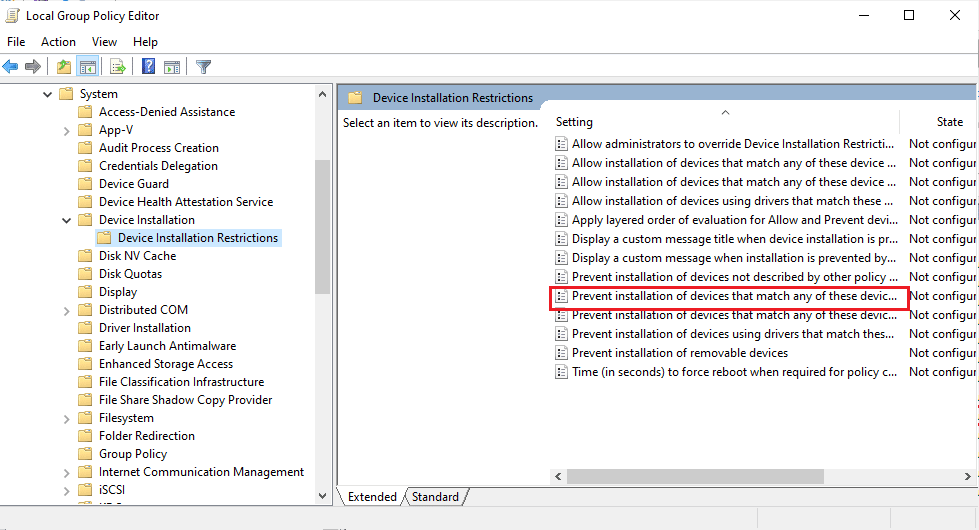
11. Then, double-click on Device Installation to open it.
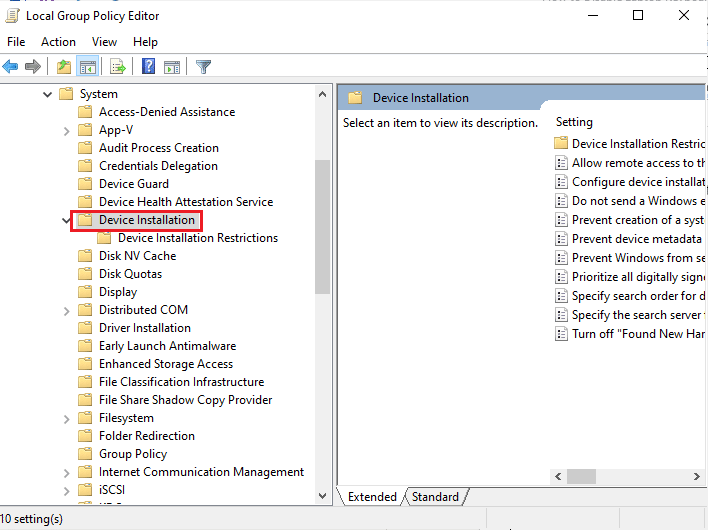
12. Double-click on Device Installation Restrictions.
13. After that, search for Prevent installation of devices that match any of these device instance IDs on the right pane.
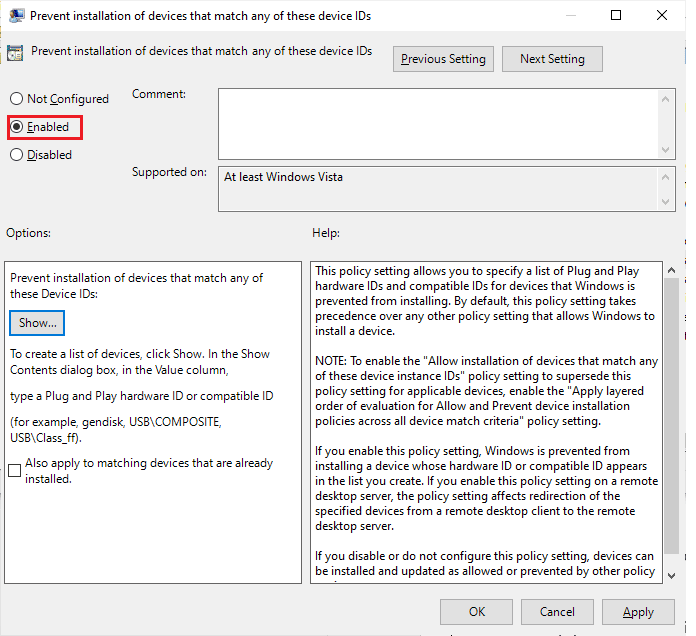
14. After finding it, double-click on it, then set it to Enabled.
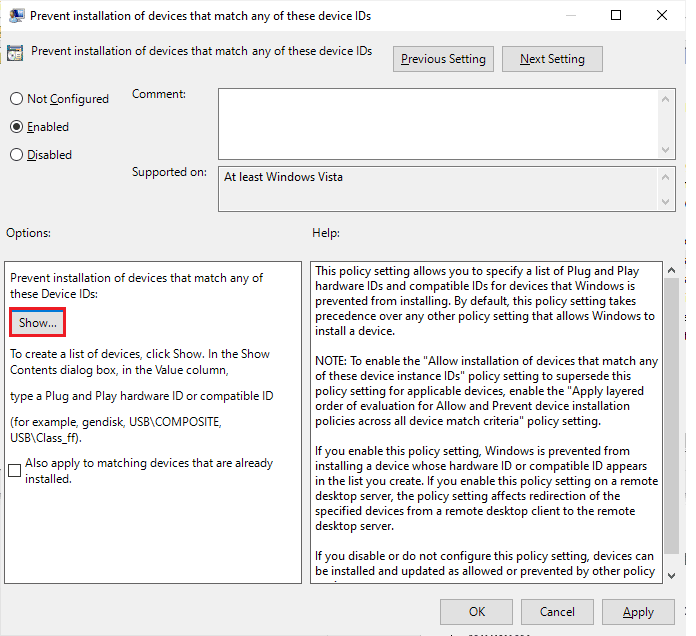
15. Then, under the Options section, click on the Show Button which opens the Show Contents Window.
16. On the value column, double-click the space bar and paste the id which you have copied (Step 7) in the Properties of the internal keyboard.

17. Click on the OK button and click on OK again.
18. Now you can close the Local Group Policy Editor window.
The next step to do is to uninstall the internal keyboard device.
19. Open the Device Manager and follow Steps 1- 3 as instructed in Method 1.
20. Locate your in-built keyboard driver and right-click on it. Then, select Uninstall device option as you did earlier.
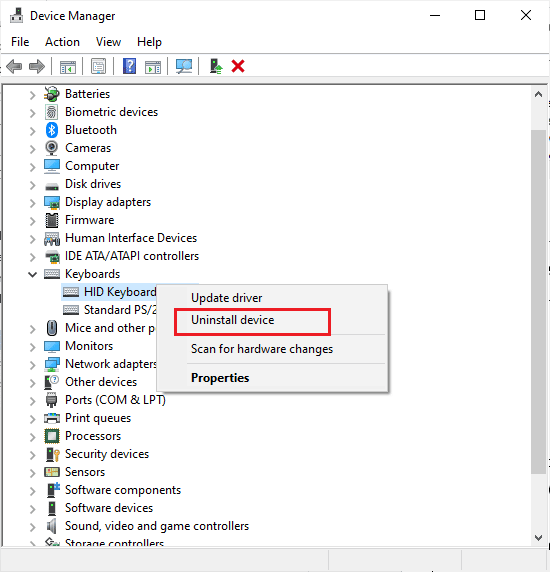
21. In the next prompt, click on Uninstall.

When you restart your computer, you will see that the built-in keyboard on your computer has stopped working. Now you can disable keyboard on laptop.
Also Read: How to Fix Windows Key Disabled
Method 4: Through Third-Party Tools
The above-discussed methods help you understand how to disable laptop keyboard Windows 10 with inbuilt settings. If you did not attain any solution through these methods, you can still, rely on third-party tools that will help you disable keyboard on laptop.
1. BlueLife KeyFreeze
BlueLife KeyFreeze is a simple and easy tool that helps you disable keyboard easily on your Windows 10 laptop or PC. Make a note that, you can use BlueLife KeyFreeze to disable the mouse. You can use this app (to lock or unlock keys) by simply pressing the Ctrl +Alt + F keys together, yet you can change this combination if you want. It locks the keyboard and mouse separately or together, without locking the screen, which is an added advantage. After downloading the tool from the official site, extract the zip file and run the setup file by double-clicking on it. A countdown runs on the taskbar and when the countdown ends, the mouse and keyboard can be locked or unlocked. You can also customize a few settings like changing shortcut keys, disabling popup windows, allowing mouse movement, and a lot more.

Supported Operating Systems: Windows 11, Windows 10, Windows 8.1, Windows 8, Windows 7, Windows Vista, Windows XP – (both x86 and x64)
Supported Languages: English, Arabic, Czech, Chinese (Simplified), Chinese (Traditional), French, Finnish, German, Greek, Hungarian, Italian, Indonesian, Japanese, Korean, Polish, Portuguese, Russian, Spanish, Slovenian, Turkish, Ukrainian, Vietnamese, Dutch, Persian, Bulgarian, Hebrew, Romanian.
2. KeyboardLock
KeyboardLock is a safer side application that locks your keyboard and mouse by using fewer system resources. It has a compact interface with accessible features. It is straightforward and it can remain unnoticed under your system tray until you need your mouse or keyboard to be locked on your Windows PC. All you need to do is to set a password and click on the Start icon to lock the keyboard. If you want to lock your mouse, you must enter the password once more. Don’t worry, this will not create any confusion even when the keyboard lock is enabled. This tool will not interfere with your open applications on your computer and if you want to unlock your keyboard, type your password again. The interesting part of the tool is, that it works even for external keyboards.

Supported Operating Systems
Windows 7 32/64 bit, Windows Vista 32/64 bit , Windows 2003, Windows XP
3. Anti-Shaya
Anti-Shaya is an easy tool that can be operated by all versions of the Windows OS. It has a simple and effective user interface that has a lock button along with a field to type your password. When you click on the lock key, all the keys will be disabled, and hence now you have to rely on the mouse for your routine tasks. If you want to unlock your keyboard, click on the Anti-Shaya icon from the system tray. Then, type your password and now your keyboard will be unlocked. Since this tool does not involve any process in Windows Registry, it does not require installation and you can run the executable file directly. Even a user who does not know any system knowledge can use this tool and it works well with Operating systems without causing any crashes, hanging issues or error prompts. This tool supports all versions of Windows.
Now, you know how to disable laptop keyboard using command prompt and how to disable laptop keyboard Windows 10. If you are stuck in the middle process of troubleshooting the problem, please let us know about them in the comments section. Feel free to contact us for more queries.
Frequently Asked Questions
1. How to temporarily disable laptop keyboard Windows 10?
Ans. The simplest way to disable the laptop keyboard in your Windows 10 computer is disabling it from the Device Manager. The Device Manager is a place where the complete list of drivers will be placed. So, Open Device Manager, and double-click on the Keyboards section. Now, right-click on your inbuilt keyboard driver and click on Disable in the context menu. You can also click on Uninstall to temporarily disable laptop keyboard Windows 10.
2. How to disable laptop keyboard without uninstalling it?
Ans. If you do not want to uninstall the laptop keyboard driver on your Windows 10 computer, yet still want to disable it temporarily, then open Device Manager, then double-click on the Keyboards section and right-click on your inbuilt keyboard driver and select Disable.
3. Why can’t I uninstall the Laptop keyboard?
Ans. When you cannot uninstall the laptop keyboard permanently, you must know the fact that your computer reinstalls the deleted driver automatically whenever you restart your PC. To fix this problem, you can use the Group Policy Editor to restrict the device installation. You have to identify the hardware ID of your keyboard to deal with this problem.
4. How to uninstall laptop keyboard in Windows 11?
Ans. There is the easiest way to uninstall the laptop keyboard in your Windows 11 computer same as like, disabling it from the Device Manager. The Device Manager is a place where the complete list of drivers will be placed. So, Open Device Manager, and double-click on the Keyboards section. Now, right-click on your inbuilt keyboard driver name and click on Uninstall in the context menu.
5. How Do I Uninstall Laptop Keyboard 2022?
Ans. Firstly, launch the Device Manager and locate the Keyboards option, then double-click on Keyboards to expand driver. Locate the built-in keyboard and right-click on it, then click on Uninstall.
Recommended:
We hope that you learned about how to disable laptop keyboard on Windows 10. Feel free to reach out to us with your queries and suggestions via the comments section below. Let us know what topic you want to learn about in our next article.