Enable or Disable Transparency Effects in Windows 10
With the introduction of Windows 10, transparency effects are introduced in different parts of Windows such as Taskbar, Start Menu etc., not all users are happy with these effects. Hence, users are looking to disable transparency effects, and Windows 10 has finally added an option in Settings to disable it easily. But with earlier Windows version like Windows 8 and 8.1, it was not possible at all.
Earlier it was only possible to disable transparency effects with the help of 3rd party tools that many users don’t prefer, hence many users were disappointed. So without wasting any time let’s see How to Enable or Disable Transparency Effects for Start Menu, Taskbar, Action Center etc. for your account in Windows 10.
Enable or Disable Transparency Effects in Windows 10
Make sure to create a restore point just in case something goes wrong.
Method 1: Enable or Disable Transparency Effects Using Settings
1. Press Windows Key + I to open Settings then click on Personalization.

2. From the left-hand menu, click on Colors.
3. Now, under “More options” disable the toggle for Transparency effects. If you want to enable transparency effects, make sure to turn ON or enable the toggle.

4. Close Settings then reboot your PC to save changes.
Method 2: Enable or Disable Transparency Effects Using Ease of Access
Note: This option is only available starting with Windows 10 build 17025.
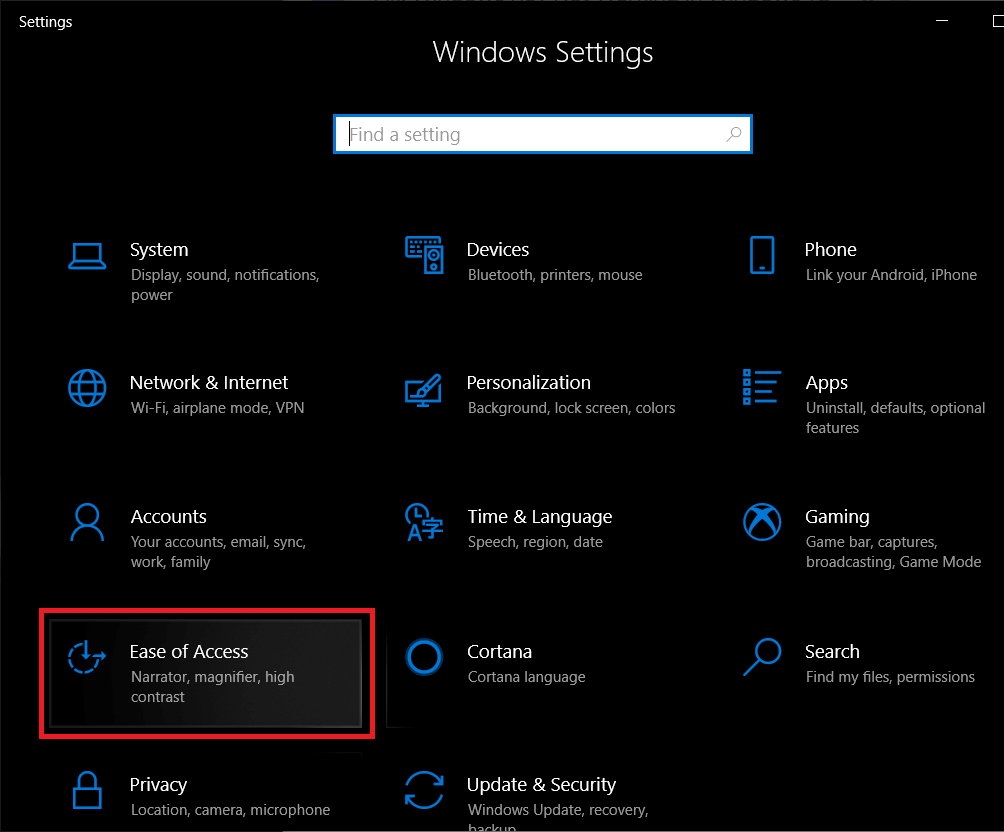
1. Press Windows Key + I to open Settings then click on Ease of Access.
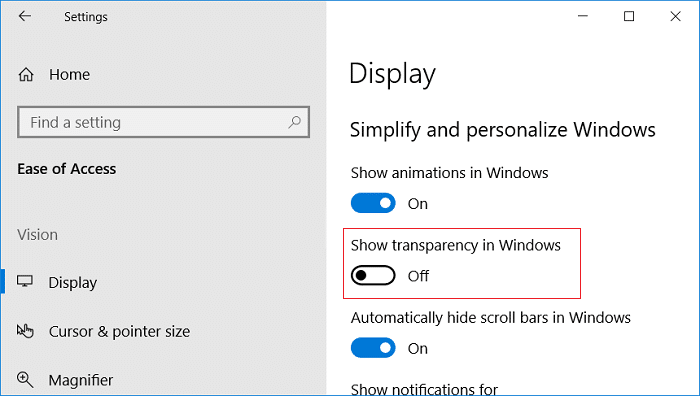
2. From the left-hand menu, select Display.
3. Now under Simplify and personalize Windows find “Show transparency in Windows“.
4. Make sure to disable the toggle for the above settings to disable transparency effects. If you want to enable transparency, then enable the above toggle.

5. Restart your PC to save changes.
Method 3: Enable or Disable Transparency Effects Using Registry Editor
1. Press Windows Key + R then type regedit and hit Enter.

2. Navigate to the following registry key:
HKEY_CURRENT_USERSOFTWAREMicrosoftWindowsCurrentVersionThemesPersonalize
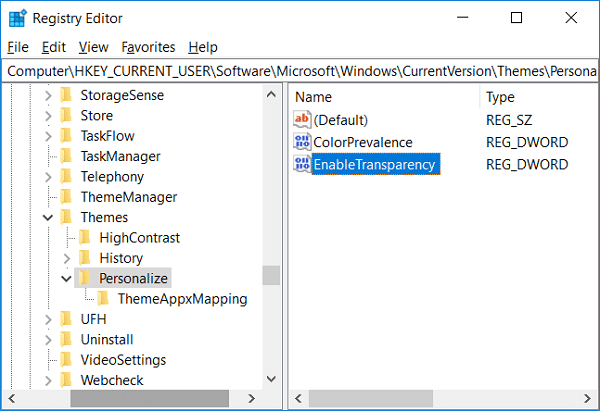
3. Double-click on EnableTransparency DWORD then set the value according to your preference:
Enable Transparency Effects = 1
Disable Transparency Effects = 0
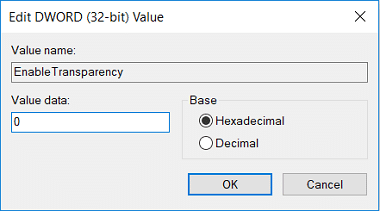
Note: If there is no DWORD, then you need to create one and name it EnableTransparency.
4. Click OK or hit Enter then reboot your PC.
Recommended:
That’s it you have successfully learned How to Enable or Disable Transparency Effects in Windows 10 but if you still have any questions regarding this tutorial then feel free to ask them in the comment’s section.