How to Make a GIF from a Video the Easy Way

Aren’t GIFs
great? They make responding to online comments way more fun. If you want to be
part of the conversation but couldn’t find the appropriate GIF to use, why not
create one?
In this post,
we’ll show you how to make GIFs you can share with friends.
Find a Video
Making GIFs
starts with a great video. Your final output will be compressed so you’d want
to have a high-resolution video to start with.
Most GIFs are
moments captured on film. Think of a show or movie moment that sums up your
emotion. If you’re lucky, you’d be able to find a copy of that on YouTube or
Vimeo.
You can also
create a GIF from local media sources. Caught a funny moment on camera? Save
the video on your computer. You can use that to make GIF animation.
Making a GIF with an Online GIF Maker
There are sites
that let users create a GIF from scratch. Not only are most of them easy to
use, but they are also free. You can use clips you find online or upload your
own video.
We’ll work with Giphy to make custom GIFs in this post. But feel free to find another alternative if you feel like using another service.
From the
homepage, click Create located on
the upper left-hand side of the page.

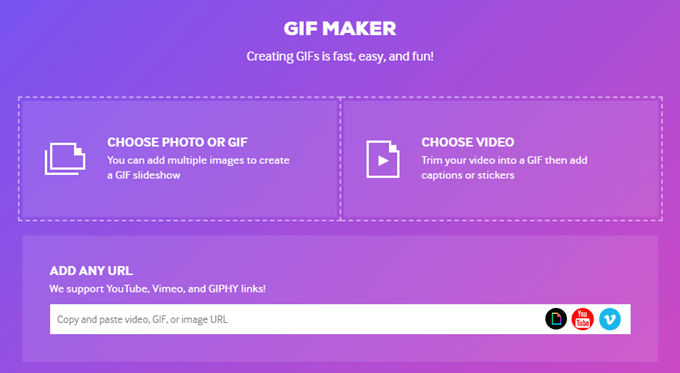
This will open GIF Maker. There are three ways you can
add your source material:
- Choose Photo or GIF – Lets you upload images
or photos to create a GIF slideshow. - Choose Video – Add a video clip and trim it
down. You can then add a caption if you want. - Add Any URL – Create a GIF from YouTube or
Vimeo clips.
In this example,
we’ll use a Simpsons scene we found on YouTube. Copy the URL and paste it on
Giphy. The site will process the video. Once finished, you will be asked to
trim the video down.
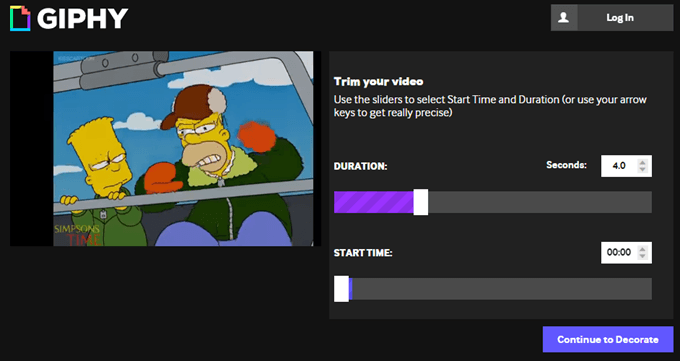
Move the sliders
around until you find the exact moment you wish to use. Remember, GIFs are
supposed to be short. Keep your clip under 5 seconds for the best result.
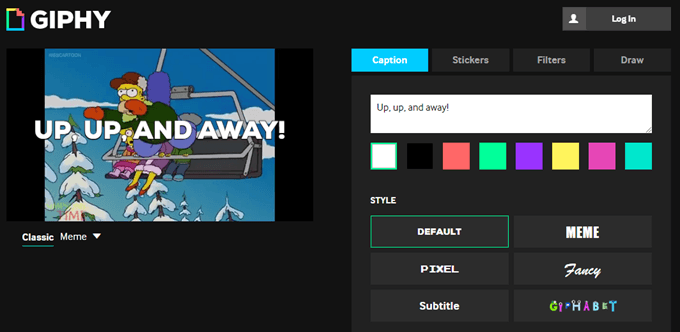
After you’ve
selected your clip, hit Continue to
Decorate. You’ll then be given a chance to accessorize your GIF with
captions, stickers, and filters.
Click Continue to Upload when done. Add tags
to your clip and click Upload to Giphy
to finish.
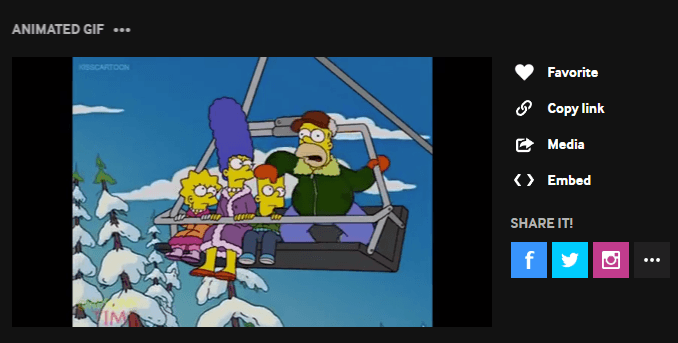
Your GIF should
now be ready to use. You can copy the link or embed the clip and paste it where
you’d want to use it.
You can also
share the clip through social media.
How to Create a GIF File with Photoshop
You can also use
Adobe Photoshop to create your GIFs. The program is not free and requires some
basic editing knowledge to pull off. However, users would be able to have more
control over the final GIF using this method.
Open Photoshop
and go to File > Import > Video Frames to Layers.
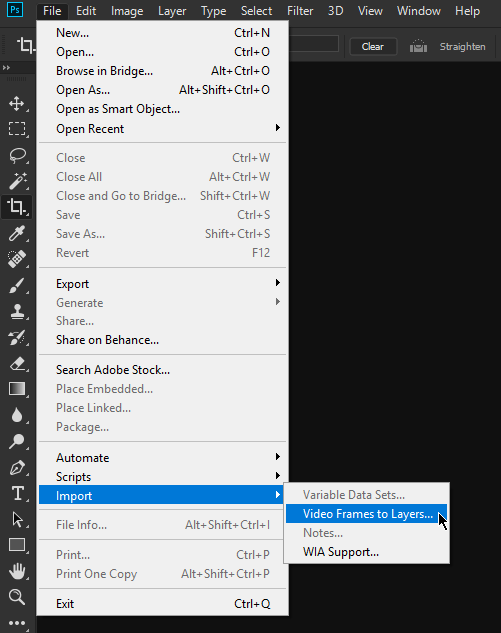
Select a video to
import and click Open.
A dialogue box
would pop up and show you options on how you’d like the video to be imported.
Use Selected Range Only to pinpoint
the specific clip you’ll be using. Use the sliders to navigate through the
video content.
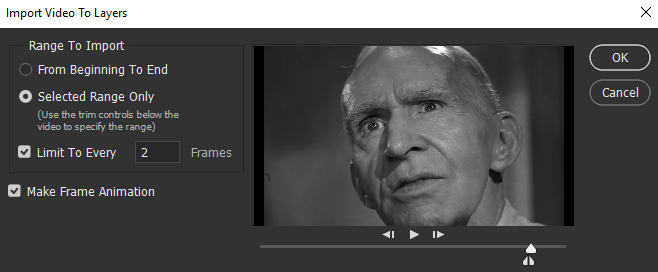
Tick Make Frame Animation and hit OK to continue. The video will open in
Photoshop as Layers. From here, you can make adjustments as needed. After
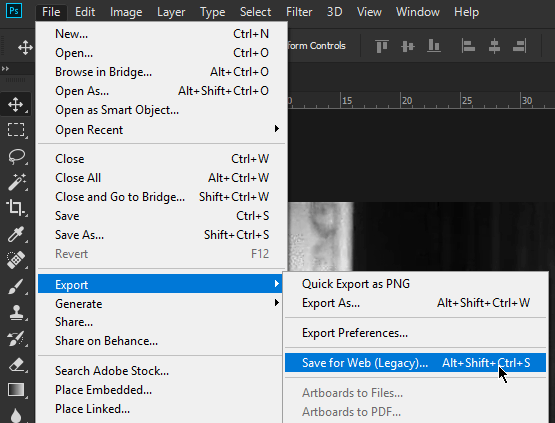
you’re done, go to File > Export > Save for Web (Legacy).
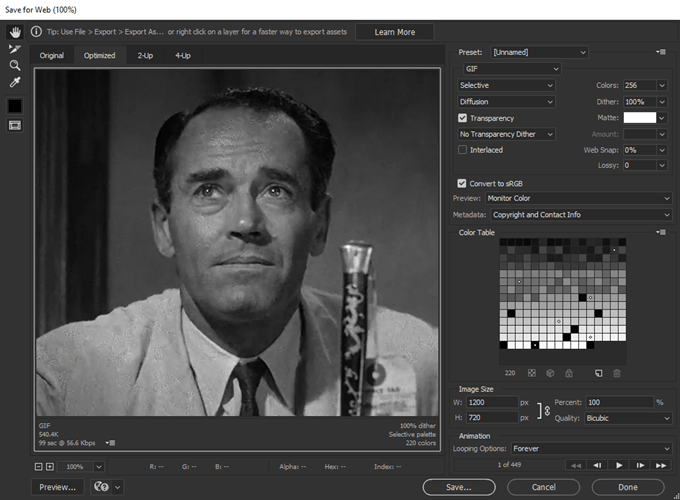
The Save for Web window will pop up. Here you
can make additional changes like adjusting the image resolution to reduce the
file size. You can also tweak the colors.
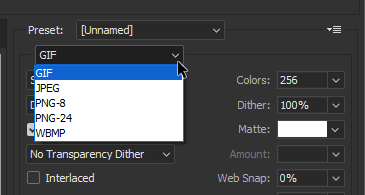
Select GIF from the Preset drop-down menu.
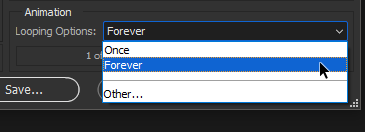
Make sure your
select Forever under Looping Options so your video won’t
stop after it plays.
Hit Save when you’re finished. Test your
custom GIF after to see if it plays properly.