Fix WaasMedicSVC.exe High Disk Usage in Windows 10

Windows keeps our PC free of bugs, fixes issues and provides new features. Generally, updating Windows is a seamless experience due to various processes and services running in background looking for updates. One such update process is Windows Update Medic service or WaasMedicSVC.exe which manages Windows update components so your PC can receive the latest updates regularly. But sometimes while running medic service consumes significant disk & CPU memory resulting in lag and other issues. If you are facing WaasMedicSVC.exe high disk usage problem, you are at the right place. We bring to you a perfect guide that will help you fix WaasMedicSVC.exe high CPU usage issue.

How to Fix WaasMedicSVC.exe High Disk Usage in Windows 10
WaasMedicSVC.exe high disk usage occurs in Windows 10 due to a variety of reasons some of which are as follows.
- Incorrect System Configurations
- Interferences by Antivirus or Security Program
- External hard drive or USB drive issues
As described earlier, WaasMedicSVC.exe is an official Windows Update element, but some viruses and malware can mimic it. These viruses can disguise themselves as WaasMedicSVC.exe and can cause as WaasMedicSVC.exe high disk usage issue. So the first thing to do is to check if WaasMedicSVC.exe is a virus which you can do by following these steps.
How to Verify if WaasMedicSVC.exe is a Virus
Follow the given steps to verify if WaasMedicSVC.exe is a virus or not.
1. Press the Ctrl + Shift + Esc keys together to open Task Manager.
2. In the Processes tab and look for WaasMedic process.
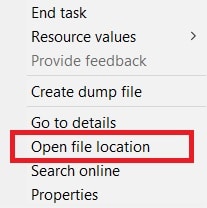
3. Once found, right-click on it and select Open file location.
4. By default, WaasMedicAgent.exe file is located at the given location path.
C:WindowsSystem32
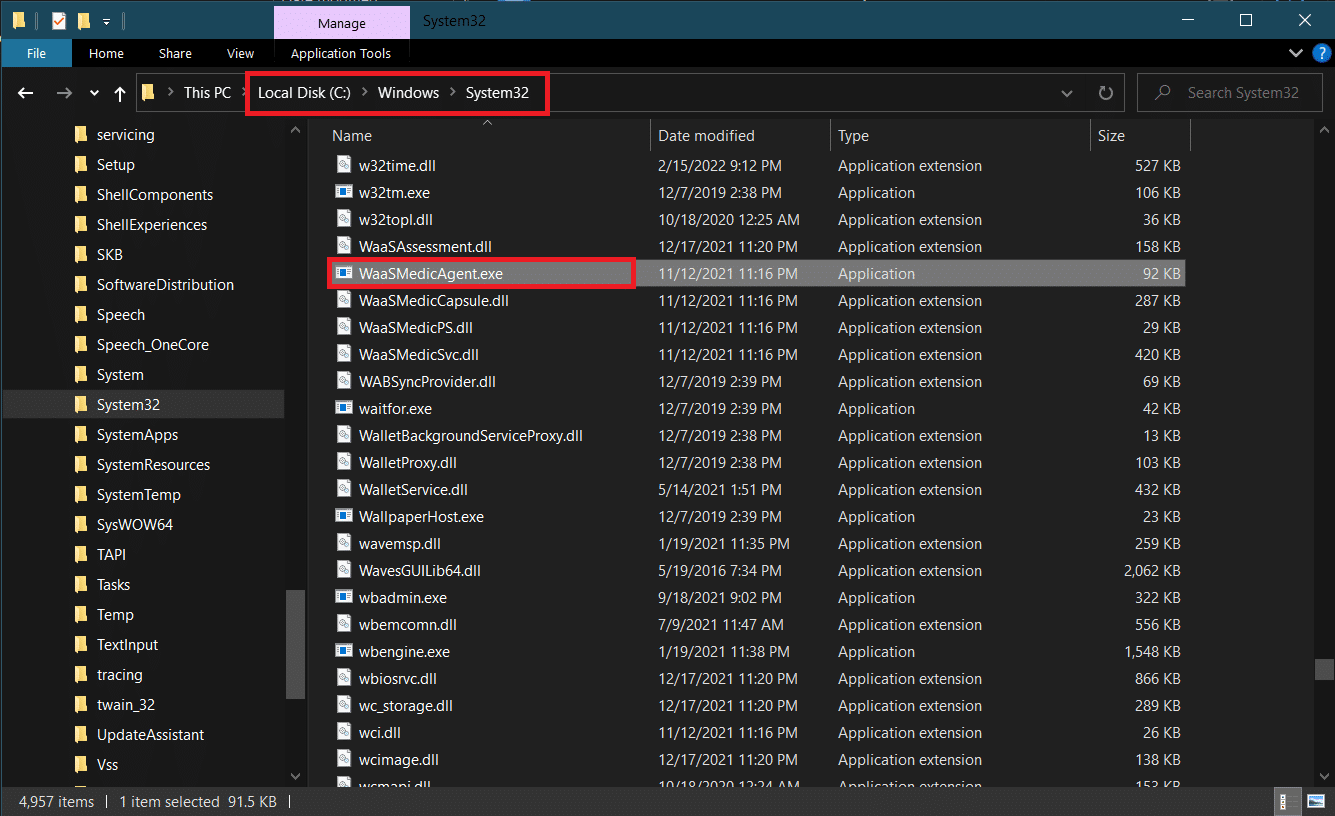
If you do not find WaasMedicAgent.exe file in the above location, then is most likely a virus.
You can remove some recently installed applications and perform a full system scan to get rid of virus.
If it is not a virus then follow the methods below to fix the issue.
Method 1: Disable Antivirus Programs
Antivirus programs can sometimes identify WaasMedicSVC.exe process as malicious. It clashes with the working of WaasMedicSVC.exe causing WaasMedicSVC.exe high disk usage. You can resolve this issue by temporary disabling your Antivirus program using our guide to Disable Antivirus Temporarily on Windows 10. If this solves the issue, you can whitelist WaasMedicSVC.exe on your Antivirus, which will exclude it from getting interfered by Antivirus. Follow these steps.
Note: Settings may differ for each Antivirus Program. We are using Avast as an example.
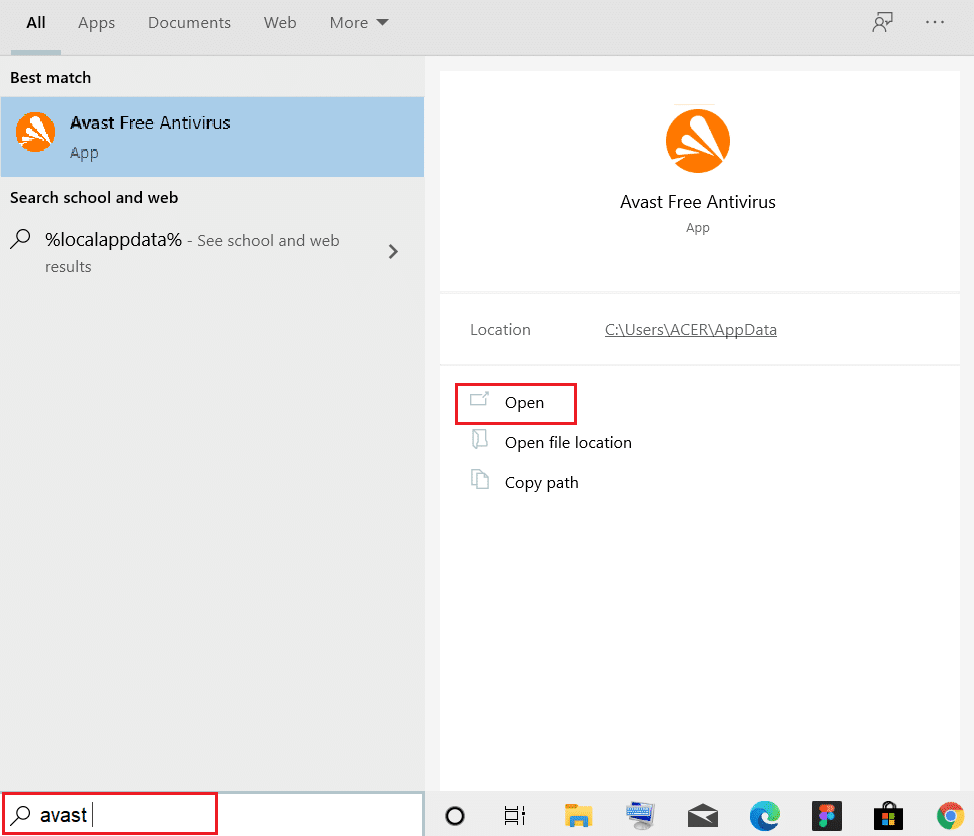
1. Press the Windows key and type Avast and click on Open from the menu.
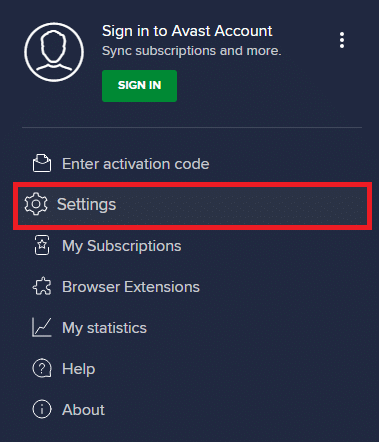
2. Go to the Menu option at the top right corner

3. Click on Settings from drop down list.
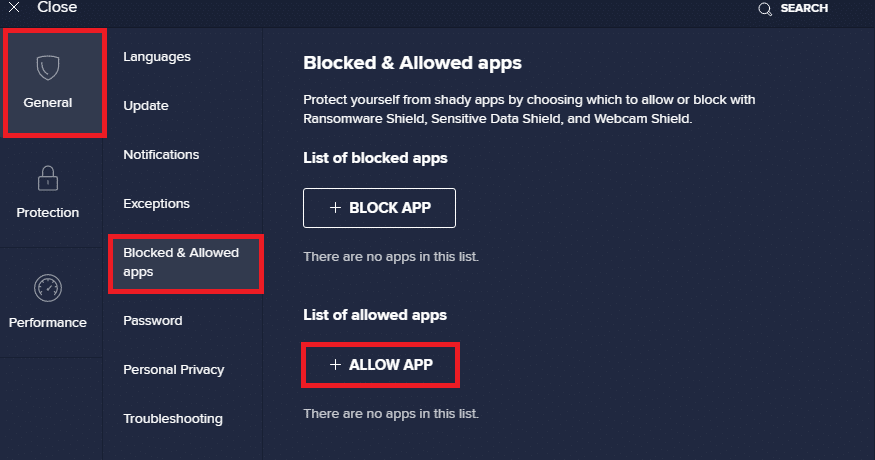
4. In General tab, click on Blocked & Allowed apps and under List of allowed apps, click on + ALLOW APP.
5. Click ADD> next to WaasMedicSVC or you can use SELECT APP PATH to browse it and select it.
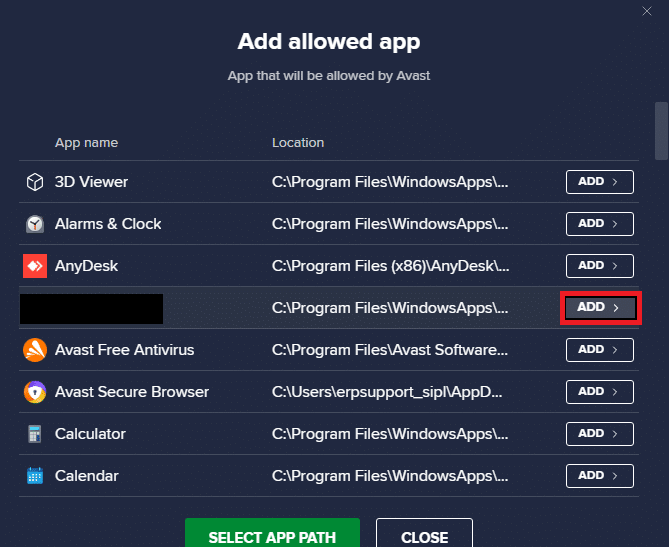
6. Click on ADD in the confirmation prompt and WaasMedicSVC will be whitelisted.
7. If you want to remove WaasMedicSVC from whitelist go to General tab as shown above.
8. Click on three dotted icon after which two options will appear
- Change allows features – It will let you change the features you allowed the app to perform when it is in whitelist.
- Remove – It will remove the app from whitelist.
9. Click on Remove.
Check if you have fixed WaasMedicSVC.exe high CPU usage issue.
Also Read: Fix WSAPPX High Disk Usage in Windows 10
Method 2: Perform Disk Cleanup
Getting rid of update files, upgrade logs, and other temporary files can fix WaasMedicSVC.exe high disk & CPU usage issue. You can do that by performing a disk cleanup using our guide on 10 Ways to Free Up Hard Disk Space On Windows 10. Once the process is complete Restart PC and check if the issue is resolved.
Method 3: Pause Updates
As WaasMedicSVC.exe process is responsible for updates it works mostly when updating process is ongoing. If you don’t have any pending updates to be installed, you can pause updates to reduce the usage of WaasMedicSVC.exe. It may fix WaasMedicSVC.exe high disk & CPU usage issue and you can do that by following our guide on 5 Ways to Stop Automatic Updates on Windows 10. If you are still facing the problem, try running Window Update Troubleshooter.
Method 4: Disable WaasMedicSVC.exe Process
If none of the above method worked for you then can disable WaasMedicSVC.exe
Option I: Through Registry Editor
You can use Registry Editor to disable WaasMedicSVC.exe process. As WaasMedicSVC.exe is an essential service of Windows, you may not be able to disable it directly from Services application. Follow the steps below to disable WaasMedicSVC.exe.
Note: Disabling WaasMedicSVC.exe might cause some update issues, only use this method when it is necessary.
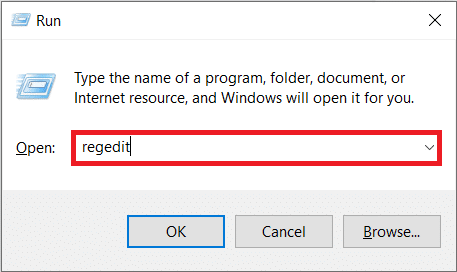
1. Press Windows + R keys simultaneously to launch the Run dialog box.
2. Type regedit and click on OK to open Registry Editor application.
3. Go to the path given below or simply copy-paste it into the address bar and press Enter key.
ComputerHKEY_LOCAL_MACHINESYSTEMCurrentControlSetServicesWaaSMedicSvc
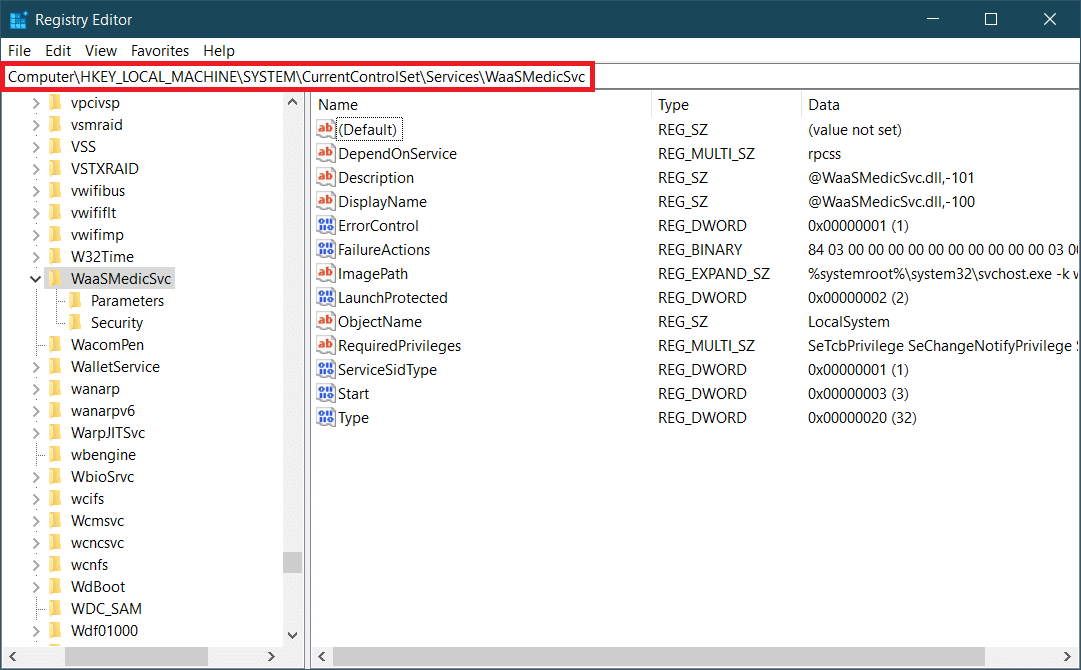
4. On the right panel, double click on the WaaSMedicSvc folder.
5. In the left panel, locate and right-click on Start and select Modify.
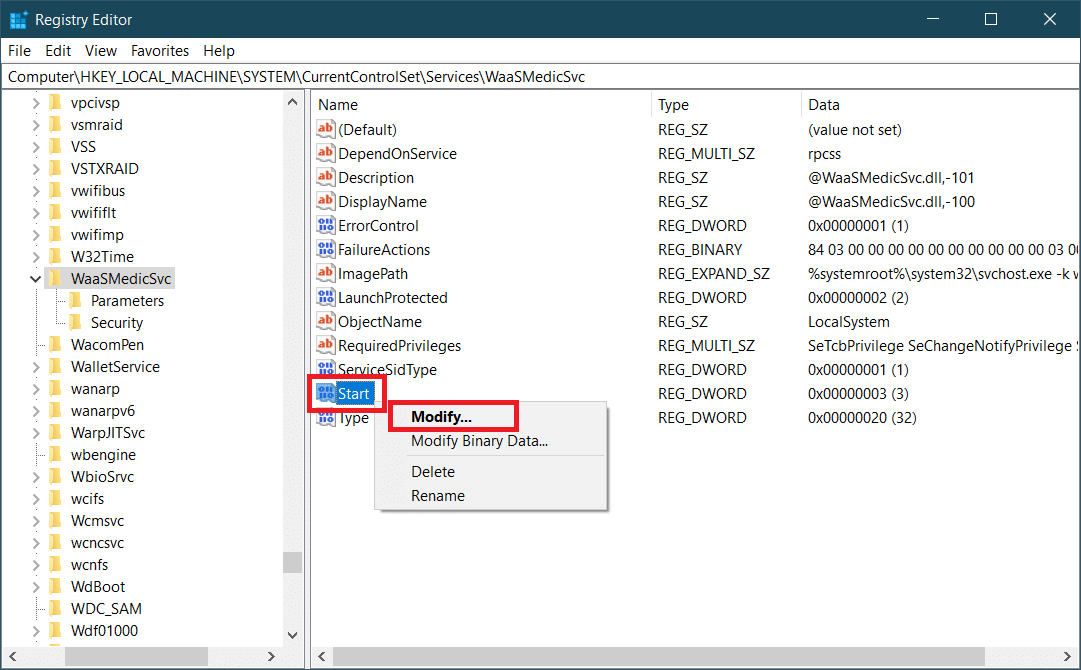
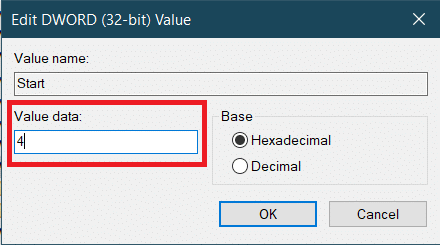
6. Set Value Data to 4 and click on OK to save.
WaasMedic.exe will no longer run automatically which might limit its disk and CPU usage and resolve the issue.
Also Read: Fix Ntoskrnl.exe High Disk Usage
Option II: Use Third-party Tool
You can also use Windows Update Blocker, a third-party application to disable WaasMedicSVC.exe which might fix WaasMedicSVC.exe high disk usage issue. Follow the steps below to do so.
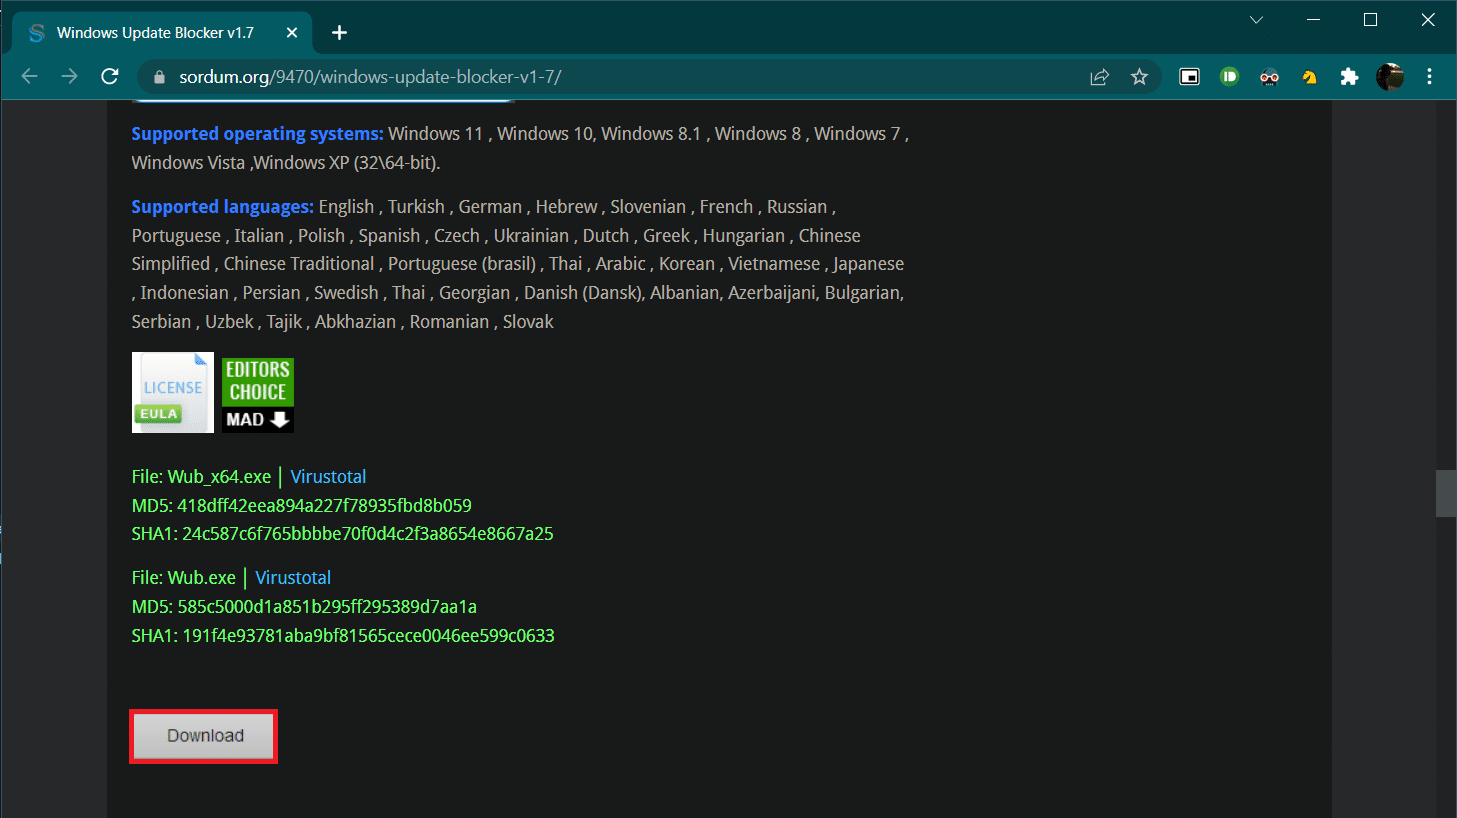
1. Go to Windows Update Blocker v1.7 download page and click on Download present at the bottom of the webpage.
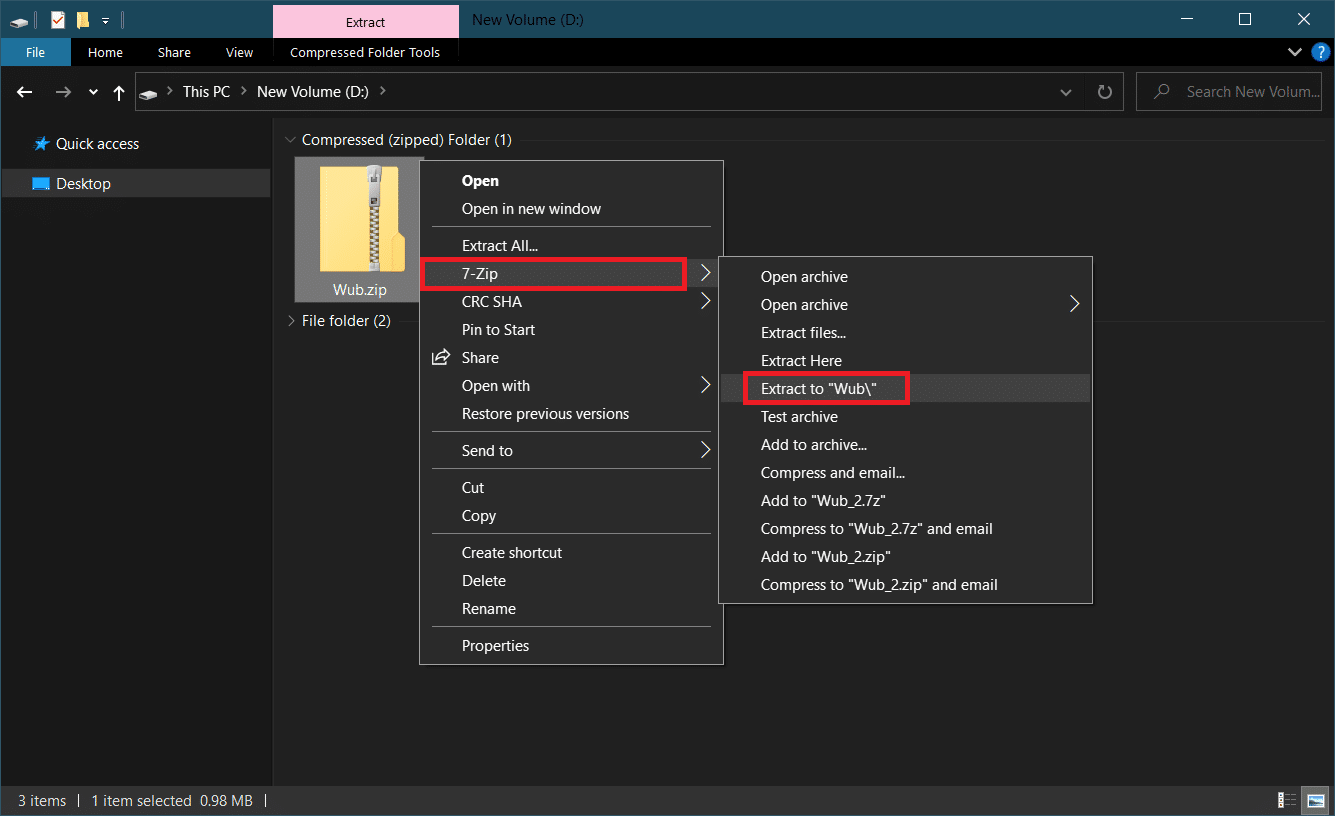
2. Once downloaded, open the folder containing the downloaded Wub.zip file and extract it using 7-zip or WinRar.
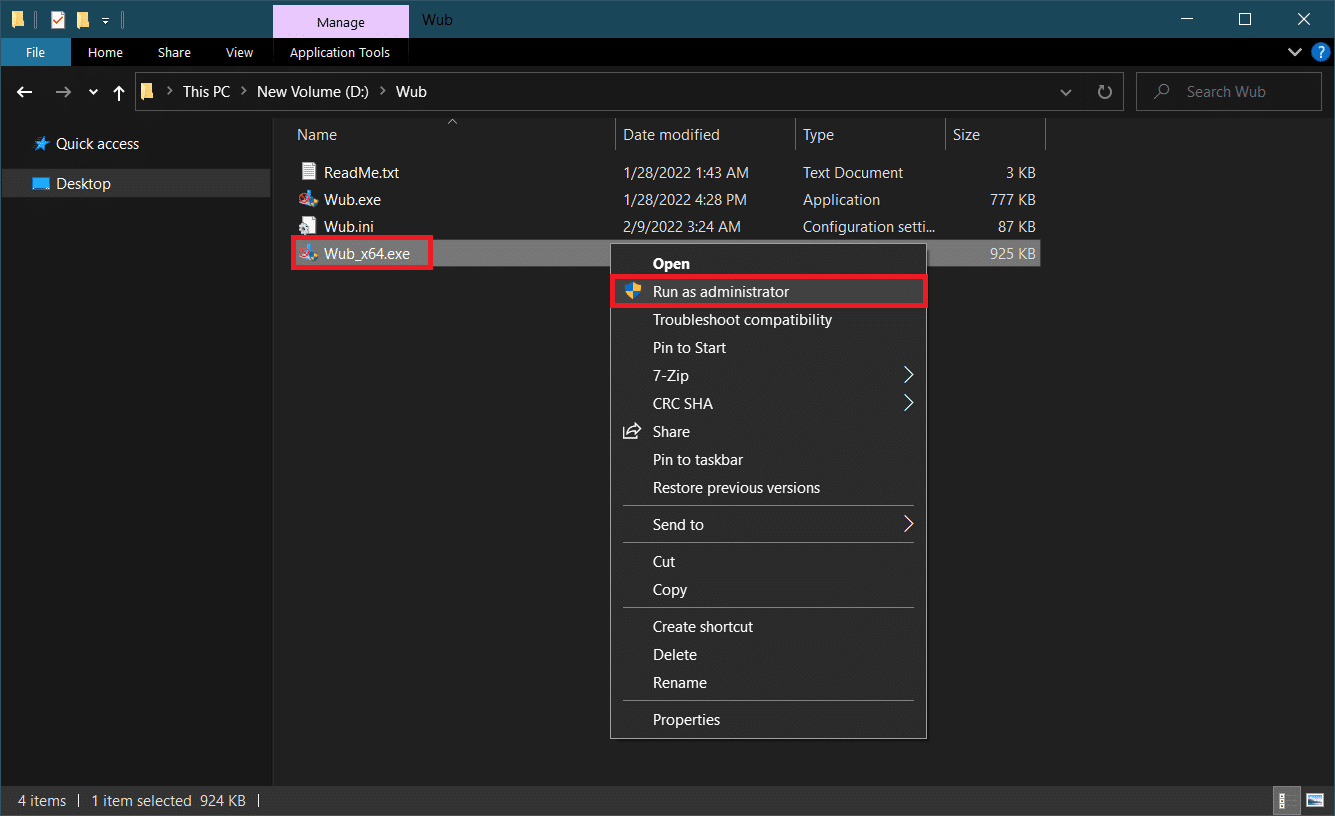
3. Right-click on Wub_x64.exe file and select Run as administrator option from the menu.
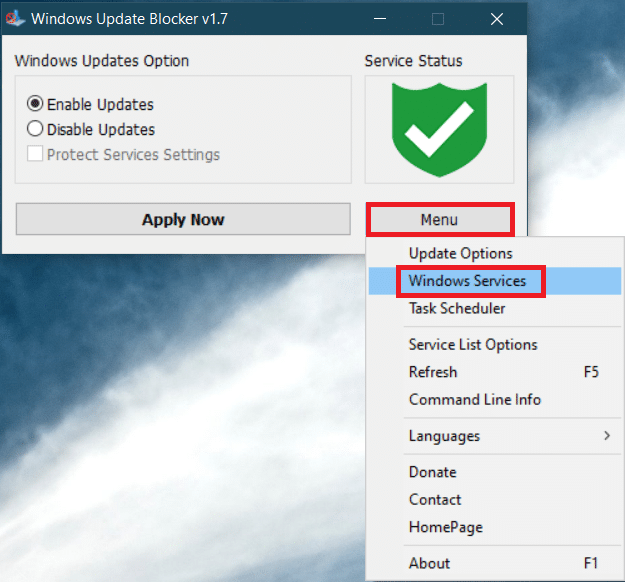
4. Click on Menu button and select Windows Services from the ensuing list.
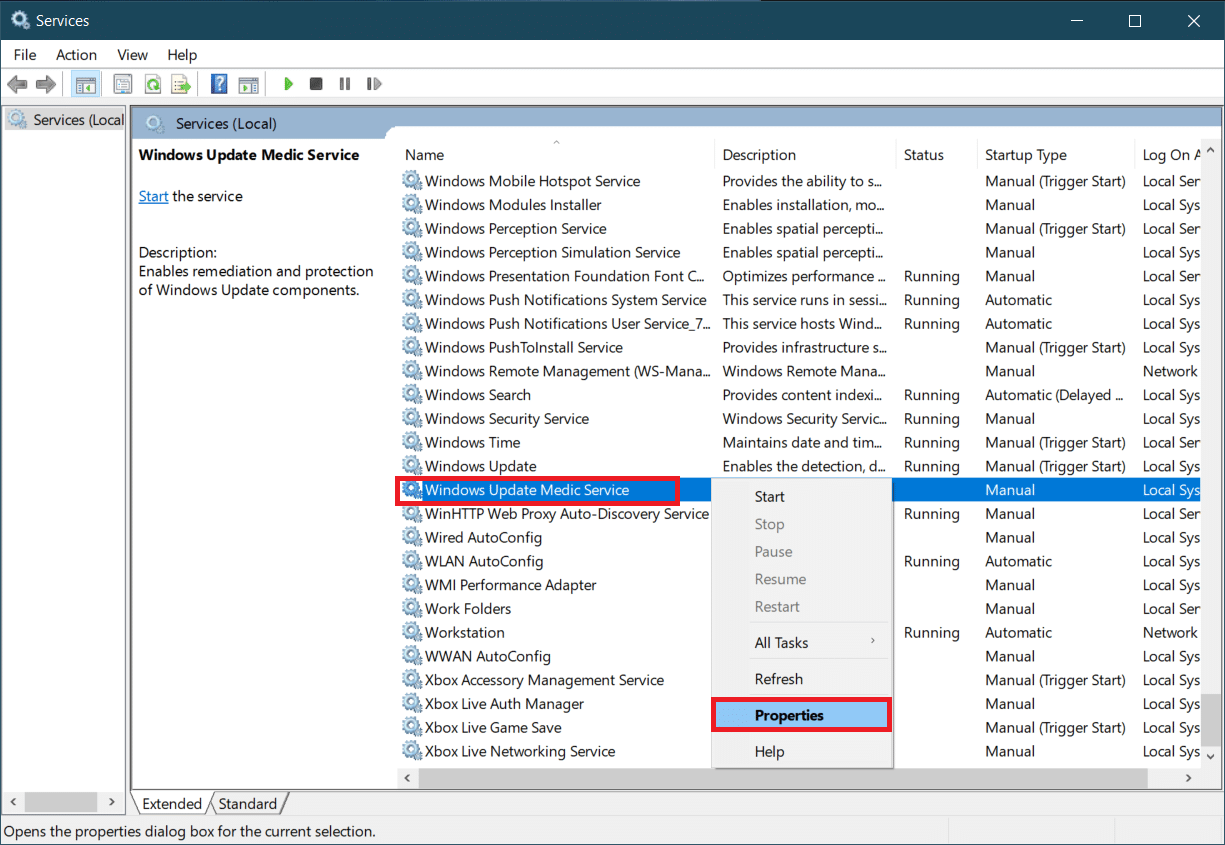
5. After that Services application will open up. Find Windows Update Medic Service and right-click on it. Select Properties.
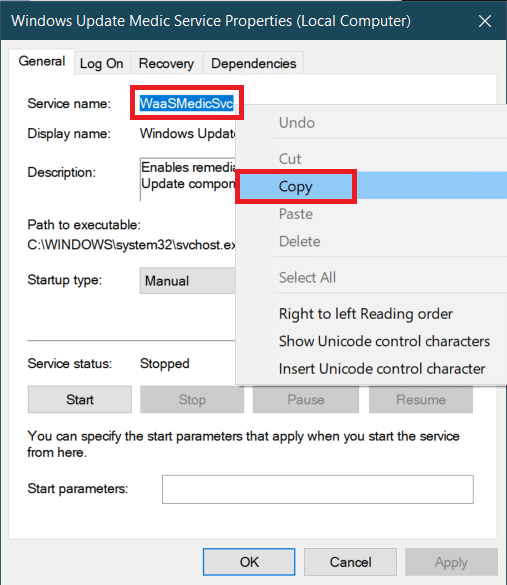
6. In General tab, highlight the entry in-line with Service name and press Ctrl + C keys together to copy it.
7. Open Wub folder that was extracted in step 2.
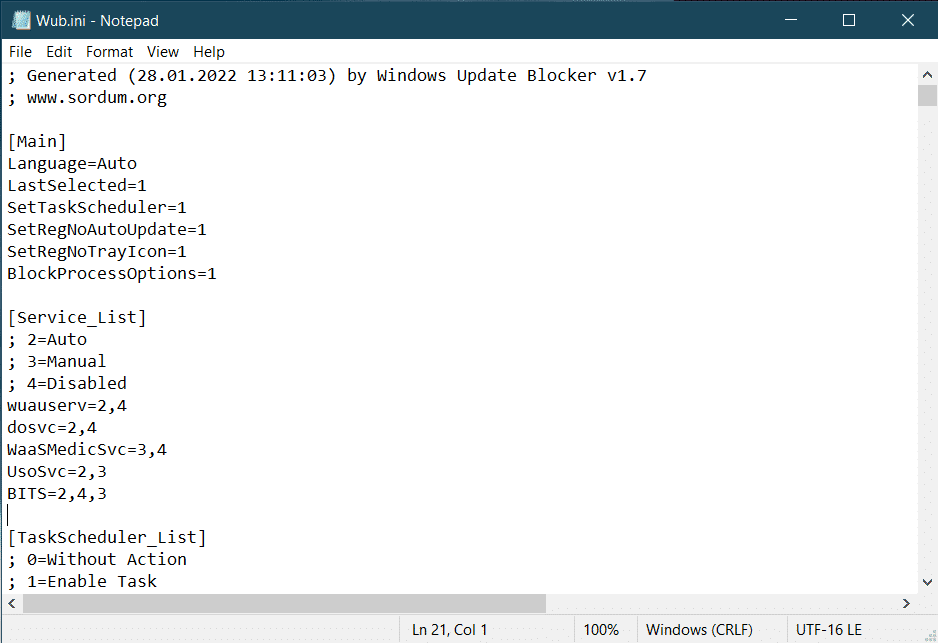
8. Right-click on Wub.ini file and select Open With > Notepad.

9. In Notepad, under dosvc=2,4 line, paste Service name you copied in Step 6 and type =3,4 ahead of it as shown below. Press Ctrl + S to save file modification.
10. Go back to Wub folder and double click on Wub_x64.exe to open Windows Update Blocker.
11. Click on Apply Now button.
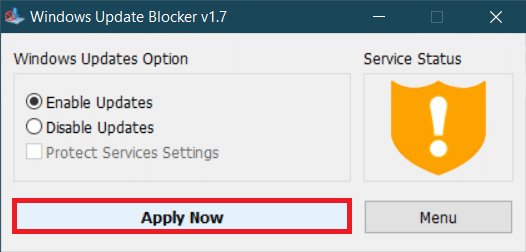
WaasMedicSVC.exe process will be disabled. The issue must be resolved now.
Recommended:
We hope that this guide was helpful and you were able to fix WaasMedicSVC.exe high disk usage on Windows 10. Let us know which method worked for you the best. If you have any queries or suggestions then feel free to drop them in the comments section.