Fix Can’t Send Photos on Facebook Messenger

Oh no! What’s that? A big fat exclamation mark! This can be really annoying when you are trying to share pictures with your friends and family on Facebook Messenger, and all you get to see is a big fat caution sign saying ‘try again.’
Believe me! You’re not in this alone. We all have been through this once in our lifetime. Facebook Messenger often throws tantrums in exchanging media files and photographs online. And of course, you don’t want to miss out on that fun.
This usually happens when either the server has some issues, cache and data are choked up or if the date and time are not in sync. But don’t you panic, because we are here to get you out of this problem and get your social media life back on track.
Fix Can’t Send Photos on Facebook Messenger
We have listed down a few hacks that can help you fix can’t send photos on Facebook Messenger issue and get you out of this anxiety.
Method 1: Check for Permissions
Facebook messenger not working can be frustrating because it is the next best thing after the Facebook App. This usually happens when Facebook doesn’t have access to your internal storage or SD Card. Even users can sometimes dismiss the permission of storage access, absentmindedly. This could be the reason behind your Facebook Messenger not working properly and ignoring the media files.
In order to fix this, you will need to follow the below instructions:
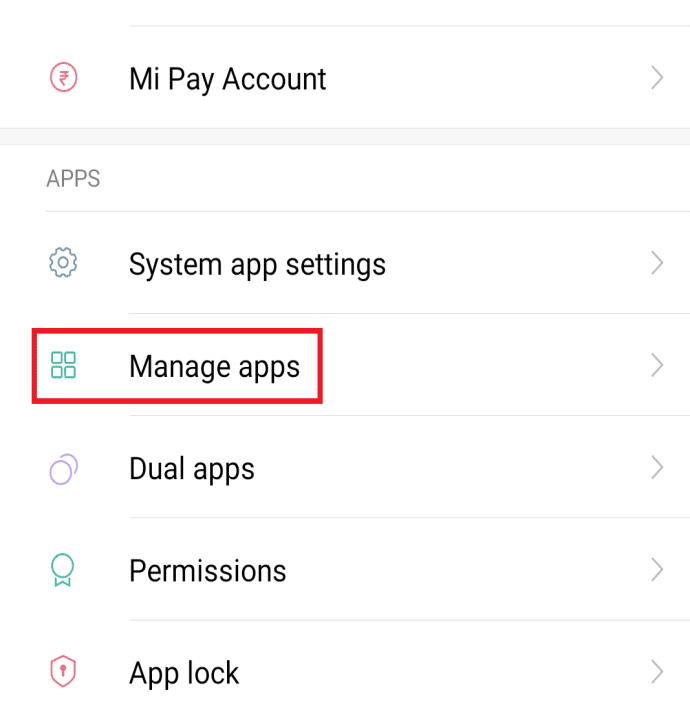
1. Go to Settings and look for Apps.
2. Now, navigate Manage Apps and find Facebook Messenger.
See Also:
Fix Amazon Music Not Downloading Error 200
How to Download All Facebook Photos at Once
Fix WS-43709-3 Error Code on PS4
9 Ways to Fix Xbox Game Pass Install Error 0x800700e9 on PC
10 Ways to Fix Error Performing Query on Facebook
3. Check whether you have granted all the permissions except for location, SMS, and Contacts related information. Make sure Camera & Storage access is granted.
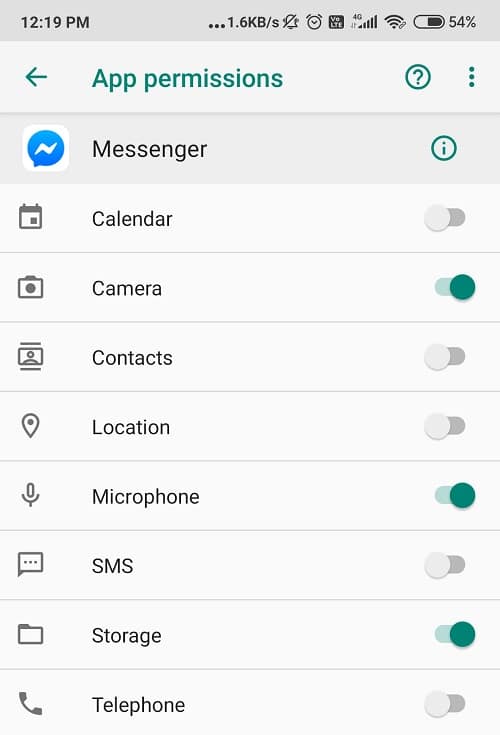
Now Reboot your Android and try sending photos via Facebook Messenger again.
Method 2: Erase Cache and Data from the Messenger
If the Facebook Messenger app cache & data is corrupted then this can be the issue behind you not being able to share photos with your friends using Facebook Messenger.
Deleting unwanted cache will fix the issue and make storage space for other important things. Also, deleting the cache doesn’t delete your user ID and password.
Following are the steps to delete Facebook Messenger cache:
1. Go to Settings on your phone.
2. Select Apps and then go for Manage Applications.
3. Now, navigate Facebook Messenger and go to Storage.

4. Finally, erase the cache first and then Clear Data.
5. Restart your Android and login to your Messenger account again.
Method 3: Check Date & Time Settings
If your date and time settings are not in sync, then the Messenger application will not work properly. If the Facebook Messenger is not working, check your time and date settings.
To check your time and data, follow these instructions and set them correct:
1. Navigate Settings and select System or Additional settings.
2. Now, look for the Date & time option.
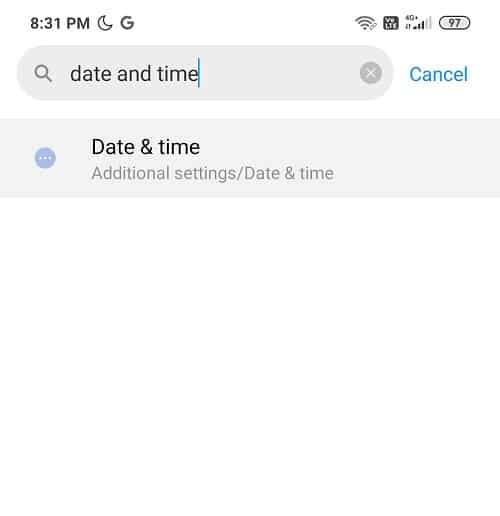
3. Make sure to turn on the toggle next to “Automatic date & time“.

4. Finally, Reboot your Android Device.
Recommended: Recover Your Facebook Account When You Can’t Log in
Method 4: Reinstall the Messenger
Couldn’t post those pictures from last night’s party because Facebook Messenger isn’t allowing you to share or receive pictures online? Sad story, bro!
If all the above suggestions don’t help, then reinstalling the app is also a great option to solve this problem. Steps to do so are jotted down below:
1. Go to Settings and find Apps.
2. Now look for All apps/ Manage Applications and select Messenger.
3. Uninstall the app from there and erase all cache & data history.

4. Go to Play Store and again install Facebook Messenger.
5. Rebooting your device is optional. Once it is done, log in again.
This may be able to Fix Can’t Send Photos on Facebook Messenger issue, if not then continue with the next method.
Method 5: Check Secure Digital Card Settings (SD Card)
There are many additional shields of system and security permissions when we deal with external storage. If your SD card doesn’t fit correctly in the designated slot then you won’t be able to share photos on Facebook Messenger.
Sometimes, a virus corrupted SD card can also be the issue behind this problem. So don’t take any risks; make sure you have set the correct settings, as intended. You can try to replace your SD card with another one, just to check if the issue is not with your SD card. Or else, you can just remove the SD card and clean dust by blowing air in the designated slot then again re-insert it. If nothing else works then you may need to format your SD card and try again.
Method 6: Use the Lite Version of the App
The lite version of the Facebook Messenger app is a low-key way to access Facebook. It works just the same but has a few downgraded features.

To install Facebook Lite:
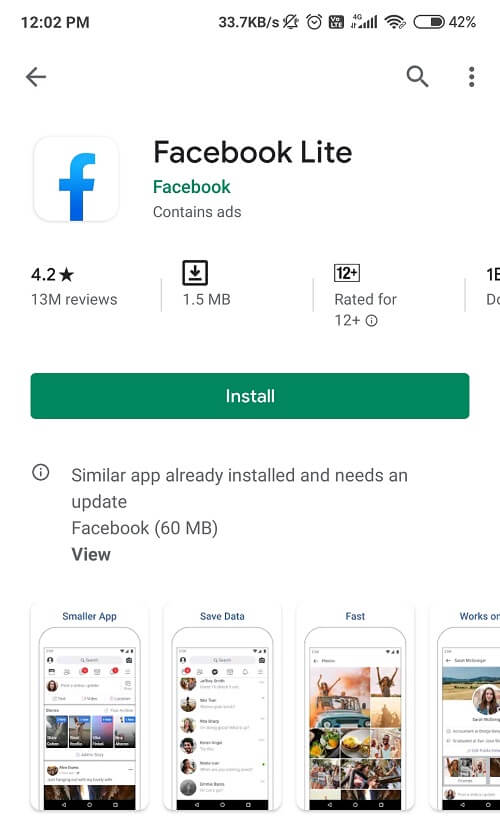
1. Visit the Play store and Download Facebook Messenger Lite.
2. After the installation process, enter your user ID and password.
3. The app should work just as good as new. Now you can relish sharing photographs and media online.
Also Read: The Ultimate Guide to Manage Your Facebook Privacy Settings
Method 7: Leave the Beta Program
Are you a part of the Beta program for Facebook Messenger? Because if you are, let me tell you, leaving is the best option. Although Beta Programs are great for getting the latest updates & features, but these updates contain bugs that can cause conflict with the Messenger app. These new apps are unstable and might cause a problem.
If you are planning to leave the Beta program for Facebook Messenger, follow these instructions:
1. Go to Play Store and search for Messenger.
2. Keep scrolling downwards until you find the words ‘You are in a beta tester section’.
3. Select Leave and wait for your removal from the Beta program.
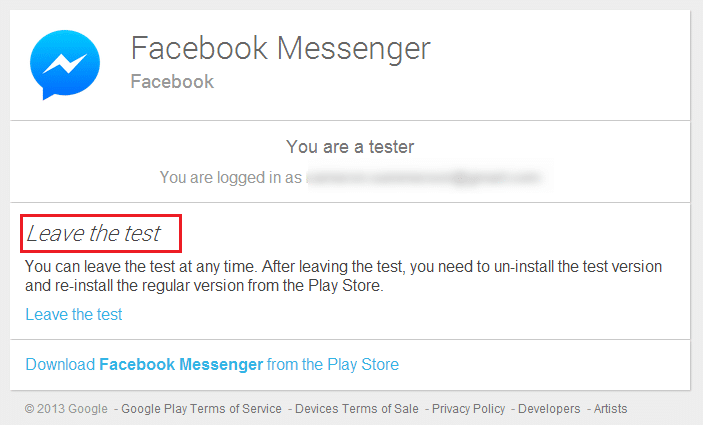
4. Now, Reboot your device and get yourself the latest version of the Messenger.
Method 8: Try an older version of Facebook Messenger
Someone rightly said, old is gold. An earlier version seems to be the only option when nothing works out. Roll backward if you need to, there is no harm. An older version of Messenger can resolve the can’t send Photos on Facebook Messenger issue. Here are the steps to do so:
Note: Installing apps from third-party websites or sources is not recommended. Only do this if nothing works but even then proceed with caution.
1. Uninstall the Facebook Messenger App from your phone.
2. Now, navigate to APK Mirror, or any other third-party website and search for Facebook Messenger.
3. Download the older version APK which is not older than 2 months.
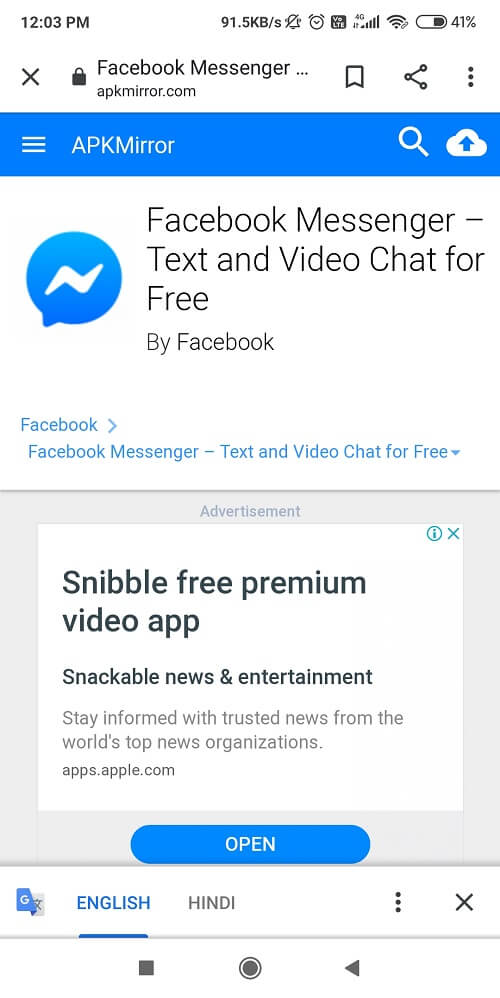
4. Install the APK and ‘grant permission’ where ever needed.
5. Erase the cache and then log in with your user ID and password.
Method 9: Access Facebook via your Browser
You can always share photos by accessing Facebook via your browser, although this is not a technical fix, it is more like an alternative. All you need to do is:
1. Visit website www.facebook.com.
2. Enter your user ID & password and hit enter.
3. I hope you haven’t forgotten to handle Facebook in the old school way. Access your media and files via PC.
Conclusion
That’s it, I hope the above steps were helpful and you will be able to fix Can’t Send Photos on Facebook Messenger issue by now. If you still have any questions or if you like to add anything then feel free to reach out using the comment section.