How to completely uninstall Norton from Windows 10

How to completely uninstall Norton from Windows 10: If you have installed Norton Antivirus then you will face a tough time uninstalling it from your system, like most antivirus software, Norton will leave behind a lot of junk files and configurations in the registry even though you have uninstalled it from Programs an Features. Most people download these antivirus programs in order to protect their PC from external threats such as the virus, malware, hijacks etc but removing these programs from the system is one hell of a task.
The main problem occurs when you try to install another antivirus software because you won’t be able to install it as the residue of the older antivirus is still on the system. In order to clean all the files and configurations, a tool called Norton Removal Tool was specifically developed to uninstall all Norton products on your computer. So without wasting any time let’s see How to completely uninstall Norton from Windows 10 with the help of the below-listed guide.
How to completely uninstall Norton from Windows 10
Make sure to create a restore point just in case something goes wrong.
1.Press Windows Key + Q to bring up Windows Search then type control and click on Control Panel from the list of search results.

2.Under Programs click on Uninstall a program.

3.Find Norton Products then right-click on it and select Uninstall.
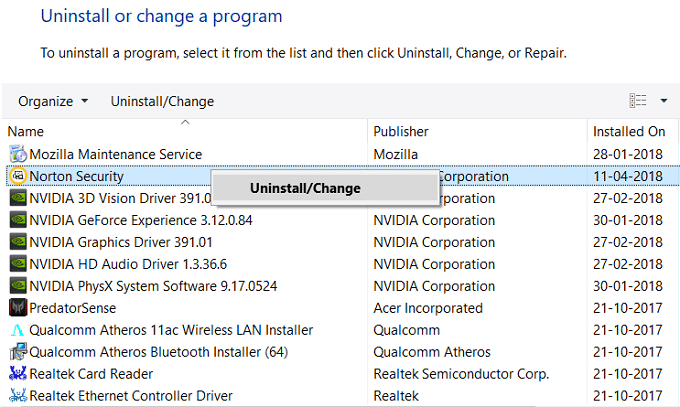
4.Follow on-screen instructions in order to completely uninstall Norton from your system.
5.Reboot your PC to save changes.
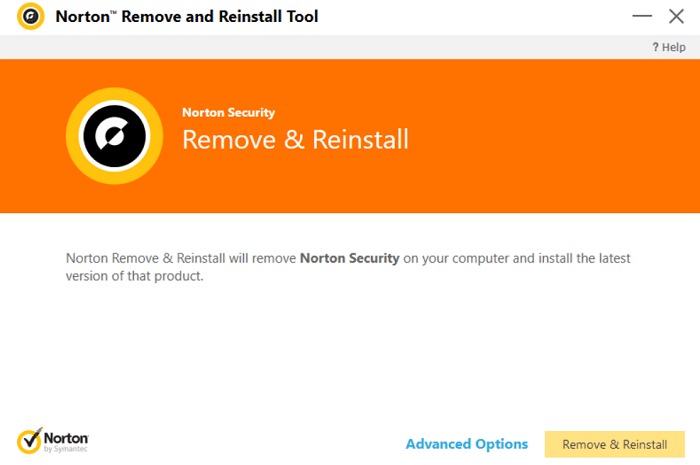
6.Download Norton Removal Tool from this link.
If the above link doesn’t work try this one.
7.Run the Norton_Removal_Tool.exe and if you see a security warning, click Yes to continue.
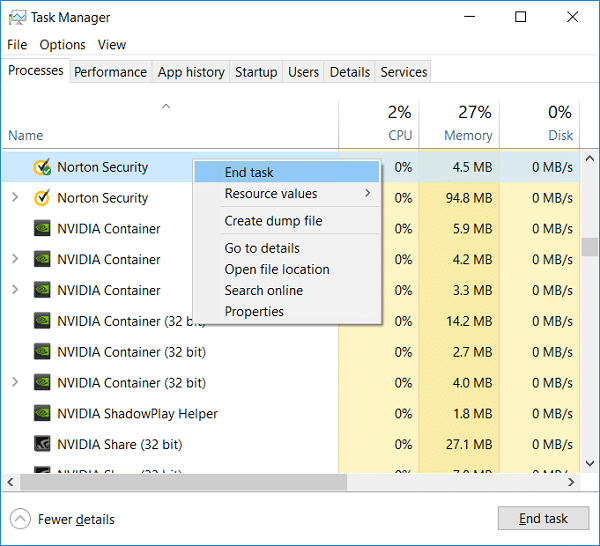
Note: Make sure to close all open windows of Norton program, if possible force close them using Task Manager.
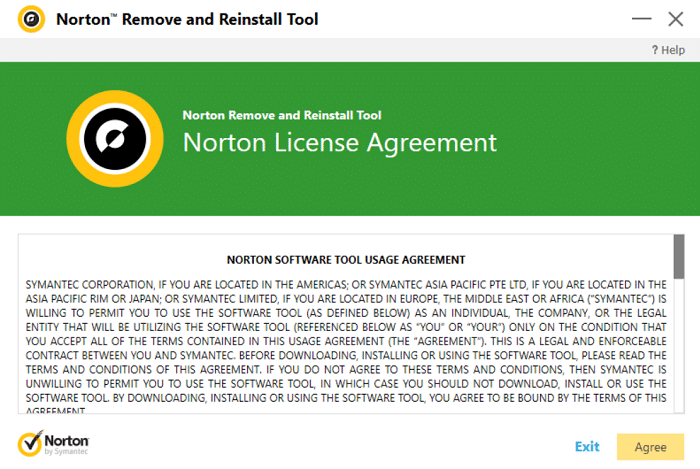
8.Accept the End License Agreement (EULA) and click Next.
9.Type the characters exactly as shown on your screen and click Next.
10.Once the uninstall is complete, restart your PC to save changes.
11.Delete the Norton_Removal_Tool.exe tool from your PC.
12.Navigate to Program Files and Program Files (x86) then find the following folders and delete them (if present):
Norton AntiVirus
Norton Internet Security
Norton SystemWorks
Norton Personal Firewall
13.Reboot your PC to save changes.
Recommended:
That’s it you have successfully learned How to completely uninstall Norton from Windows 10 but if you still have any questions regarding this post then feel free to ask them in the comment’s section.