Fix Unidentified Network in Windows 10

Internet connectivity is essential nowadays, and more so in Windows 10. All applications are dependant on the internet connectivity for fetching the latest updates, and to provide their services. One thing the user doesn’t want to happen while using their Windows 10 PC is to get issues with internet connectivity.
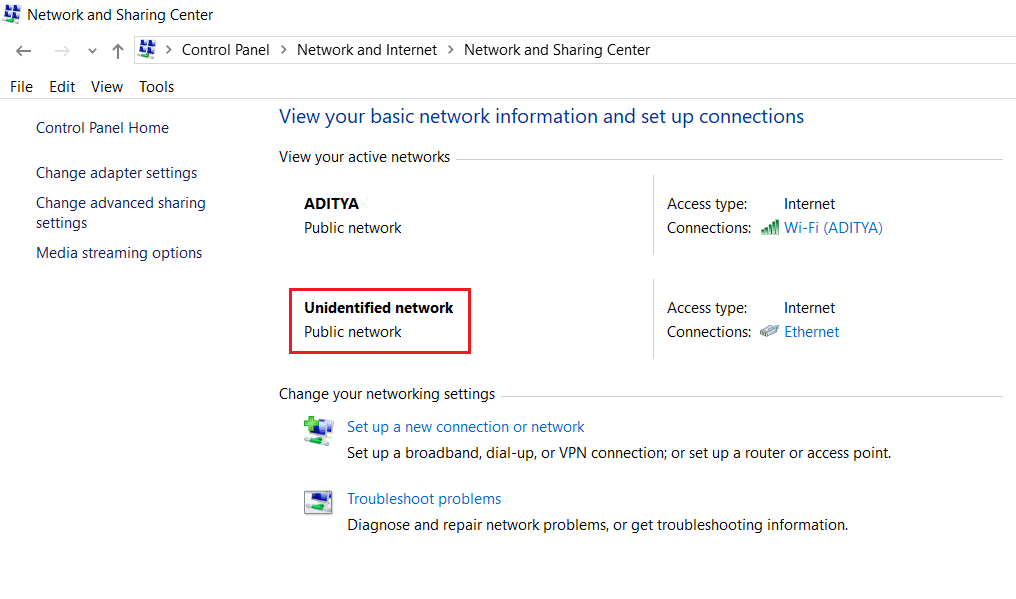
Unidentified Network is one of the common issues in Windows 10 where even when you look to have registered on a network, there seems to be no connectivity and network status shows being connected to an Unidentified Network. While it can occur because of hardware failure, in most cases, it is a software issue, and you can fix it quickly. Here is a list of possible measures you can implement to fix your Unidentified Network issues in Windows 10.
Fix Unidentified Network in Windows 10
Make sure to create a restore point just in case something goes wrong.
Before continuing with any advance troubleshooting you may simply try these two simple ways to fix the issue:
1.Simply Reboot your device and hopefully, you will not see the errors anymore on your device.
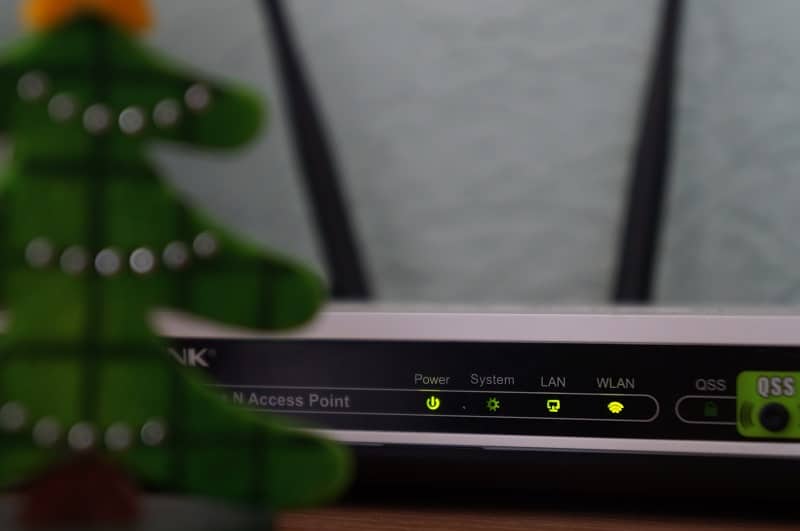
2.Another possible reason for the Unidentified Network issue can be misconfigured Router or Modem. So in order to resolve the issue try to restart your router or modem.
Method 1: Update Network Adapter Drivers
The network adapter is the main link between your computer and the internet for everything sent and received. If you’re facing limited internet connectivity or no internet access then the problem is caused because Network Adapter drivers got corrupted, outdated, or incompatible with Windows 10. In order to fix this issue, you need to follow a serious of troubleshooting methods listed here.
If you’re still facing the Unidentified Network in Windows 10 issue then you need to download the latest drivers for Network adapter on another computer and then install these drivers on the PC on which you’re facing the issue.
1.On another machine, visit the manufacturer website and download the latest Network Adapter drivers for Windows 10. Copy them to an external storage drive and then onto the device with network issues.
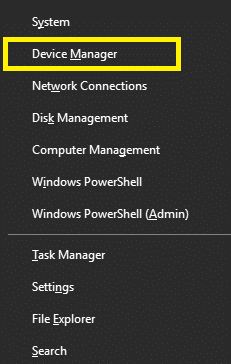
2.Press Windows Key + X then select Device Manager.
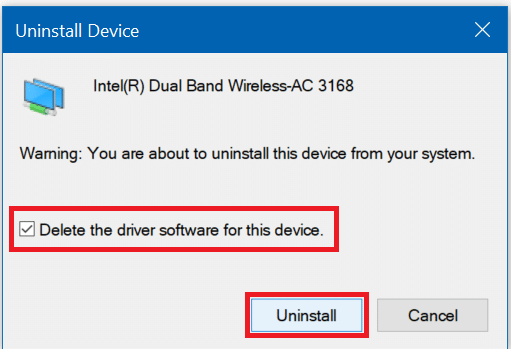
3.Locate the network adapter in the devices list, then right-click on the adapter name and click on Uninstall Device.
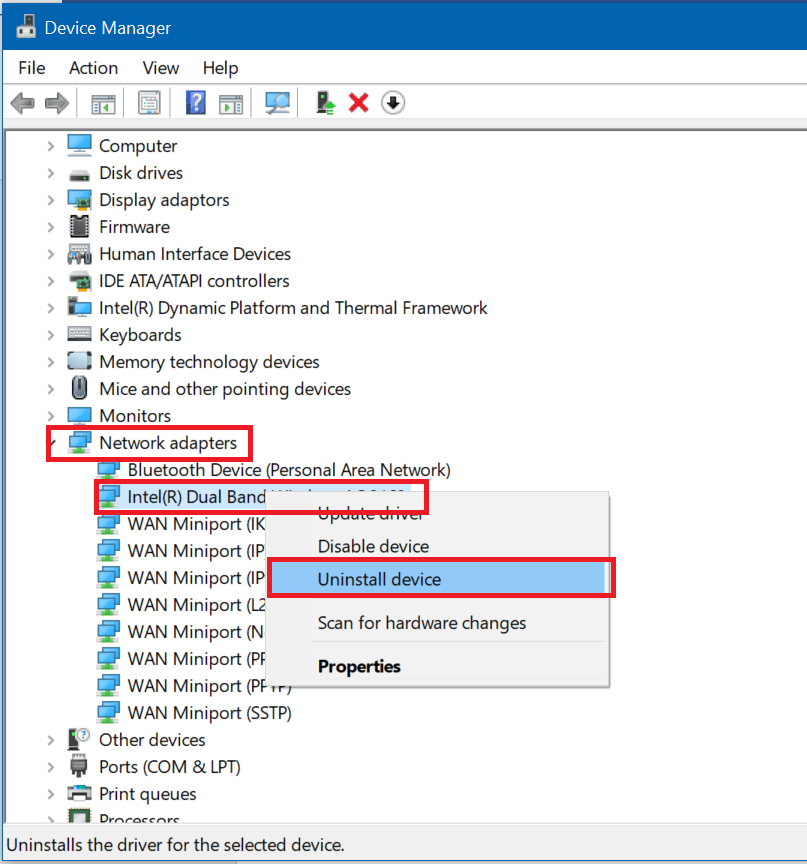
4.In the prompt that opens up, make sure to checkmark ‘Delete the driver software for this device.’ Click on Uninstall.
5.Run the setup file that you downloaded as an Administrator. Go through the setup process with defaults, and your drivers will be installed. Reboot your PC to save changes.
Method 2: Turn Off Airplane Mode
If you have enabled Airplane mode and then connected to a Wi-Fi or ethernet network by enabling networking, turning off the Airplane mode can help you fix the problem. This is a known issue more prevalent in creators’ update.
1.Click on the Airplane-like symbol or Wi-Fi icon on the taskbar.
2.Next, click on the icon next to the Flight Mode to disable it.
![]()
Now connect to the network again and see if this helped you fix the problem.
Method 3: Run Windows 10 Network Troubleshooter
The built-in Troubleshooter can be a handy tool when you face internet connectivity issues on Windows 10. You can try it to fix your network problems.
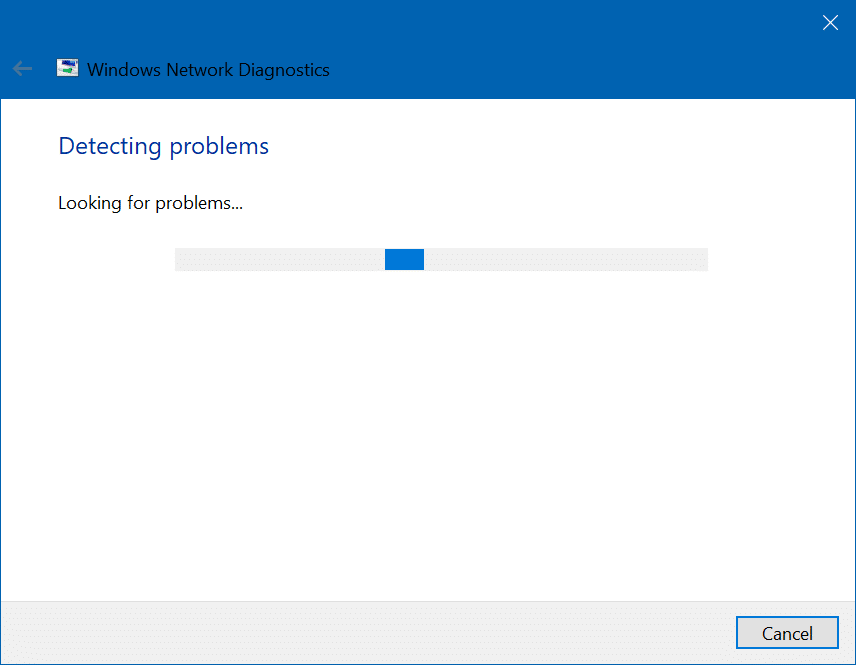
1.Right-click on the network icon at the taskbar and click on Troubleshoot problems.
![]()
2.The Network Diagnostics window will open. Follow the on-screen instructions to run the Troubleshooter.
Method 4: Manually Add the IP address & DNS Server Address
1.Press Windows Key + I to open Settings then click on the Network & Internet.

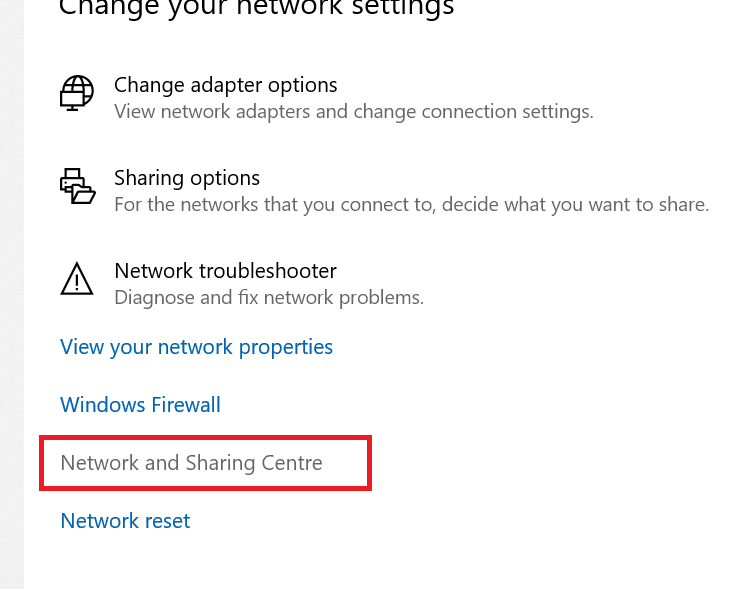
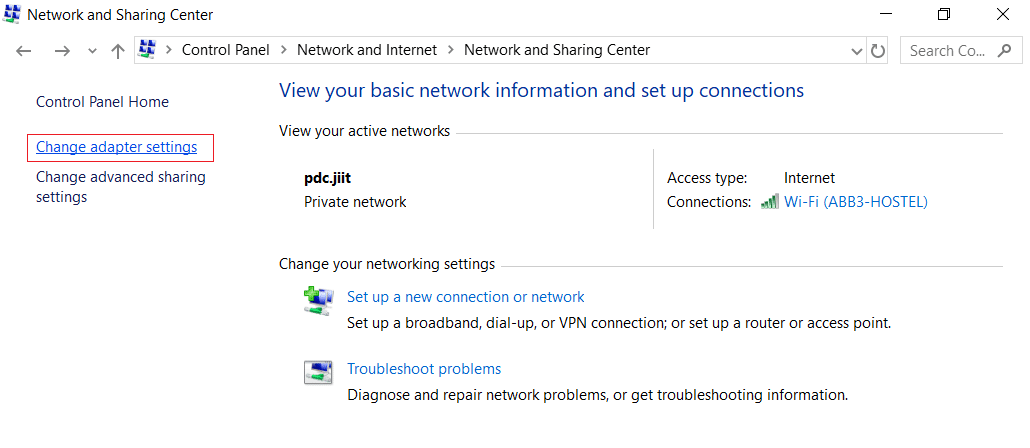
2.Make sure to click on Status then scroll down to the bottom of the page and click on the Network and Sharing Centre link.
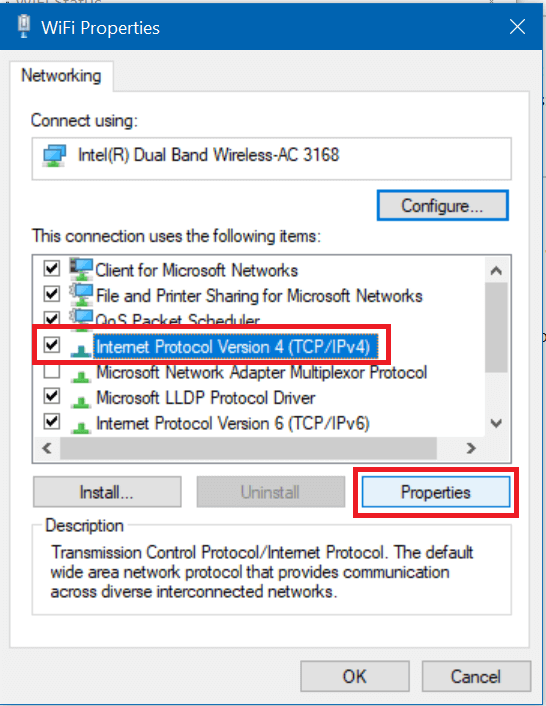
3.Click on the Unidentified network, and click on Properties.
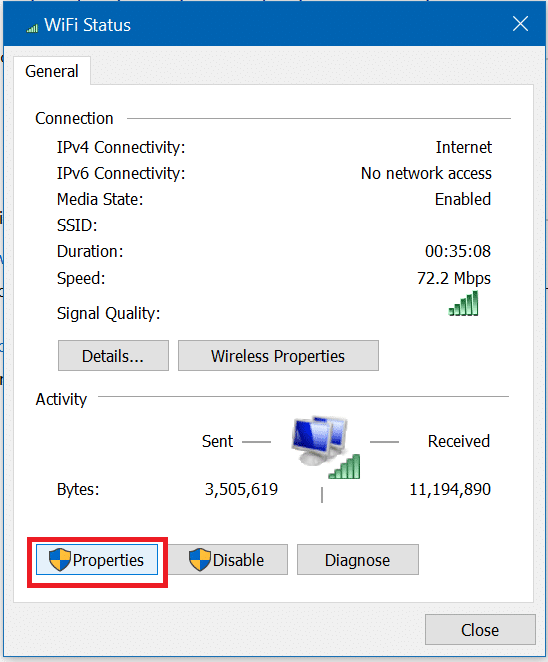
4.Select Internet Protocol Version 4 (TCP/IPv4) and again click on the Properties button.
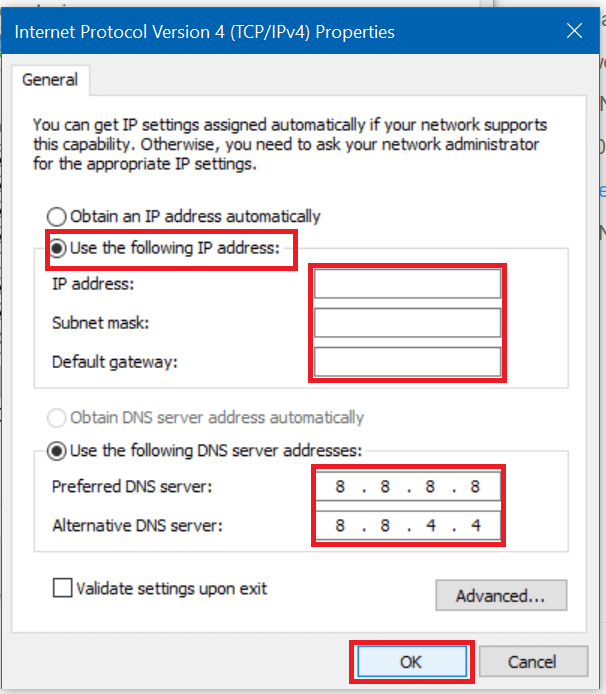
5.Click on Use the following for IP address and DNS. Enter the Following in respective fields.
IP Address: as provided by the network administrator
Subnet mask: as provided by the network administrator
Default gateway: as provided by the network administrator
DNS server: 8.8.8.8
Alternative DNS server: 8.8.4.4
6.Save the settings and reboot.
Method 5: Reset Network & Flush DNS cache
Resetting the network and flushing the DNS cache can help resolve issues caused by corrupt DNS entries or errors in configuration,
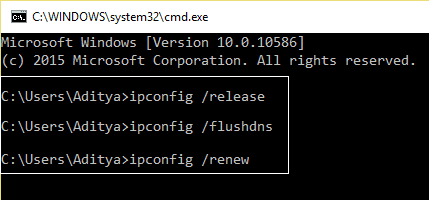
1.Right-click on Windows Button and select “Command Prompt(Admin).“

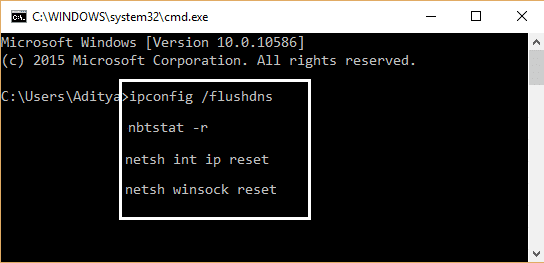
2.Type the following commands one by one and press Enter after typing each command:
ipconfig /release
ipconfig /renew
netsh winsock reset
netsh int ip reset
ipconfig /flushdns
ipconfig /registerdns
netsh int tcp set heuristics disabled
netsh int tcp set global autotuninglevel=disabled
netsh int tcp set global rss=enabled
netsh int tcp show global
3.Reboot your PC to save changes, and you will be good to go.
Method 6: Disable Fast Startup
The fast startup combines features of both Cold or full shutdown and Hibernates. When you shut down your PC with a fast startup feature enabled, it closes all the programs and applications running on your PC and also logged out all the users. But Windows kernel is loaded and system session is running which alerts device drivers to prepare for hibernation i.e. saves all current applications and programs running on your PC before closing them. Hence, turning off Fast Startup will result in proper shutting down of all devices, and complete startup again. This might be able to fix the Unidentified Network in Windows 10 issue.

Method 7: Disable Conflicting Network Connection items
1.Right-click on the Wi-Fi or Ethernet icon in the taskbar and select Open Network & Internet Settings.
![]()
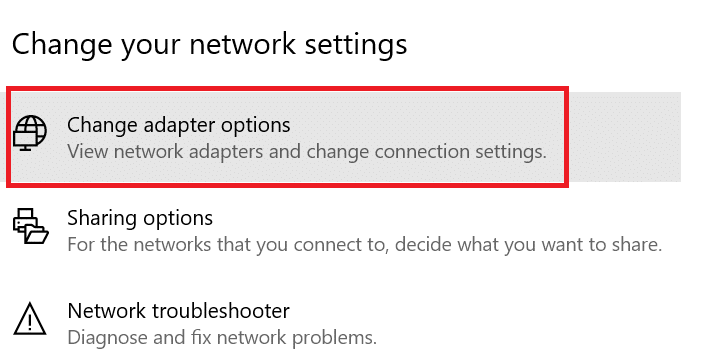
2.Under Change your network settings, click on Change Adapter Options.
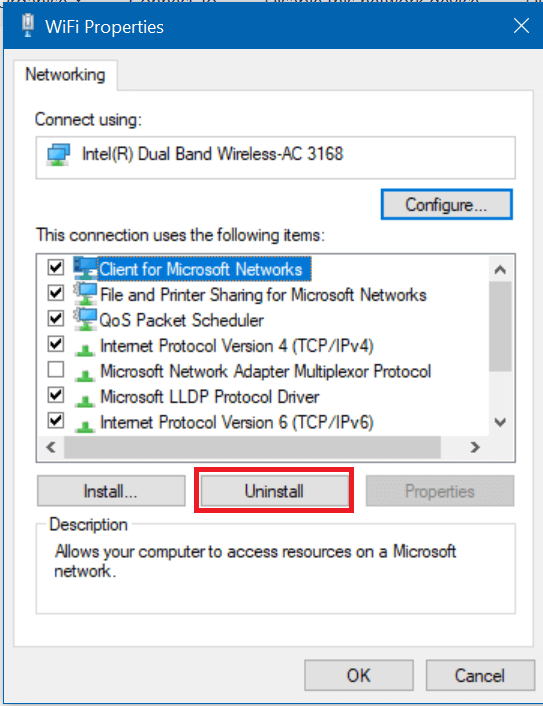
3.Right-click on your Network Connection and then click on Properties.

4.If you see any conflicting items or extra items then click on them and then click on the Uninstall button.
5.Reboot your PC to save changes, and this should be able to fix Unidentified Network in Windows 10 issue, but if not then continue with the next method.
Method 8: Either Use One Connection or Bridge Connections
If you are using both Ethernet and Wireless connections at the same time, this may be the reason for the problem. Either you drop one connection or use the bridge connections method. To do this, you need to navigate to the Network and Sharing Center.
1.Open Network and Sharing Center using Method 4.

2.Click on Change Adapter Options.
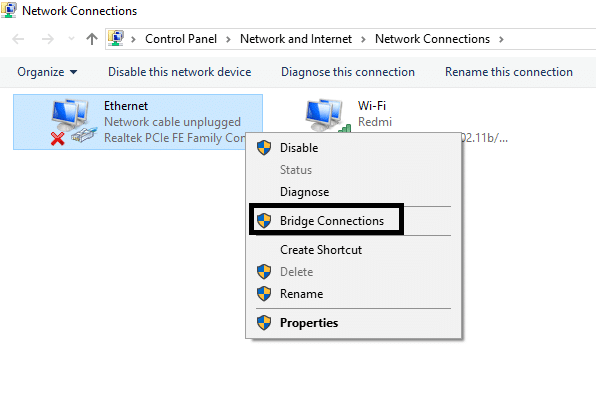
3.To use bridge connections, you need to select all the available connections, right-click on them and select the bridge connections option.
Once you have completed the process, it may solve your problem on your device. However, if you don’t want to continue with bridge connections, you can disable one connection and use only a single connection to connect with the internet.
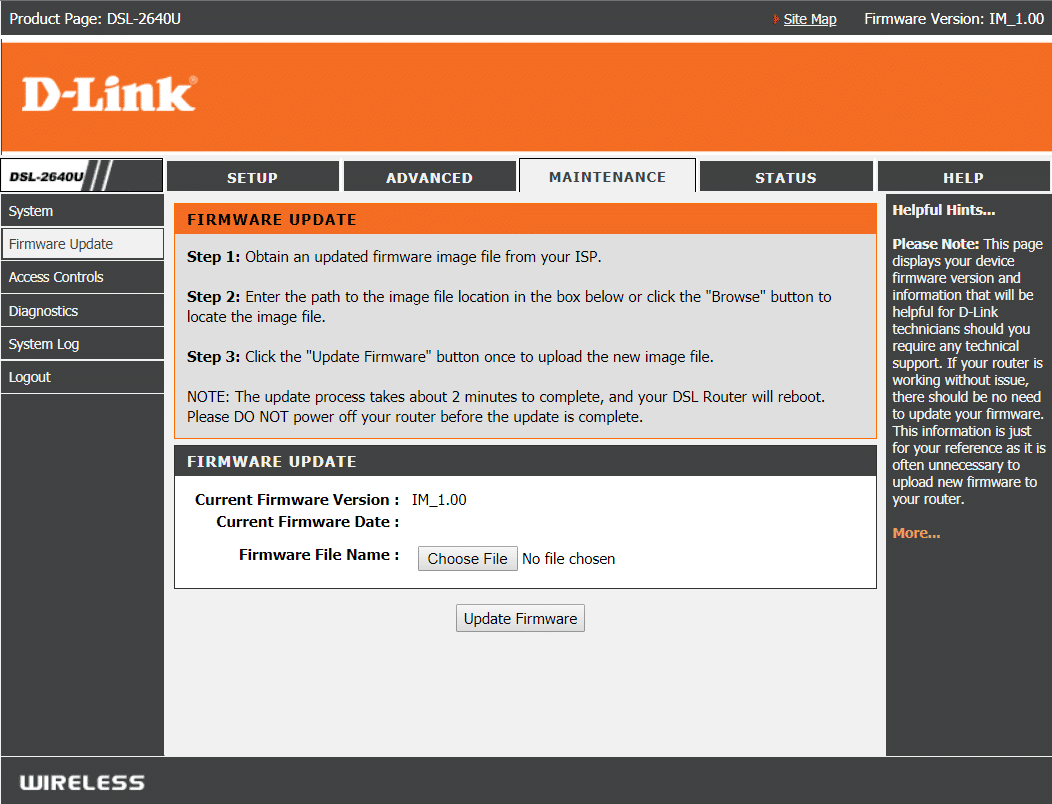
Method 9: Upgrade Router Firmware
If you have already tried everything on this list to no effect, then there might be an issue with your router. Even though there might not be a physical failure, you can fix the problem in case it is a software issue. Flashing the latest firmware on the router will probably be the most helpful solution in such a case.
First, head over to the router manufacturer’s website and download the latest firmware for your device. Next, log in to the admin panel of the router and navigate to the firmware update tool under the system section of the router or modem. Once you find the firmware update tool, follow the on-screen instructions carefully and make sure you’re installing the correct firmware version.
Note: It is advised never to download firmware updates from any third party site.
To update the Router Firmware manually follow the below steps:
1.First, figure out the IP address of your Router, this is generally mentioned below the Router device.
2.There are so many brands of router available in the market and each brand has its own method of updating Firmware so you need to figure out the instructions to update the firmware of your Router by searching it using Google.
3.You can use the below search term according to your Router brand & model:
Wireless router brand and model number + “firmware update”
4.The first result you will find will be official firmware update page.
Note: It is advised never to download firmware updates from any third party site.
5.Visit that page and download the latest firmware.
6.After downloading the latest firmware, follow the instructions to update it using the download page.
After the firmware upgrade is complete, disconnect all devices and turn them off, connect them back and start up the devices along with the router to see if this fixed the issue.
Method 10: Temporarily Disable Antivirus Software
Sometimes the Antivirus program can cause the Unidentified Network on Windows 10 and in order to verify this is not the case here, you need to disable your antivirus for a limited time so that you can check if the error still appears when the antivirus is off.
1.Right-click on the Antivirus Program icon from the system tray and select Disable.

2.Next, select the time frame for which the Antivirus will remain disabled.

Note: Choose the smallest amount of time possible for example 15 minutes or 30 minutes.
3.Once done, again try to connect to the WiFi network and check if the error resolves or not.
If you still face the Unidentified Network issue in Windows 10, you might have a broken network card or damaged router/cable. Physically replacing them with alternatives can be a good idea to point out the defective item and then replace it.
Recommended:
I hope the above steps were helpful and now you will be able to Fix Unidentified Network in Windows 10 but if you still have any queries regarding this guide then feel free to ask them in the comment section.