How to Generate Barcode using Microsoft Word

Do you know that you can generate a barcode using MS word? Although it might come as a shock to you but it is indeed true. Once you have created the barcode, you can stick it onto some item and you can scan it with a physical barcode scanner or simply using your smartphone. There are several different types of barcodes that you can create using Microsoft Word for free. But to create others, you will need to purchase commercial software, so we won’t be mentioning anything about these types of barcodes.
However, here we will learn about generating barcodes through MS word. Some of the most common 1D barcodes are EAN-13, EAN-8, UPC-A, UPC-E, Code128, ITF-14, Code39, etc. 2D barcodes include DataMatrix, QR codes, Maxi code, Aztec, and PDF 417.
How to Generate Barcode using Microsoft Word
Note: Before you start generating a barcode using Microsoft Word, you need to install a barcode font on your system.
#1 Steps To Install Barcode Font
You need to start with downloading & installing a barcode font on your Windows PC. You can easily download these fonts searching from google. Once you download these fonts, you can proceed to generate the barcode. The more text you will have, the barcode characters will increase in size. You can use either Code 39, Code 128, UPC or QR code fonts as they are the most popular.
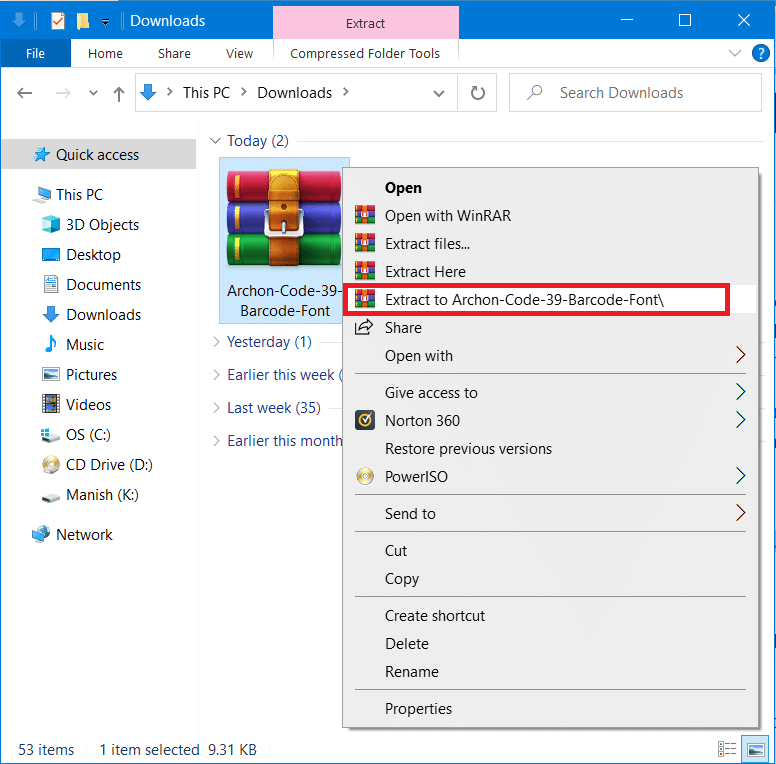
1. Download the Code 39 Barcode font and extract the zip file contacting the barcode fonts.
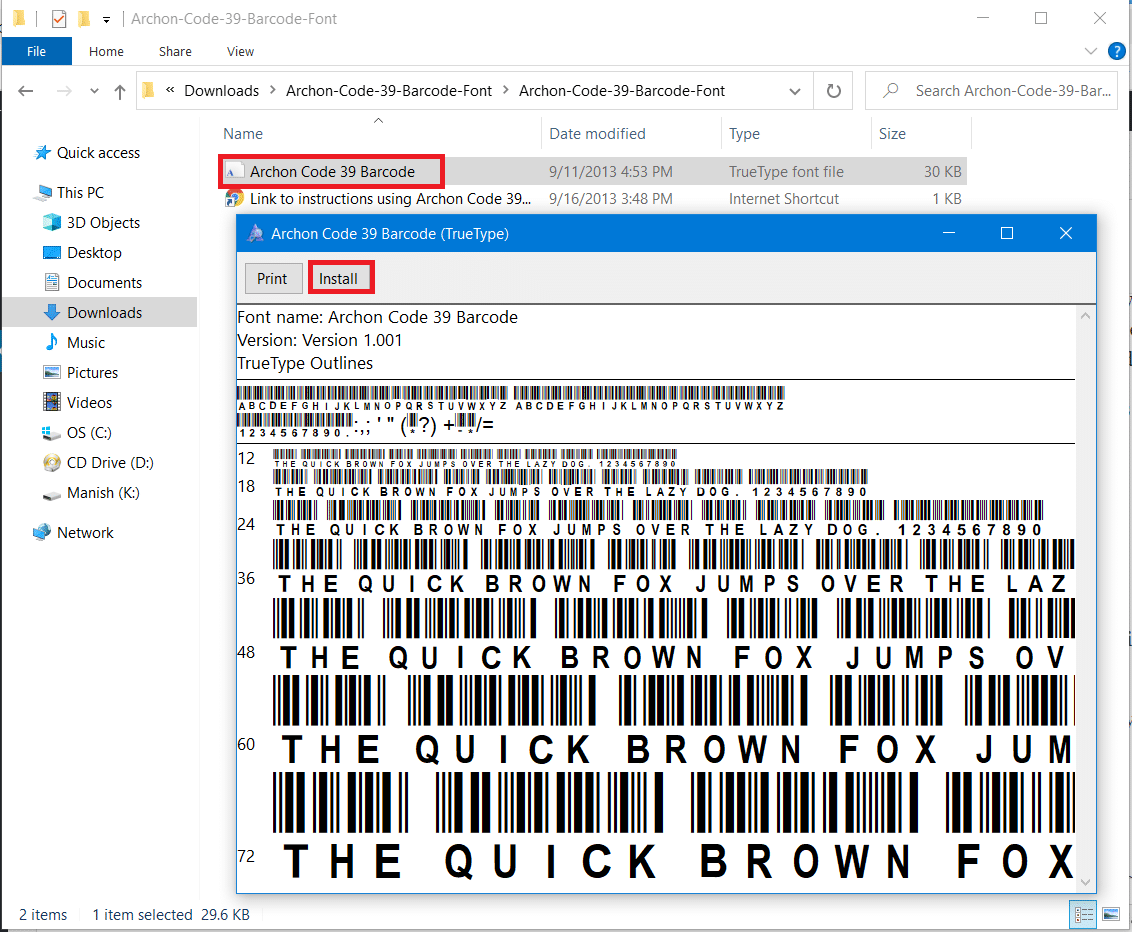
2. Now open the TTF (True Type Font) file from the extracted folder. Click on the Install button at the top section. All fonts will be installed under the C:WindowsFonts.
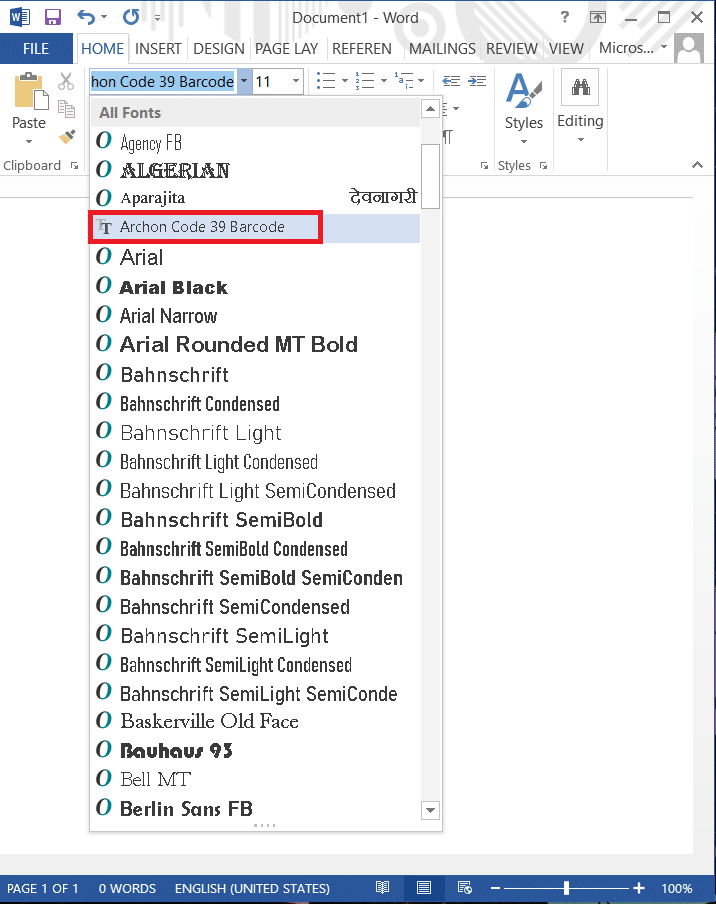
3. Now, relaunch Microsoft Word and you will see the Code 39 Barcode font in the font list.
Note: You will either see a barcode font name or simply a code or code with a font name.
#2 How to Generate Barcode in Microsoft Word
Now we will start creating a barcode in Microsoft Word. We are going to use the IDAutomation Code 39 font, which includes the text that you type below the barcode. While other barcode fonts do not show this text, but we will be taking this font for instructional purposes so that you can get a better understanding of how to generate a barcode in MS Word.
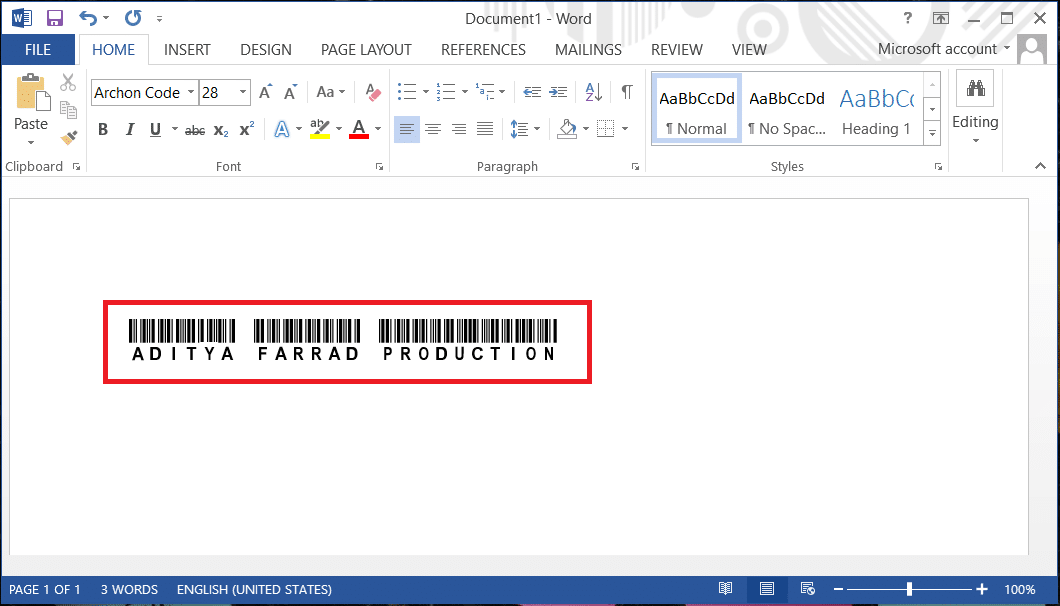
Now there is only one problem with using 1D barcodes that is they require a start and stop character in the barcode otherwise the barcode reader won’t be able to scan it. But if you are using Code 39 font then you can easily add the start & end symbol (*) to the front and end of the text. For example, you want to generate Aditya Farrad Production barcode then you will need to use *Aditya=Farrad=Production* to create a barcode that will read Aditya Farrad Production when scanned with a barcode reader. Oh yes, you need to use equal (=) sign instead of space when using Code 39 font.
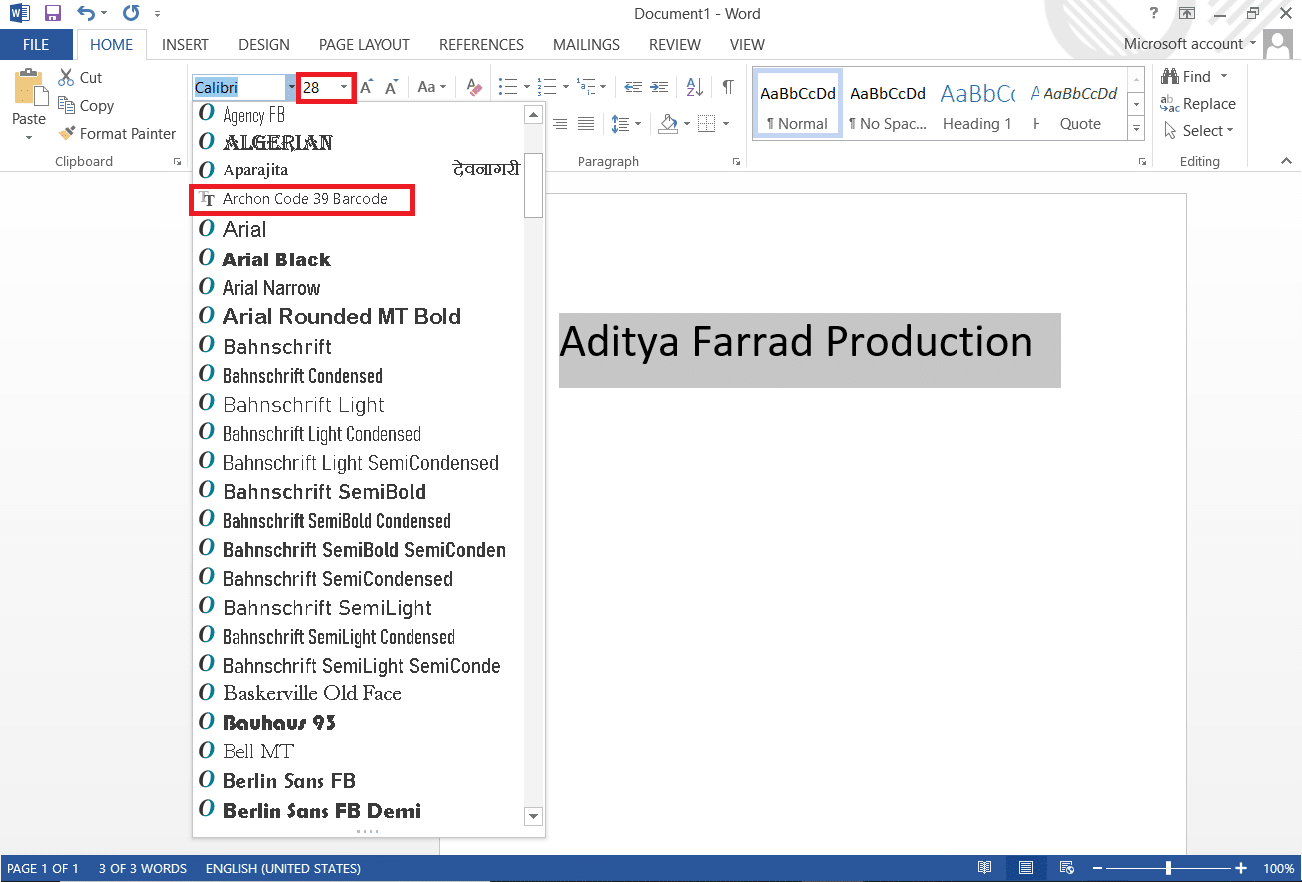
1. Type the text you want in your barcode, select the text then increase the font size up to 20 or 30 and then select the font code 39.
2: The text will automatically be converted into the barcode and you will see the name at the bottom of the barcode.
3. Now you have scannable barcode 39. It seems pretty simple. To check if the above-generated barcode is working or not, you can download a barcode reader app and scan the above barcode.
Now by following the same process, you can download and create different barcodes such as Code 128 Barcode font and others. You just need to download & install the selected code fonts. But with code 128 there is one more issue, while using start and stop symbols, you will also need to use special checksum characters which you can’t type by on your own. So you will first have to encode the text into a proper format and then use it into Word in order to generate a proper scannable barcode.
Also Read: 4 Ways to Insert the Degree Symbol in Microsoft Word
#3 Using Developer Mode in Microsoft Word
This is another way of generating the barcode without the installation of any third-party font or software. Follow the steps below to generate the barcode:
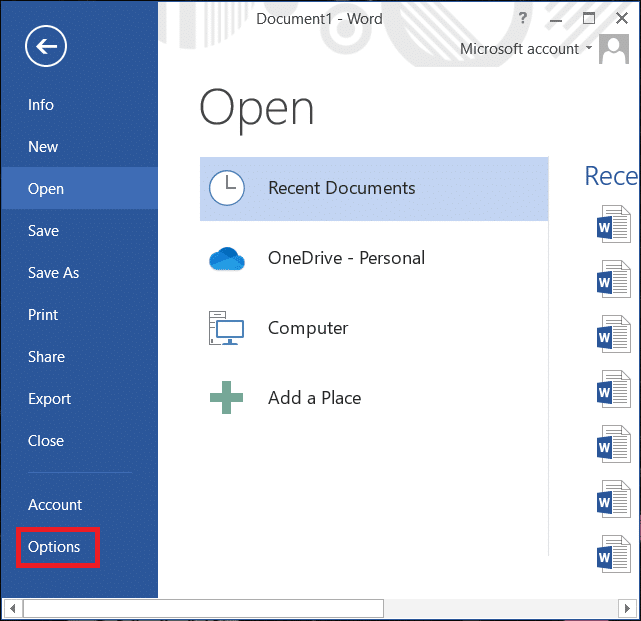
1. Open Microsoft Word and navigate to the File tab in the top left pane then click on Options.
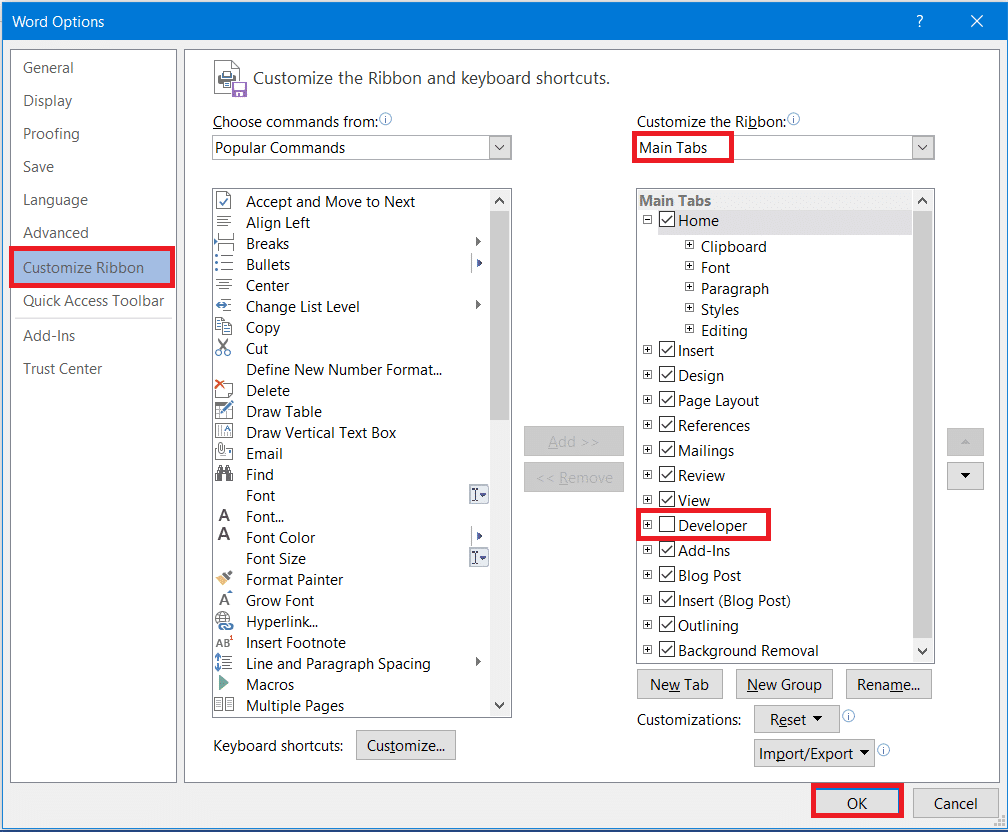
2. A window will open, navigate to Customize Ribbon and checkmark the Developer option under the main tabs and click on OK.
3. Now a Developer tab will appear in the toolbar next to the view tab. Click on it and choose legacy tools then select More Options as shown below.
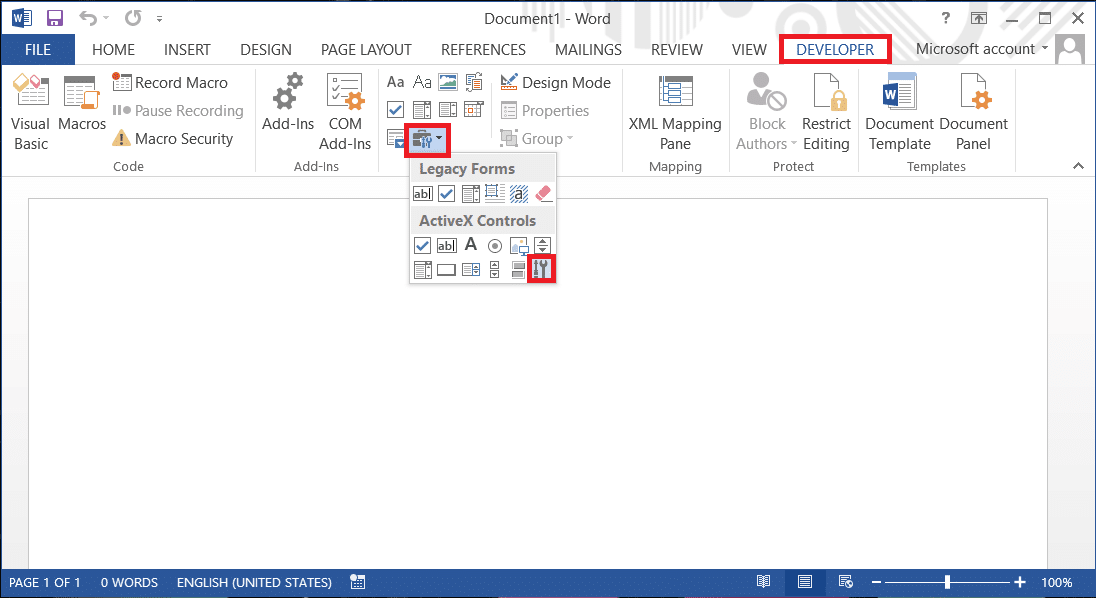
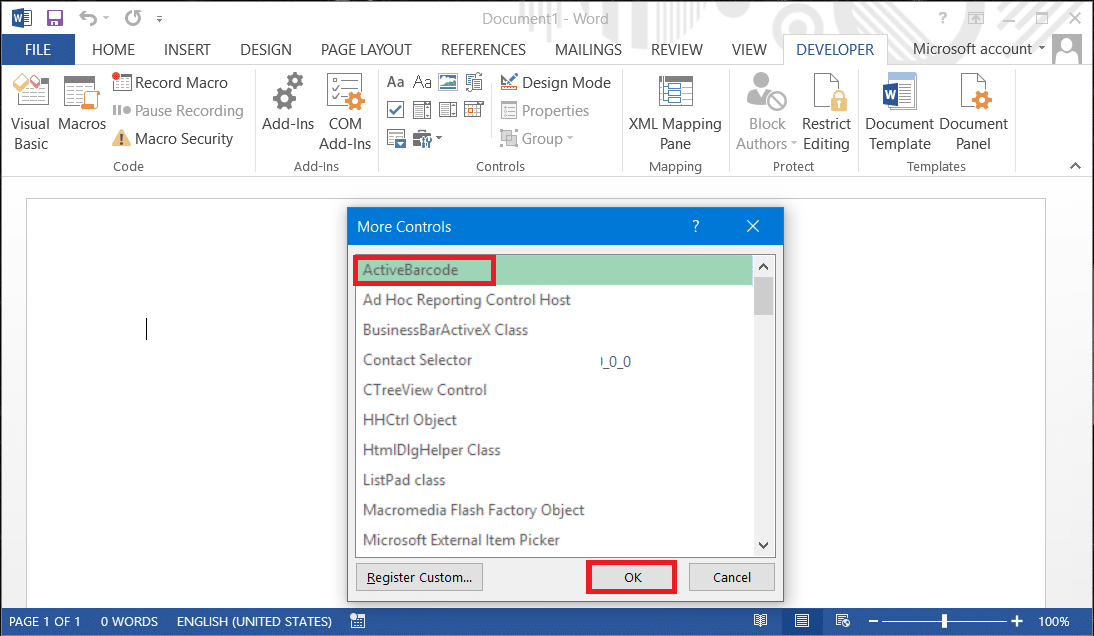
4. A pop-up menu of More Controls will appear, select the ActiveBarcode option from the list and click on OK.
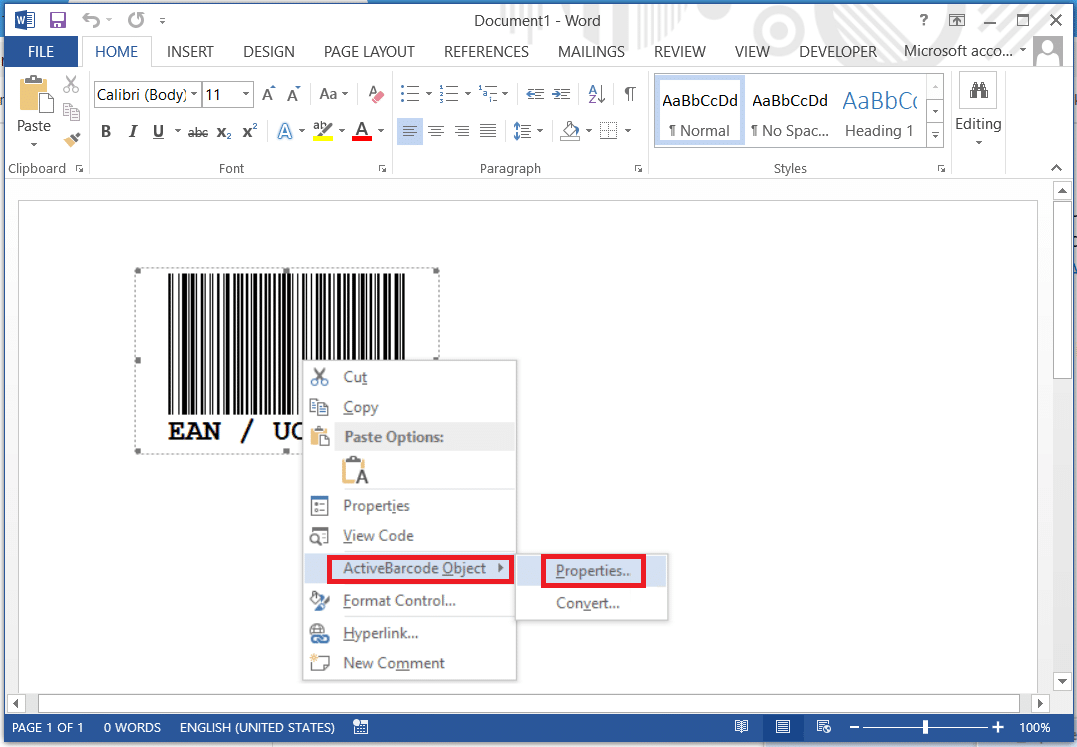
5. A new barcode will be created in your Word document. To edit the text and the type of barcode, just right-click on the barcode then navigate to ActiveBarcode Objects and select Properties.
Also Read: Microsoft Word has Stopped Working [SOLVED]
Hopefully, you would have got the idea to generate barcode using Microsoft Word. Also read 27 Best Alternatives to Microsoft Word here.. Also read 27 Best Alternatives to Microsoft Word here.. The process is simple but you need to make sure that you follow the steps properly. You need to first download and install the required code fonts to get started with generating different types of barcodes using MS word.