Fix Microphone Not Working on Windows 10

Users are complaining about an issue where when they upgrade to Windows 10 the laptop microphone doesn’t seem to work and they can’t access skype or anything which requires a microphone. The issue is apparently Windows 10 not being compatible with older drivers of previous Windows but even after downloading the drivers from the manufacturer’s website, the issue doesn’t seem to go away.
Also, setting the device as default recording device doesn’t have any effect and users are still neck deep in this problem. Although some of the users seem to have fixed the issue following the exact same approach but every user have different PC configuration, so you need to try every solution which will help in fixing the issue. So without wasting any time let’s see how to Fix Microphone Not Working on Windows 10 with the help of below- listed troubleshooting guide.
Fix Microphone Not Working on Windows 10
Make sure to create a restore point just in case something goes wrong.
Method 1: Enable Microphone
1.Right-click on the Volume icon on the system tray and select Recording Devices.
![]()
2.Again right-click in an empty area inside Recording Devices window and then select Show disconnected devices and Show disabled devices.
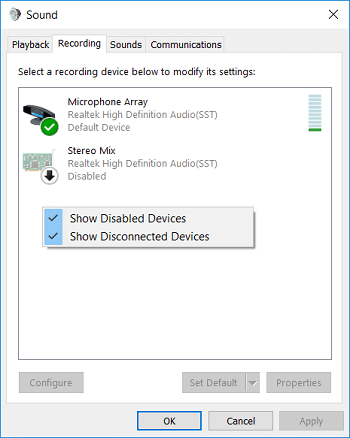
3.Right-click on the Microphone and select Enable.

4.Click Apply followed by OK.
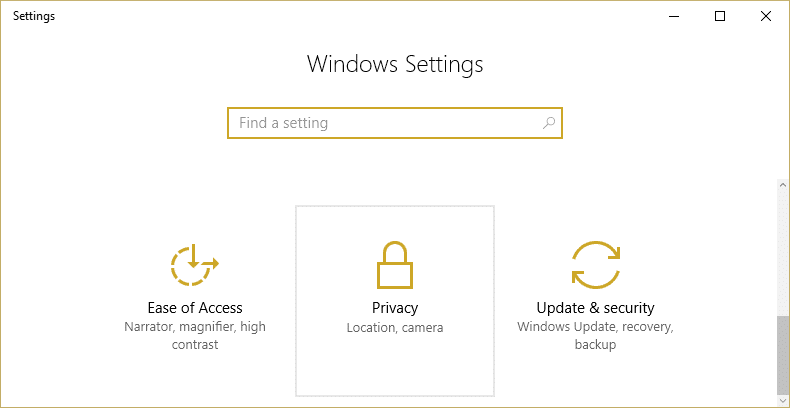
5.Press Windows Key + I to open Settings then click on Privacy.
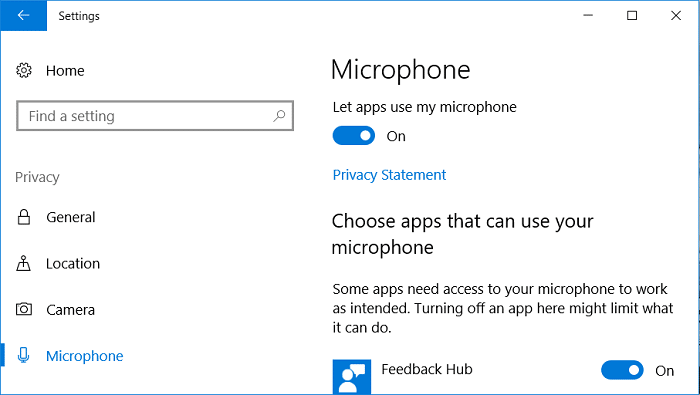
6.From the left-hand menu select Microphone.
7.Turn on the toggle for “Let apps use my microphone” under Microphone.
8.Reboot your PC and see if you’re able to Fix Microphone Not Working on Windows 10.
Method 2: Set Microphone as Default Device
1.Right-click on Volume icon in the system tray and select Recording devices.
![]()
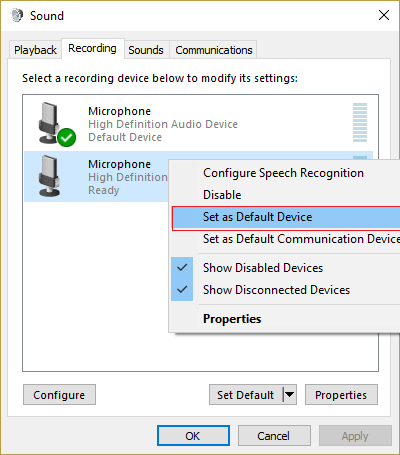
2.Now right-click on your device (i.e. Microphone) and select Set as Default Device.
3.Click Apply followed by OK.
4.Restart your PC to save changes.
Method 3: Unmute Microphone
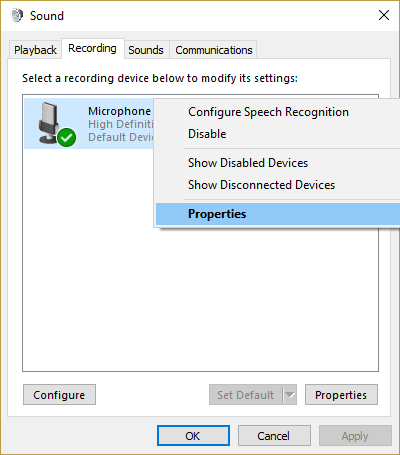
1.Right-click on Volume icon in the system tray and select Recording devices.
2.Select your default recording device (i.e. Microphone) and then click on Properties button at the bottom.
3.Now switch to the Levels tab and then make sure the Microphone is not muted, check if the sound icon display like this:

4.If it is then you need to click on it to unmute the Microphone.
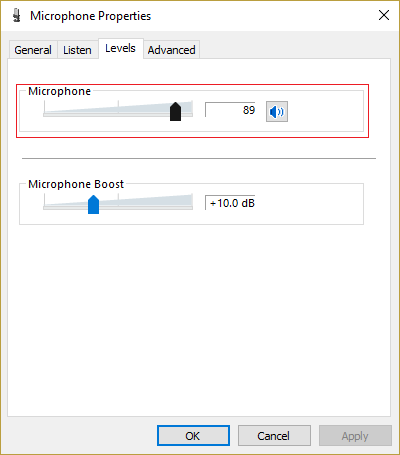
5.Next, drag the slider of Microphone to above 50.
6.Click Apply followed by OK.
7.Reboot your PC and see if you’re able to Fix Microphone Not Working on Windows 10.
Method 4: Disable all Enhancements
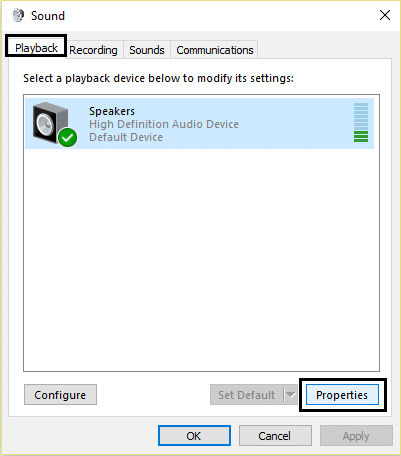
1.Right-click on the Speaker icon in Taskbar and select Sound.
![]()
2.Next, from the Playback tab right-click on Speakers and select Properties.
3.Switch to Enhancements tab and tick mark the option ‘Disable all enhancements.’
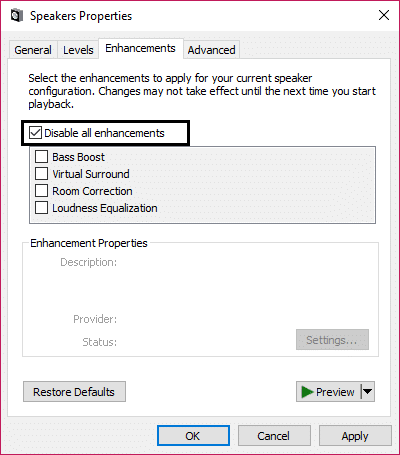
4.Clik Apply followed by OK and then restart your PC to save changes.
Method 5: Run Playing Audio Troubleshooter
1.Open control panel and in the search box type “troubleshooting.”

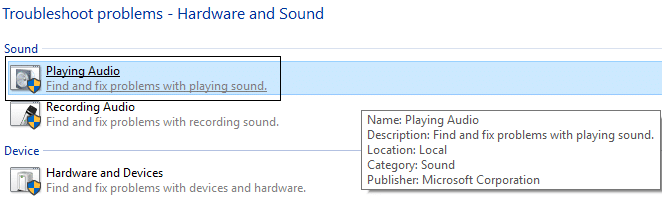
2.In the search results click on “Troubleshooting” and then select Hardware and Sound.

3.Now in the next window click on “Playing Audio” inside Sound sub-category.
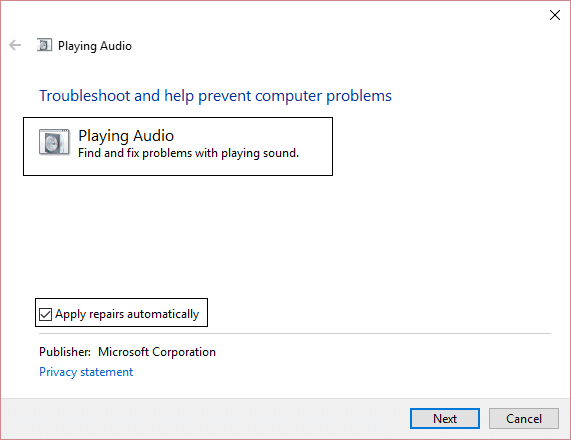
4.Finally, click Advanced Options in the Playing Audio window and check “Apply repairs automatically” and click Next.
5.Troubleshooter will automatically diagnose the issue and ask you if you want to apply the fix or not.
6.Click Apply this fix and Reboot to apply changes and see if you’re able to Fix Microphone Not Working on Windows 10.
Method 6: Restart Windows Audio Service
1.Press Windows key + R then type services.msc and hit Enter to open Windows services list.

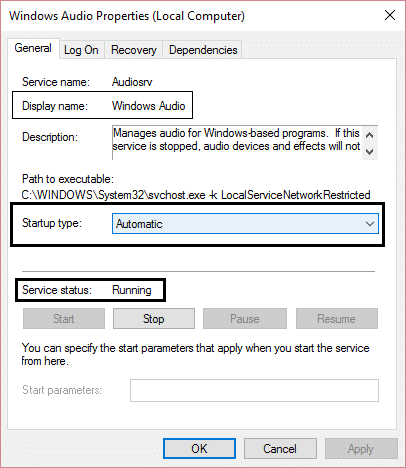
2.Now locate the following services:
Windows Audio
Windows Audio Endpoint Builder
Plug and Play
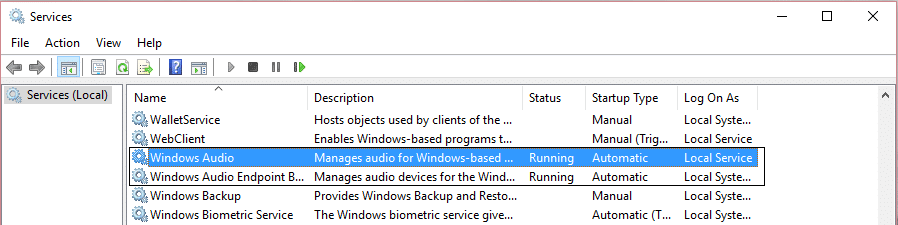
3.Make sure their Startup Type is set to Automatic and the services are Running, either way, restart all of them once again.
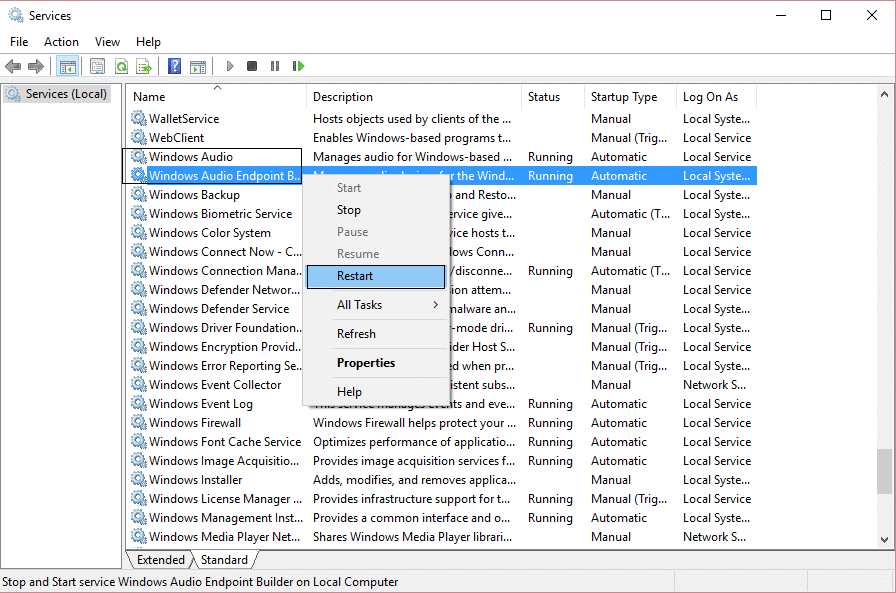
4.If Startup Type is not Automatic then double-click the services and inside property window set them to Automatic.
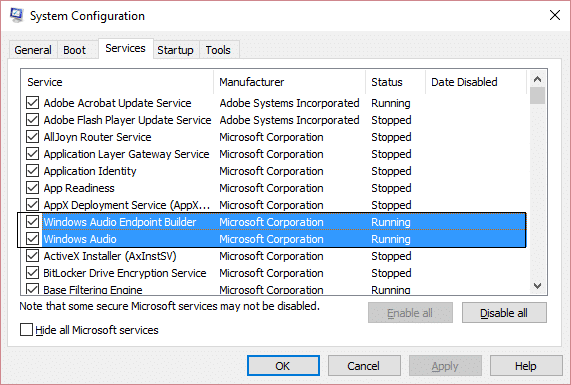
5.Make sure the above services are checked in msconfig.exe
6.Restart your computer to apply these changes.
Method 7: Re-install Sound Drivers
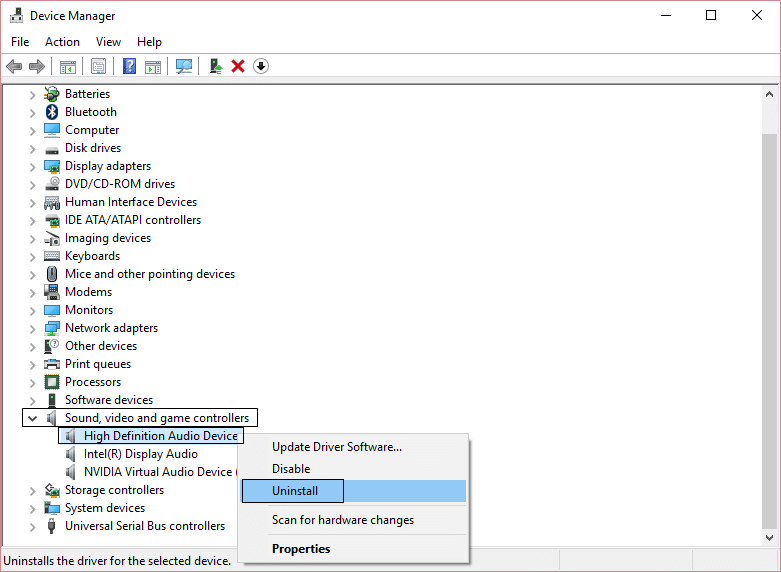
1.Press Windows Key + R then type devmgmt.msc and hit enter to open Device Manager.

2.Expand Sound, video and game controllers and click on the sound device then select Uninstall.
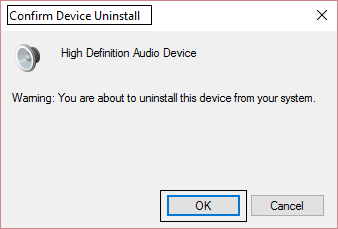
3.Now confirm the uninstall by clicking OK.
4.Finally, in the Device Manager window, go to Action and click on Scan for hardware changes.

5.Restart to apply changes and see if you’re able to Fix Microphone Not Working on Windows 10.
Method 8: Update Sound Drivers
1.Press Windows Key + R then type ‘Devmgmt.msc’ and hit enter to open Device Manager.
2.Expand Sound, video and game controllers and right-click on your Audio Device then select Enable (If already enabled then skip this step).
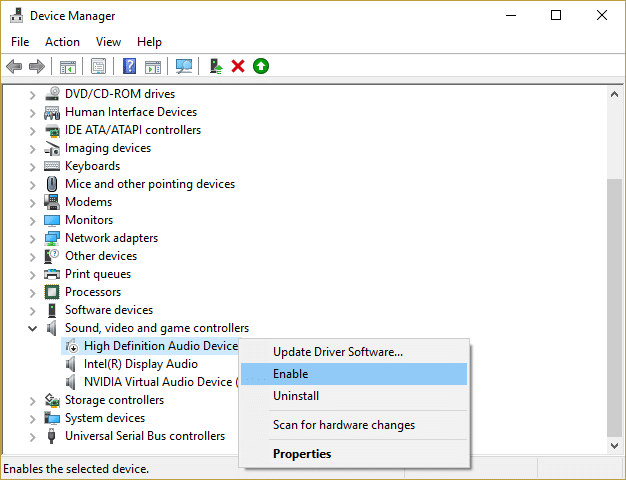
2.If your audio device is already enabled then right-click on your Audio Device then select Update Driver Software.
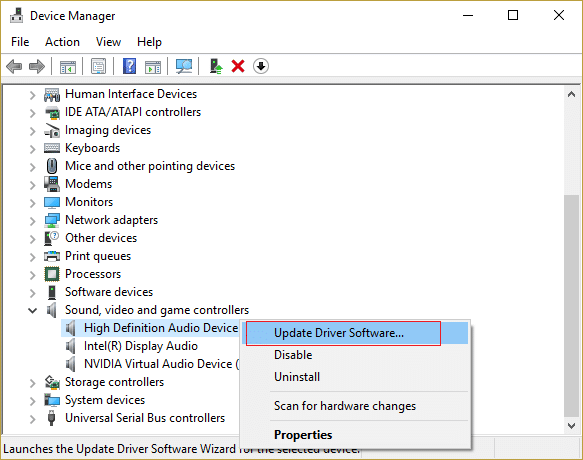
3.Now select “Search automatically for updated driver software” and let the process finish.

4.If it wasn’t able to update your Audio drivers then again select Update Driver Software.
5.This time select “Browse my computer for driver software.”

6.Next, select “Let me pick from a list of device drivers on my computer.”

7.Select the appropriate driver from the list and click Next.
8.Let the process complete and then restart your PC.
Recommended:
That’s it you have successfully Fix Microphone Not Working on Windows 10 but if you still have any queries regarding this guide then feel free to ask them in the comment’s section.