How To Fix Mac Camera Not Working

Since the pandemic started, WebCam of the laptop has become the most important and beneficial tool. From presentations to educational seminars, WebCams play an essential role in connecting us with others online, virtually. These days, several Mac users are facing No Camera Available MacBook issue. Fortunately, this error can be fixed quite easily. Today, we will be discussing the solutions to fix Mac Camera not working issue.
How To Fix Mac Camera Not Working Issue
Although an application that requires WebCam, switches it on, automatically. However, the users sometimes may get No Camera Available MacBook error. There are several reasons why this error might occur, as explained in the next section.
Why is the camera not working on MacBook?
- Application Settings: MacBooks do not come with an application that caters to the FaceTime camera directly. Instead, WebCam functions according to configurations on individual applications like Zoom or Skype. Hence, chances are that these applications are hindering the process of normal streaming and causing Mac Camera not working problem.
- Wi-Fi Connectivity issues: When your Wi-Fi is unstable or you do not have enough data, your WebCam may automatically shut down. This is usually done to conserve energy as well as Wi-Fi bandwidth.
- Other Apps using WebCam: It is quite possible that more than one app may be using your Mac WebCam simultaneously. This might be the reason that you are unable to switch it on for the application of your choice. Thus, make sure to close all programs, such as Microsoft Teams, Photo Booth, Zoom, or Skype, which may be utilizing your WebCam. This should fix Camera not working on MacBook Air issue.
Note: You can easily see all running applications by launching Activity Monitor from Applications.
Follow the given methods carefully, to fix Mac Camera not working issue.
Method 1: Force Quit FaceTime, Skype, and similar Apps
If the issue on your WebCam usually arises while using FaceTime, try force quitting the app and launching it again. It can quickly restore the WebCam function and fix Mac Camera not working issue. Follow the given steps to do so:
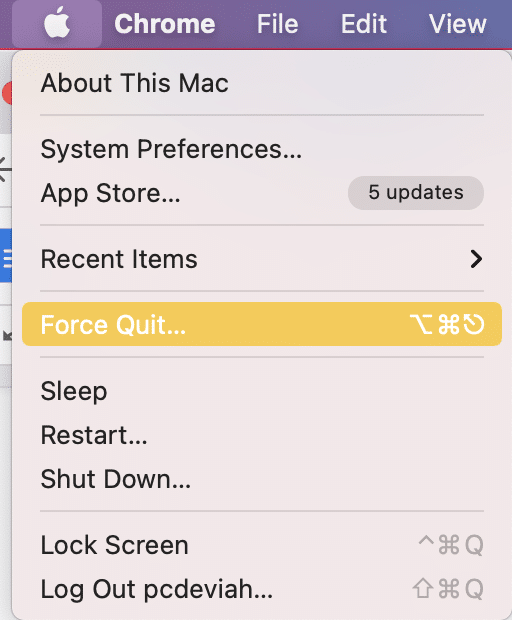
1. Go to the Apple menu from the top left corner of the screen and select Force Quit, as shown.
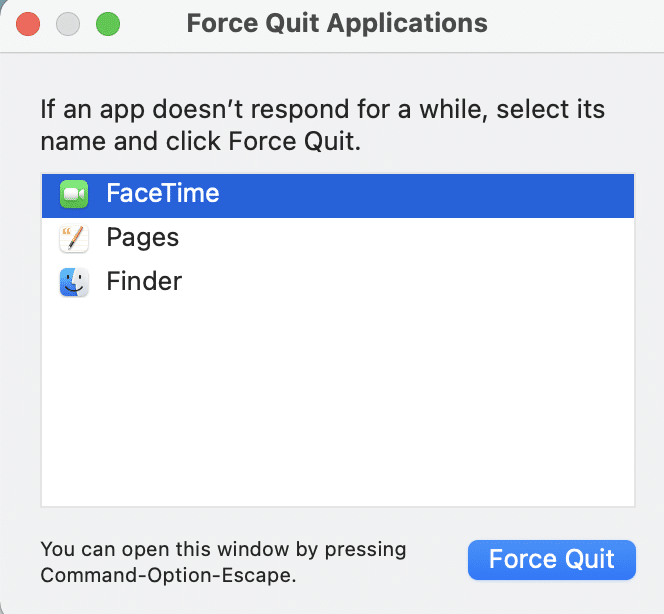
2. A dialog box will be displayed listing all applications that are currently running. Select FaceTime or similar apps and click on Force Quit, as highlighted.
Similarly, you can resolve the No Camera Available MacBook error by ensuring all apps are updated regularly. Apps like Skype, regularly update their interface, and hence, need to run in the latest version to avoid audio-video issues on your MacBook Air or Pro or any other model.
In case, the issue continues to persist on a specific app, reinstall it to resolve all issues in one go.
Also Read: How to Force Quit Mac Applications With the Keyboard Shortcut
Method 2: Keep your MacBook Updated
Make sure that macOS is updated to the latest version to ensure seamless functioning of all programs & applications, including WebCam. Here’s how to fix Mac Camera not working issue by updating your Mac:
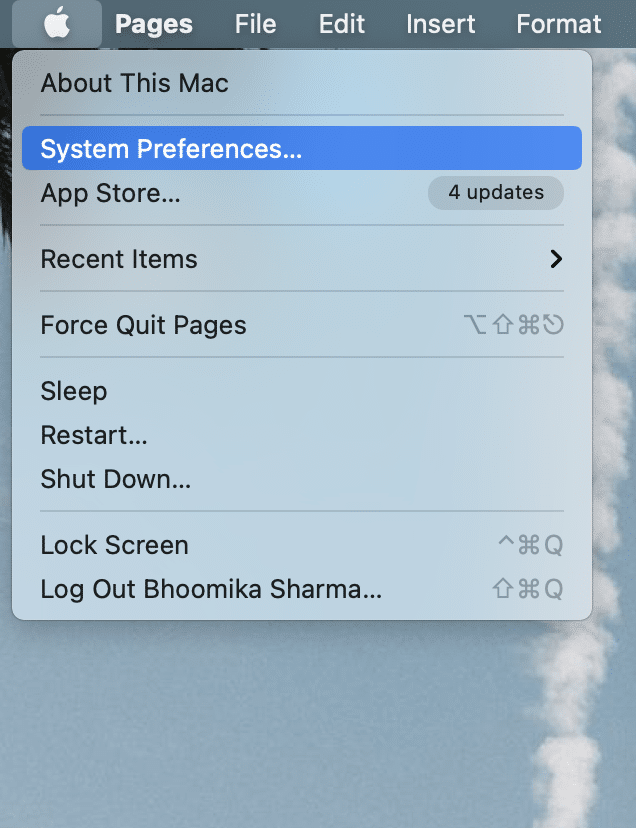
1. Open the Apple menu from the top left corner of the screen and select System Preferences.
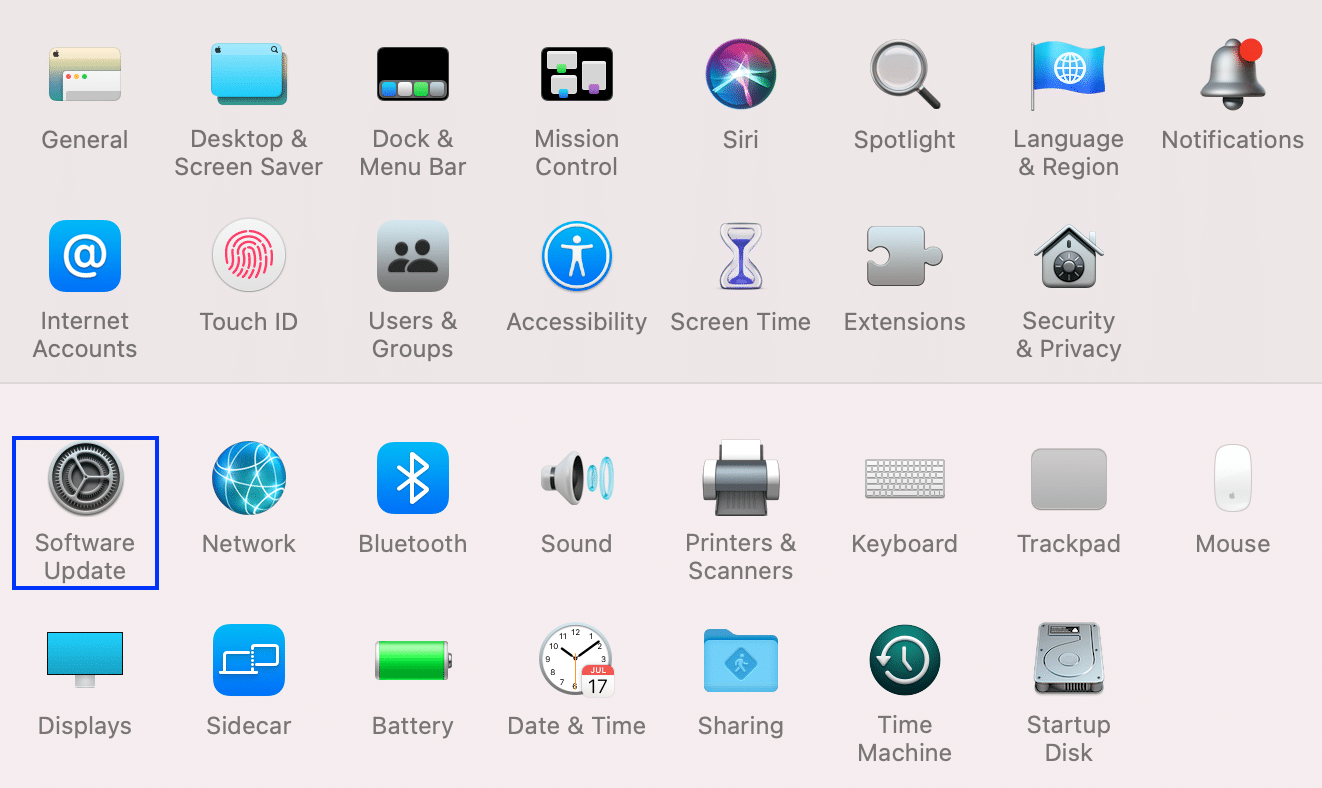
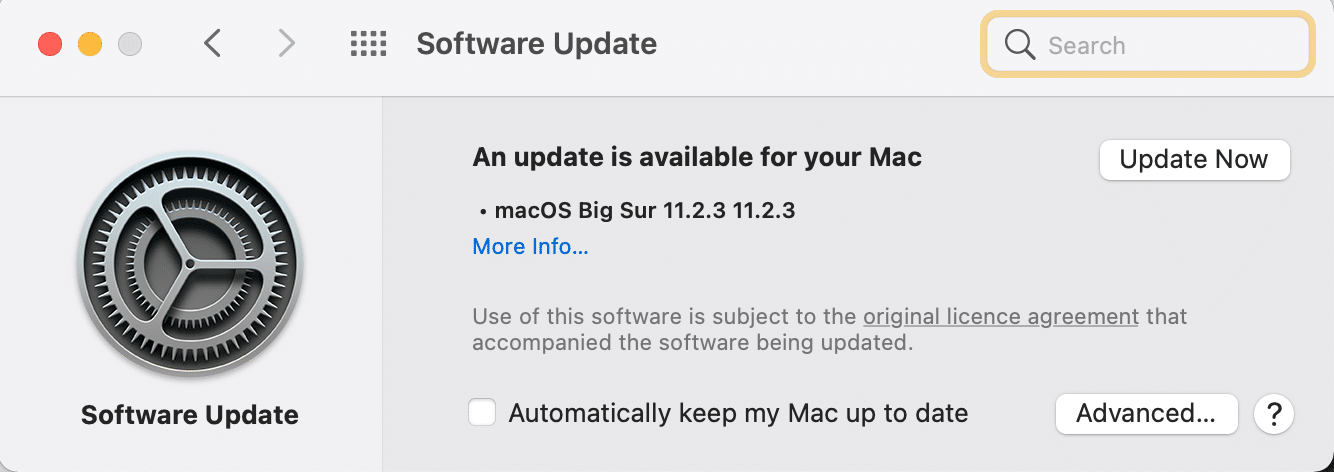
2. Click on Software Update, as depicted.
3. Check if an update is available. If yes, click on Update Now and wait for macOS to be updated.
Also Read: How to Crop a Screenshot on Mac
Method 3: Use Terminal App
You can also utilize the Terminal app to do away with the problem of the Mac camera not working.
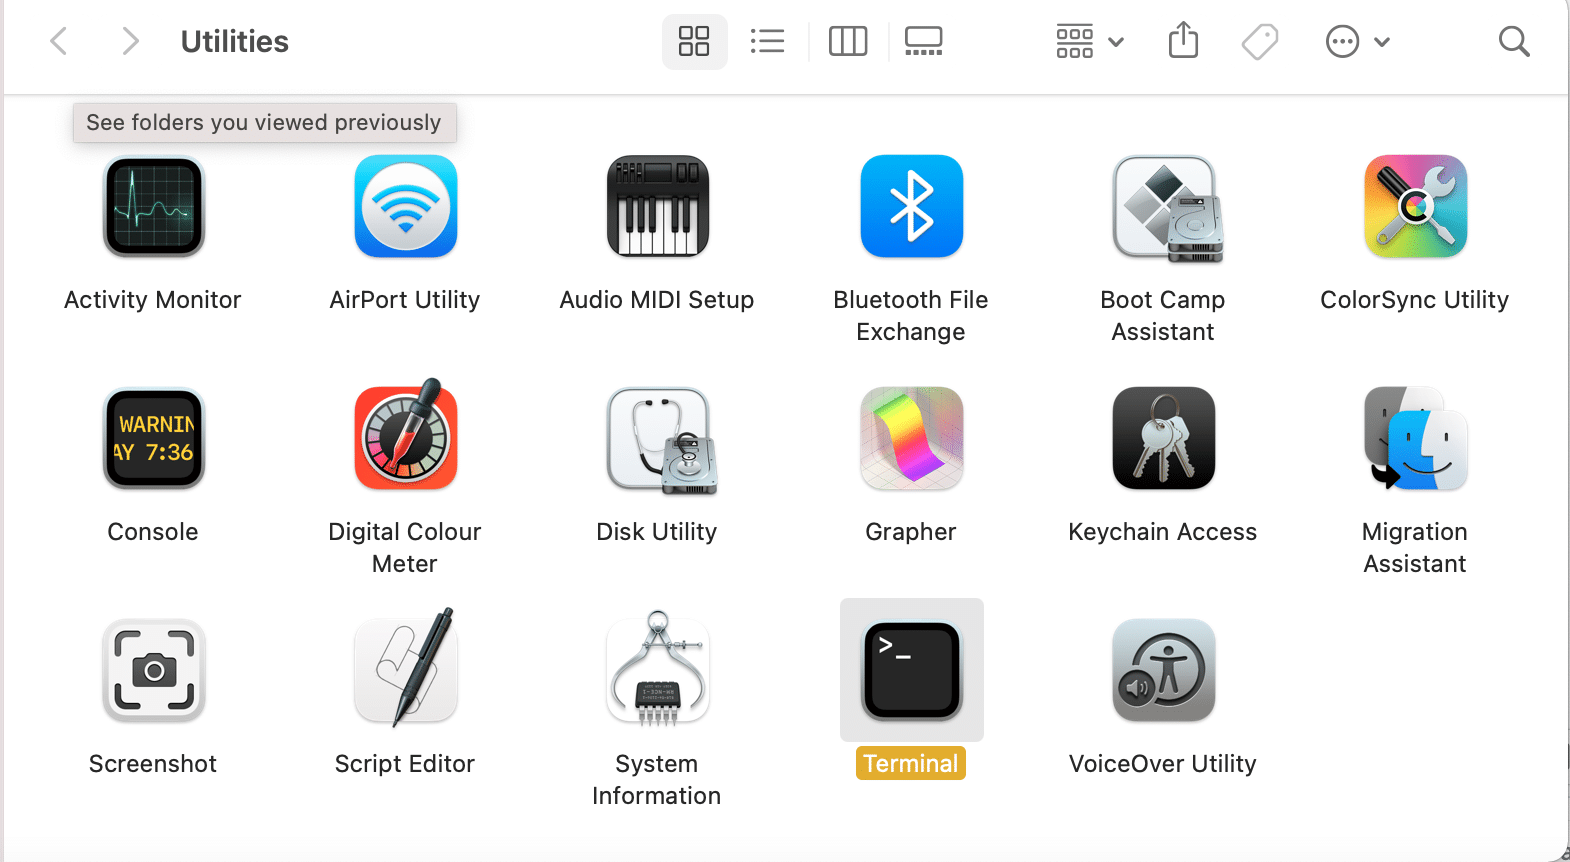
1. Launch Terminal from Mac Utilities Folder, as highlighted below.
2. Copy-paste sudo killall VDCAssistant command and press Enter key.
3. Now, execute this command: sudo killall AppleCameraAssistant.
4. Enter your Password, when prompted.
5. Finally, restart your MacBook.
Also Read: How to Use Utilities Folder on Mac
Method 4: Allow Camera Access to Web Browser
If you have been using your WebCam on browsers like Chrome or Safari, and facing Mac Camera not working issue, the problem may lie in the web browser settings. Allow the website access to the camera by granting necessary permissions, as instructed below:
1. Open Safari and click on Safari and Preferences.
2. Click the Websites tab from the top menu and click on Camera, as shown.
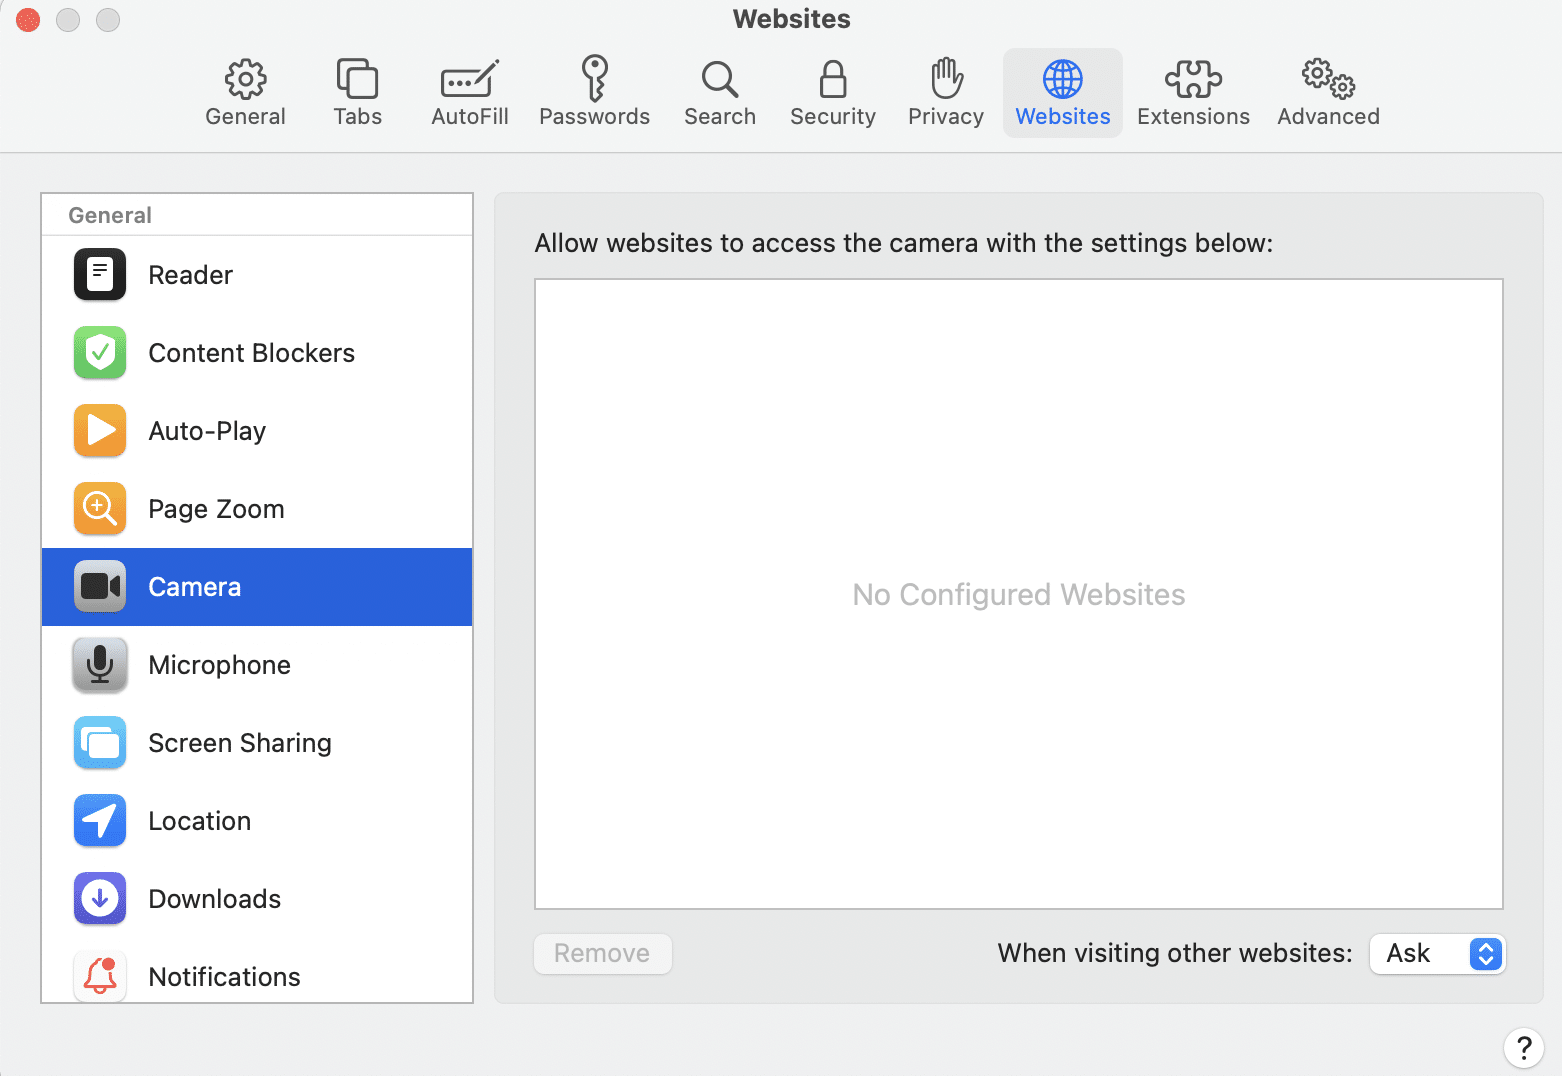
3. You will now see the list of all the websites which have access to your built-in camera. Enable the permissions for websites by clicking on the drop-down menu and selecting Allow.
Method 5: Allow Camera Access to Apps
Like browser settings, you need to enable permissions for all applications that use the camera. If the Camera settings are set to Deny, the application won’t be able to detect the webcam, resulting in Mac Camera not working issue.
1. From the Apple menu and select System Preferences.
2. Click on Security and Privacy and then, select Camera, as illustrated below.
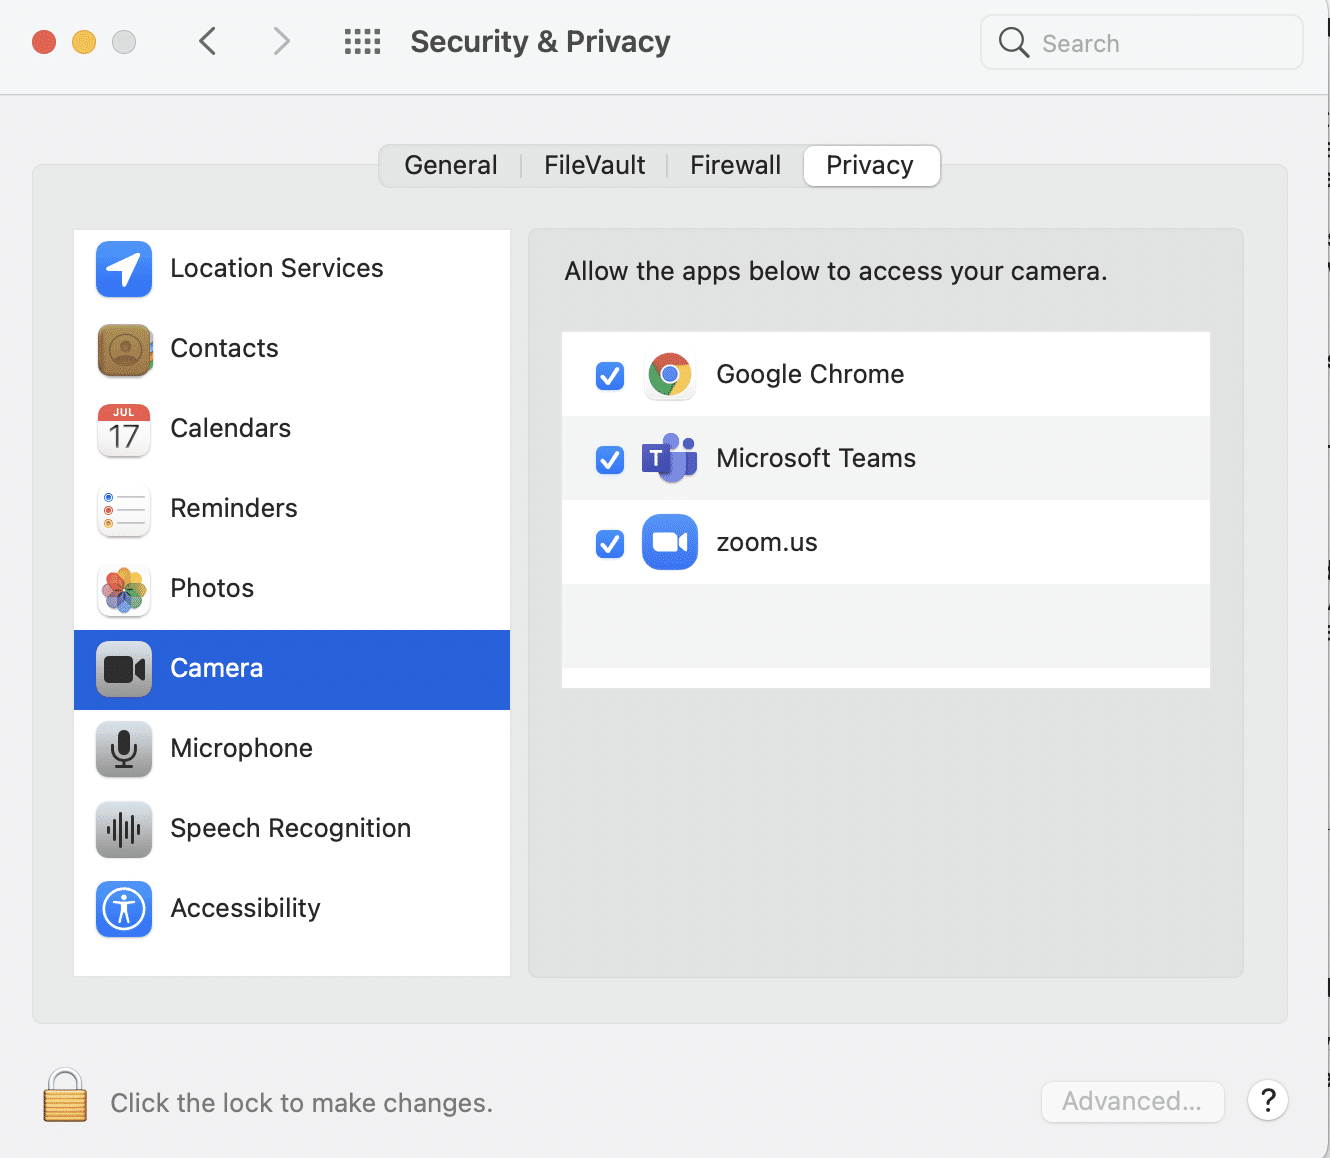
3. All the applications which have access to the webcam of your MacBook will be displayed here. Click the Click the lock to make changes icon from the bottom left corner.
4. Check the box in front of the required applications to allow camera access to these apps. Refer above pic for clarity.
5. Relaunch the desired application and check if the camera not working on Mac issue is resolved.
Method 6: Modify Screen Time Permissions
This is another setting that may alter the function of your camera. Screen-time settings may limit the function of your WebCam under parental controls. To check if this is the reason behind the camera not working on MacBook issue, follow the steps given below:
1. Open System Preferences and select Screen Time.
2. Here, click on Content and Privacy from the left panel, as shown.
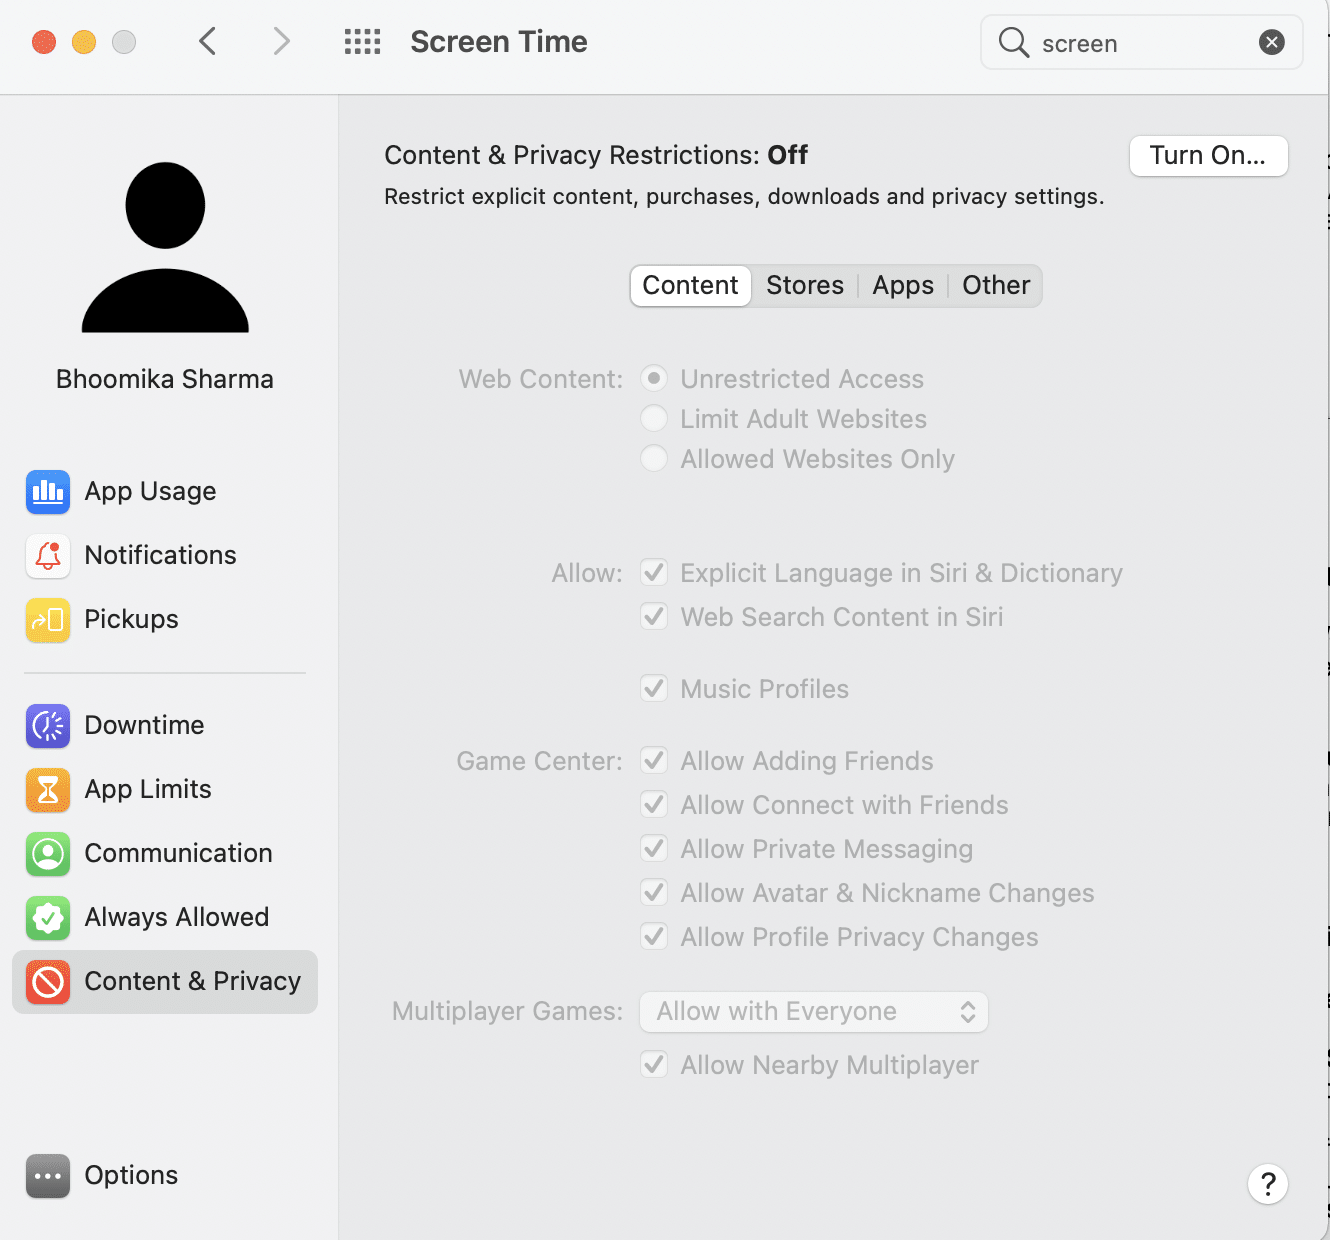
3. Switch to the Apps tab from the top menu.
4. Check the box next to the Camera.
5. lastly, tick the boxes next to the applications for which you want Mac camera access.
Also Read: Fix Could Not Sign in to iMessage or FaceTime
Method 7: Reset SMC
The System Management Controller or SMC on Mac is responsible for managing several hardware functions like screen resolution, brightness, etc. This is why resetting it may help restore the WebCam function.
Option 1: For MacBook manufactured till 2018
1. Shut down your laptop.
2. Connect your MacBook to the Apple power adaptor.
3. Now, press-hold the Shift + Control + Option keys along with the Power button.
4. Wait for about 30 seconds until the laptop reboots and SMC resets itself.
Option 2: For MacBook manufactured after 2018
1. Shut down your MacBook.
2. Then, press and hold the power button for about 10 to 15 seconds.
3. Wait for a minute, and then switch on the MacBook again.
4. If the problem persists, shut down your MacBook again.
5. Then press and hold Shift + Option + Control keys for 7 to 10 seconds while simultaneously, pressing the power button.
6. Wait for a minute and switch on MacBook to check if the Mac Camera not working problem has been resolved.
Method 8: Reset NVRAM or PRAM
Another technique that may help to restore the normal functioning of the in-built Camera is resetting the PRAM or NVRAM settings. These settings are associated with functions such as screen resolution, brightness, etc. Therefore, to fix Mac Camera not working issue, follow the given steps:
1. From the Apple menu, select shut down.
2. Switch it On again and immediately, press-hold Option + Command + P + R keys from the keyboard.
3. After 20 seconds, release all keys.
Your NVRAM and PRAM settings will now be reset. You can try launching the camera using applications such as Photo Booth or Facetime. The No Camera Available MacBook error should be rectified.
Method 9: Boot in Safe Mode
Checking the Camera function in Safe mode has worked for several Mac users. Here’s how to log into Safe mode:
1. From the Apple menu, select shut down and press the shift key immediately.
2. Release the Shift key once you see the login screen
3. Enter your login details, as and when prompted. Your MacBook is now booted in Safe mode.

4. Try to switch on the Mac camera in different applications. If it works, restart your Mac normally.
Also Read: Fix MacBook Not Charging When Plugged In
Method 10: Check for issues with Mac Webcam
It would be wise to check internal WebCam settings on your Mac as hardware errors may make it difficult for your MacBook to detect the built-in camera and cause No Camera Available MacBook error. Follow the given steps to check if your camera is being detected by your laptop or not:
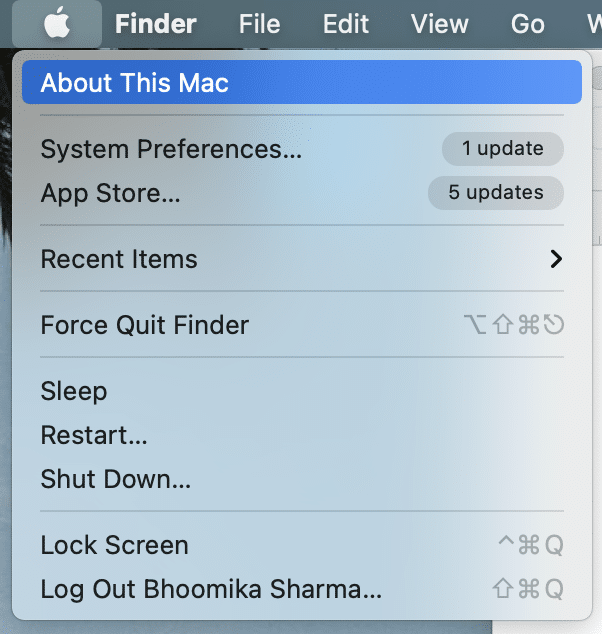
1. Open the Apple menu and select About this mac, as shown highlighted.
2. Click on System Report > Camera, as depicted below.
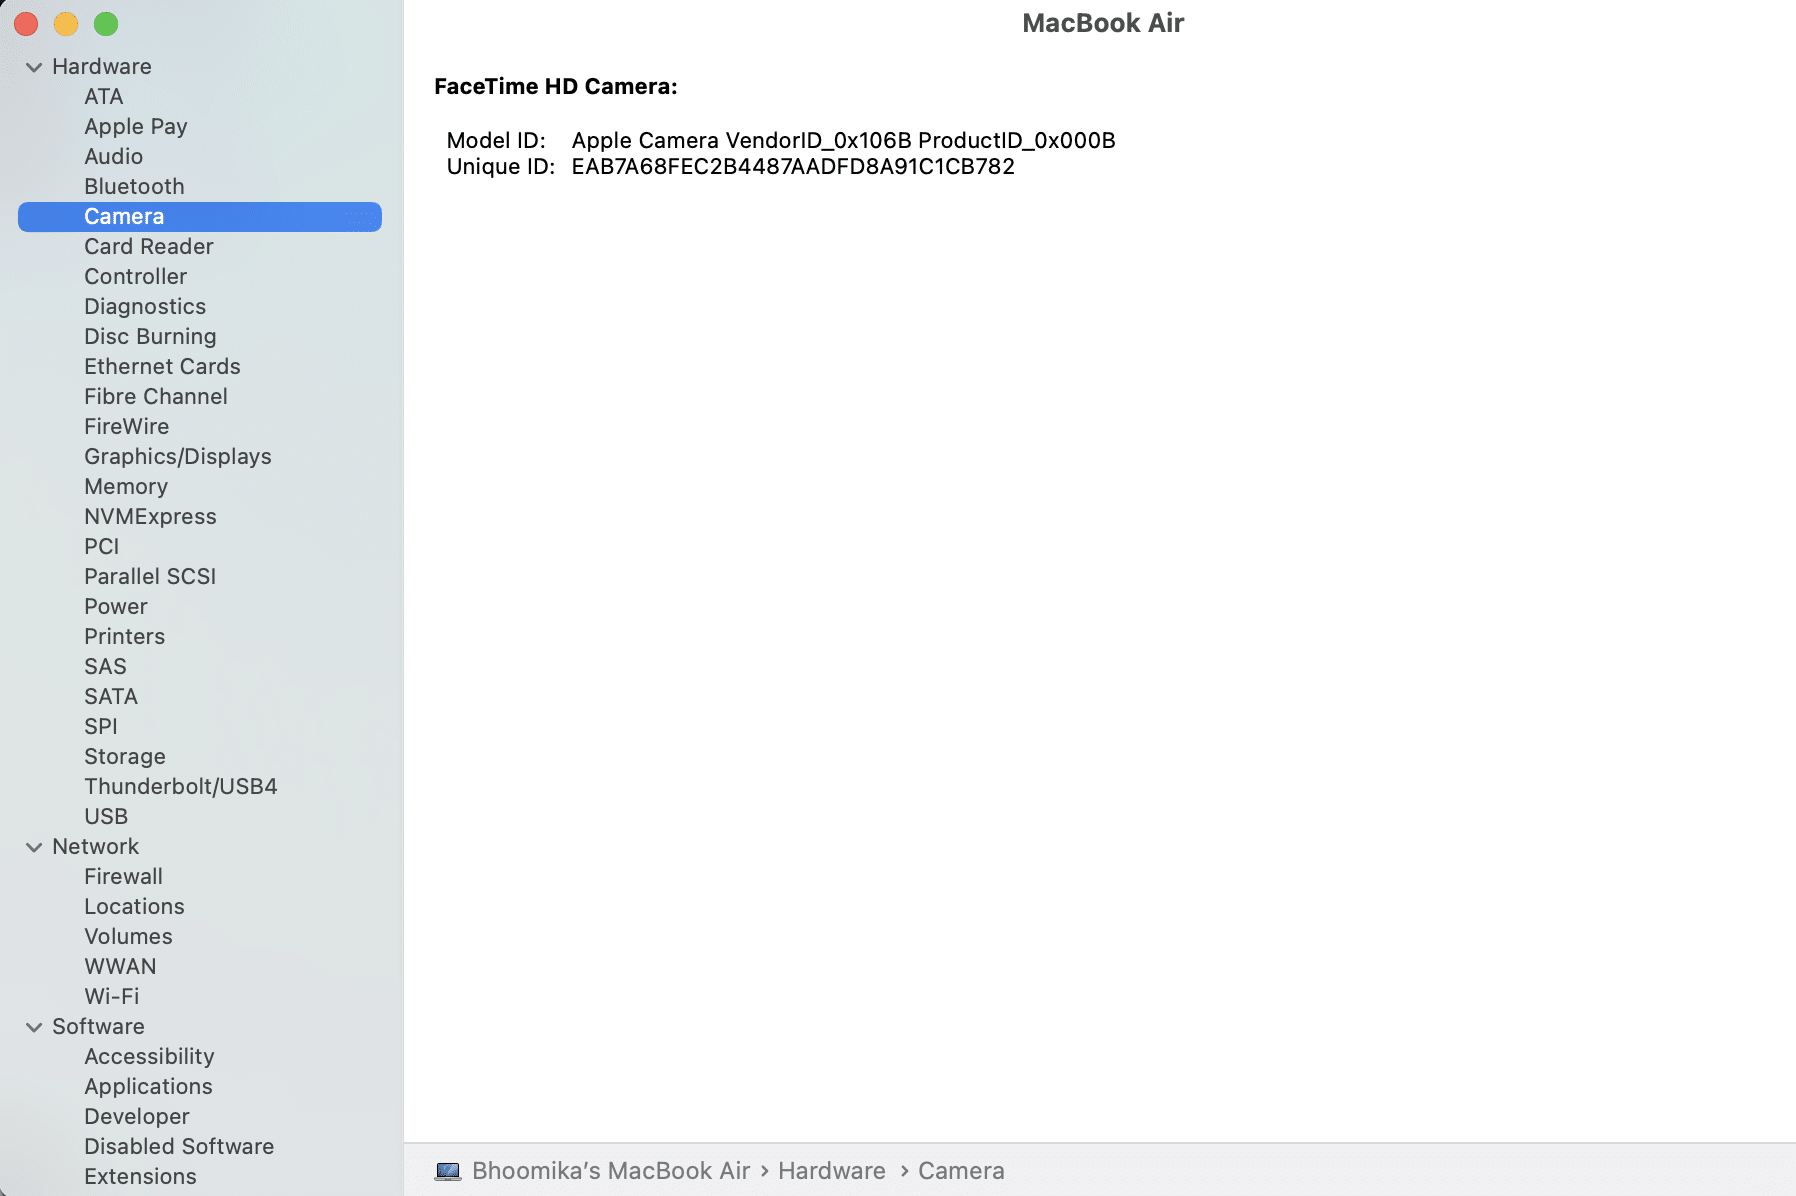
3. Your camera info should be displayed here along with WebCam Model ID and Unique ID.
4. If not, then Mac Camera needs to be checked and repaired for hardware issues. Contact Apple Support or visit nearest Apple Care.
5. Alternately, you can opt to buy Mac WebCam from the Mac store.
Recommended:
We hope this guide was able to help you fix Mac Camera not working problem. Reach out with your queries or suggestions through the comment section.