How to Flush and Reset the DNS Cache in Windows 10

Are you facing issues while surfing the internet? Does the website you are trying to reach doesn’t open? If you’re unable to access the website then the reason behind this issue might be because of the DNS server and its resolving cache.
DNS or Domain Name System is your best friend while you are online. It converts the domain name of the website you visited into IP addresses so that the machine can understand it. Suppose you visited a website, and you used its domain name for doing this. The browser will redirect you to a DNS server and it will store the IP address of the website you are visiting. Locally, inside your device, there is a record of all the IP addresses, meaning the websites you have visited. Whenever you try to re-access the website again, it will help you gather all the information faster than before.
All the IP addresses are present in the form of a cache in DNS Resolver Cache. Sometimes, when you try to access the site, instead of getting faster results, you get no result at all. Therefore, you need to flush the reset DNS resolver cache for getting the positive output. There are some common reasons which cause the DNS cache to fail over time. The website may have changed their IP address and since your records have the old records. And hence, you may have the old IP address, causing problems while you are trying to establish a connection.
Another reason is the storing of bad results in the form of a cache. Sometimes these results get saved due to DNS spoofing and poisoning, ending up in unstable online connections. Maybe the site is fine, and the problem is in the DNS cache on your device. The DNS cache can get corrupt or outdated and you may not be able to access the site. If any of this has happened, then you may need to flush and reset your DNS resolve cache for better results.
Just like DNS resolver cache, there are two other caches present on your device, which you can flush and reset if needed. These are the Memory cache and the Thumbnail cache. Memory cache comprises a cache of data from your system memory. Thumbnail cache contains the thumbnails of the images and videos on your device, it includes the thumbnails of deleted ones also. Clearing the memory cache frees some system memory. While clearing the thumbnail cache can create some free room on your hard disks.
How to Flush and Reset the DNS Cache in Windows 10
There are three methods applicable for flushing your DNS resolver cache in Windows 10. These methods will fix your internet problems and help you with a stable and working connection.
Method 1: Use the Run Dialog Box
1. Open the Run dialog box using the shortcut key Windows Key + R.
2. Type ipconfig /flushdns in the box and hit the OK button or the Enter box.
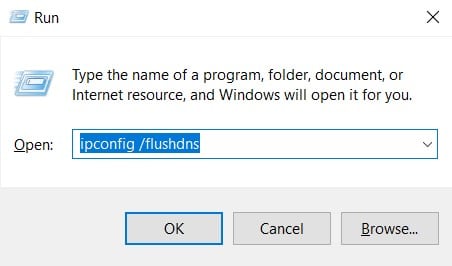
3. A cmd box will appear on the screen for a moment and will confirm that the DNS cache will get successfully cleared.
Method 2: Using Command Prompt
If you don’t use an administrative account to login to the Windows, then make sure you have access to one or you create a new administrative account as you will require admin rights to clear the DNS cache. Else, the command line will show System 5 error and your request will get denied.
Using Command Prompt you can perform various other functions related to DNS cache and your IP address. These include viewing the current DNS cache, registering your DNS cache on host files, releasing the current IP address settings and also requesting & resetting the IP address. You can also enable or disable DNS cache with only one line of code.
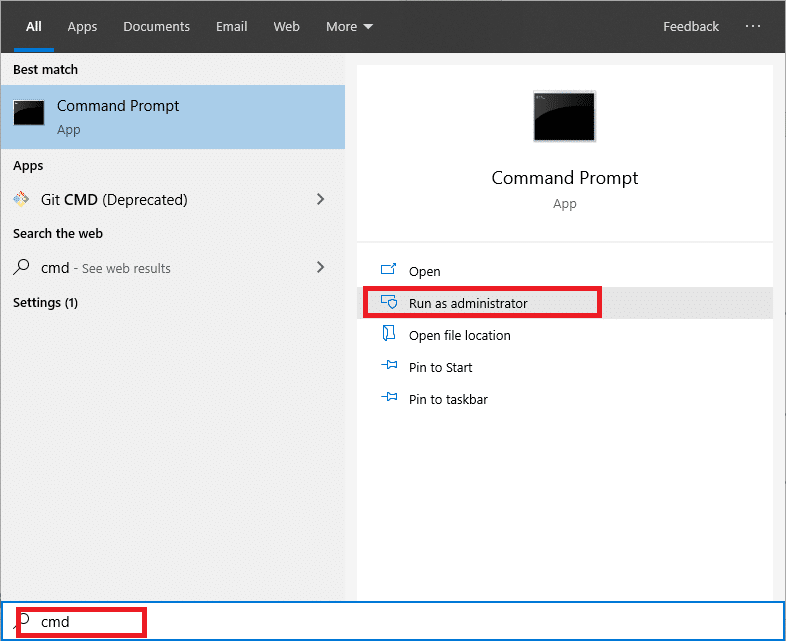
1. Type cmd in Windows Search bar then click on “Run as administrator” to open the elevated Command Prompt. Remember to run the command line as an administrator for making these commands work.
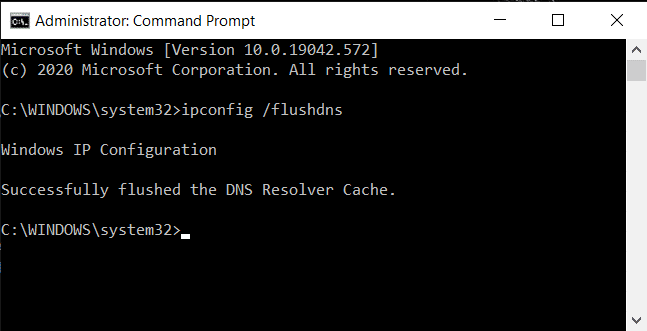
2. Once the command screen appears, enter the command ipconfig /flushdns and hit the Enter key. Once you hit Enter, you will see a confirmation window appear, confirming the successful DNS cache flushing.
3. Once done, verify if the DNS cache is cleared or not. Enter the command ipconfig /displaydns and hit the Enter key. If there are any DNS entries left, they will get displayed on the screen. Also, you can use this command anytime to check the DNS entries.

4. If you want to turn off the DNS cache, type in the command net stop dns cache in the command line and press the Enter key.

5. Next, if you want to turn on the DNS cache, type the command net start dnscache in the Command Prompt and press the Enter key.
Note: If you turn off the DNS cache and forget to turn it on again, then it will automatically start after you restart your system.

You can use ipconfig /registerdns for registering the DNS cache present on your Hosts file. Another one is ipconfig /renew which will reset and request a new IP address. For releasing the current IP address settings, use ipconfig /release.
Method 3: Using Windows Powershell
Windows Powershell is the most powerful command line present on the Windows OS. You can do much more with PowerShell than you can do with the Command Prompt. Another advantage of Windows Powershell is you can clear client-side DNS cache while you could only clear local DNS cache in Command Prompt.
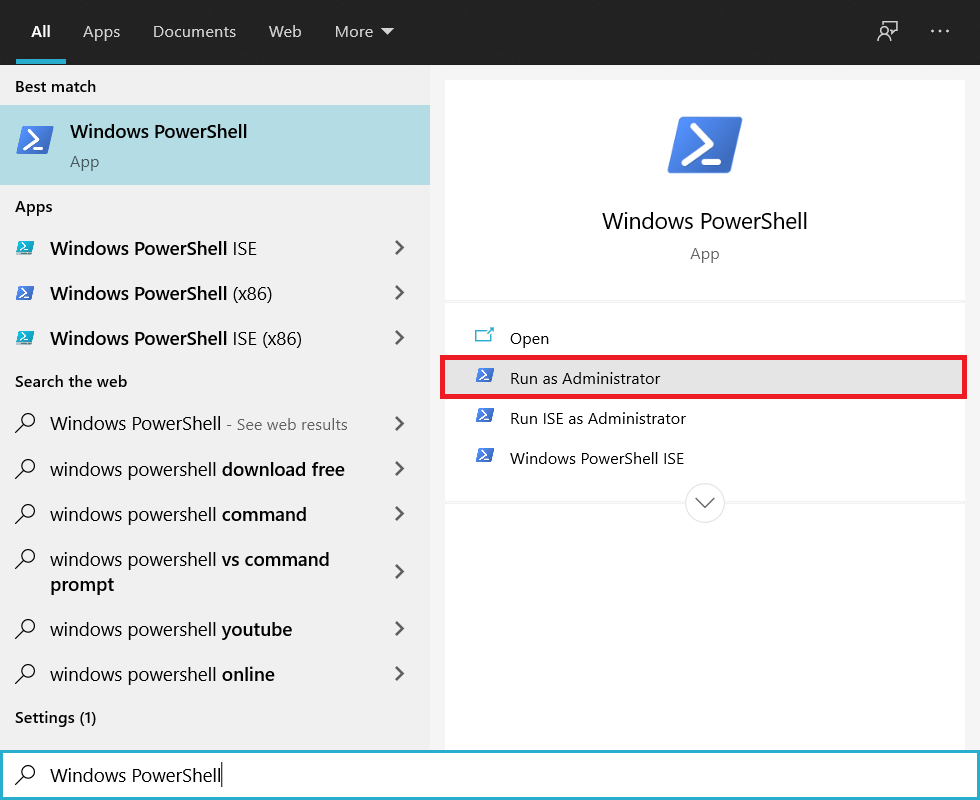
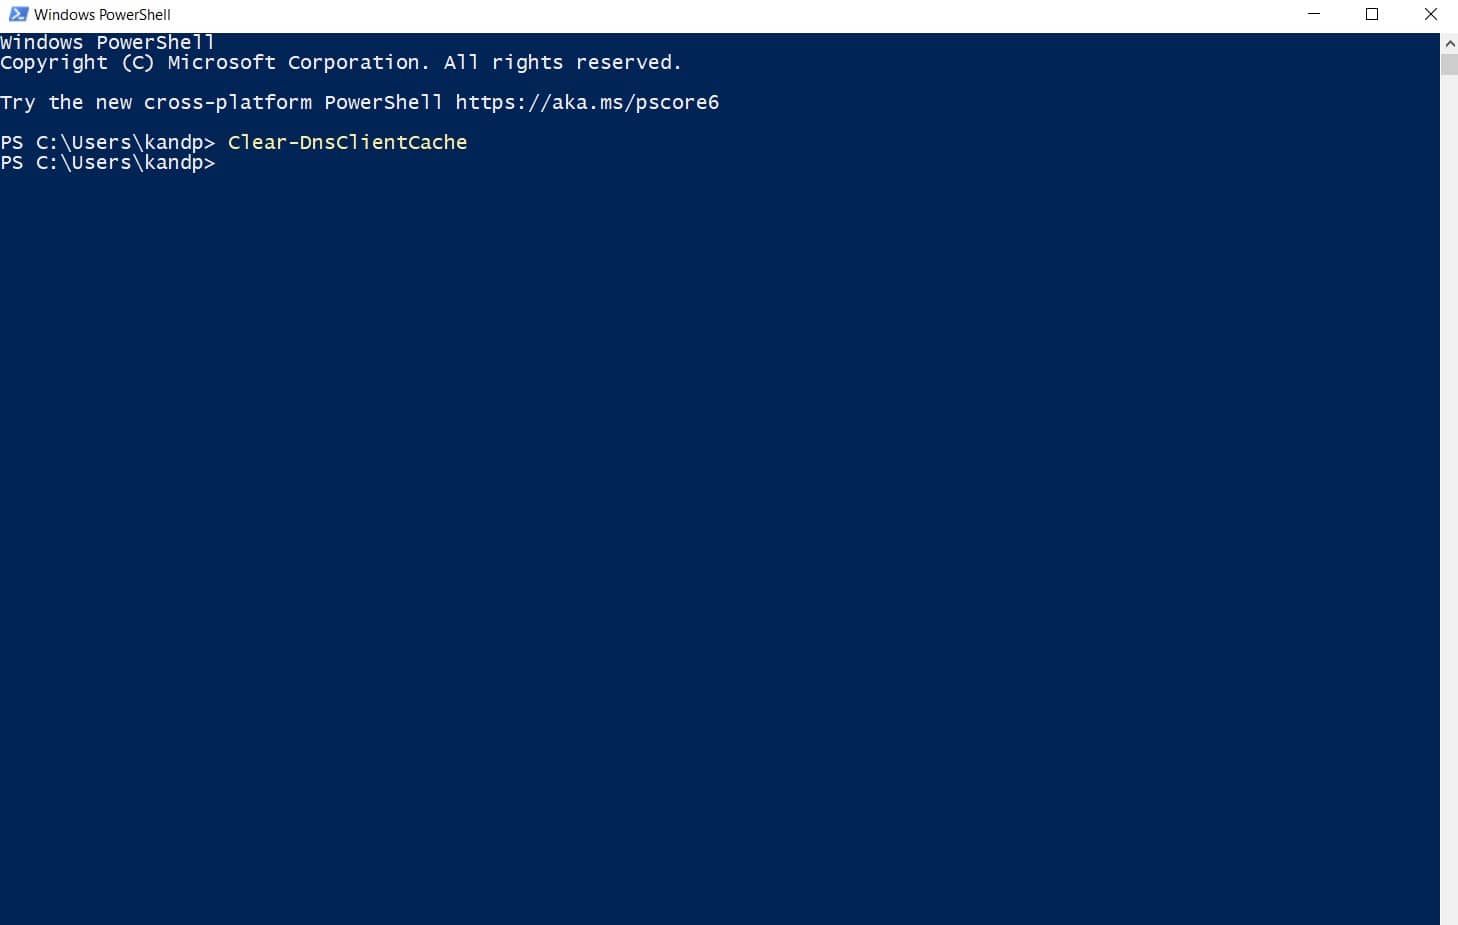
1. Open Windows Powershell using the Run dialog box or the Windows search bar.
2. If you want to clear the client-side cache, enter the command Clear-DnsClientCache in Powershell and hit the Enter button.
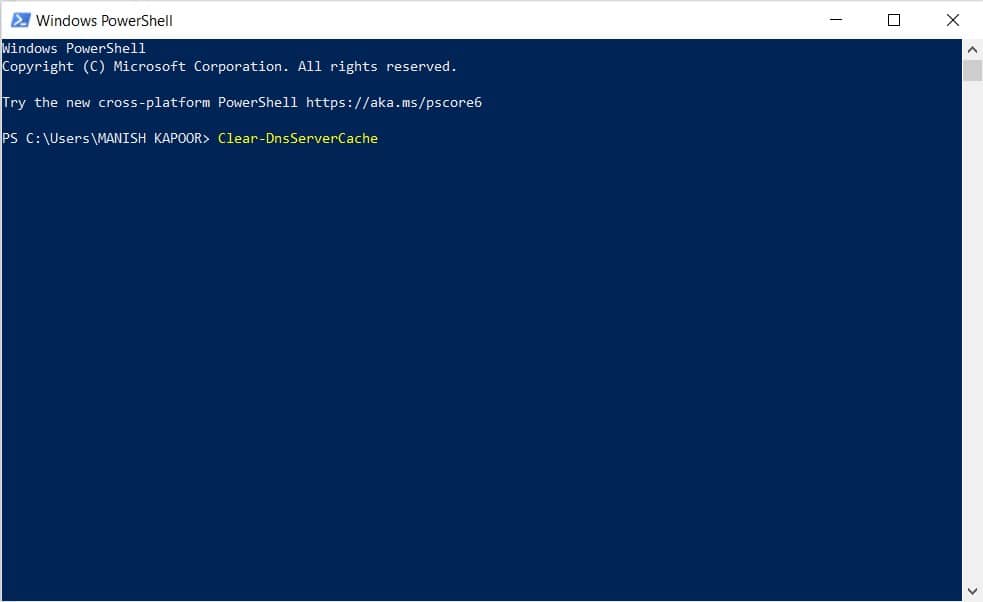
3. If you want to clear just the DNS cache on your desktop, enter Clear-DnsServerCache and hit the Enter key.
What if the DNS Cache is not getting cleared or flushed?
Sometimes, you may not be able to clear or reset DNS Cache using the Command Prompt, it may happen because the DNS cache is disabled. So, you need to first enable it before clearing the cache again.
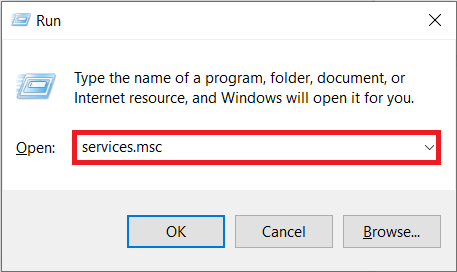
1. Open the Run dialog box and enter services.msc and hit Enter.
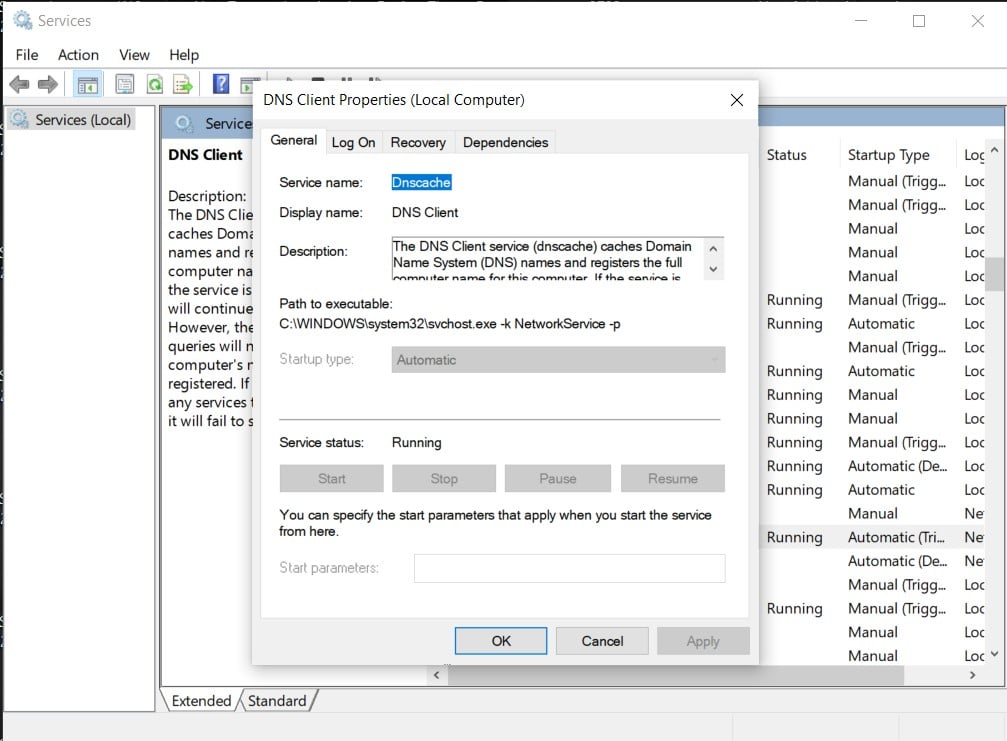
2. Search for DNS Client Service in the list and right-click on it and select Properties.

4. In the Properties window, switch to the General tab.
5. Set the Startup type option to Automatic, and then click on OK to confirm the changes.
Now, try to clear the DNS cache and you will see that the command is running successfully. Similarly, if you want to disable the DNS cache for some reason, change the startup type to Disable.
Recommended:
We hope this article was helpful and you were able to flush & reset the DNS cache in Windows 10. If you still have any questions then feel free to ask them in the comment section.