Fix Windows 10 Screen Dims Automatically

It’s not every day that you turn on your computer or laptop, and everything works perfectly. The starting process may not continue in certain cases, and it may refuse to boot in others, particularly after a power interruption. You may also experience times when your screen brightness is too low, even when set to 100%, or when your laptop screen is dim or too dark even when set to maximum brightness. Your PC is most likely set to adaptive brightness, but there are other reasons why your screen dims on dark background Windows 10 on its own. This article will show you how to fix Windows 10 screen dims automatically.
How to Fix Windows 10 Screen Dims Automatically
One of the most prevalent issues with Windows 10 is that the brightness setting does not work properly on some of their devices. Some users using Windows 10 PCs are unable to adjust the brightness levels due to a strange problem. Some of the reasons for laptop screen keeps dimming Windows 10 are:
- It might happen due to an outdated graphics driver or a malfunctioning adaptive brightness feature.
- The auto-dimming option in Windows 10 may be to blame if your computer screen dims on dark background Windows 10.
- Sometimes defective LCD inverter may potentially lead to the issue of Windows 10 screen dims automatically quickly.
- Some users have discovered a link between out-of-date BIOS and this issue of Windows 10 screen dims automatically.
- Also, software or hardware complications can lead to screen dimming issues in Windows 10.
Now, the next section consists of carefully put together methods to fix this issue. Follow each Method step by step until you obtain a fix.
Method 1: Basic Troubleshooting Steps
The power plan may need to be altered if your system isn’t getting a constant current. Power plans might alter depending on the power supply (battery or DC). To make the necessary changes, follow the instructions below.
- Ensure that the laptop is securely connected.
- Check to see if the current is stable. If that’s the case, a current stabilizer can assist.
- Check to see whether the socket the laptop is plugged into is damaged.
- Check to see if the socket the laptop is plugged into is in good working order.
- Make sure the extension board wiring isn’t broken if you’re utilizing one.
- Check to see if an extension board is overloaded or if anything attached to it is creating electrical surges.
- Disconnect any power-hungry devices from the same board or socket.
Method 2: Run Power Troubleshooter
The Windows Power Troubleshooter is a built-in utility that assists users in identifying and correcting issues with their computer power settings. You may use this to discover and fix most power-related issues on your PC, including screen dimming difficulties. This troubleshooter can be used if your device screen continues dimming in Windows 10.
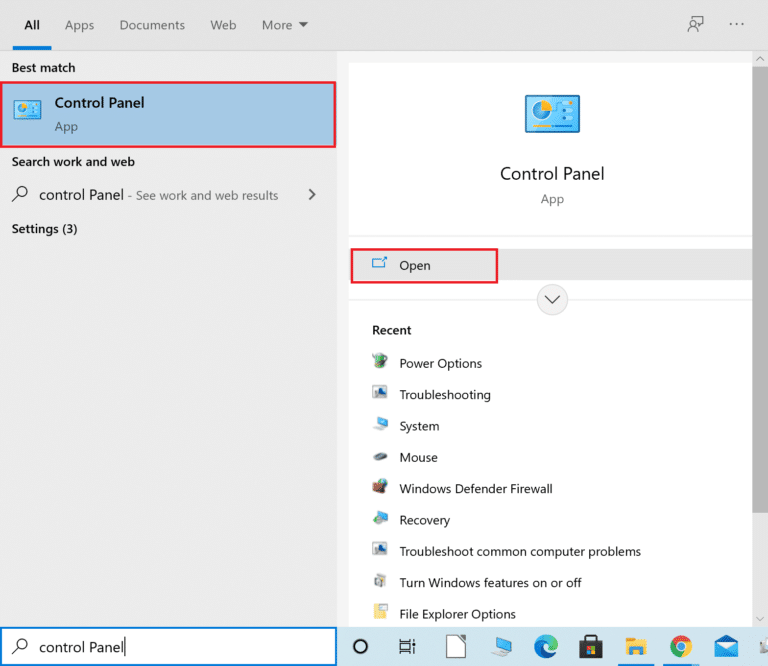
1. Hit the Windows key, type Control Panel, and click on Open.
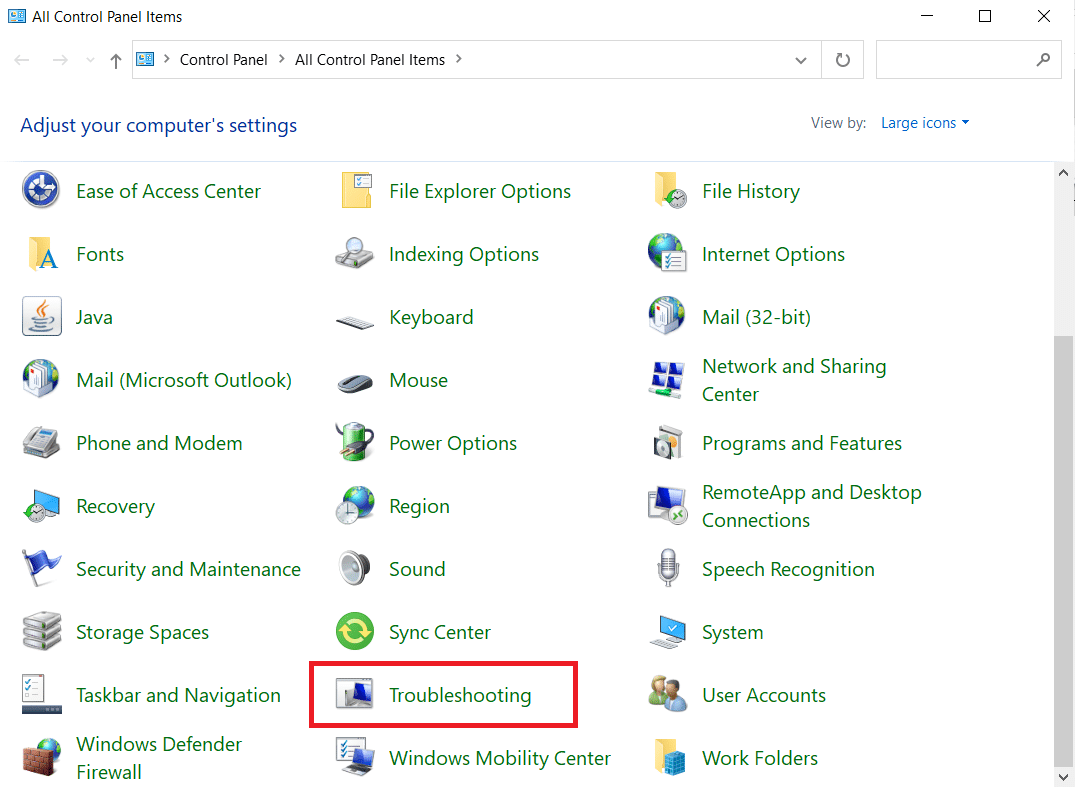
2. Set View by: to Large Icons, then click on Troubleshooting setting.
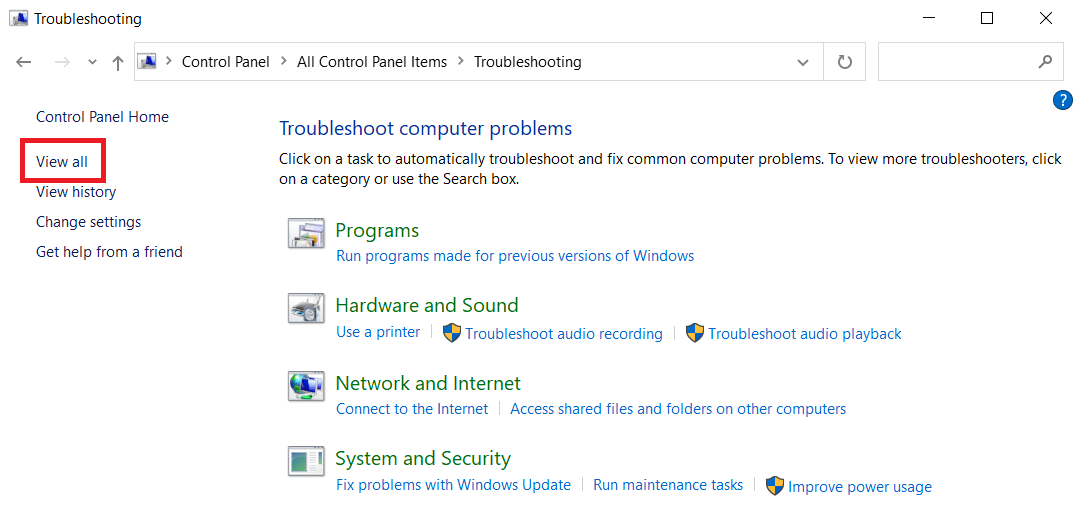
3. From the left pane, click on View All.
4. Click on Power.
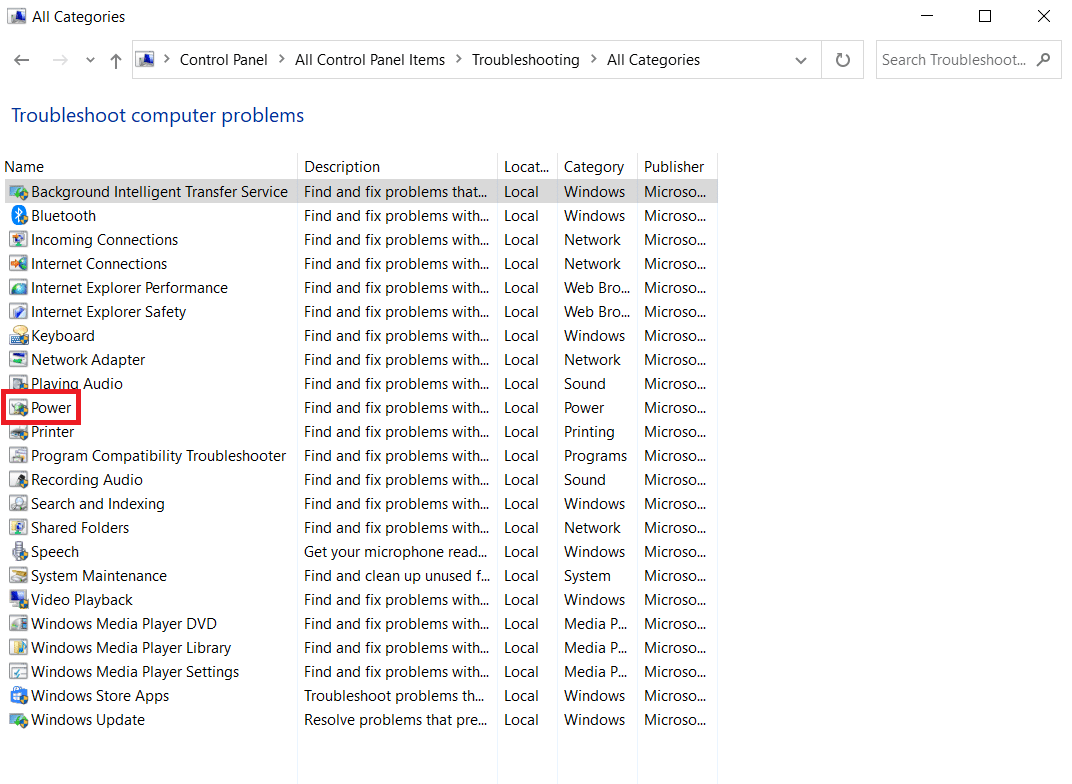
5. Run the Power troubleshooter and implement all of the solutions it suggests.
Now, check if your screen dims on dark background in Windows 10.
Also Read: Fix Windows 10 Netwtw04.sys Blue Screen Error
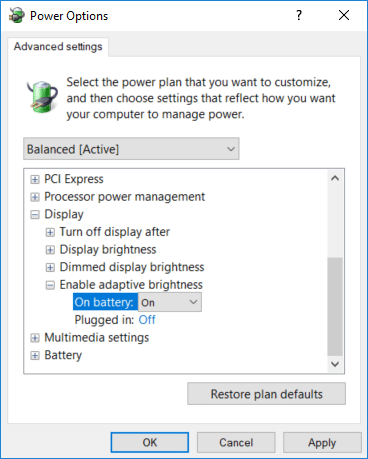
Method 3: Turn Off Adaptive Brightness
Adaptive brightness is a function that may be to blame for screen dimming or blinking. If this option is chosen when the surrounding environment changes, Windows dims your screen automatically. Turning off the Adaptive Brightness function in Windows 10 may assist you in resolving problems with the brightness setting. Read our guide on How to Enable or Disable Adaptive Brightness in Windows 10 to fix the desired issue on your device.
Method 4: Change Screen Resolution
It’s conceivable that you’ve selected a screen resolution that isn’t optimal for your monitor. The screen dimming and brightening might be caused by different programs or the operating system attempting to operate with the resolution that has been specified.
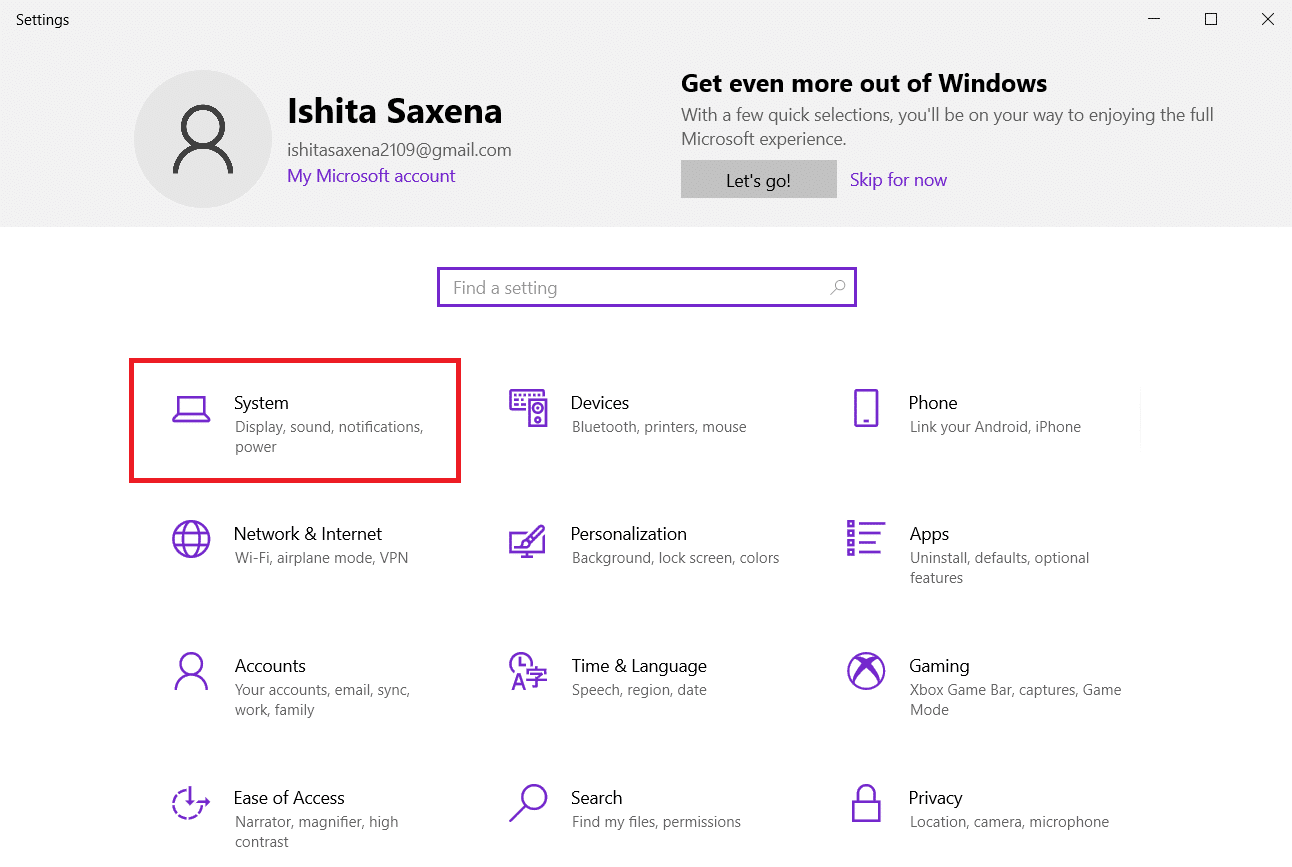
1. Press the Windows + I keys simultaneously to open Settings.
2. Here, click on the System setting.
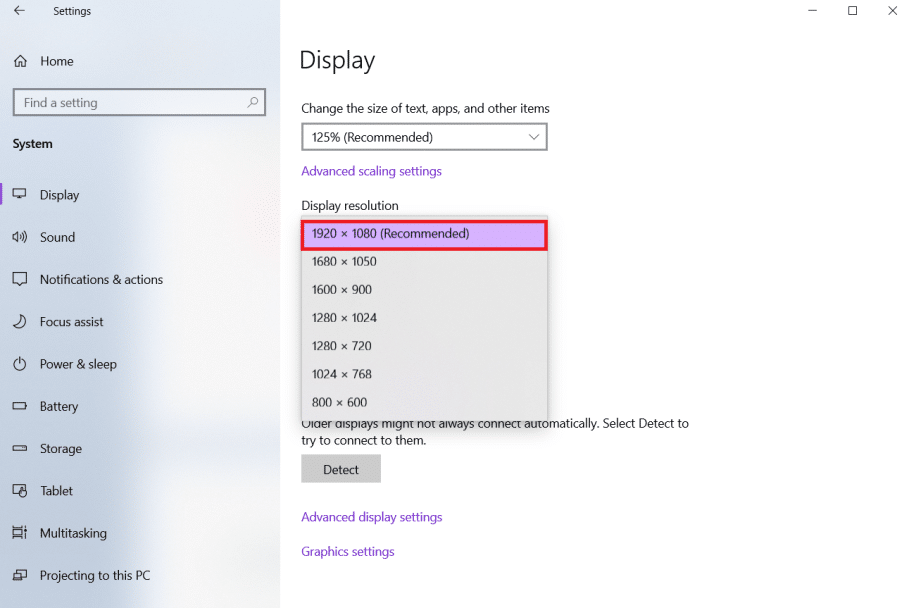
3. Open the Display Resolution dropdown. Select the resolution that has Recommended written next to it.
Also Read: How to Fix Lines on Laptop Screen
Method 5: Update Graphics Drivers
Because graphics drivers allow your graphics card to interface with your computer, you should always keep them up to date. It’s conceivable that you’re running outdated graphics drivers on your Windows 10 PC, which causes the screen to darken automatically. Read our guide on 4 Ways to Update Graphics Drivers in Windows 10 to understand and implement the steps to download and install the latest graphic drivers. do so. Updating drivers to the most recent version should resolve the issue of Windows 10 screen dims automatically.
Method 6: Rollback Display Driver Updates
If you are still facing screen dims on dark background in Windows 10, then try rolling back your driver updates as shown the given steps below:
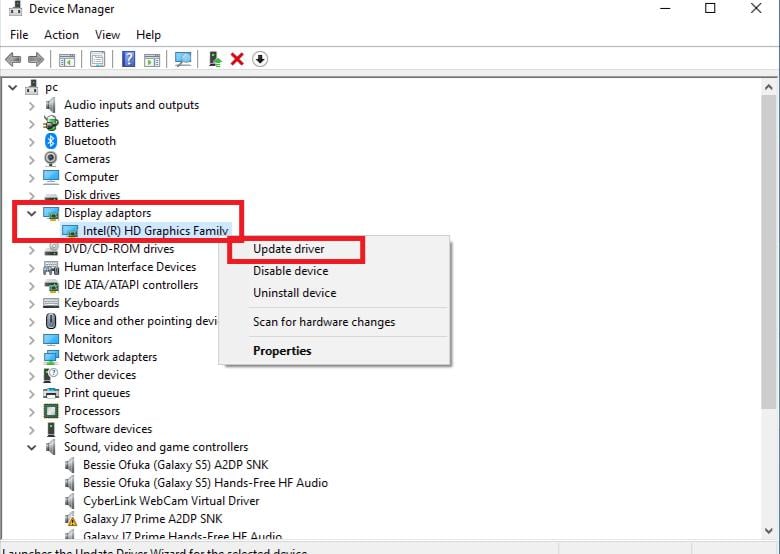
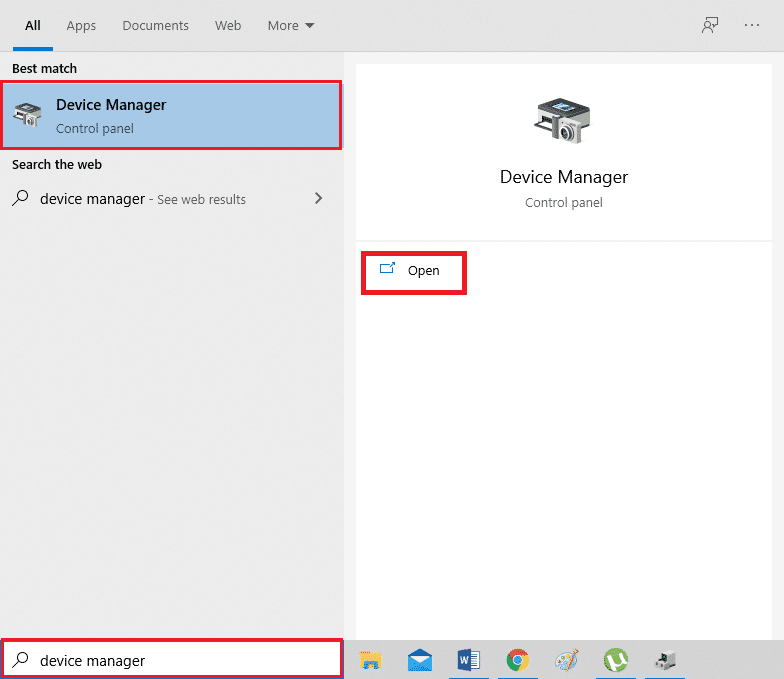
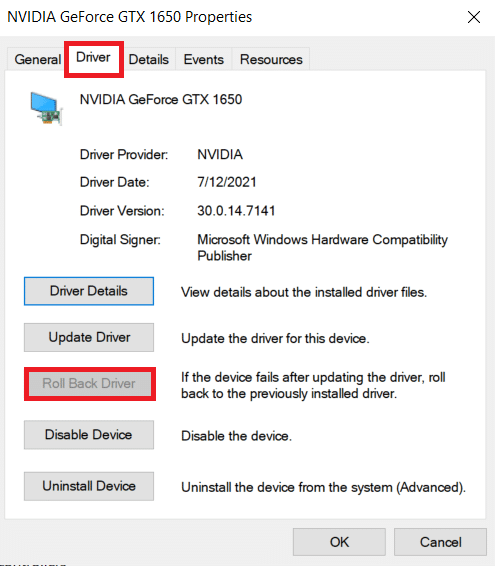
1. Press the Windows key, type device manager, and click on Open.
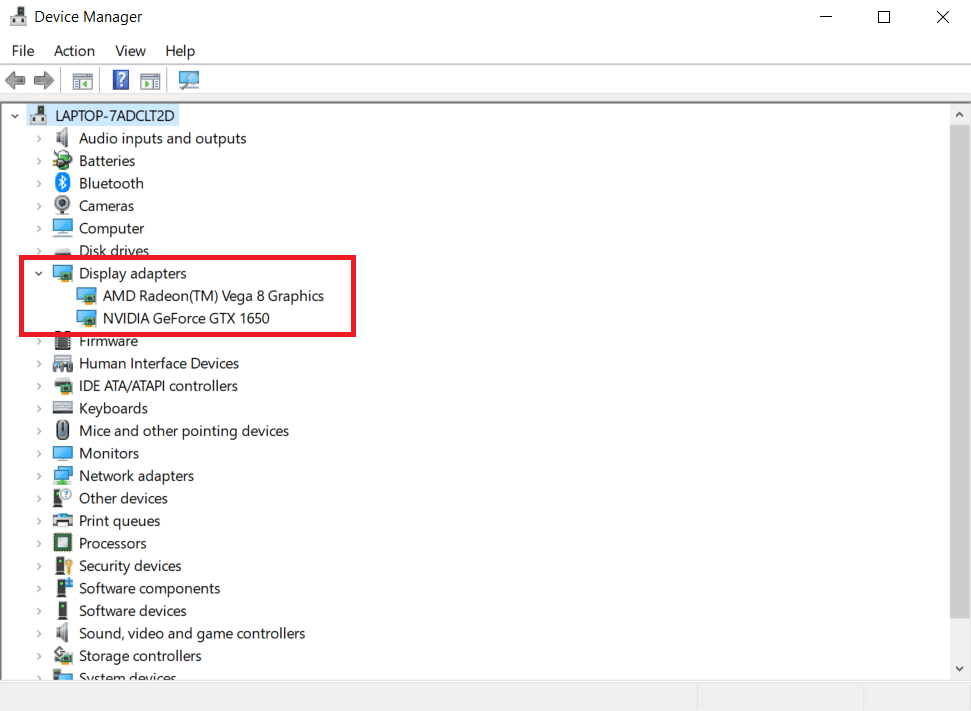
2. Click on the Display adapters.
3. Right-click on your Wi-Fi device. Click on Properties.
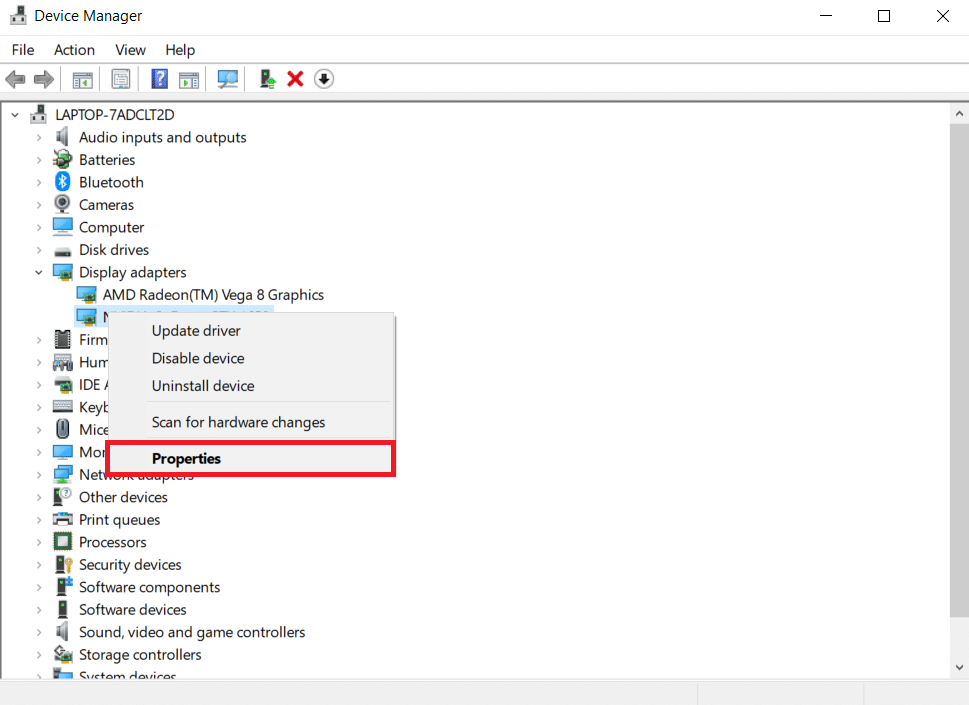
4. Under the Driver tab, click Roll Back Driver and follow the instruction that follows.
Also Read: How to Fix Windows 10 Touchscreen Not Working
Method 7: Update BIOS Setting
Updating the BIOS settings can also fix Windows 10 screen dims automatically issue. So, follow the given steps to update the BIOS settings.
Step I: Determine BIOS Version and Processor Information
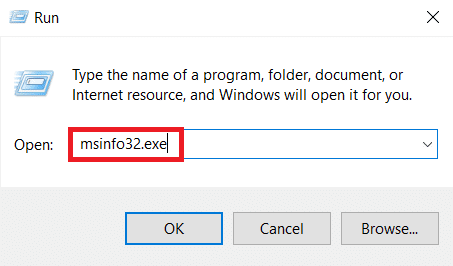
1. Press Windows + R keys together to open the Run dialog box.
2. Type msinfo32.exe and hit the Enter key to open System Information.
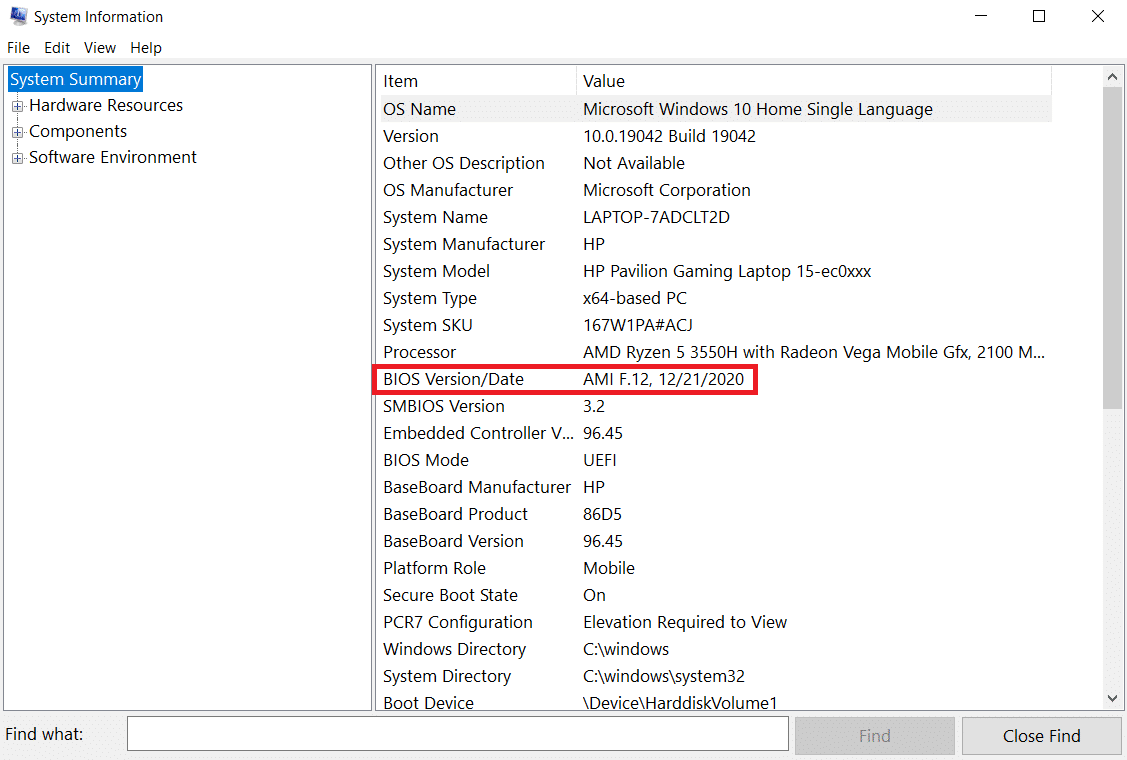
3. In the System Information panel, look for BIOS Version/Date and note it down.
4. Now locate the Processor and copy the information for future use.
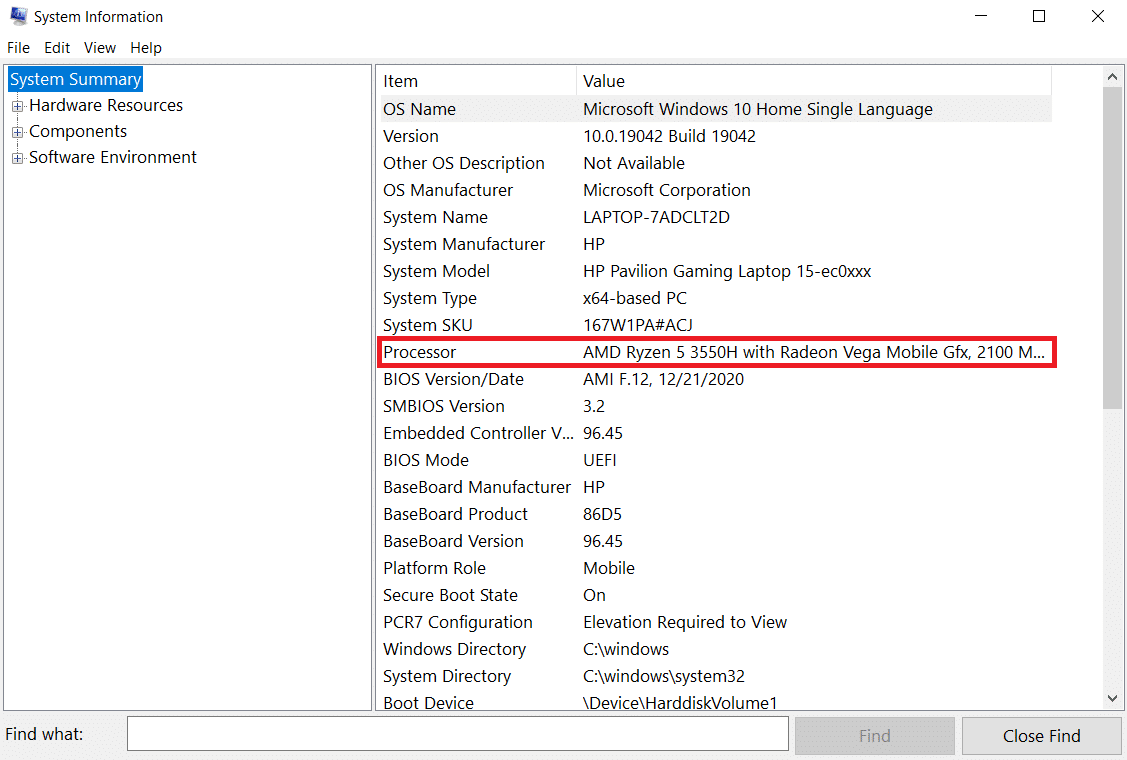
Check to see if the BIOS you’re about to install is compatible with the CPU in your computer.
Step II: Update BIOS
If your BIOS is outdated, your computer screen may become dull, the screen brightness may be too low even at 100%, and/or the laptop screen may be too dark at maximum brightness.
Note: Before you begin upgrading the BIOS, make a note of your computer product number, make sure you have an Internet connection and have a pencil and paper handy.
1. Download the BIOS driver (e.g. Lenovo) for your PC.
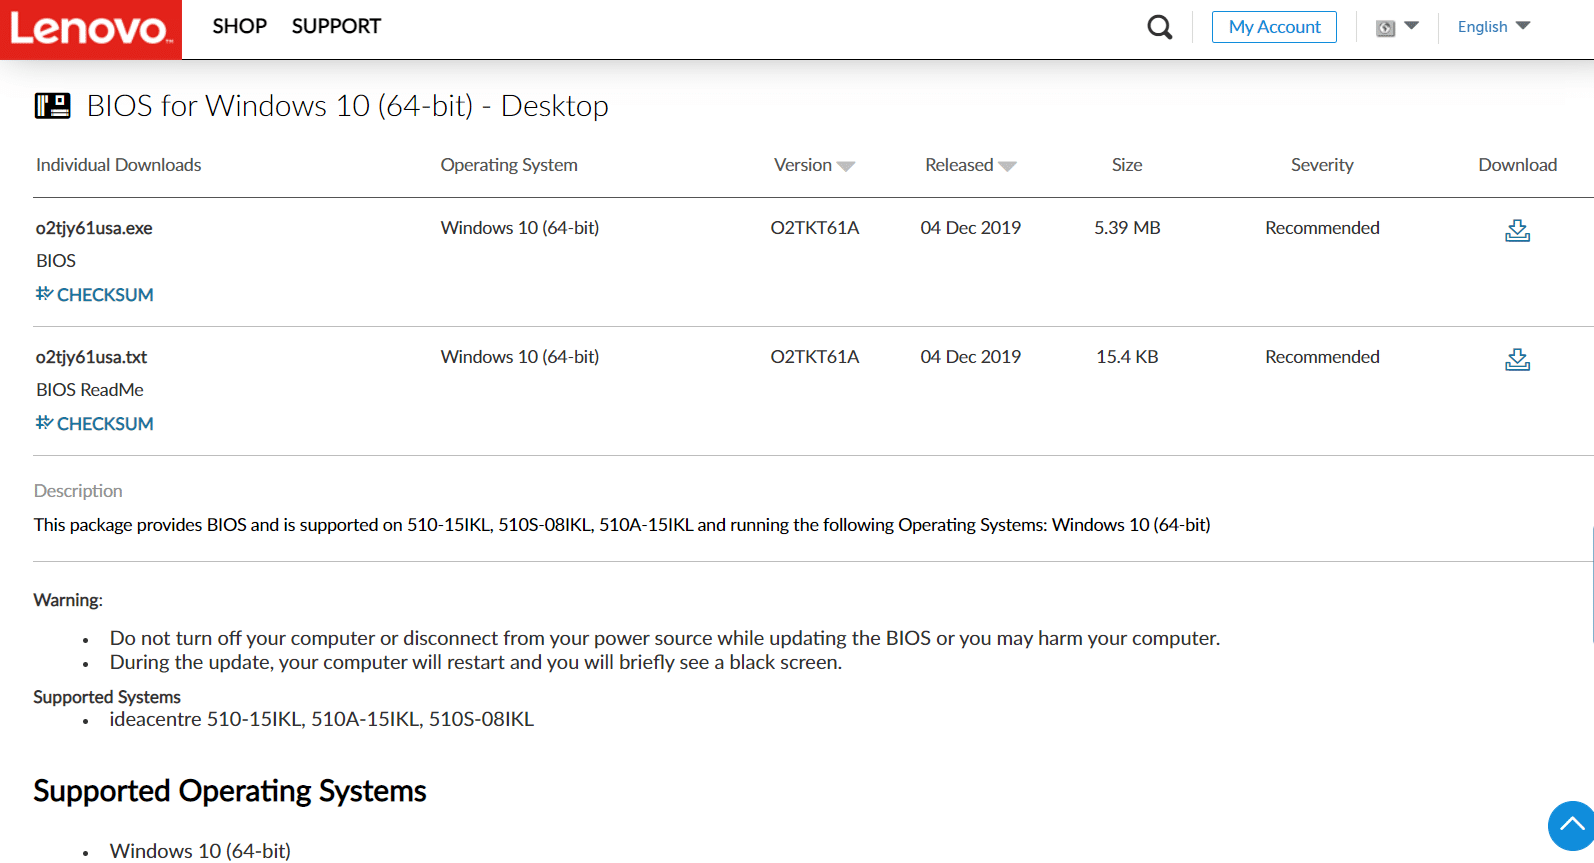
2. Close running apps and turn Off your antivirus software.
3. Then, install the BIOS update, which will cause the computer to beep or go blank, the cooling fans to cycle on and off, and the power button to cycle on and off for a few minutes. Do not switch your computer off or on until the update is finished.
4. Finally, restart your PC when the installation is complete.
Method 8: Repair Hardware Components
The screen may fade or brighten due to hardware issues, requiring you to bring the laptop in for repair. The battery, power supply unit, or graphics card in your laptop may have been loose or broken. It can only be checked by opening it up. If something is loose, the repair should not take too long or be too expensive. You’ll need to repair a hardware component if it’s broken.
Also Read: How to Fix Window 10 Laptop White Screen
Method 9: Replace LCD Inverter
It’s most likely due to a low voltage at the LCD inverter if your computer screen is dull, the screen brightness is too low even at 100%, and/or your laptop screen is too dark at maximum brightness. This component is in charge of providing the backlight on your computer screen. In such circumstances, the inverter may need to be replaced.
Method 10: Perform Hard Reset
You can fix Windows 10 screen dims automatically issue by performing a hard reset as shown in the steps below:
Option I: For Computers with Removable Battery
Remove any connected devices, disconnect any externally linked peripherals, and then unplug the power adapter from the computer for a detachable battery computer.
1. Remove the battery from its compartment.

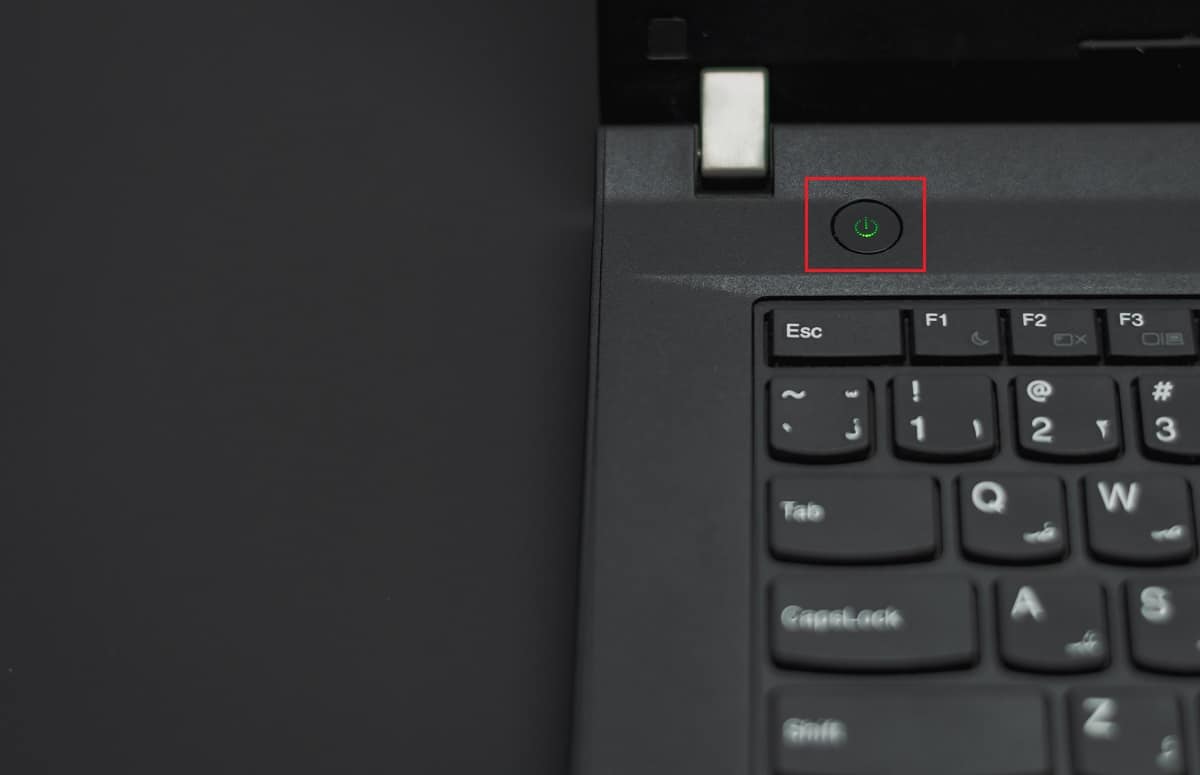
2. To discharge any residual electrical charge from your computer capacitors, press and hold the power button for around 15 seconds.
3. Replace the battery and the power adapter in the computer.
4. To switch on your computer, press the Power button.
5. When the start menu opens, use the arrow keys to choose Start Windows Normally and then press Enter key.
You may now rejoin the gadgets one by one, and you’re all set. Always use Windows Update to keep all of your device drivers up to date.
Also Read: Fix Red Screen of Death Error (RSOD) on Windows 10
Option II: For Computers with Non-Removable Battery
1. Remove any connected devices or peripherals from the computer and disconnect the power adapter.
2. Press and hold the Power button for 15 seconds on most systems to reset them.

3. Plug in the power adapter but not any other devices.
4. Start your computer by pressing the Power button.
5. Select Start Windows Normally and press Enter key.
6. After the reset, reconnect all additional devices and peripherals one by one.

7. Run Windows Update as well as upgrade all device drivers.
If your computer battery is sealed or non-removable, don’t attempt to remove it since it will void your warranty. Follow the instructions outlined above.
Frequently Asked Questions (FAQs)
Q1. Why is my screen so dark, even when it’s set at full brightness?
Ans: A low voltage at the LCD inverter, which controls the backlight on your screen, might be the source of your problems. If you are unable to repair it, you might consider replacing your display.
Q2. When I’m on battery, why does my laptop screen dim?
Ans: When a laptop is unplugged from the AC power with a low battery, it will go into a power-saving mode.
Q3. Why does my screen fade on its own at regular intervals?
Ans: Eye protection capabilities in Windows 10 include dimming and applying color filters to your screen at specific time intervals to protect your eyesight.
Recommended:
We hope that this information helped resolve Windows 10 screen dims automatically problem. Please let us know which strategy proved to be the most effective for you. Please share any questions or recommendations in the comments area below.