- in Windows 10 by Admin
Windows Key Not Working in Windows 10? 10+ Ways to Fix It

The Windows key is incredibly helpful when used in combination with other keys on your keyboard. Besides opening the Start menu, the Windows key can do all kinds of things including rearranging windows, opening the Action Center, locking your screen and managing virtual desktops.
If the Windows key isn’t working, it breaks lots of handy keyboard shortcuts that execute system applications.
Fortunately, there are troubleshooting steps you can take to resolve the Windows key not working problem for good.
Causes of the Windows Key Not Working Issue
There are several reasons why the Windows key stops working in Windows 10. The most common causes include:
- Debris stuck in your keyboard or in the Windows key
- Windows key is disabled
- Mechanically or electrically damaged keyboard
- Windows 10 Game Mode conflicting with your keyboard
- Bad, incompatible or outdated keyboard drivers
- Software issues including a Windows 10 update or bug in the Filter Key feature

How to Fix Windows Key Not Working in Windows 10
Losing the Windows key’s functionality can be frustrating to deal with, but there are many ways to resolve the problem.
1. Quick Fixes to Try
- Use a compressed air can to remove any debris that may be stuck in your keyboard and Windows key.
- Try using another keyboard to see if the problem disappears. If not, it could be a software issue and not the physical Windows key or keyboard.
- Scan your computer for malware that may be disabling the functionality of your Windows key.
- Close background apps as they may override any shortcuts involving the Windows key. You can use the Task Manager to close the background apps, one at a time and test the Windows key after each. If you find a culprit app or process, disable or uninstall the program.
- Unplug your gamepad and ensure that no button is pressed down on your keyboard or gaming pad.

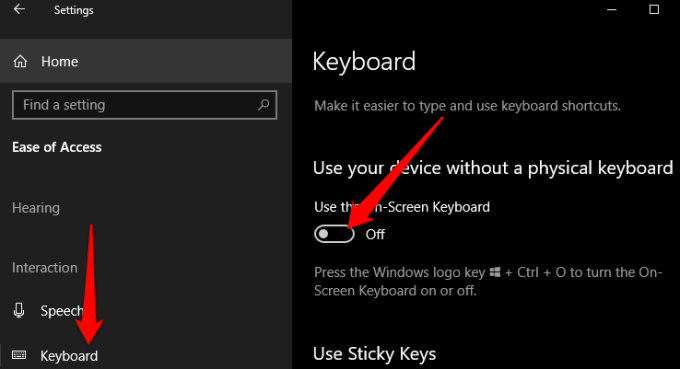
2. Enable On-screen Keyboard
Enable the on-screen keyboard to navigate Windows 10 menus, especially if you don’t have a spare keyboard. However, if the Windows key is disabled on a system level, you may not be able to use it with the virtual keyboard.
You can enable the on-screen keyboard via Settings > Ease of Access > Keyboard > Use the On-Screen Keyboard.
If you can’t enable the on-screen keyboard via Settings, turn to our guide with more ways to enable on-screen keyboard on Windows 10.
3. Run the Windows 10 Keyboard Troubleshooter
The built-in keyboard troubleshooter helps detect any issues that may cause your keyboard not to work properly and helps fix the problems automatically.
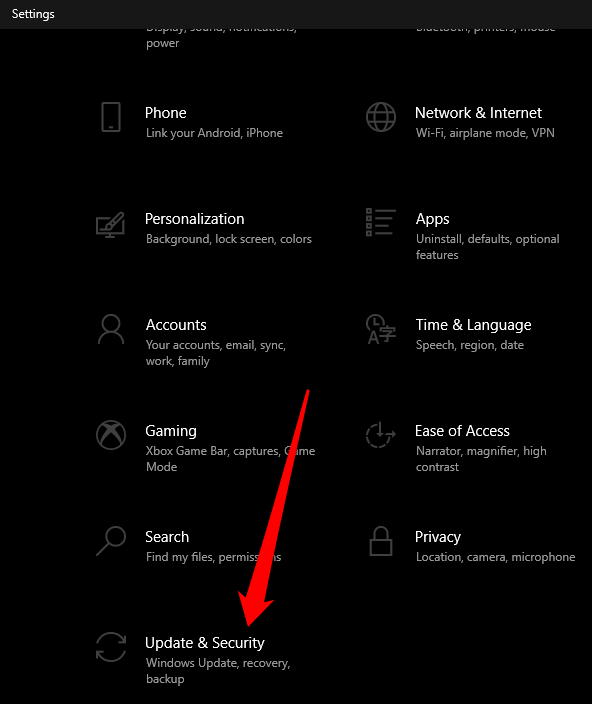
- Select Start > Settings > Update & Security.
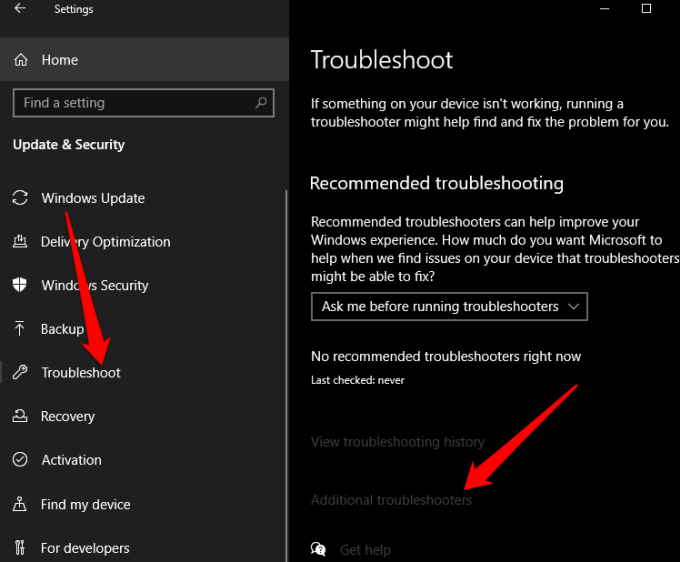
- Next, select Troubleshoot > Additional troubleshooters.
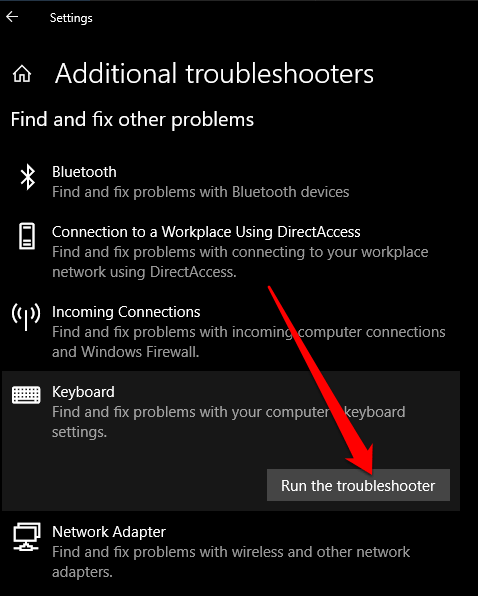
- Select Keyboard > Run the troubleshooter and allow it to detect and repair any issues with your keyboard.
4. Disable Game Mode
Game Mode is a feature in Windows 10 that’s designed to make gaming better. The feature gives games priority access to your computer’s CPU and GPU resources for a more stable frame rate. The feature may cause conflicts with your keyboard and make the Windows key unusable, but you can disable it and see if the key works again.
- Select Start > Settings > Gaming.
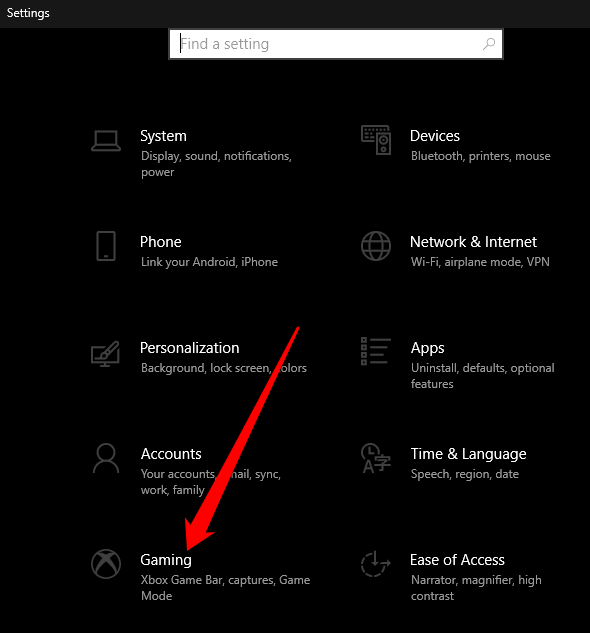
- Select Game Mode on the left pane and toggle the switch to disable it.
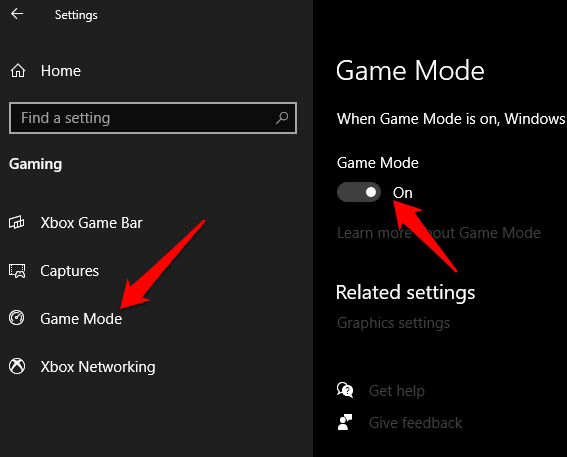
- Check whether the Windows key works again after disabling Game Mode.
Note: Depending on your keyboard, you can disable Game Mode using a switch above the function keys or beside the CTRL key. Consult your keyboard manual or manufacturer’s website for more information about the Game Mode feature.
5. Enable Windows Key Using a Registry Edit
The Windows registry can restrict many things including menu items and keyboard keys. You can enable the Windows key using a registry edit and check whether it works again.
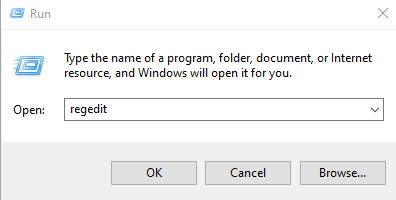
- Right-click Start > Run, type regedit in the Run box and press Enter.
- Next, select HKEY_LOCAL_MACHINE and then select SystemCurrentControlSetControl Folder.

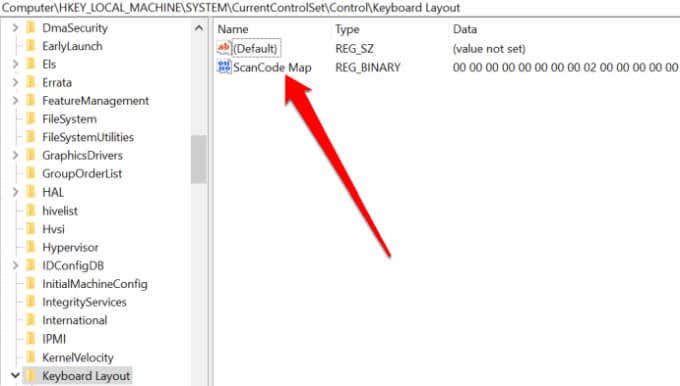
- Select Keyboard Layout folder.

- Right-click Scancode Map, select Delete and then select Yes to confirm the action.
Note: The Windows key may be disabled due to the Scancode Map, whose function is to change how the standard keys on your keyboard work.
- Close Windows Registry and reboot your PC.
6. Re-register All Apps
Re-registering all the apps may clear any software conflicts with your keyboard that could be causing the Windows key not working issue.
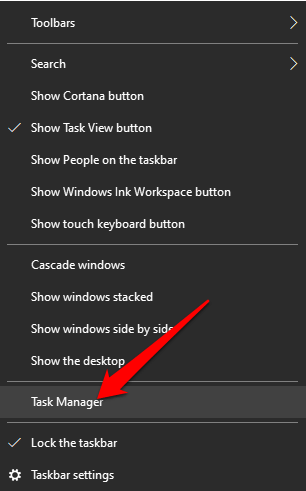
- Right-click the taskbar and select Task Manager.
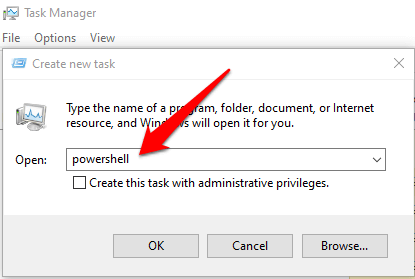
- Select File > Run new task, type powershell and select OK.
- Paste this script: Get-AppXPackage -AllUsers | Foreach {Add-AppxPackage -DisableDevelopmentMode -Register “$($_.InstallLocation)AppXManifest.xml”} and press Enter.

- Restart your computer and check if the Windows key works again.
7. Enable Start Menu
If you press the Windows key and it doesn’t bring up the Start menu, you can enable the menu via the Windows Registry.
- Right-click Start > Run, type regedit and press Enter.
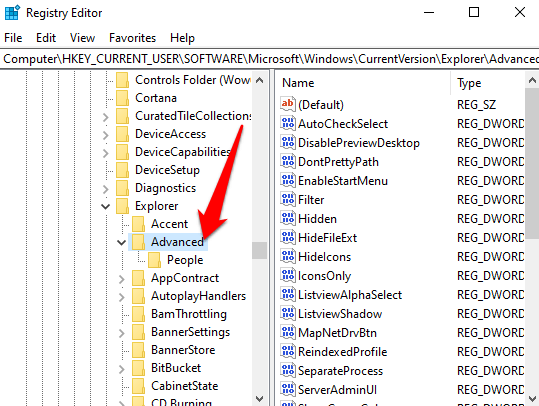
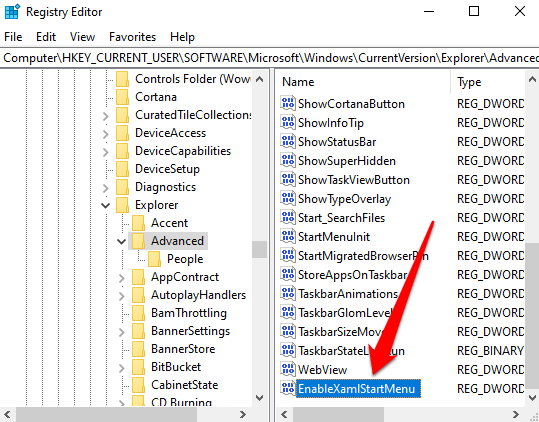
- Navigate to the HKEY_CURRENT_USER > Software > Microsoft > Windows > CurrentVersion > Explorer > Advanced key.
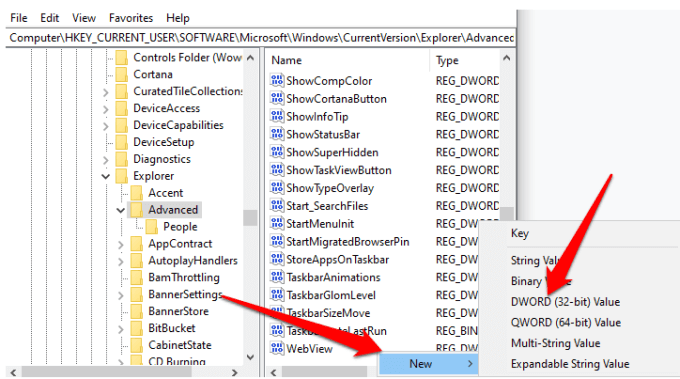
- Next, right-click on the right hand side panel, select New > DWORD (32-bit) value.
- Label the key EnableXamlStartMenu.
- Restart your computer and check if the Windows key works again.
8. Disable Filter Keys
Filter Keys is an accessibility feature in Windows 10 that ignores repeated keys and helps you control the keyboard repeat rate. This feature may interfere with the Windows key owing to a bug or other software glitch that causes issues with your keyboard.
You can disable Filter Keys and restore your Windows key functionality.
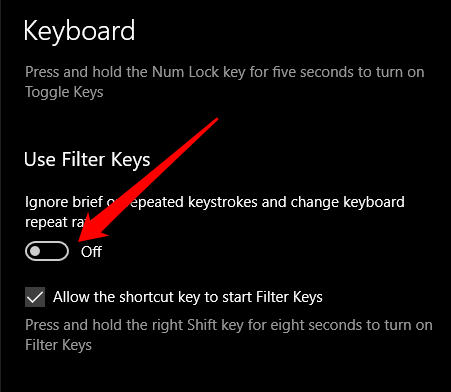
- Select Start > Settings > Ease of Access.

- Next, select Keyboard on the left pane, scroll down to Filter Keys and disable it.
9. Update Keyboard Drivers
If your keyboard drivers are incompatible or outdated, they may break several keys including the Windows key. Updating the drivers may help restore the key and its related functions.
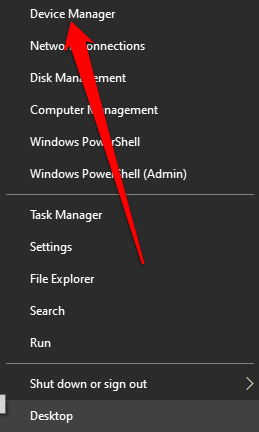
- Right-click Start > Device Manager.
- Expand the Keyboards category, right-click your keyboard and select Update Driver.
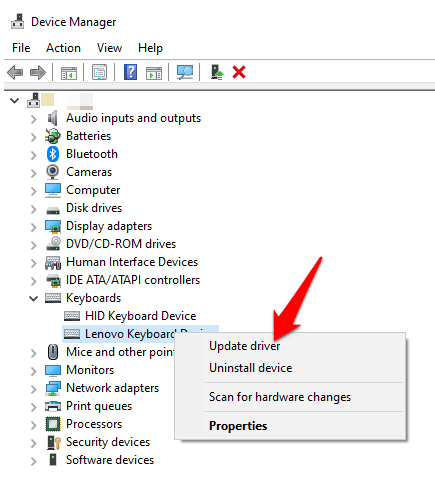
- Select Search automatically for drivers.

Note: You can also check your keyboard manufacturer’s site for software updates or new drivers.
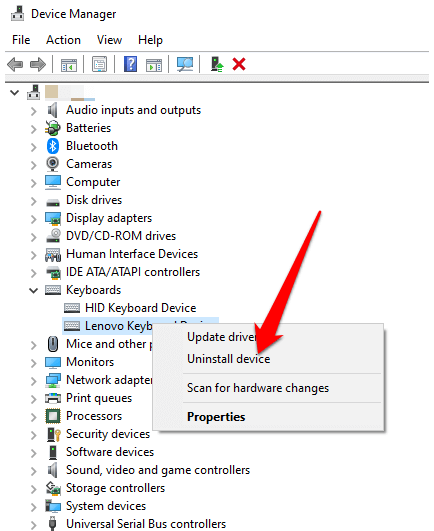
10. Uninstall and Reinstall Keyboard Drivers
You can also uninstall and reinstall drivers to get the correct ones for your keyboard.
- Right-click Start > Device Manager and expand the Keyboards category.
- Next, right-click your keyboard drivers, select Uninstall device > Uninstall.
- Restart your computer for Windows to reinstall the drivers automatically.
Get the Windows Key Working Again
We hope one or more of these fixes have helped you restore your Windows key back to normalcy. For other keyboard issues, turn to our guides on how to fix Windows keyboard keys which stop working, what to do when @ and “ keys are swapped on Windows 10, and how to fix a broken Windows keyboard key.
If all else fails, you may have to reset Windows or replace your keyboard altogether. Check out our favorite mechanical keyboards under $100 and the best wireless keyboards and mouse combos for any budget.