Fix Logitech Unifying Receiver Not Working in Windows 10

The Logitech Unifying Receiver allows Logitech devices to sync and communicate wirelessly with your computer. You can connect peripherals such as a keyboard, mouse, and other devices to your system. This eliminates the requirement for six separate USB receivers on a PC. Some customers have reported that the Logitech unifying receiver not working. In this article, we’ll teach you what to do if the Logitech Unifying receiver isn’t identified.
How to Fix Logitech Unifying Receiver Not Working in Windows 10
Some reasons why the Logitech Unifying Receiver does not operate are as follows:
- Windows Update: After a Windows Update damaged the receiver, it was unable to sync devices, causing a widespread uproar.
- Unifying Software: Your computer may require Logitech Unifying software for the module to operate correctly.
- Driver file: The receiver may not work if the driver file is not installed.
- Conflicting apps: The receiver may conflict with some third-party programs.
- Incorrect configuration: It’s possible that the receiver was set up improperly, leading it to cease operating.
Preliminary Fixes
Before you begin, ensure you have administrator access to your computer and that the Unifying Receiver is not physically damaged. Ensure that all chipset drivers are installed as well. Check to see if any of your dongle connections are loose. The procedure is as follows:
- Remove the black cover from the dongle.
- Now, either by placing a piece of paper inside or pressing the points together, get the contact points closer.
- Replace the cap to complete the dongle.
If the issue still persists, try the following basic troubleshoots:
- Try connecting the dongle to another USB port.
- Connect the dongle to another system to check whether the issue lies with the dongle.
- Reboot your PC since a simple restart would fix any minor issues.
Method 1: Install Unifying Software
The first and most critical step is to install the unifying software on your computer. Logitech offers specific software for configuring your devices to work with the Unifying Receiver. As a result, you need to first set it up on your computer.
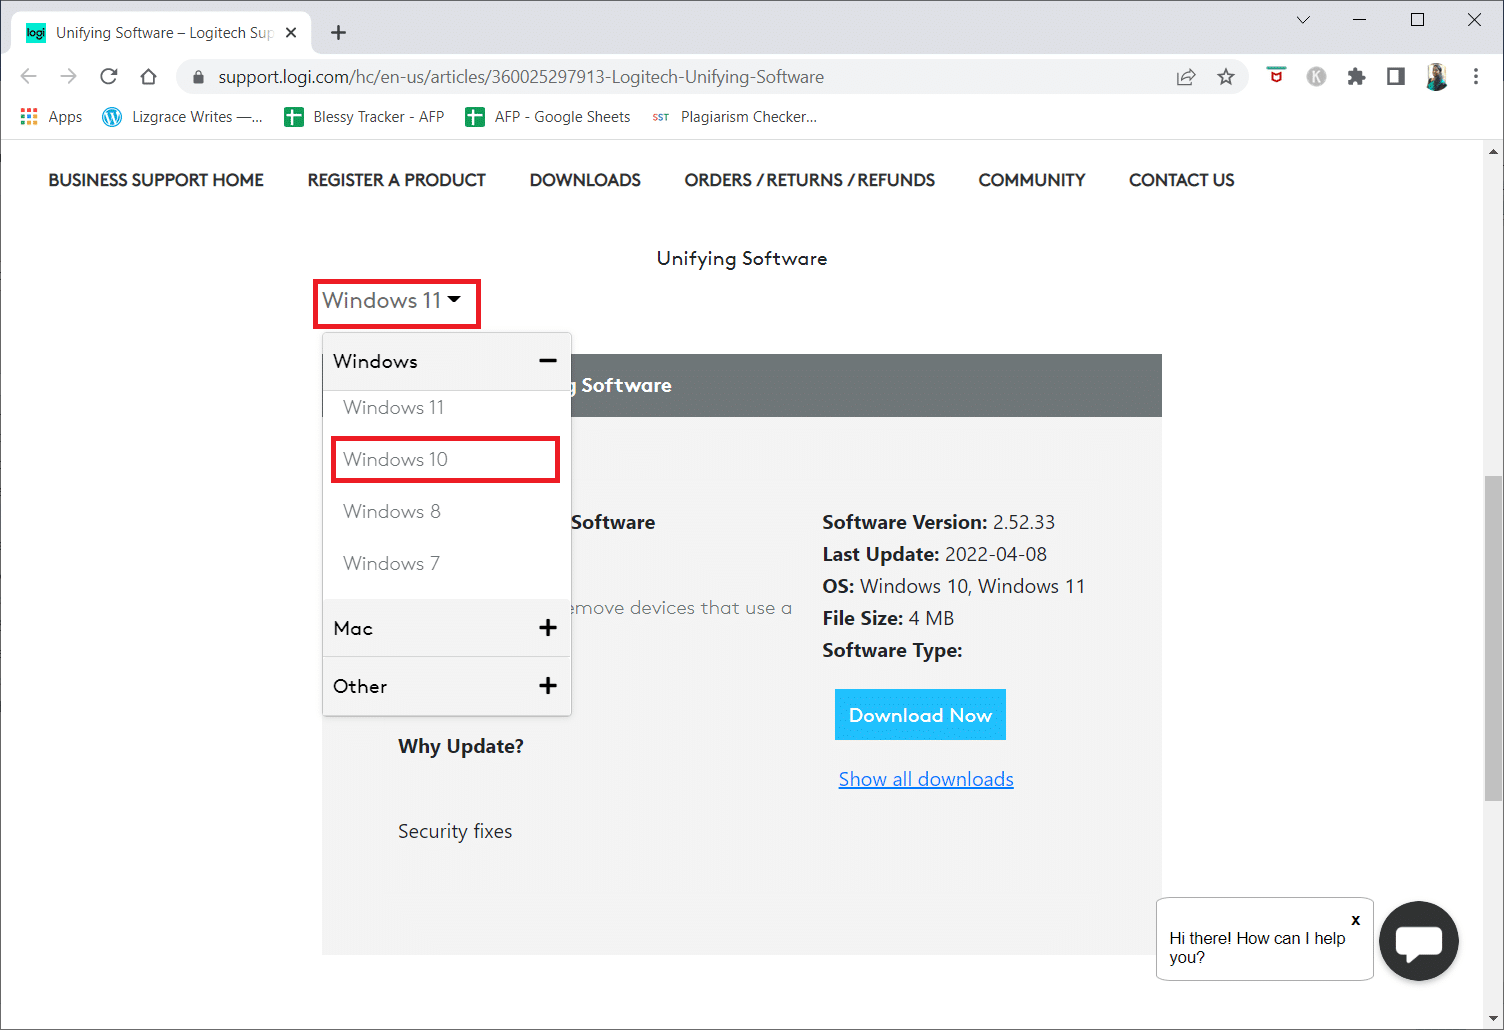
1. Visit the Logitech Unifying Software from the official website.
2. Choose Windows 10 in the drop-down list.
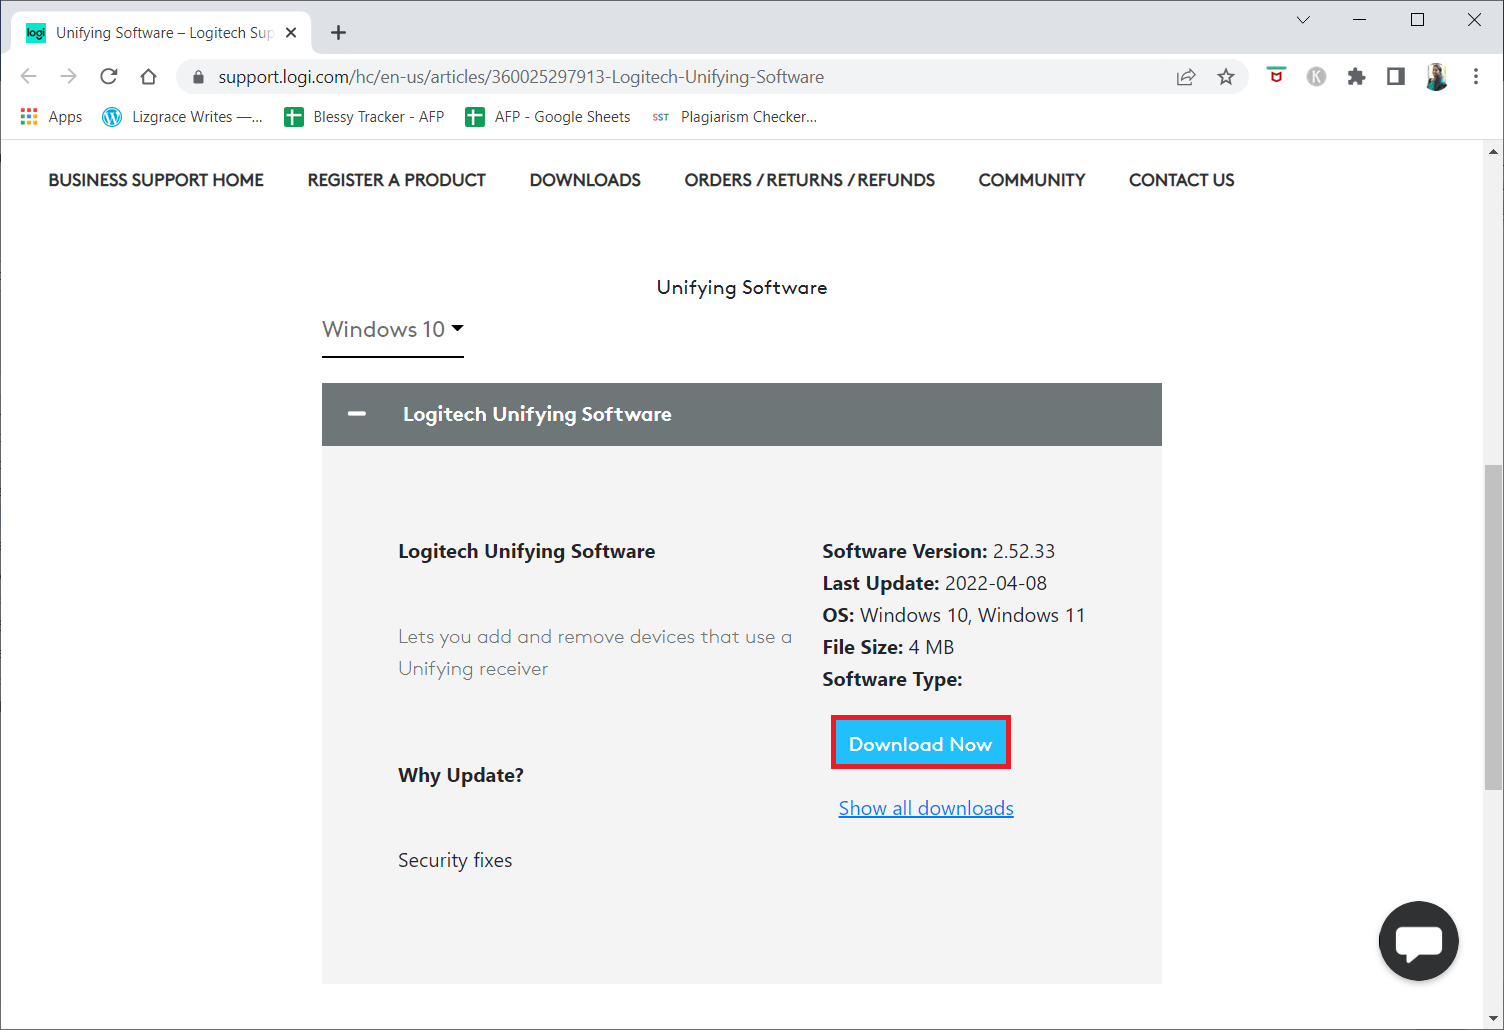
3. Click on the Download Now button.
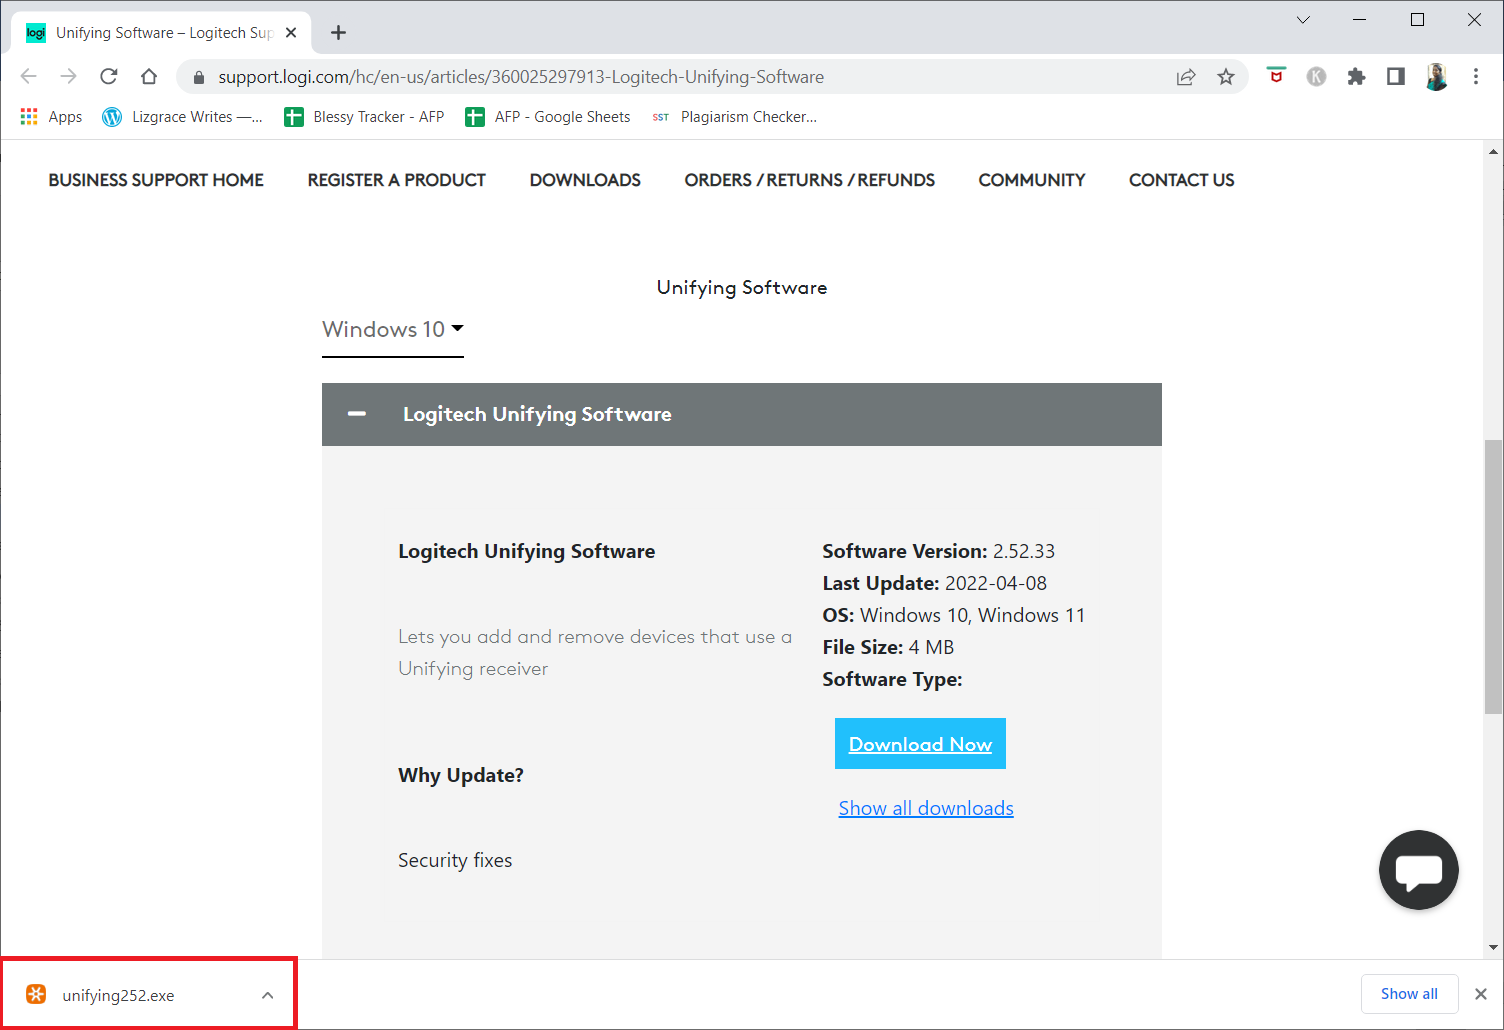
4. Click on the downloaded executable file to install and run the application.
5. Click on Yes in the User Account Control prompt.
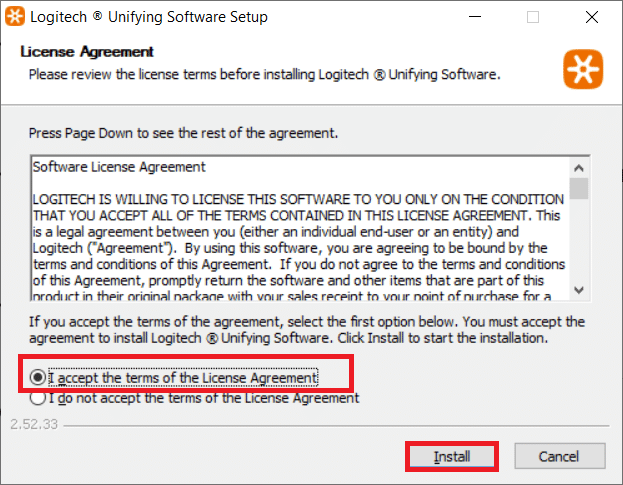
6. Select the option I accept the terms of the License Agreement and click on Install in the setup window.
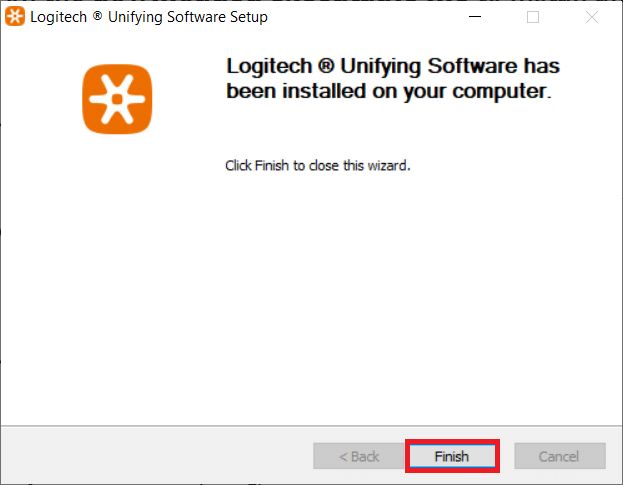
7. Click on Finish.
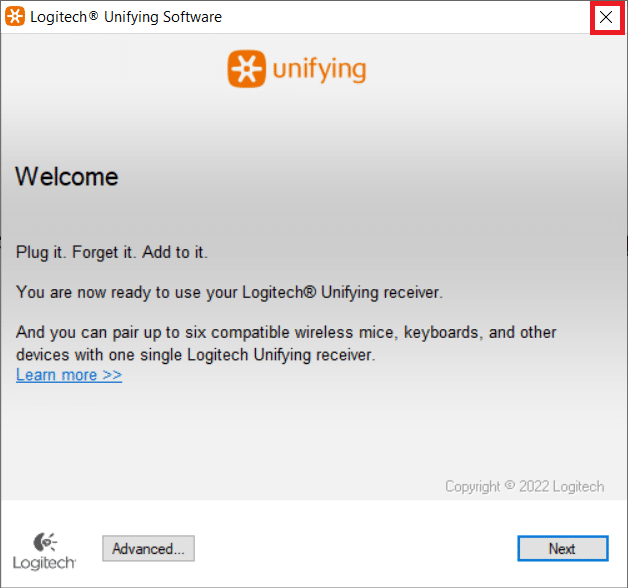
8. Close the window by clicking on the Close button.
9. Then, reboot the PC.
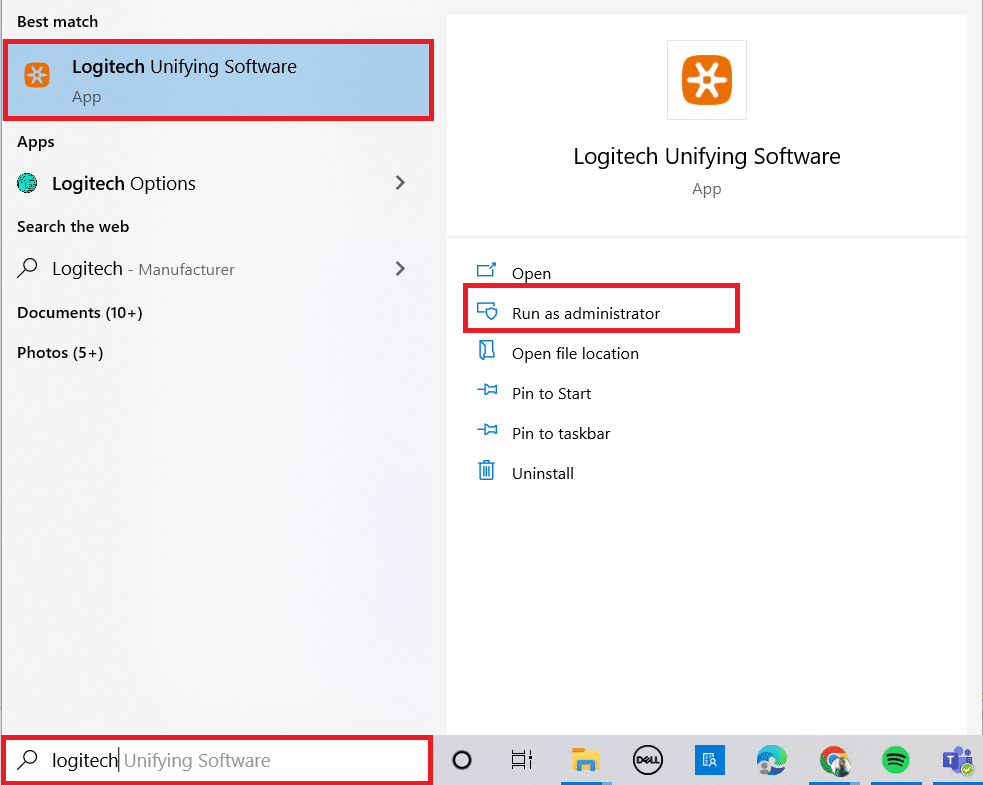
10. After restarting the system, press the Windows key. Type Logitech Unified software and click on Run as administrator.
11. Now, connect your Logitech peripherals and follow the on-screen instructions to see whether the Logitech unifying receiver not working problem has been repaired.
Method 2: Update Logitech Receiver Drivers
A problem with the receiver driver might sometimes result in the Logitech Unifying Receiver not being recognized. You should upgrade the driver to resolve this Logitech receiver not working issue.
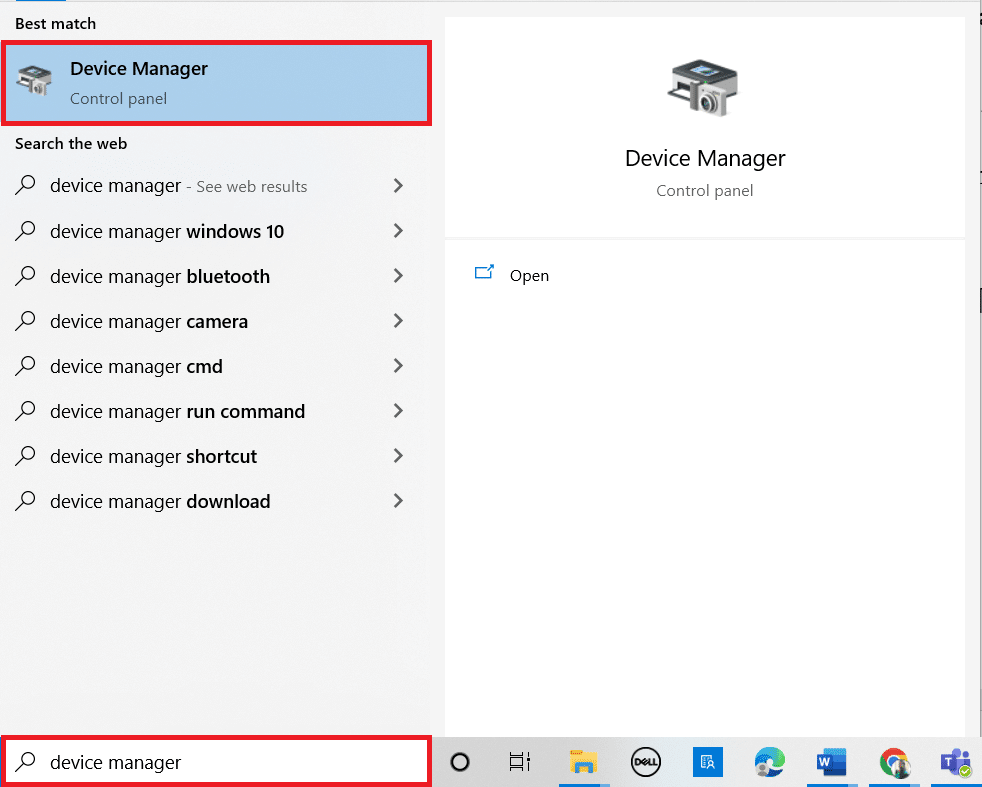
1. Press the Windows key, type Device Manager, and hit the Enter key.
2. Double-click on Mice and other pointing devices to expand the drivers.
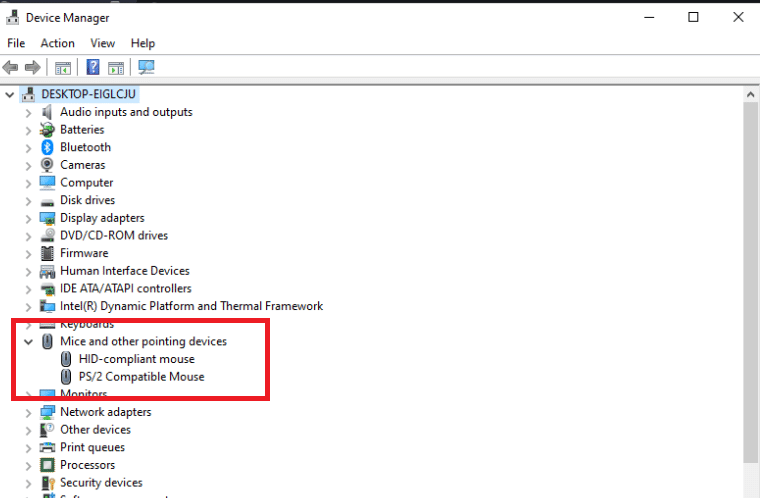
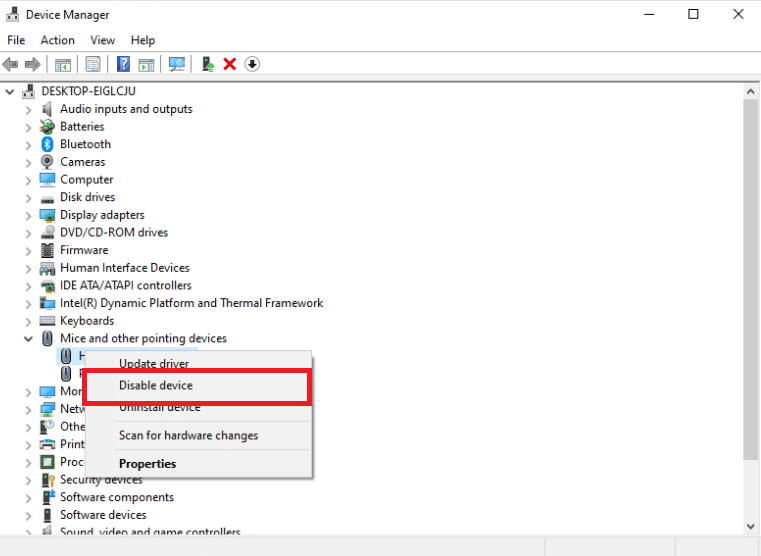
3. Now, right-click on HID-compliant mouse and select Disable device.
4. Now, download the Logitech Unifying Software and run as administrator as done in the previous method.
Also Read: Fix Logitech Gaming Software Not Opening
Method 3: Copy Driver File
If your unifying receiver isn’t working, ensure you have the correct driver file loaded on your computer. A USB driver is included with every version of Windows that allows communication devices like the Logitech Unifying Receiver to work with your computer. Your mouse receiver will not perform if the required driver file is missing from your current PC.
1. Press Windows + E keys together to launch the File Explorer.
2. Navigate to the following file location path.
C:WindowsINF
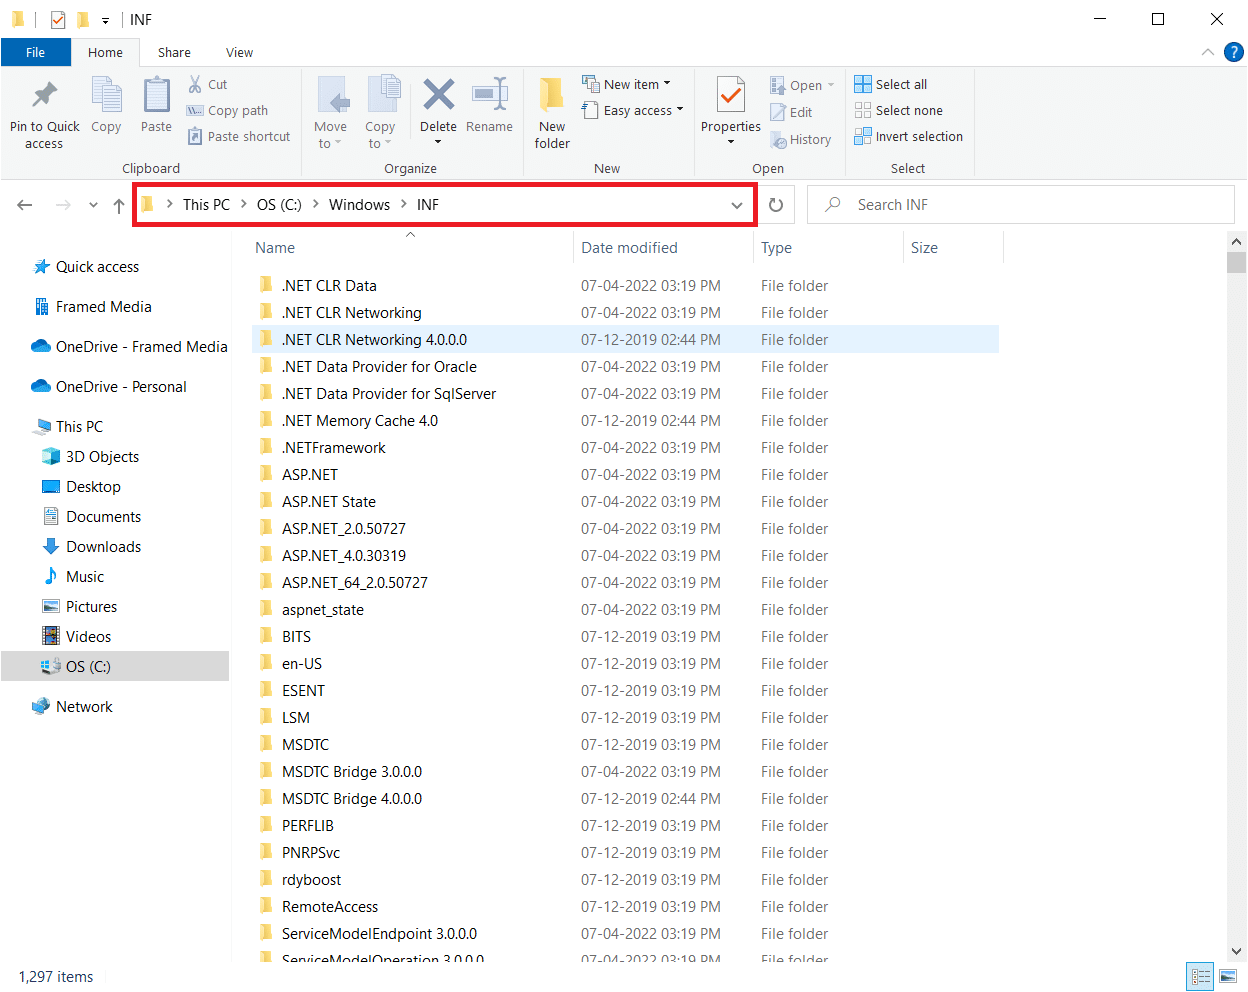
3. Look for the following two files: usb.inf and usb.PNF.
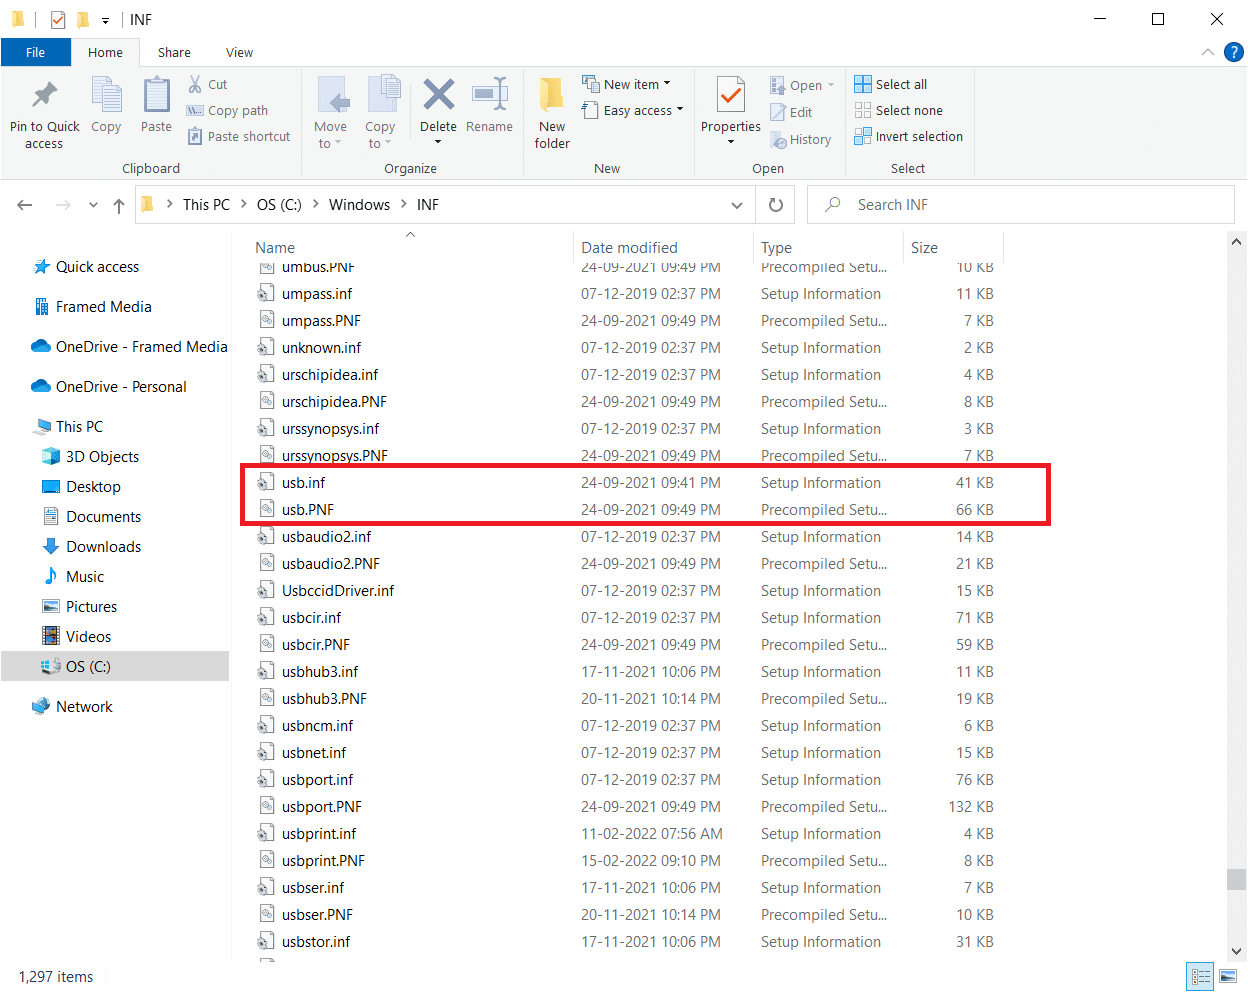
4. If you can’t find the files, copy them from another PC that uses Logitech Unifying Receiver and paste them into the directory mentioned above.
5. After installing, restart your PC to see whether the Logitech unifying receiver not working issue has been resolved.
Method 4: Uninstall Problematic Software
In several circumstances, customers claimed that other third-party programs clashed with the receiver module, causing it to stop working. MotionInJoy is a notable application. If you have the MotionInJoy Gamepad program on your computer, you should uninstall it since it causes the Logitech Unifying Receiver to stop operating.
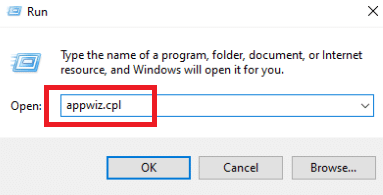
1. Press Windows + R keys simultaneously to launch the Run dialog box.
2. Enter appwiz.cpl and press Enter key to open Programs and Features.
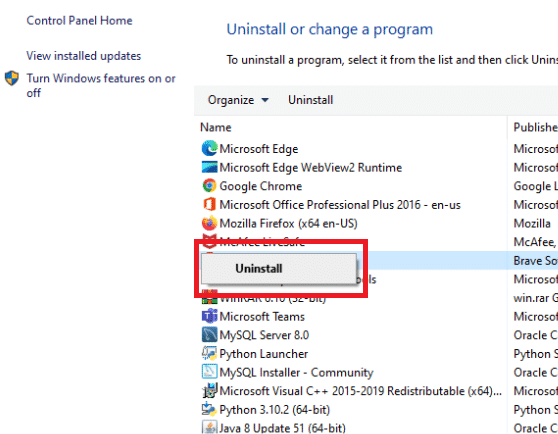
3. Right-click on the MotionInJoy you believe is incompatible and choose Uninstall.
4. Follow the on-screen instructions to complete the uninstallation process and reboot the PC.
Also Read: How to Fix iCUE Not Detecting Devices
Method 5: Uninstall Device Drivers
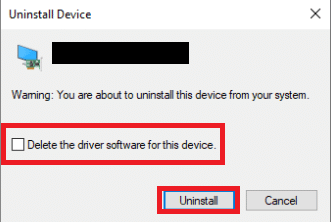
Otherwise, you should erase the conflicting program driver files. You can follow the steps for the conflicting app, but we’ll lead you through uninstalling the MotionInJoy application drivers. Follow our guide to uninstall device drivers on Windows 10.
Also, follow the steps listed below to remove registry keys.
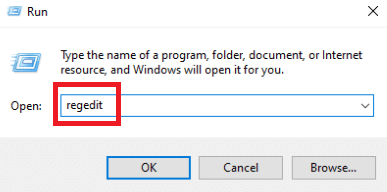
1. Press Windows + R keys together to open the Run dialog box.
2. Type regedit and press Enter key to launch Registry Editor.
3. Click on Yes in the User Account Control prompt.
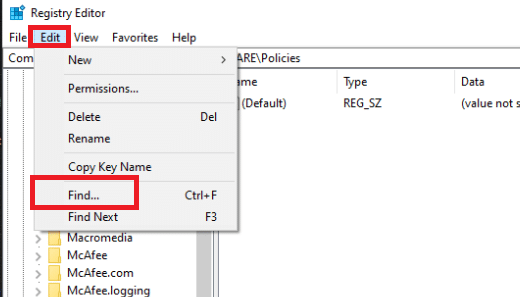
4. Click on the Edit menu in the registry editor, then Find.
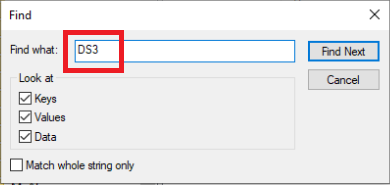
5. Type DS3 into the registry editor search box and hit Enter key.
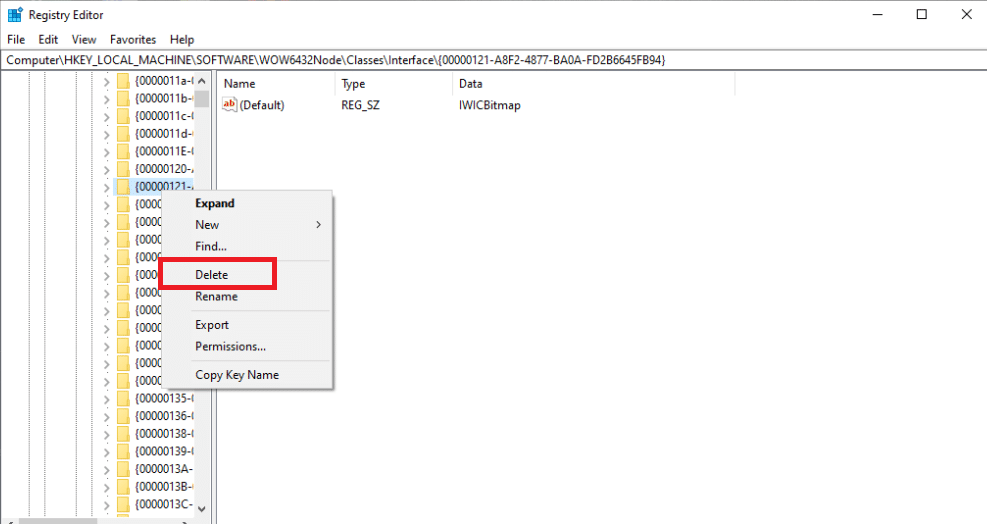
6. Now, right-click on the DS3 files one by one and select Delete.
7. Remove the Logitech dongle and restart the PC.
8. After the system has been rebooted, plug in the Logitech dongle.
Method 6: Use SetPoint
Another alternative that works for some people is to utilize the Logitech SetPoint program. You should also try this option because the Logitech SetPoint software often works better with older keyboards. SetPoint is a program that lets users configure mouse buttons and keyboard keys and adjust other device settings. Installing SetPoint, they claim, immediately recognized the peripherals attached.
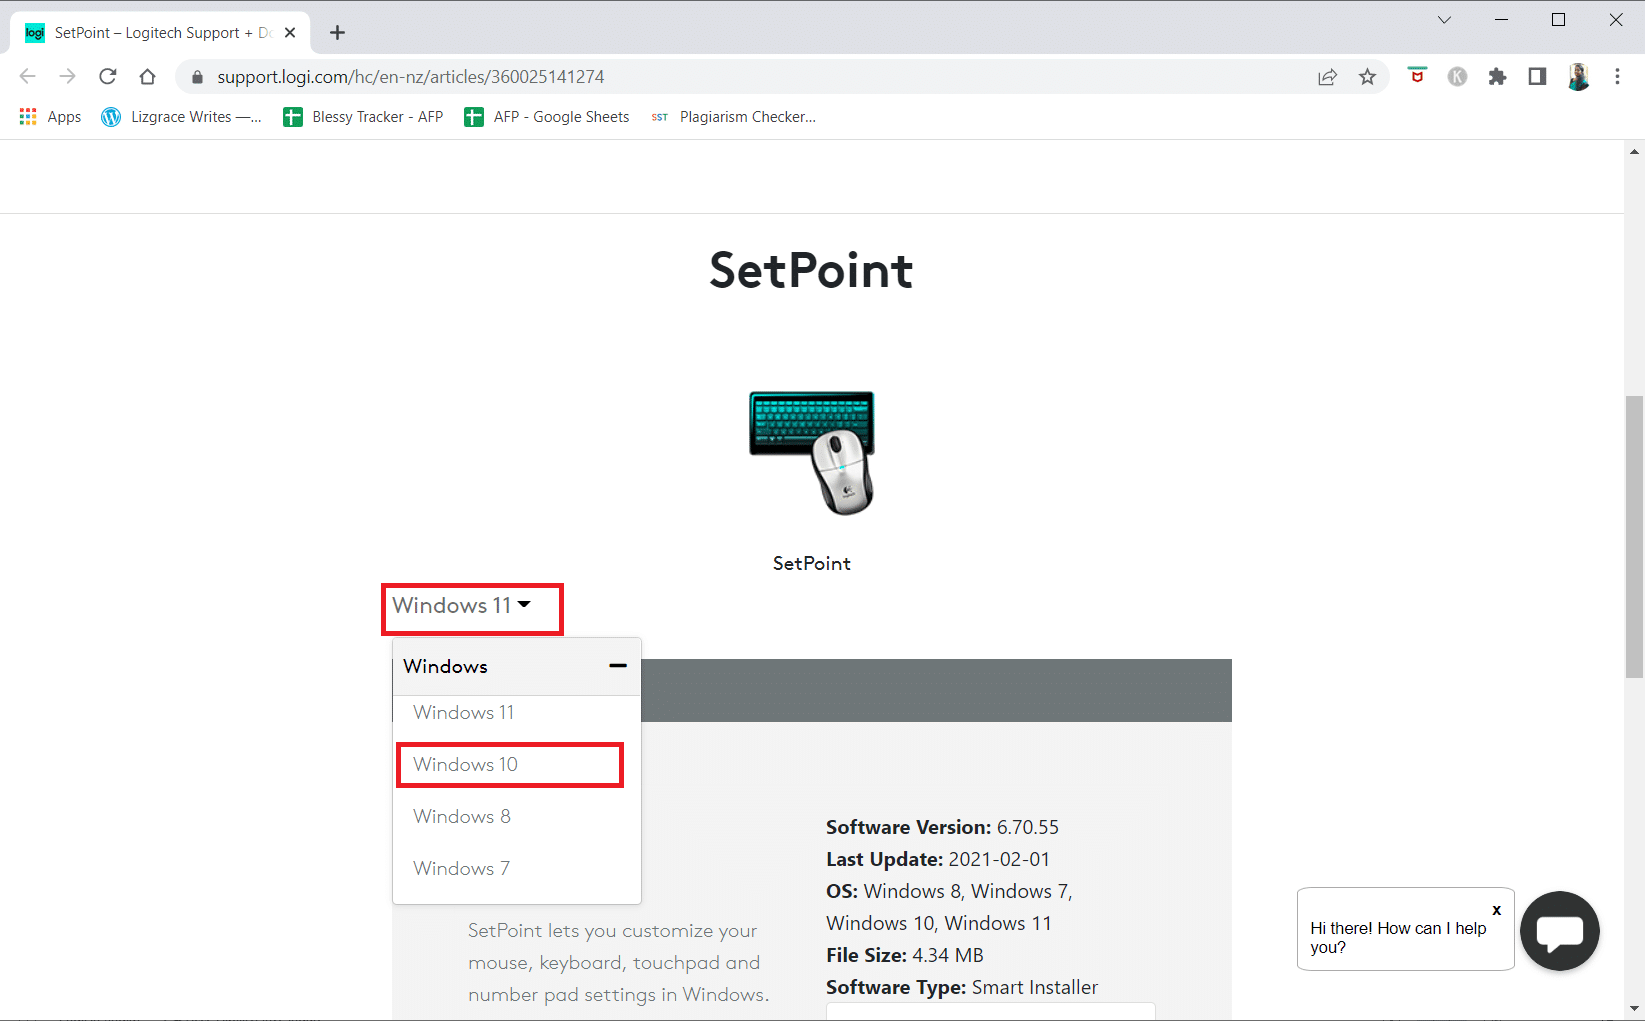
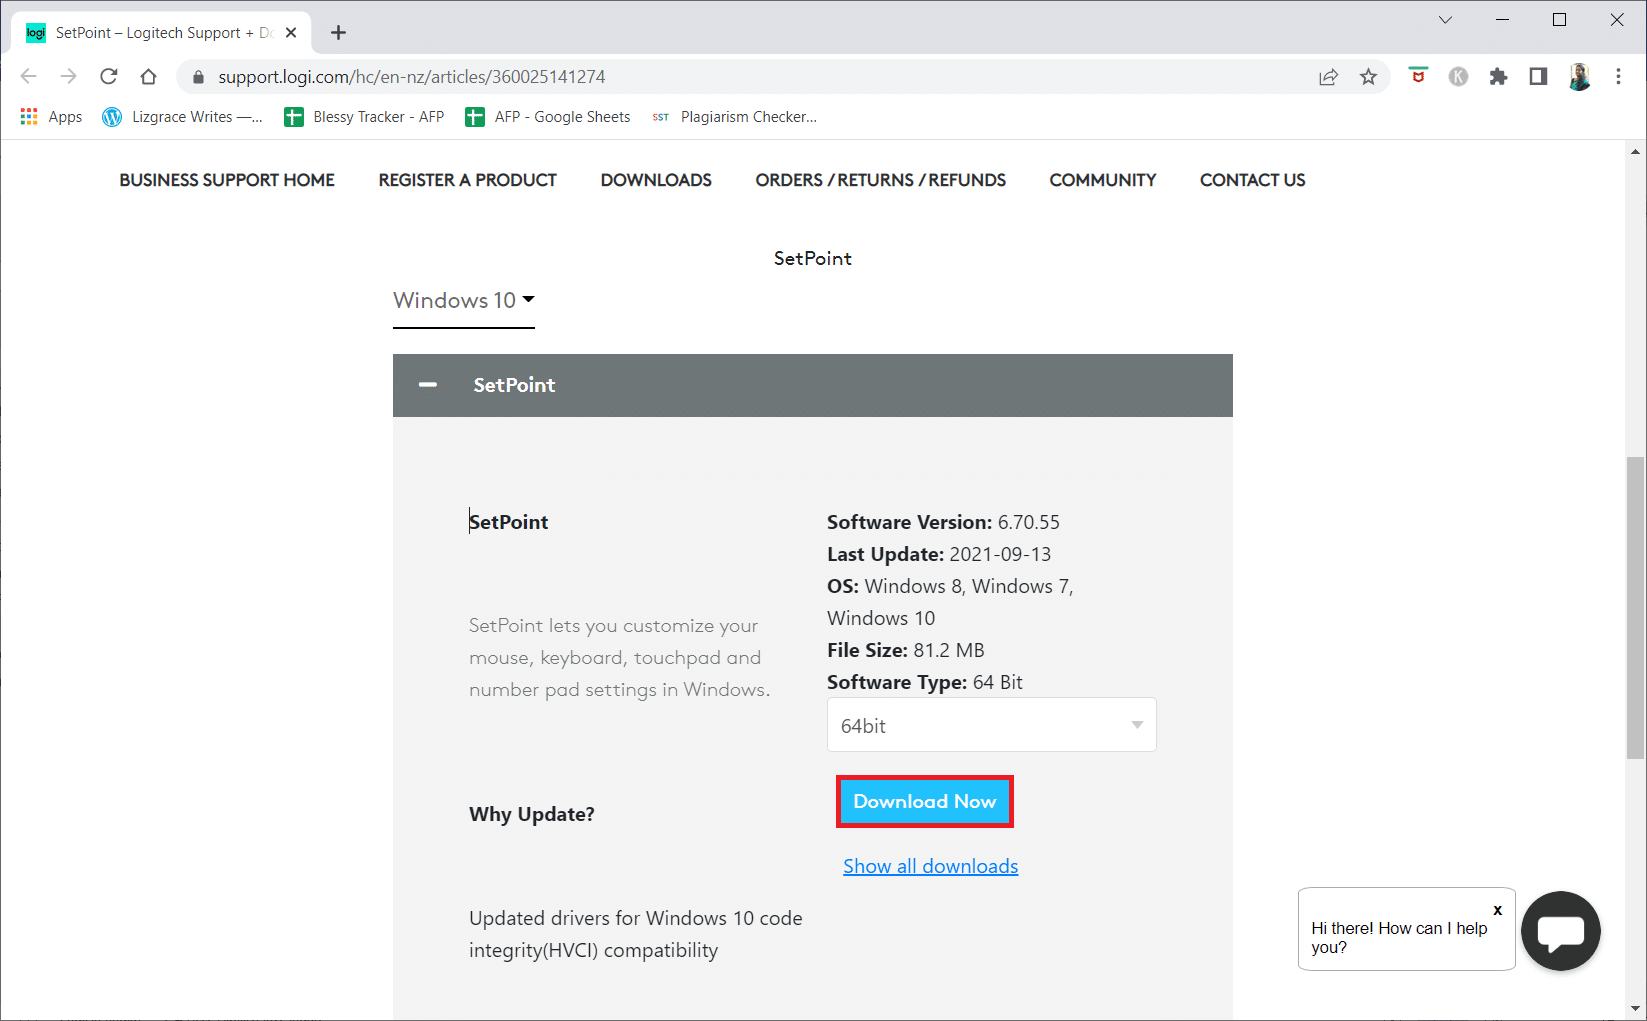
1. Visit the Logitech SetPoint official website.
2. Choose Windows 10 in the drop-down list.
3. Click on the Download Now button.
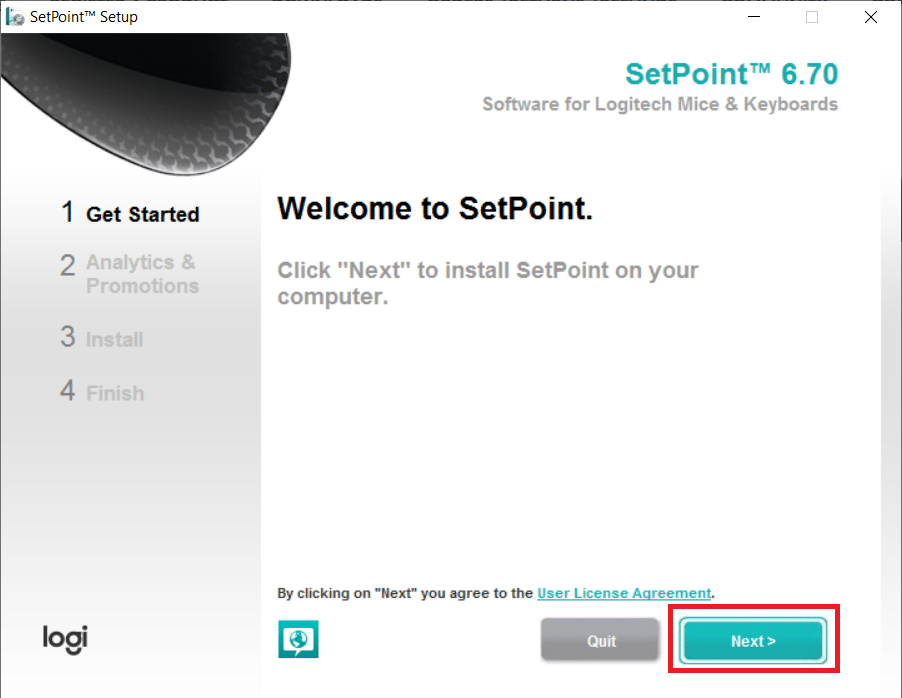
4. Click on the downloaded executable file to install and run the application.

5. Click on Yes in the User Account Control prompt.
6. Click on Next in the setup window.
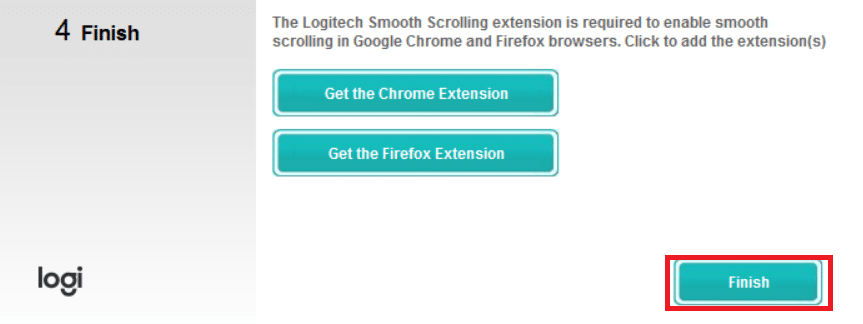
7. Click on the Yes, sure! button.

8. Click on Finish.
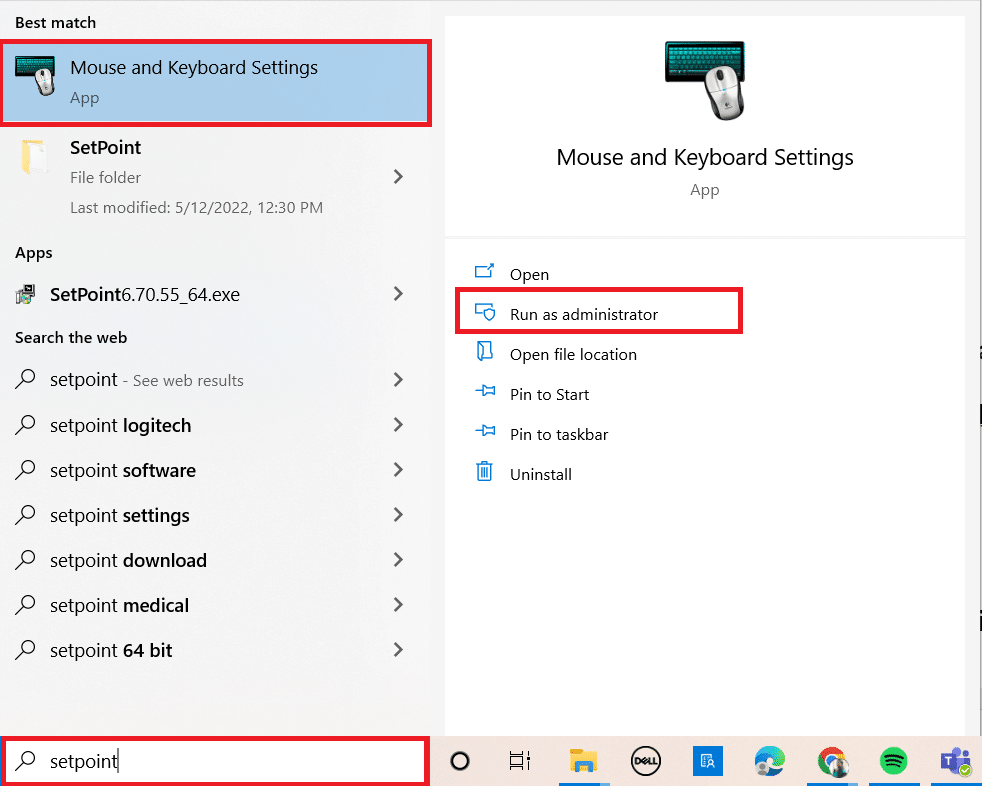
9. Then, restart your PC after installation.
10. Press the Windows key, type SetPoint and click on Run as administrator.
Also Read: Fix Logitech Download Assistant Startup Issue
Method 7: Uninstall Recent Updates
If all other remedies for your Logitech Unifying Receiver have been explored, we can remove the faulty Windows Update. After installing a Windows Update on their PC, many people stated that their gadget became inoperable.
1. Press Windows + R keys simultaneously to launch the Run dialog box.
2. Enter appwiz.cpl and press Enter to open Programs and Features.

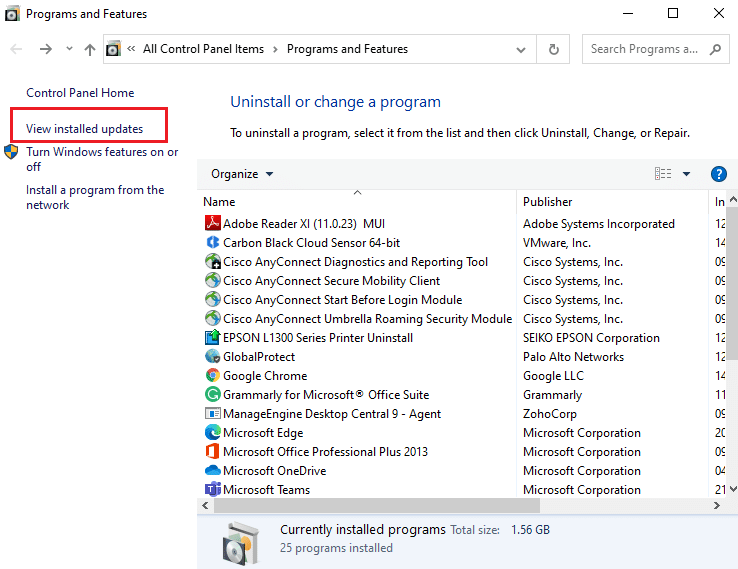
3. Click on View installed updates.
4. Select the most recent update and click on Uninstall option.
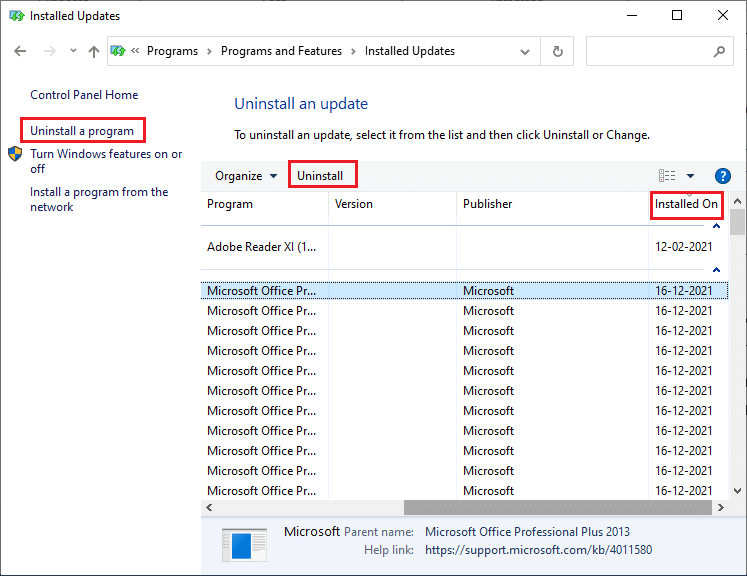
5. Confirm the prompt, if any, and reboot your PC.
Method 8: Disable Power Saving for USB
It’s probable that you’re suffering from a Windows Power Saving function if your device is running but stops working in the middle of anything when using your mouse. It effectively disables the driver to extend the life of your battery. This approach may disable the Power Saving option for your USB drivers. To do so, follow these steps:
1. Launch Device Manager from Windows Search.
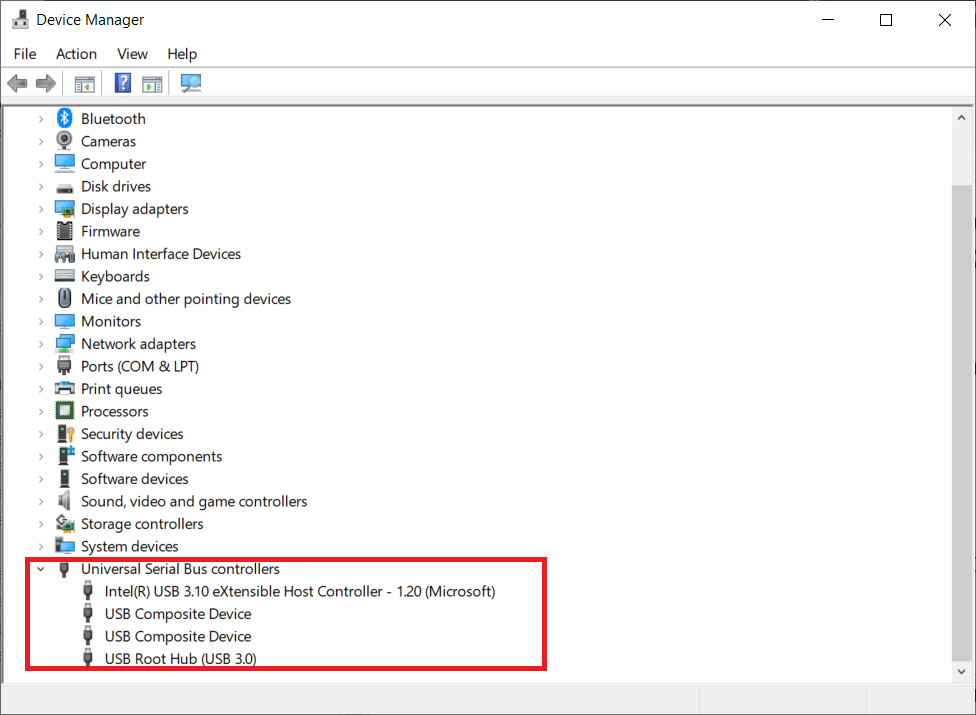
2. Double-click on Universal Serial Bus controllers to expand the drivers.
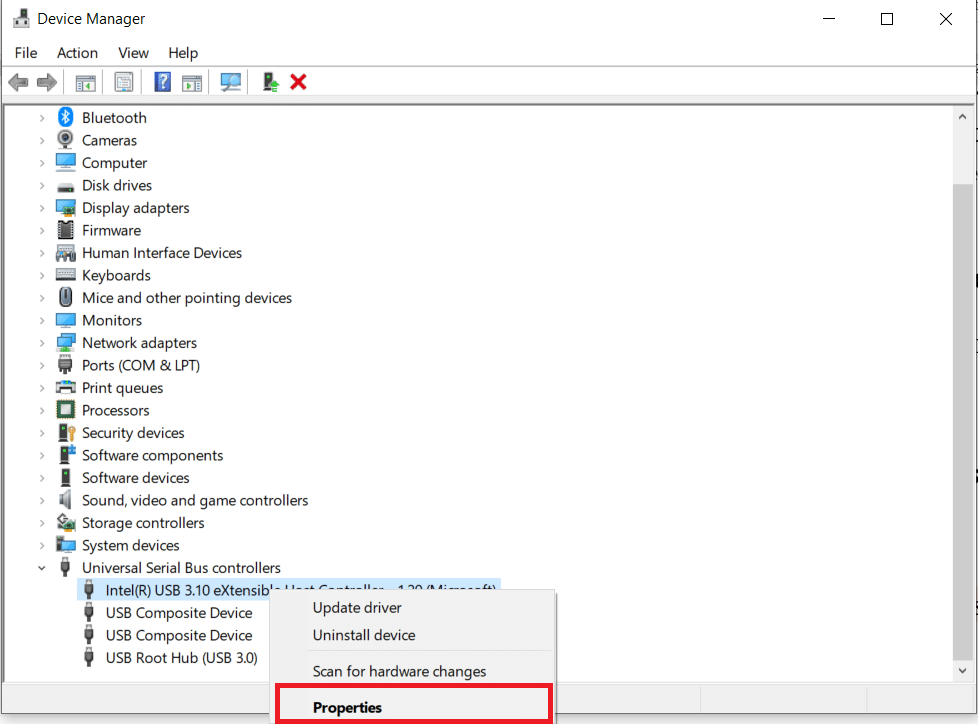
3. Right-click on the Logitech USB driver and select Properties.
4. Now, go to the Power Management page and uncheck all the options.
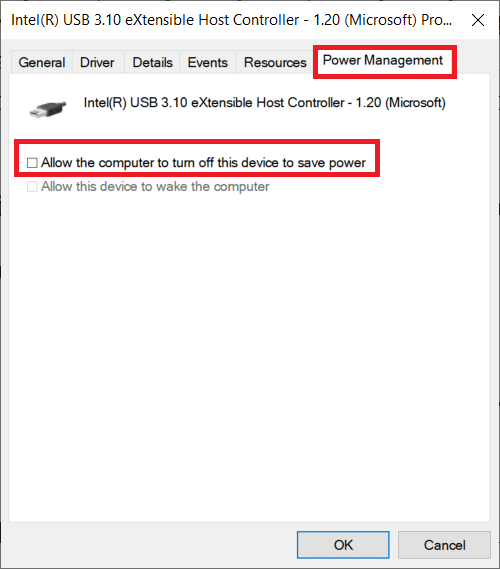
5. Click on OK and restart your PC.
Also Read: Fix Logitech Mouse Double Click Problem
Method 9: Power Cycle PC
If none of the previous ways works, you should attempt properly power cycling your computer. Power cycling is the process of totally exhausting your computer power to reset all temporary settings. If your computer is in error, this will fix the problem.
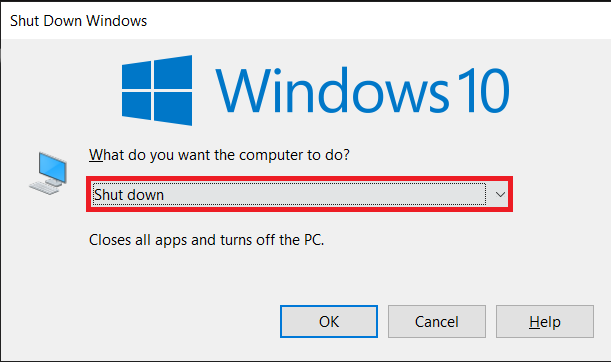
1. Press the Alt + F4 key simultaneously.
2. Select the Shut down option and press the Enter key.
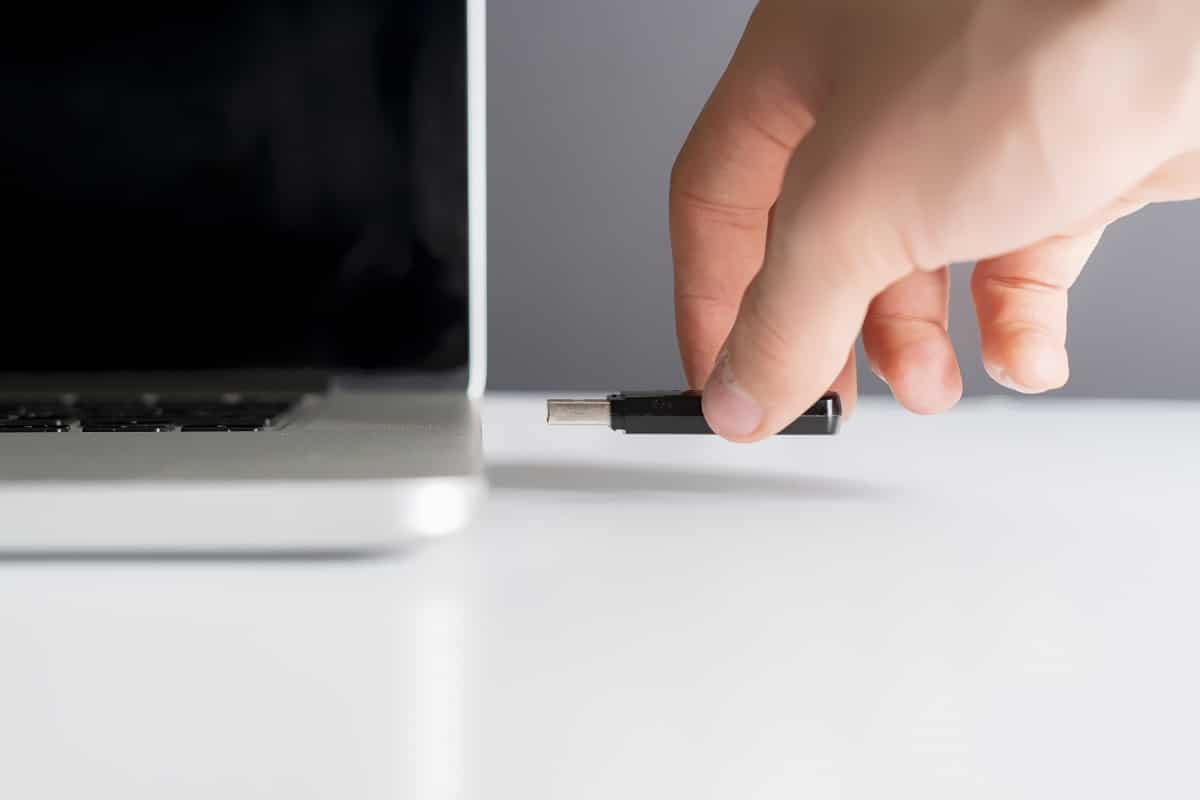
3. Now, disconnect all of your system peripherals. This also applies to USB hubs.
4. Remove the computer power cable and hold the power button for at least 30 seconds.
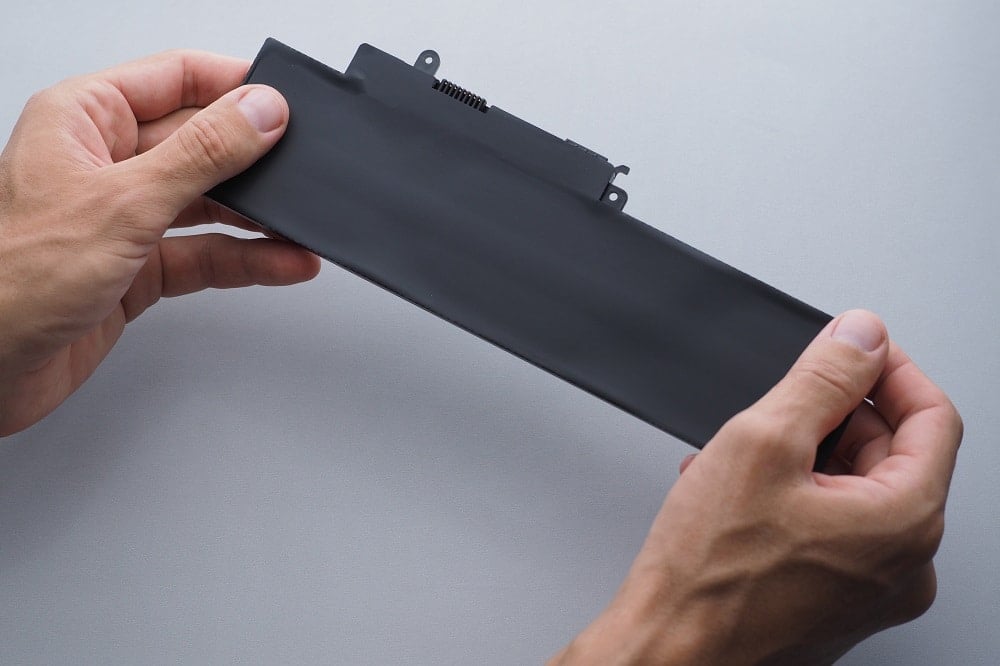
5. Unmount the battery for 30 seconds if you are using a laptop.
6. After that, wait 5–10 minutes before reconnecting anything.
Recommended:
We hope you found this information useful and that you were able to resolve Logitech unifying receiver not working on Windows 10. Please let us know which technique was the most beneficial for you. Please use the form below if you have any queries or comments. Also, let us know what you want to learn next.