Fix IPv6 Connectivity No Internet Access on Windows 10

If you’re facing “IPv6 Connectivity: No Internet access” issue on your PC then don’t worry as today we are going to see how to fix this issue. If you will open Network and sharing center, or press Windows Key + R then type ncpa.cpl and hit Enter, then right-click on your network connection and select Status, you will see under IPv6 Connectivity that there is No Internet Access.
If under IPv6 Connectivity it says “No network access” then it means that the DHCP server was not detected and no link-local address was assigned, which is not a problem and there is nothing to worry about. But if it says “No internet access” then it means that a DHCP server was detected, but no link-local address is assigned which means there is something wrong with your IPv6 configuration. I hope now it’s clear that “No network access” and “No internet access” are two entirely different topics.
What is IPv6?
Internet Protocol Version 6 (IPv6) handles all the communications protocol, enabling data communications over a packet-switched network. IPv6 was developed by the Internet Engineering Task Force (IETF) to overcome the problems of IPv4 address exhaustion. IPv6 is the successor to Internet Protocol Version 4 (IPv4), and in future, IPv6 is intended to replace IPv4.
What is the main cause of IPv6 No Internet Access on Windows 10?
IPv6 is not capable of many devices, and fewer ISP allows it, and it is not enabled by default. But there can be other reasons such as corrupted, outdated, or incompatible network drivers, corrupted IP configuration, and Firewall might be blocking the connection, virus or malware infection etc.
So as you can see, there can be various reasons as to why you are facing the “IPv6 Connectivity: No Internet access” issue as different users have different configuration and system environment, so if something works for one user not necessarily means it will work for you and therefore, you need to try as many methods as possible. Now without wasting any time let’s see How to Fix IPv6 Connectivity No Internet Access on Windows 10 with the help of the below-listed troubleshooting guide.
Fix IPv6 Connectivity No Internet Access on Windows 10
Make sure to create a restore point just in case something goes wrong.
Method 1: Reset IPv6 and Winsock
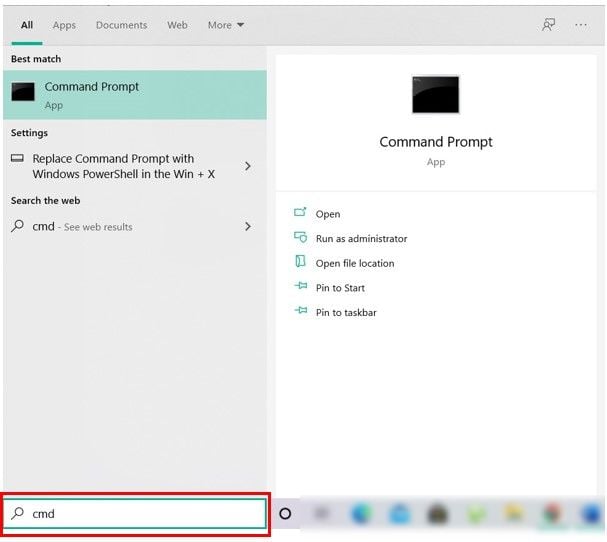
1. Open Command Prompt. The user can perform this step by searching for ‘cmd’ and then press Enter.
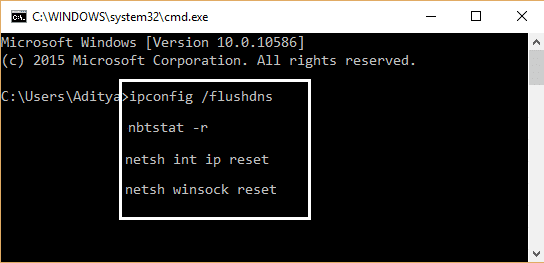
2. Type the following command into cmd one by one and hit Enter after each one:
- ipconfig /flushdns
- nbtstat –r
- netsh int ip reset
- netsh winsock reset
- netsh winsock reset catalog
- netsh int ipv6 reset reset.log
3. Reboot to apply changes. Netsh Winsock Reset command seems to Fix IPv6 Connectivity No Internet Access on Windows 10.
Method 2: Update your network drivers
First, go to your manufacturer’s website either your laptop manufacturer (ex: Dell, Acer, etc.) or your network adapter manufacturer (ex: Intel, Qualcomm etc.) then download the latest driver from the driver’s downloads section.
Note: You will need another PC to download the drivers and then install the downloaded drivers on the PC on which you’re facing the issue “IPv6 Connectivity: No Internet Access”.
Try to Manually Update Network Drivers:
Note: Try to connect to the Internet using another Wifi or mobile hotspot.
1. Press Windows Key + R then type devmgmt.msc and hit Enter.

2. Right-click on the wireless adapter under Network Adapters and select Update Driver.

3. Select “Browse my computer for driver software.”

4. Again click on “Let me pick from a list of available drivers on my computer.”

5. Select the latest available driver from the list and click Next.
6. Reboot your PC to save changes and see if you’re able to Fix IPv6 Connectivity No Internet Access on Windows 10.
Method 3: Reset Network Components
1. Open Command Prompt. The user can perform this step by searching for ‘cmd’ and then press Enter.
2. Type the following command into cmd one by one and hit Enter after each one:
ipconfig /flushdns
ipconfig /registerdns
ipconfig /release
ipconfig /renew
netsh winsock reset catalog
netsh int ipv4 reset reset.log
netsh int ipv6 reset reset.log
pause
shutdown /r
3. If you get access denied error, then press Windows Key + R then type regedit and hit Enter.

4. Navigate to the following registry entry:
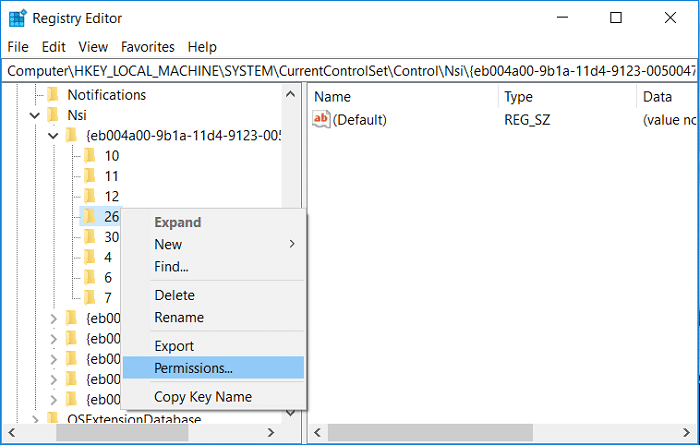
HKEY_LOCAL_MACHINESYSTEMCurrentControlSetControlNsi{eb004a00-9b1a-11d4-9123-0050047759bc}26
5. Right-click on 26 and select Permissions.
6. Click Add then types EVERYONE and click OK. If EVERYONE is already there then just checkmark Full Control (Allow).
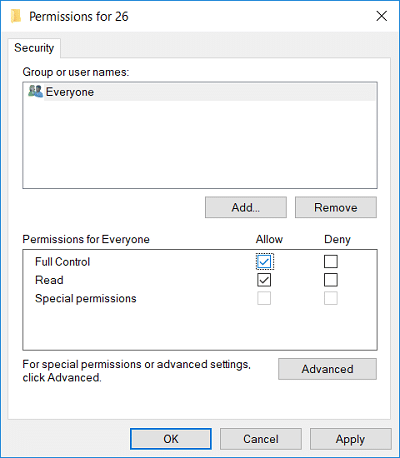
7. Next, click Apply, followed by OK.
8. Again run the above commands in CMD and reboot your PC to save changes.
Method 4: Disable IP Helper service
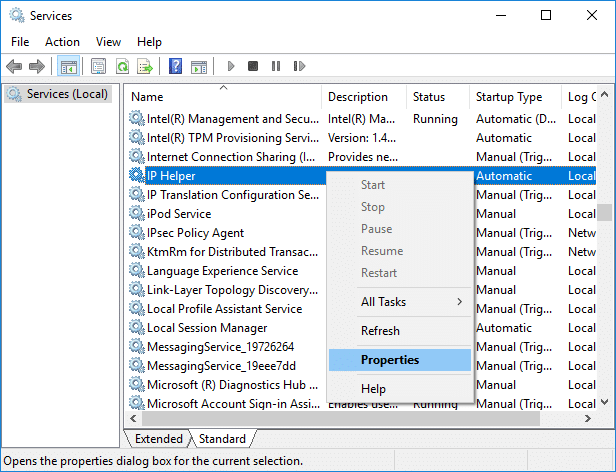
1. Press Windows Key + R then type services.msc and hit Enter.

2. Scroll down then find IP Helper service, then right-click on it and select Properties.
3. If the service is already running, click Stop then from the Startup type drop-down select Disabled.
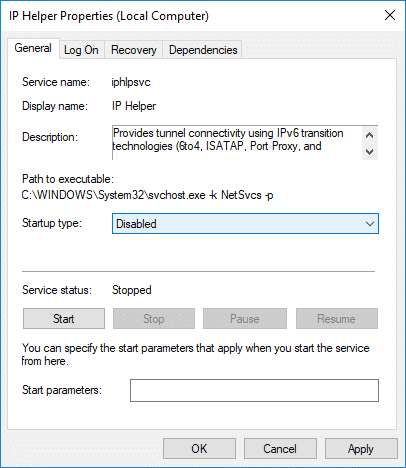
4. Click Apply, followed by OK.
5. Reboot your PC to save changes.
Method 5: Disable IPv6
1. Press Windows Key + R then type the following command and hit Enter:
control.exe /name Microsoft.NetworkAndSharingCenter
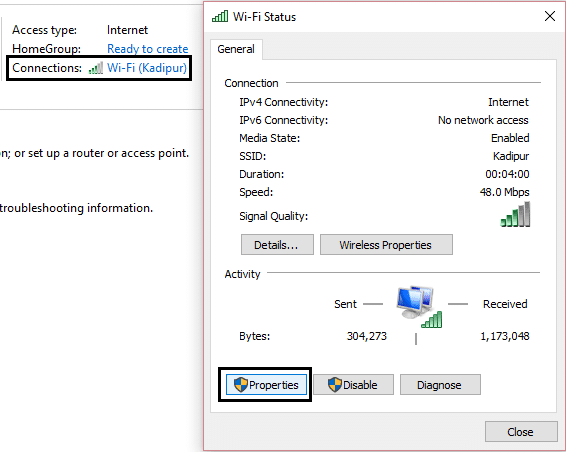
2. Now click on your current connection to open settings.
Note: If you can’t connect to your network, use Ethernet cable to connect and then follow it.
3. Click on the Properties button in the Wi-Fi Status window.
4. Make sure to uncheck Internet Protocol Version 6 (TCP/IPv6).
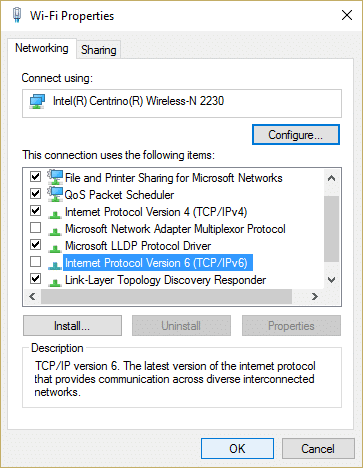
5. Click OK, then click Close. Reboot your PC to save changes.
Method 6: Temporarily Disable Antivirus and Firewall
Sometimes the Antivirus program can cause an error and verify this is not the case here. You need to disable your antivirus for a limited time so that you can check if the error still appears when the antivirus is off.
1. Right-click on the Antivirus Program icon from the system tray and select Disable.

2. Next, select the time frame for which the Antivirus will remain disabled.

Note: Choose the smallest amount of time possible, for example, 15 minutes or 30 minutes.
3. Once done, again try to connect to open Google Chrome and check if the error resolves or not.
4. Search for the control panel from the Start Menu search bar and click on it to open the Control Panel.

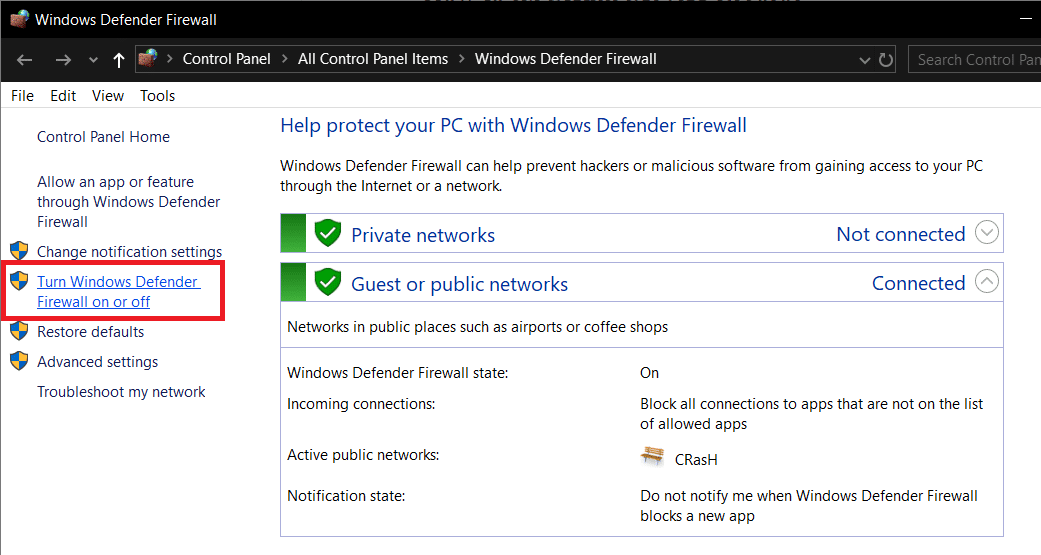
5. Next, click on System and Security then click on Windows Firewall.

6. Now from the left window pane click on Turn Windows Firewall on or off.
7. Select Turn off Windows Firewall and restart your PC.
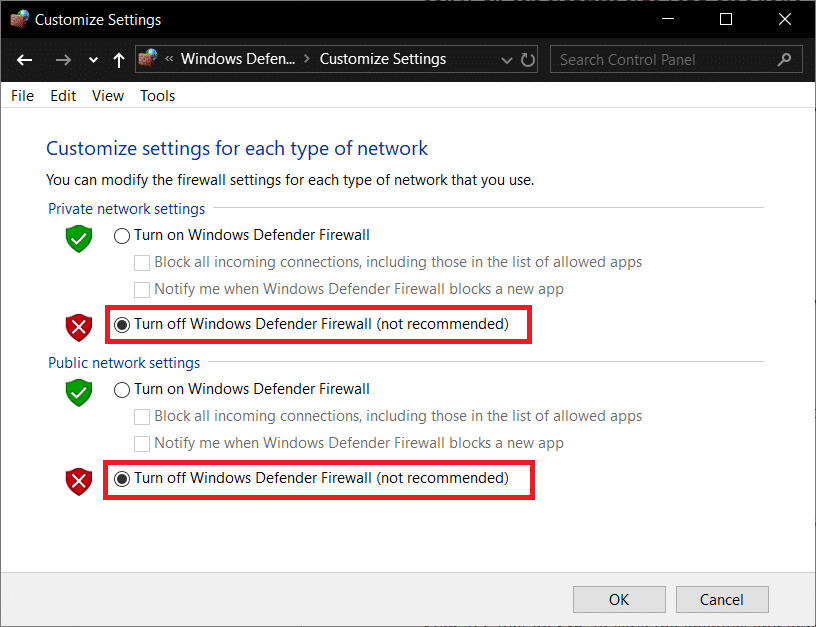
Again try to open Google Chrome and visit the web page, which was earlier showing the error. If the above method doesn’t work, please follow the same steps to turn on your Firewall again.
Method 7: Reinstall TCP/IP
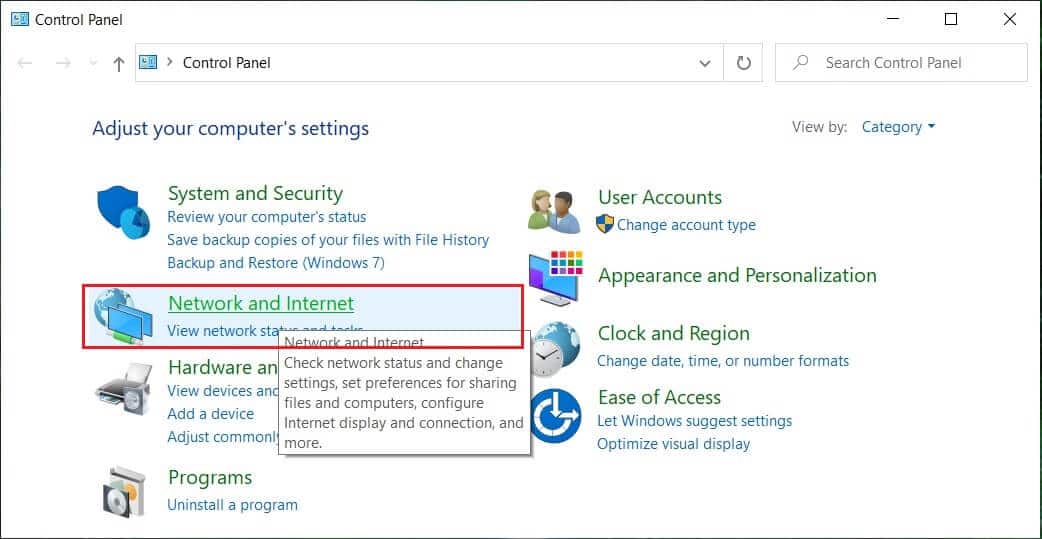
1. Search for the control panel from the Start Menu search bar and click on it to open the Control Panel.
2. From Control Panel, click on Network and Internet.
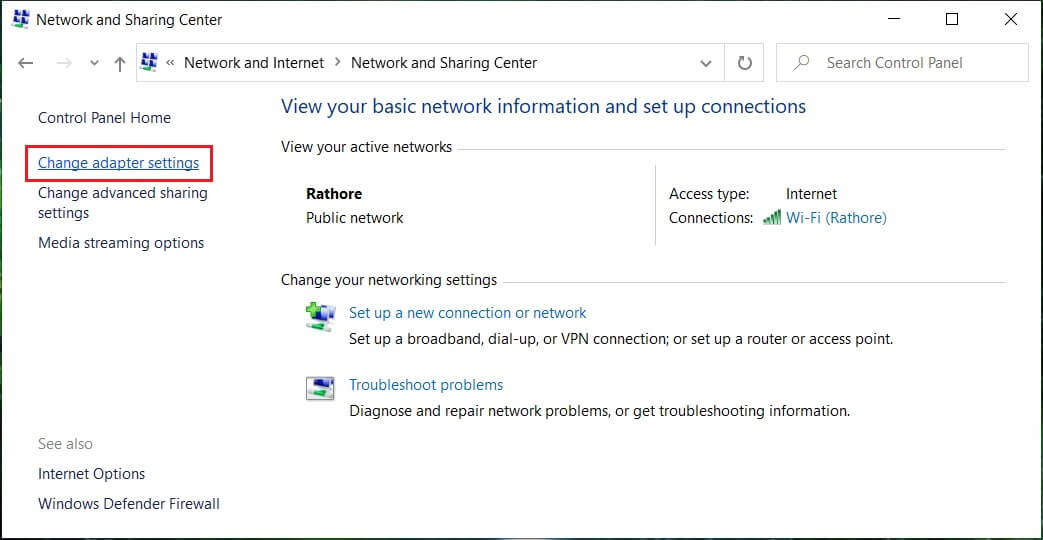
3. Then click Network and Sharing Center and from the right-hand menu, click on Change adapter settings.
4. Right-click on your WiFi or Ethernet connection which is showing the error and select Properties.
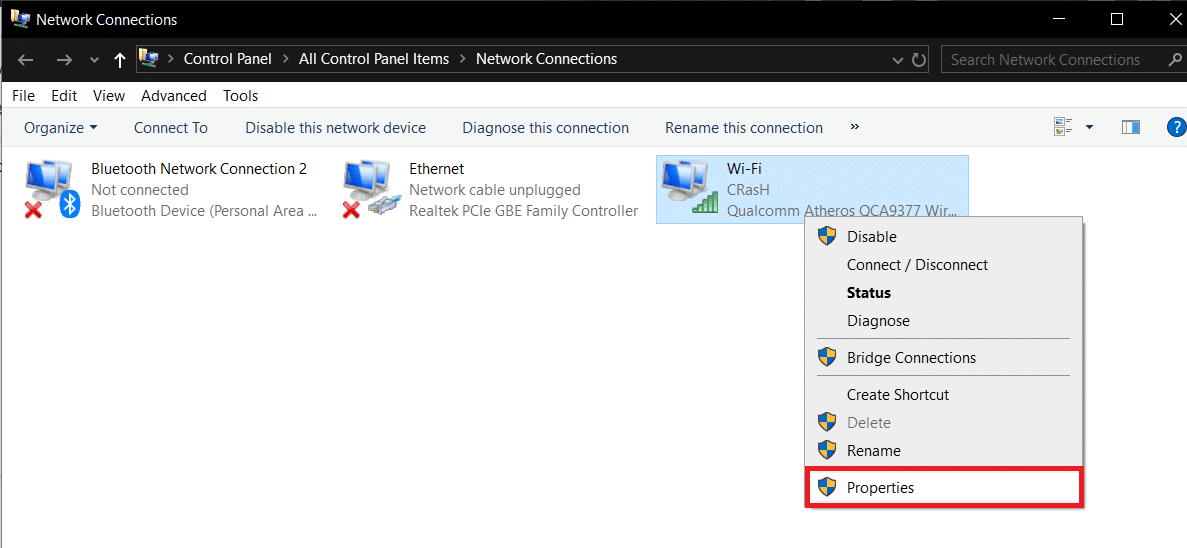
5. Select items one by one under “This connection uses the following items:” and click Install.
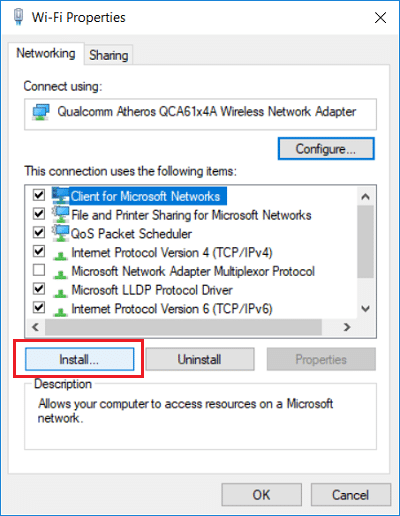
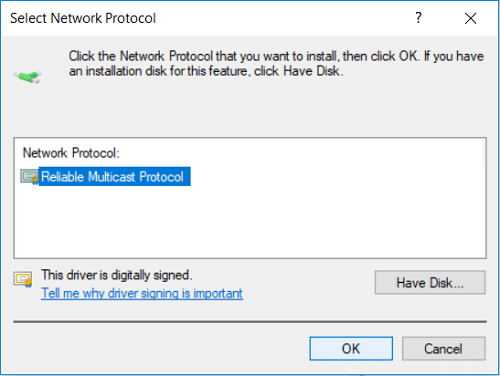
6. Then on the “Select Network Feature Type” window select Protocol and click Add.

7. Select “Reliable Multicast Protocol” and click OK.
8. Make sure to follow this for every listed item and then close everything.
9. Reboot your PC to save changes and see if you’re able to Fix IPv6 Connectivity No Internet Access on Windows 10.
Method 8: Restart Your Network Adapter
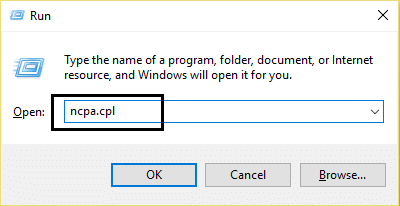
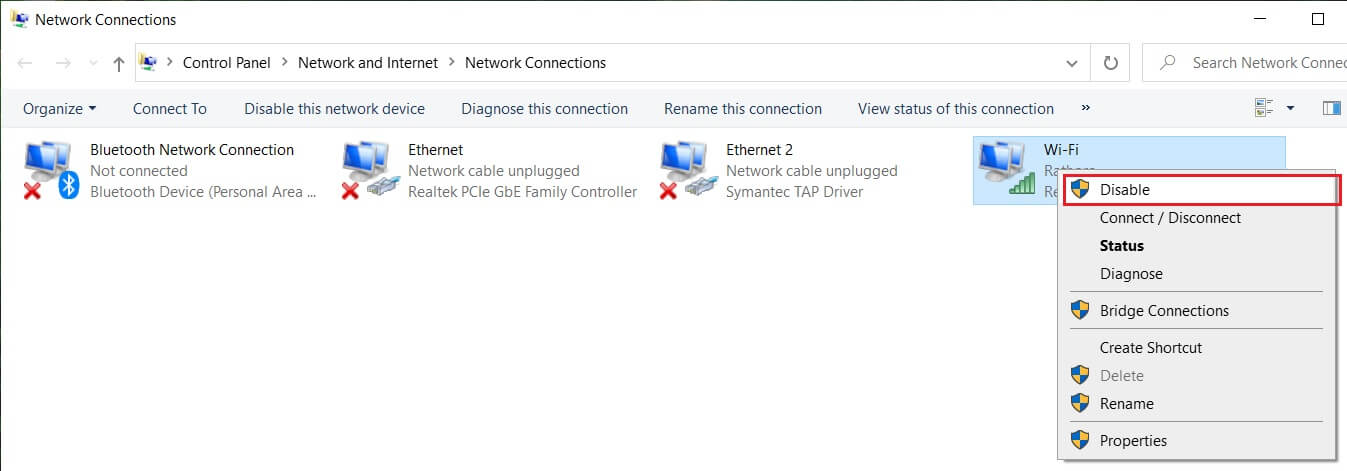
1. Press Windows Key + R then type ncpa.cpl and hit Enter.
2. Right-click on your wireless adapter and select Disable.
3. Again right-click on the same adapter and this time choose Enable.
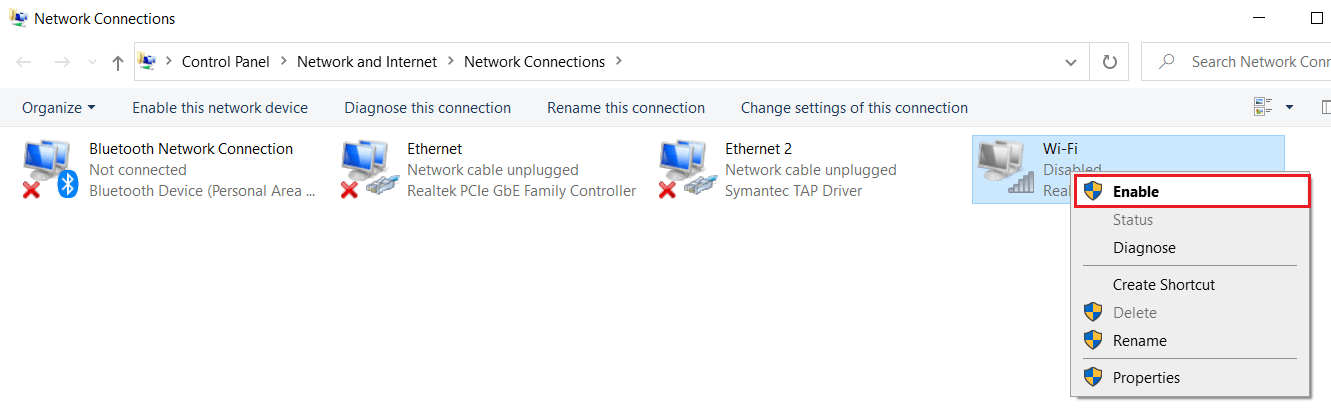
4. Restart your and again try to connect to your wireless network.
Method 9: Run Windows 10 Network Troubleshooter
1. Press Windows Key + I to open Settings then click on Update & Security.
![]()
2. From the left-hand menu, select Troubleshoot.
3. Under Troubleshoot, click on Internet Connections and then click Run the troubleshooter.

4. Follow further on-screen instructions to run the troubleshooter.
5. Reboot your PC to save changes.
Recommended:
That’s it you have successfully Fix IPv6 Connectivity No Internet Access on Windows 10 but if you still have any queries regarding this post then feel free to ask them in the comment’s section.