GUIDE: Take Scrolling Screenshots In Windows 10

Are you looking for a way to take scrolling screenshots in Windows 10? or you want to capture a screenshot of scrolling window? Don’t worry, today we will see various way to take scrolling screenshots. But before moving forward let’s just understand what is a screenshot first? A screenshot is the one answer to many problems. With screenshots, you can keep a record of your screen, save your memories, explain some process easily that you can’t otherwise put in words. A screenshot, basically, is the digital image of whatever is visible on your screen. Additionally, a scrolling screenshot is an extended screenshot of a longer page or content that cannot fit into your device’s screen entirely and needs to be scrolled. A major advantage that scrolling screenshots give is that you can fit all your page information in a single image and do not have to take multiple screenshots that would, else, need to be maintained in order.
Some Android devices do provide the feature of scrolling screenshots scrolling down the page once you have captured a part of it. On your Windows computer too, taking scrolling screenshot will be fairly easy. The only thing you require is to download a software on your computer because the Windows built-in ‘Snipping Tool’ only lets you capture a regular screenshot and not the scrolling screenshot. There are many Windows software that let you capture scrolling screenshots and not just that, they let you do some more additional editing of your captures. Some of these cool software has been mentioned below.
How to Take Scrolling Screenshots in Windows 10
Note: Make sure to create a restore point just in case something goes wrong.
Method 1: Use PicPick to take Scrolling Screenshots in Windows 10
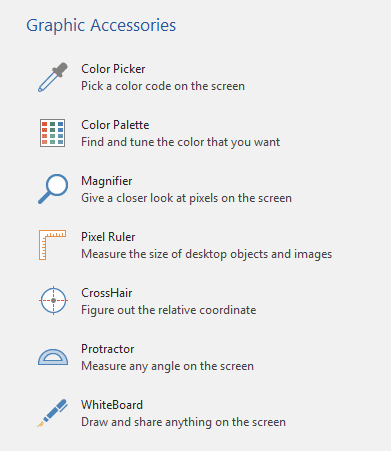
PicPick is a great software for capturing screenshots, which gives you a lot of options and modes for screen capturing including scrolling screenshot.

It also offers many other features like cropping, resizing, magnifier, ruler, etc.
If you use Windows 10, 8.1 0r 7, this tool will be available to you. To take scrolling screenshots with PicPick,
1.Download and install PicPick from their official site.
2.Open the window that you want a screenshot of then launch PicPick.
3.While the window is on the background, click on the type of screenshot you want to take. Let us try scrolling screenshot.
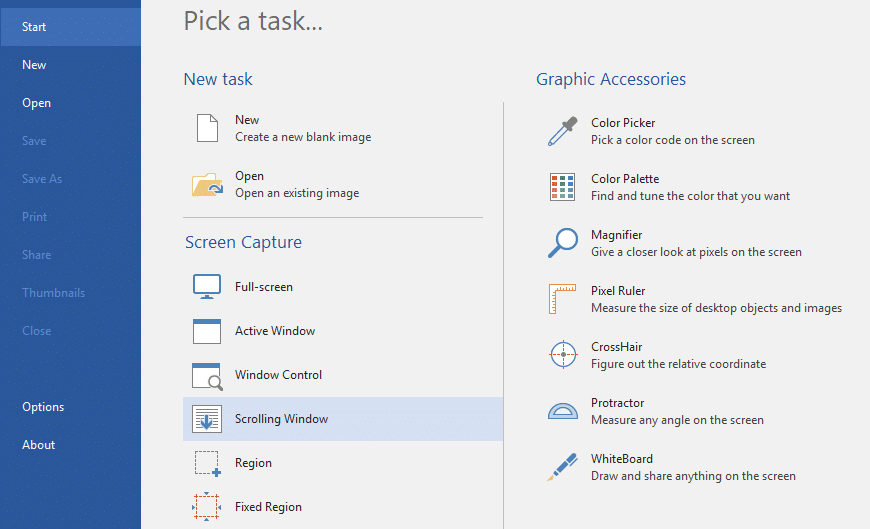
4.You will see PicPick – Capture scrolling window. Choose if you want to capture full screen, a particular region or a scrolling window and click on it.
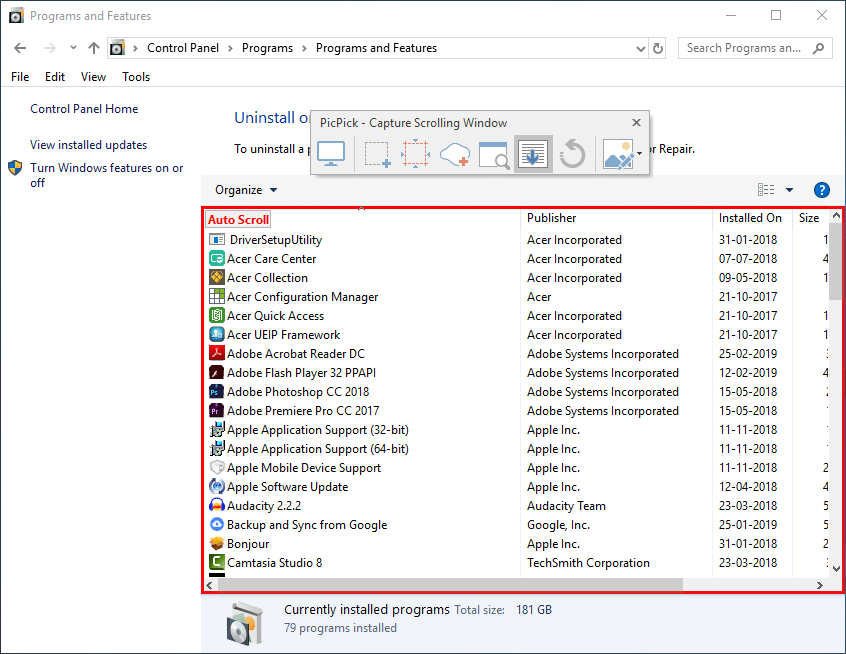
5.Once you select the desired option, you can move your mouse over the different parts of the window to decide which part you want to capture the screenshot of. The different parts will be highlighted with a red border for your ease.
6.Move your mouse to the desired part and to let PicPick auto-scroll and capture a screenshot for you.
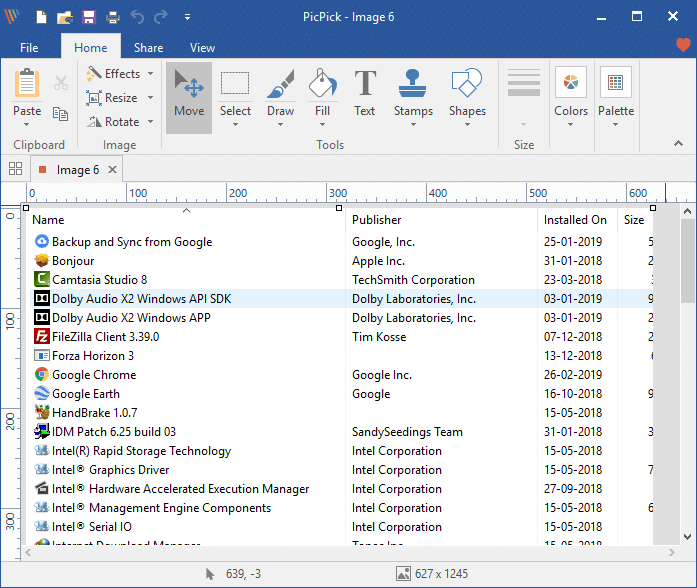
7.Your screenshot will be opened in PicPick editor.
8.Once you are done with the editing, click on File on the top left corner of the window and select ‘Save As’.
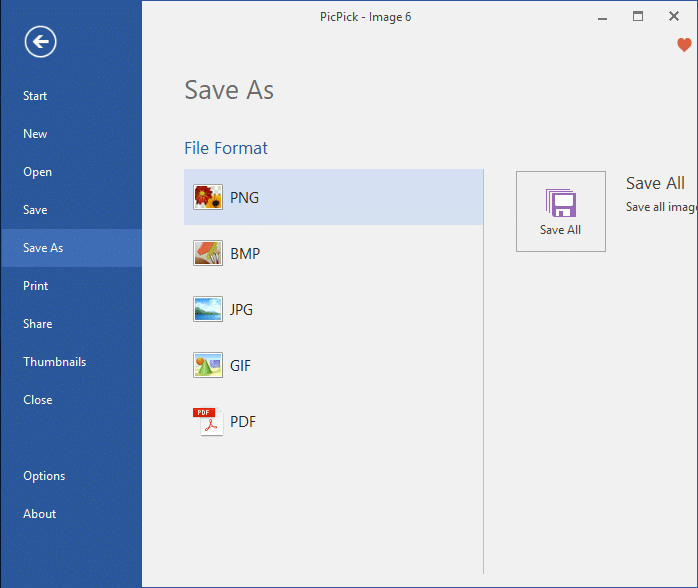
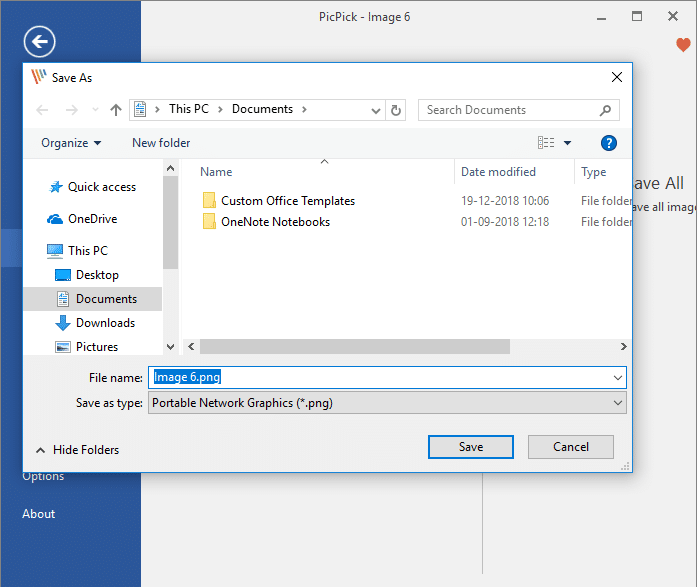
9.Browse to the desired location and click on Save. Your screenshot will be saved.
10.Note that PicPick will start capturing the scrolling screenshot of the page from the point which is visible on your screen. So, if you require to capture a screenshot of an entire webpage, you will have to scroll to the top of the page manually first and then start your screen capture.
Method 2: Use SNAGIT to take Scrolling Screenshots in Windows 10
Unlike, PicPick, Snagit is free only for 15 days. Snagit has stronger features and a more easy-to-use interface at your service. To capture high-quality screenshots with additional editing you should definitely check out Snagit.
1.Download and install TechSmith Snagit.
2.Open the window that you want a screenshot of and launch Snagit.
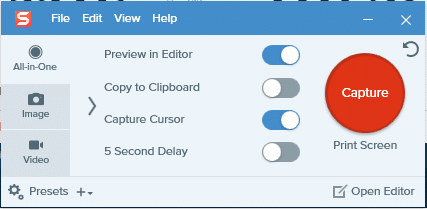
3.With the window open on the background, toggle the four switches given according to your need and then click on ‘Capture’.
4.For a regular screenshot, click on the area you want to start capturing the screenshot from and drag in the relevant direction. You can resize your capture still and once you are satisfied, click on ‘capture image’. The captured screenshot will open in the Snagit editor.
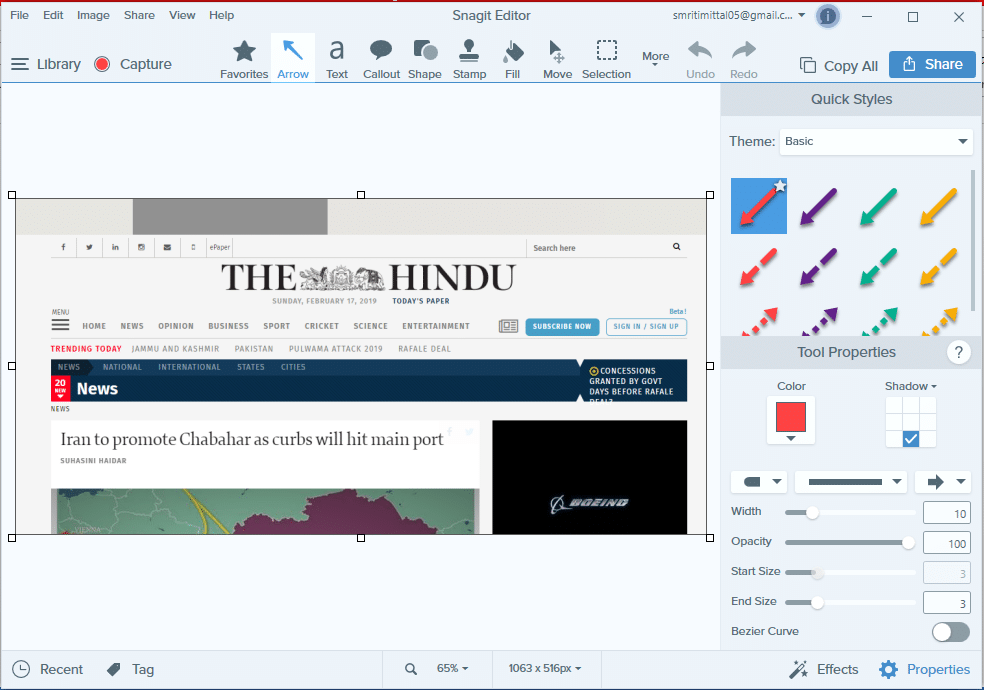
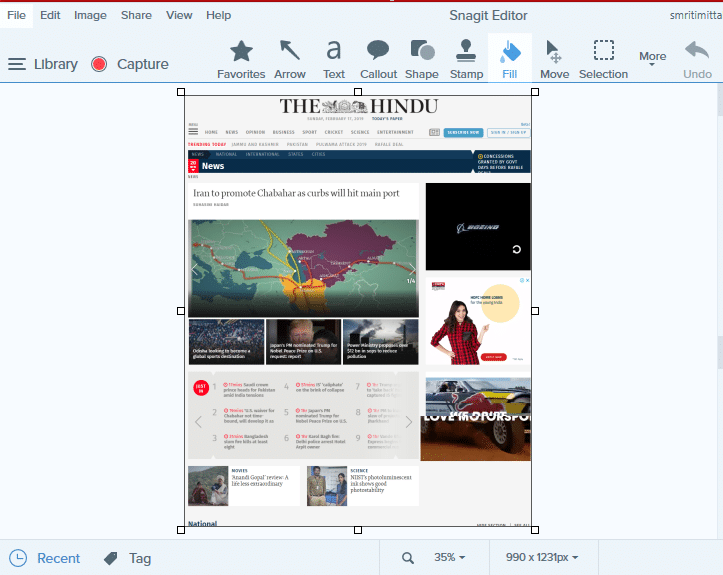
5.For a scrolling screenshot, click on one of the three yellow arrows to capture horizontal scrolling area, vertical scrolling area or entire scrolling area. Snagit will start scrolling and capturing your webpage. The captured screenshot will open in the Snagit editor.
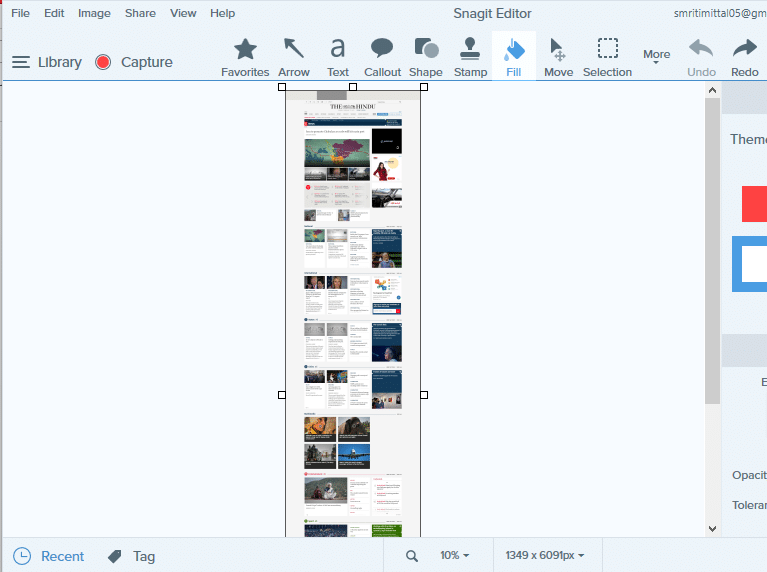
6.You can add text, callouts, and shapes or fill color in your screenshot, among many other awesome features.
7.Once you are done with the editing, click on File on the top left corner of the window and select ‘Save As’.
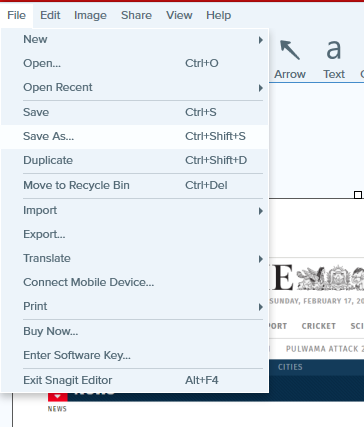
8.Browse to the desired location and add a name then click on Save.
9.Another advanced screenshot mode from Snagit is panoramic mode. Panoramic capture is similar to scrolling capture, but instead of capturing an entire web page or scrolling window, you control exactly how much to capture.
10.For, panoramic capture, click on Capture and select a part of the area you want a screenshot of (the way you would do it for a regular screenshot). Resize if you want and click on launch a panoramic capture.
11.Click on Start and start scrolling the page as you want. Click on Stop when you have covered the required area.
12.Apart from screenshots, you can also do a screen recording with Snagit. The option is provided the left side of the Snagit window.
Also read: Top 25 Best Free Snagit Alternatives
Method 3: Full Page Screen Capture
While the above software let you take screenshots of any type of page, window or content, Full Page Screen Capture lets you capture scrolling screenshots of webpages only. It is Chrome extension and will work for webpages opened on Chrome, so you can skip downloading a huge software for your task.
1.From the Chrome Web Store, install Full Page Screen Capture.
2.It will now be available at the top right corner of the browser.
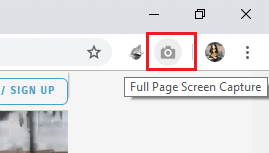
3.Click on it and it will start scrolling and capturing the webpage.
![]()
4.Note that the screenshot will be automatically taken from the beginning of the page no matter where you had left it.
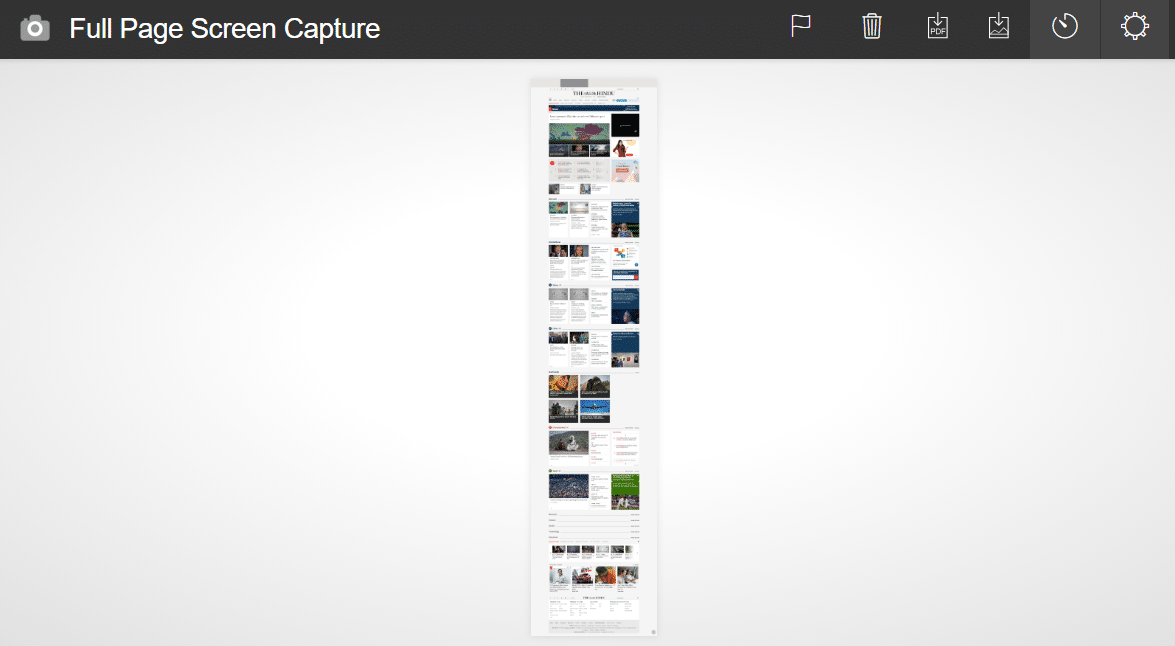
5.Decide if you want to save it as pdf or image and click on the relevant icon on the top right corner. Allow any necessary permissions.
![]()
6.The screenshot will be saved to your Downloads folder. You can, however, change the directory in Options.
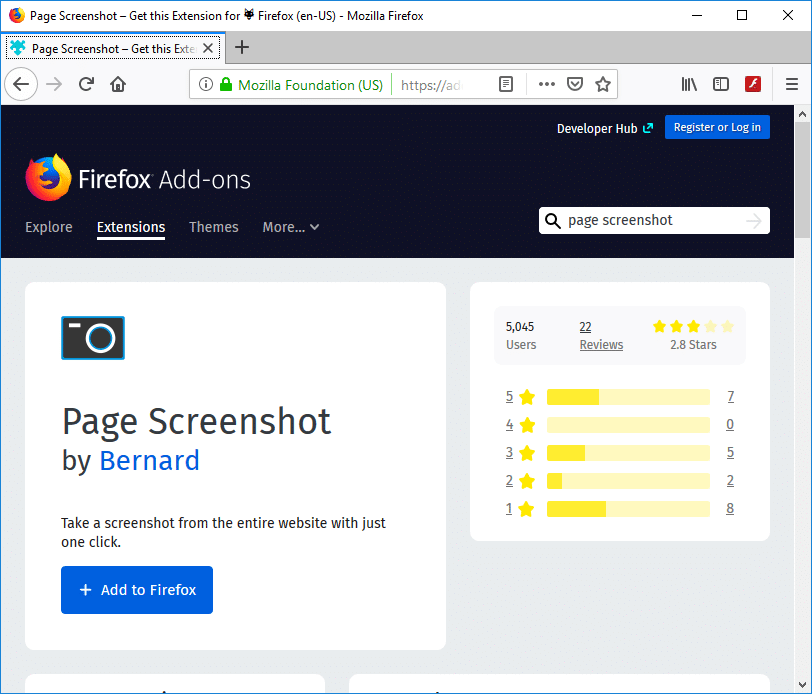
PAGE SCREENSHOT
If you need to capture just the webpages on Mozilla Firefox, then Page Screenshot will an amazing add-on. Just add it on your Firefox browser and avoid having to download any software for taking screenshots. With Page Screenshot, you can easily take scrolling screenshots of webpages and also decide their quality.
These were a few easy to use software and extensions that you can use to take scrolling screenshots on your Windows computer easily and efficiently.
Recommended:
I hope the above steps were helpful and now you can easily Take Scrolling Screenshots in Windows 10, but if you still have any questions regarding this tutorial then feel free to ask them in the comment’s section.