Long gone are the days when everyone used to rely on Microsoft Word for their document creating and editing needs. Currently, there are a number of alternatives available to Microsoft’s Office applications and on the top of the leaderboard is Google’s own set of work web apps, i.e, Google Docs, Sheets and Slides. While Microsoft’s Office suite is still preferred by many for their offline needs, the ability to sync work files to one’s Gmail account and then work on any device has made many switch to Google’s web apps. Google Docs and Microsoft Word share a lot of common features, however, Docs, being a web app and not a full-blown word processor, lacks a few important features. One of them is the ability to add borders to a page.
Firstly, why are borders important? Adding borders to your document helps achieve a cleaner and a much more sophisticated look. Borders can also be used to draw the reader’s attention to a specific part of the text or a diagram and break the monotony. They are also an essential part of corporate documents, resumes, etc. among other things. Google Docs lacks a native border option and relies on some interesting tricks to insert a border. Of course, you can download a copy of your document and insert a border in Word but what if you don’t have the application?
Well, in that case, you are at the correct location on the internet. In this article, we will be explaining four different methods to create borders in Google Docs.
How to Create Borders in Google Docs?
As mentioned earlier, Google Docs does not have a built-in feature to add a page border but there are exactly four workarounds to this conundrum. Depending on the content you wish to enclose within a border, you can either create a 1 x 1 table, draw the border manually or pull a border frame image from the internet and insert it in the document. All of these methods are pretty straightforward and will only take a couple of minutes to execute. Things get even simpler if you wish to only enclose a single paragraph in borders.
You should also check out the Docs templates gallery before creating a new blank document, just in case something fits your needs.
4 Ways to Create Borders in Google Docs
How do you put a border around the text in Google Docs? Well, try any of the below-listed methods to create borders in Google Docs:
Method 1: Create a 1 x 1 Table
The easiest way to create a border in Google Docs is to add a 1×1 table (a table with a single cell) into the concerned document and then paste all the data into the cell. The users can later readjust the table height and width to achieve the desired look/formatting. Options such as table border colour, border dash, etc. can be used to further customize the table.
1. As obvious, open the Google document you wish to create borders in or create a new Blank document.
2. On the top Menu bar, click on Insert and select Table. By default, Docs chooses a 1 x 1 table size so simply click on the 1st cell to create the table.

3. Now that a 1 x 1 table has been added to the page, all you need to do is merely resize it to fit the page dimensions. To resize, hover your mouse pointer over any of the table edges. Once the pointer changes to arrows pointing on either side (top and bottom) with two horizontal lines in between, click & drag towards any corner of the page.
Note: You can also enlarge the table by placing the typing cursor inside it and then repeatedly spamming the enter key.
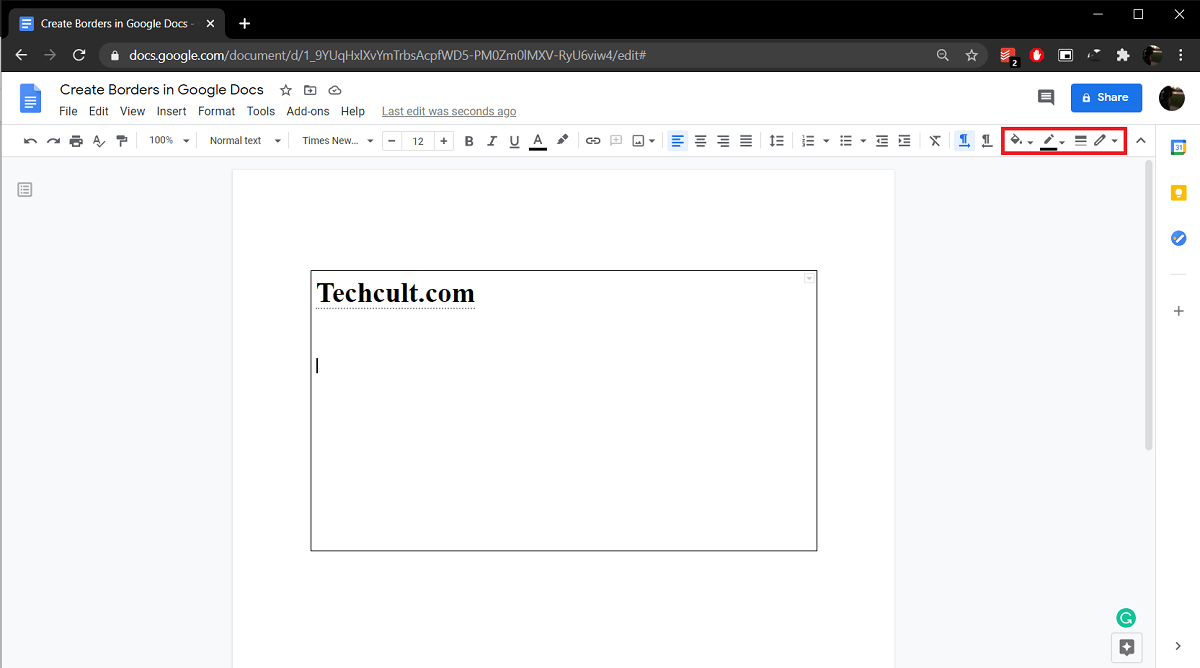
4. Click anywhere inside the table and customize it using the options (background colour, border colour, border width & border dash) that appear at the top-right corner (or right-click inside the table and select Table properties). Now, simply copy-paste your data in the table or start afresh.
Method 2: Draw the Border
If you executed the previous method, you would have realized that a page border is nothing but a rectangle aligned with the four corners of a page. So, if we could draw a rectangle and adjust it to fit the page, we would have a page border at our disposal. To do exactly that, we can make use of the Drawing tool in Google Docs and sketch out a rectangle. Once we have the border ready, all we need to do is add a text box inside of it and type out the content.
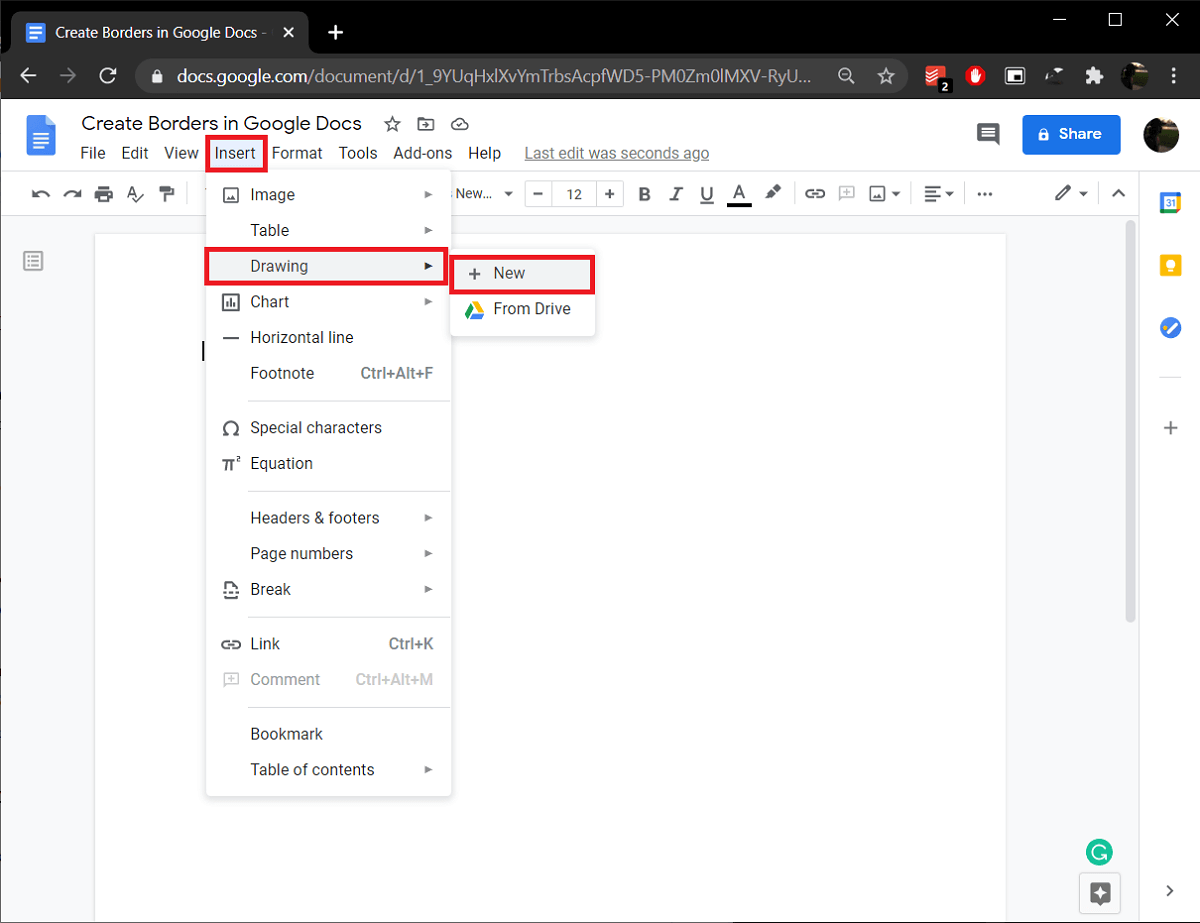
1. Expand the Insert menu, select Drawing followed by New. This will open up the Docs Drawing window.
2. Click on the Shapes icon and select a Rectangle (the very first shape) or any other shape for your document’s page border.
![]()
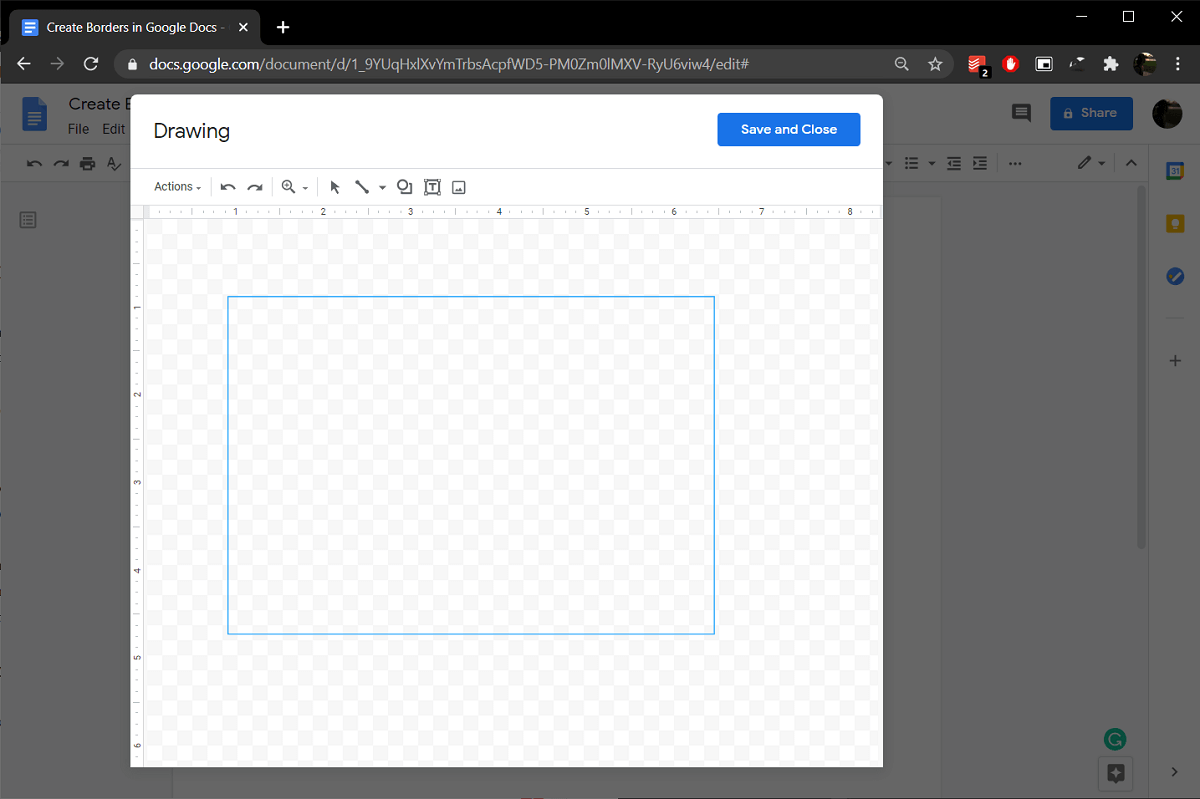
3. Press & hold the left mouse button and drag the Crosshair Pointer across the canvas to draw the shape out.
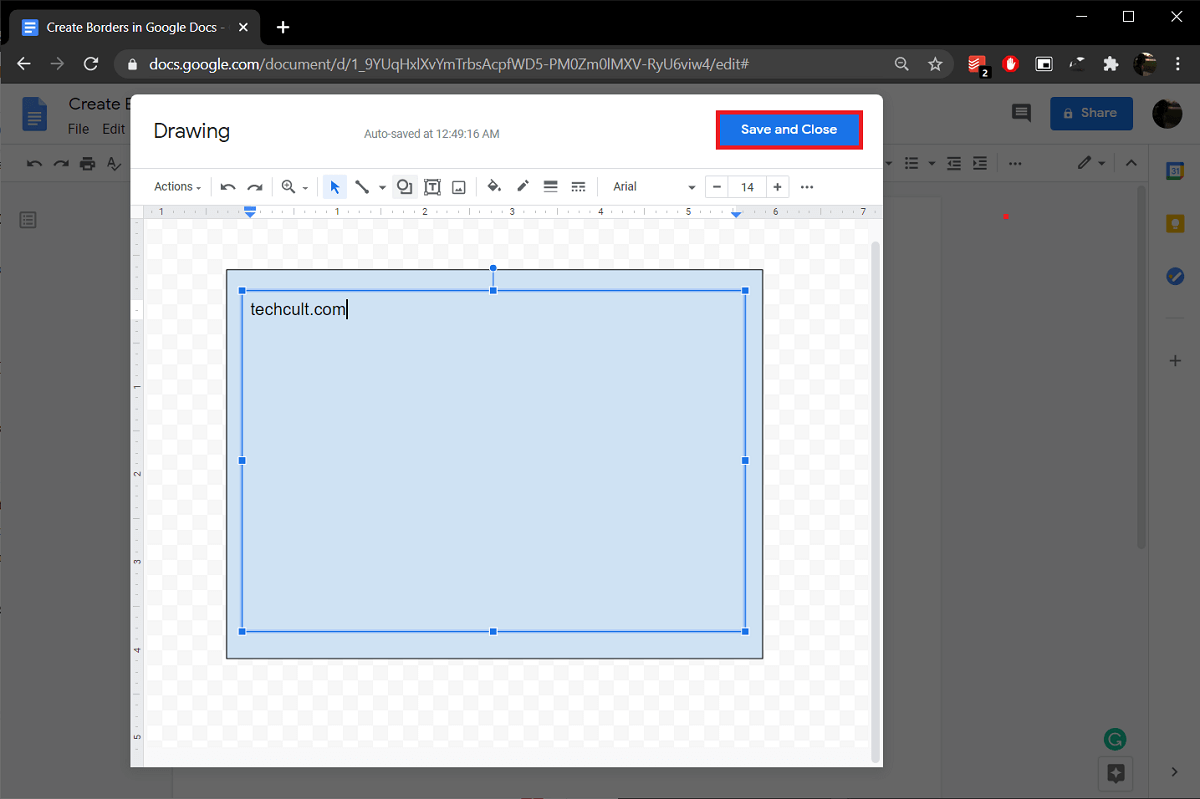
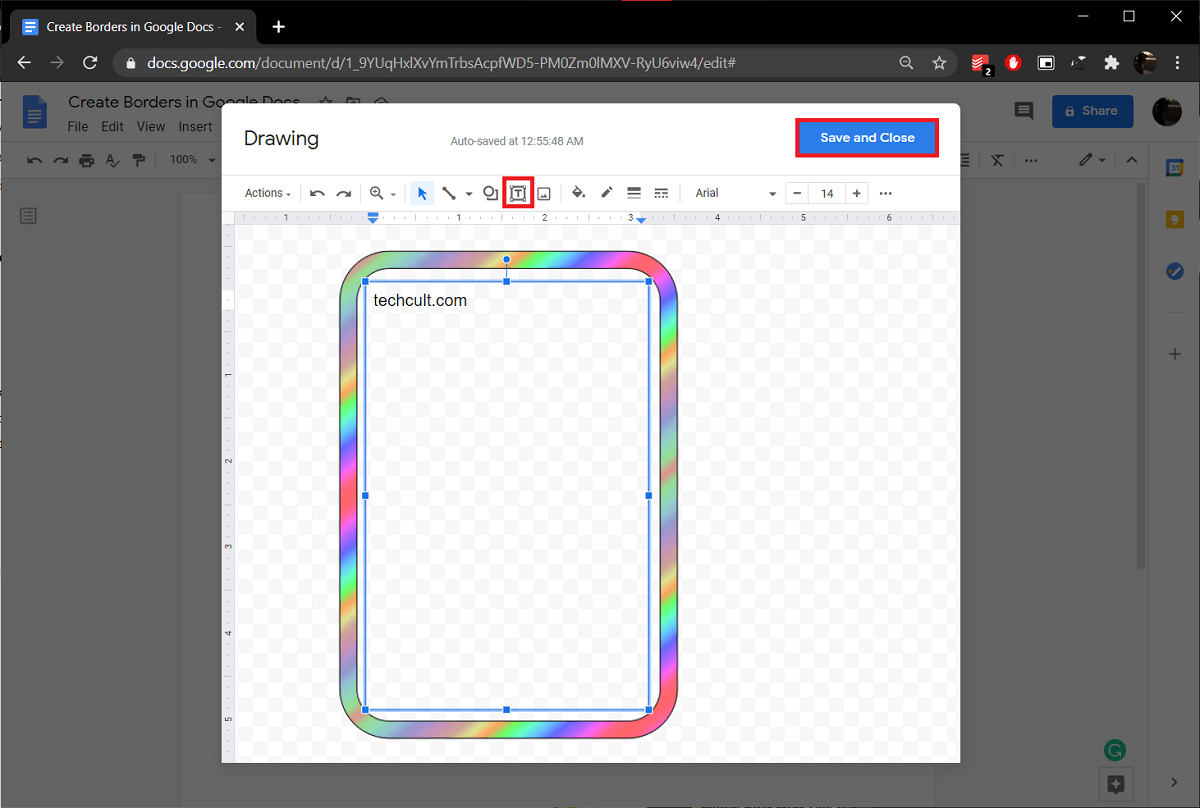
4. Customise the shape using the border colour, border weight, and border dash options. Next, click on the Text icon and create a text box inside the drawing. Paste the text that you wish to enclose within borders.
![]()
5. Once you are happy with everything, click on the Save and Close button at the top-right.
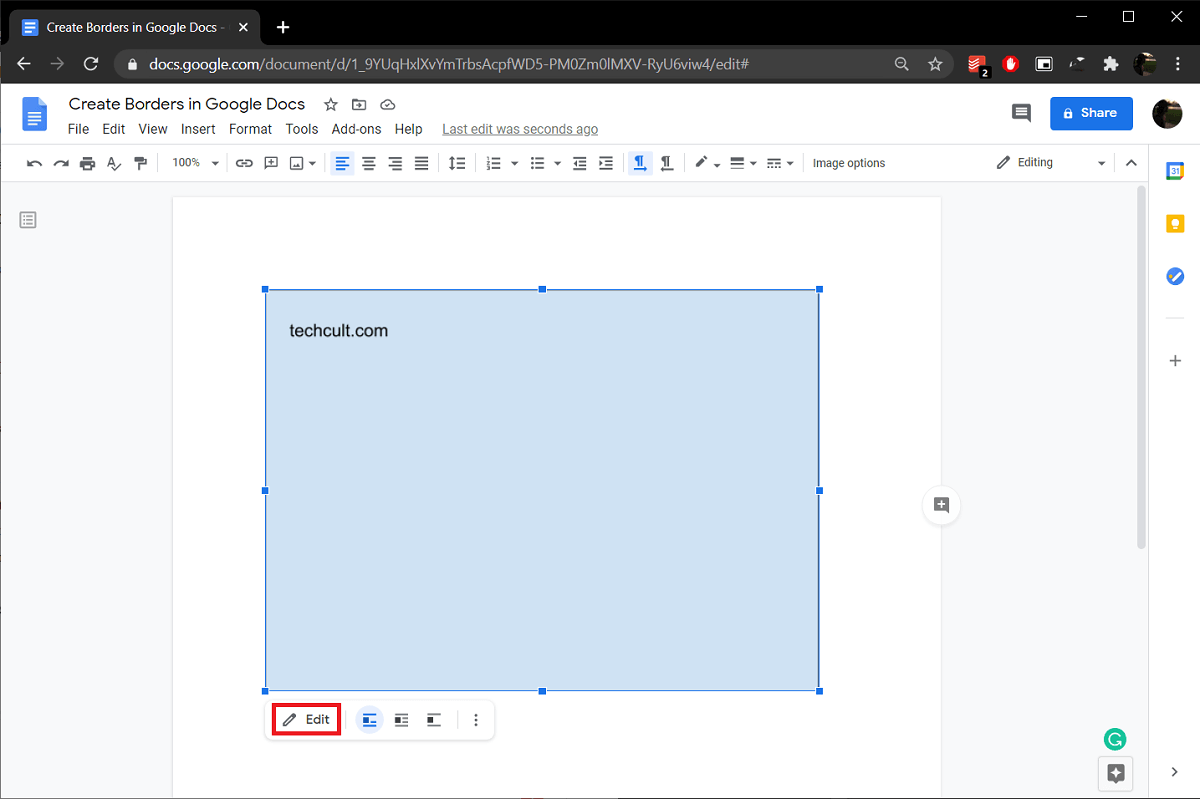
6. The border drawing and text will be automatically added to your document. Use the anchor points to align the border to the page edges. Click on the Edit button at the bottom-right to Add/Modify the enclosed text.
Also Read: Electronically Sign PDF Documents Without Printing And Scanning Them
Method 3: Insert a Border image
If a simple rectangular page border isn’t your cup of tea, you can instead pick a fancy border image from the internet and add it to your document. Similar to the previous method, to enclose text or images into the border, you will need to insert a textbox inside the border.
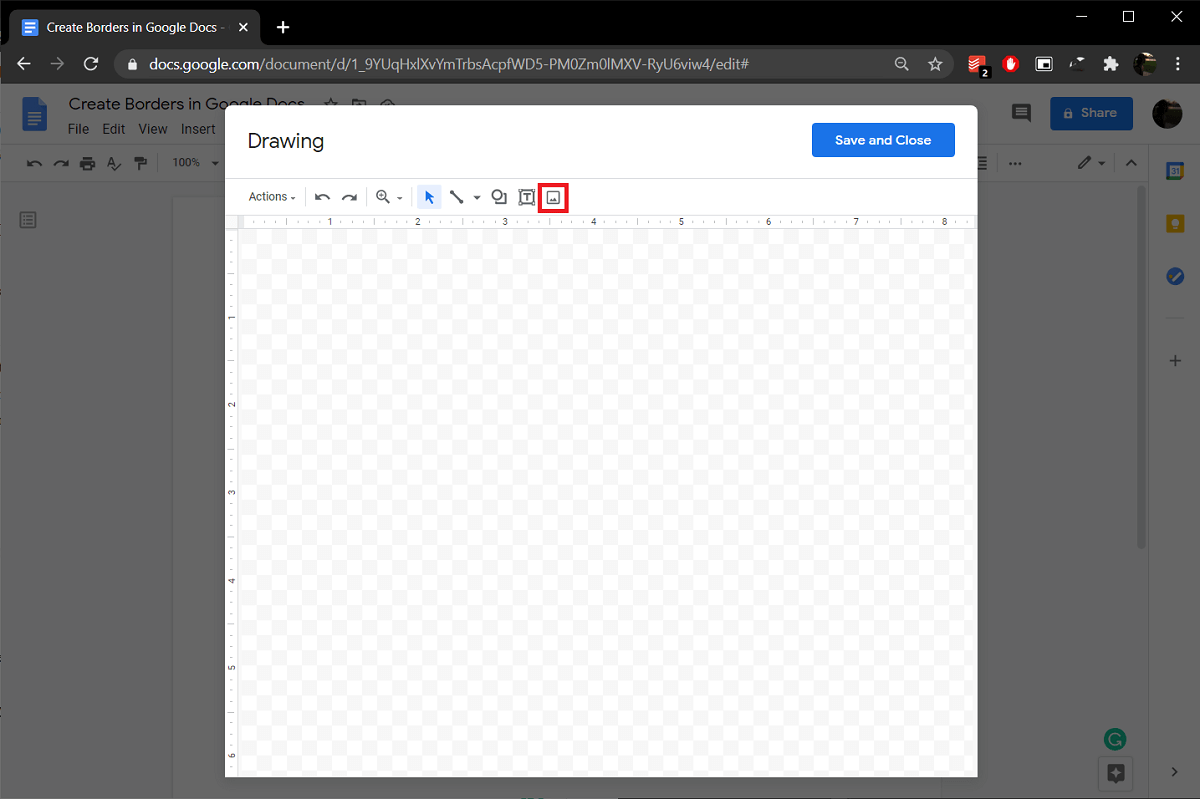
1. Once again, choose Insert > Drawing > New.
2. If you already have the border-image copied in your clipboard, simply right-click anywhere on the drawing canvas and select Paste. If not, Than click on Image and upload the copy saved on your computer, Google Photos or Drive.
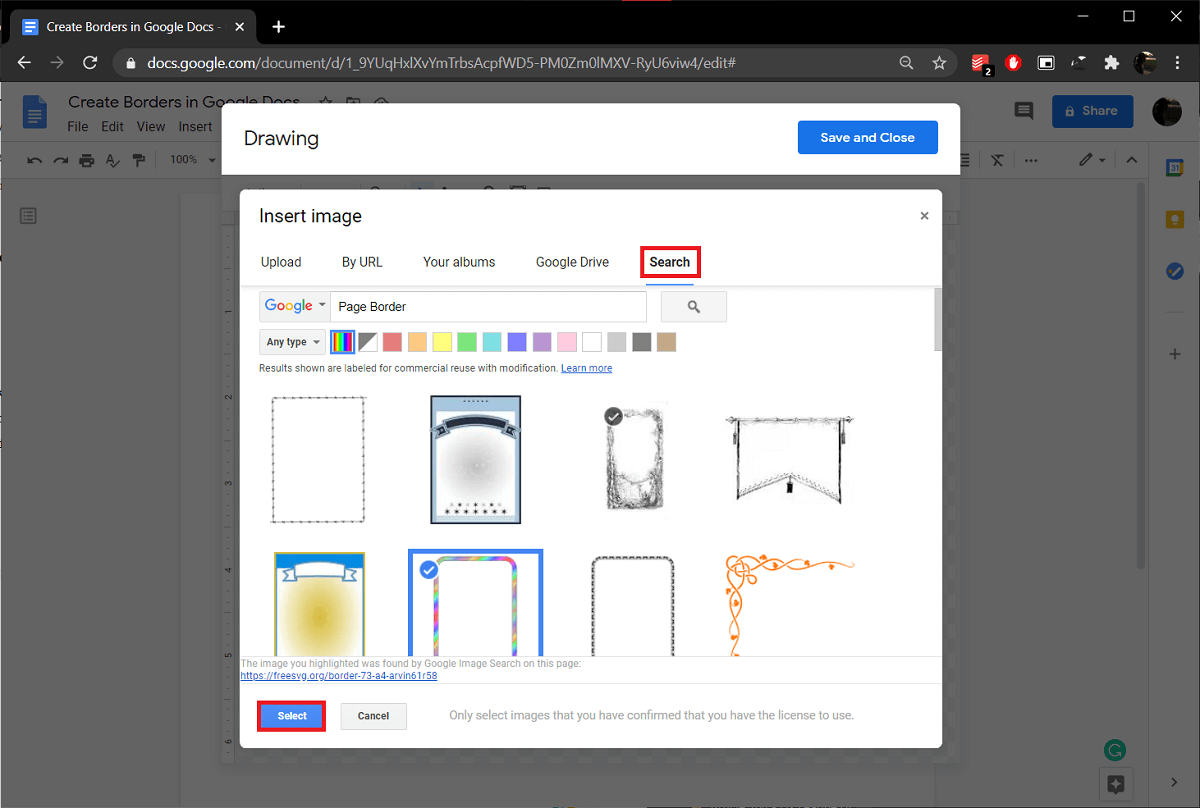
3. You can also perform a search for the border image from the ‘Insert Image’ window.
4. Create a Text box inside the border image and add your text.
5. Finally, click on Save and Close. Adjust the border-image to match the page dimensions.
Method 4: Use Paragraph Styles
If you only wish to enclose a few individual paragraphs into a border, you can make use of the paragraph styles option inside the Format menu. Border colour, border dash, width, background colour, etc. options are available in this method too.
1. Firstly, bring your typing cursor at the start of the paragraph you wish to enclose in a border.
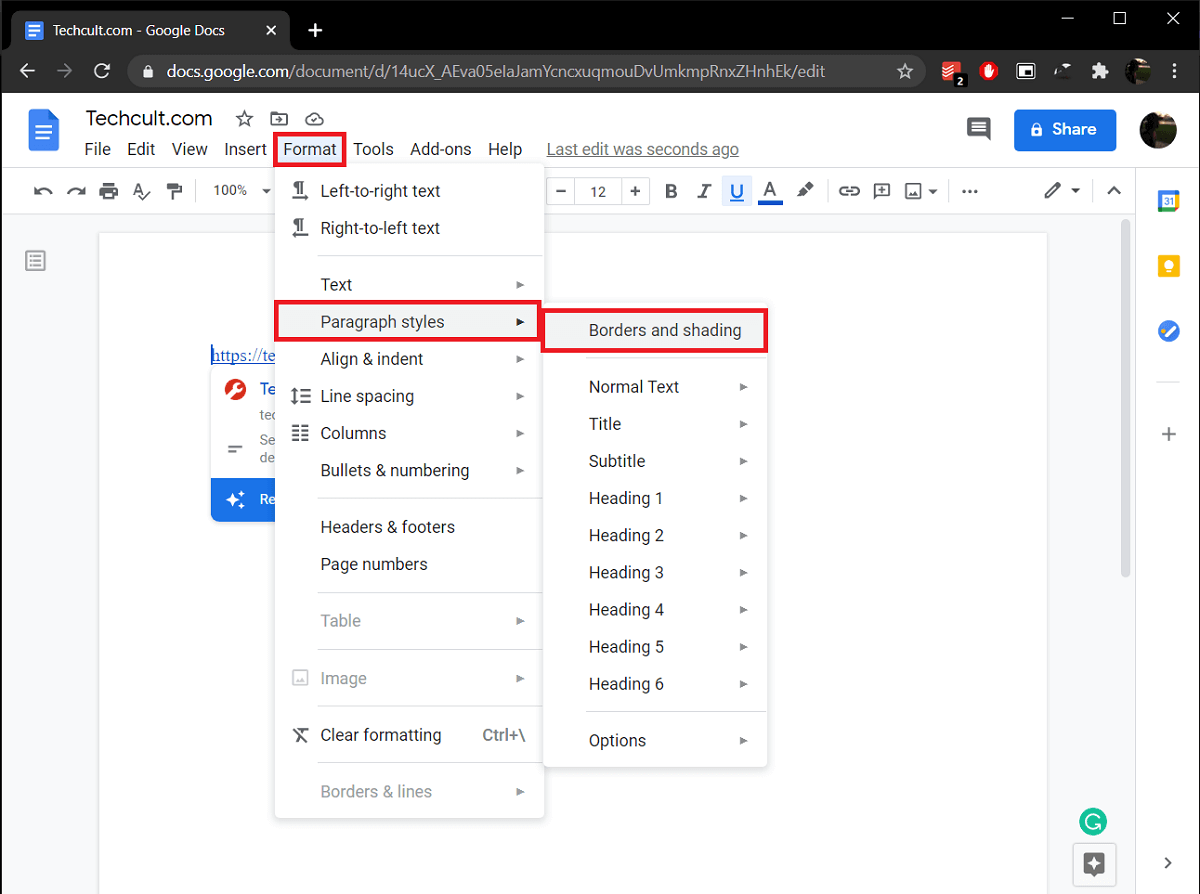
2. Expand the Format options menu and select Paragraph styles followed by Borders and shading.
3. Increase the Border Width to a suitable value (1 pt). Ensure all border positions are selected (unless you don’t need a completely closed border). Use the other options to customize the border to your liking.
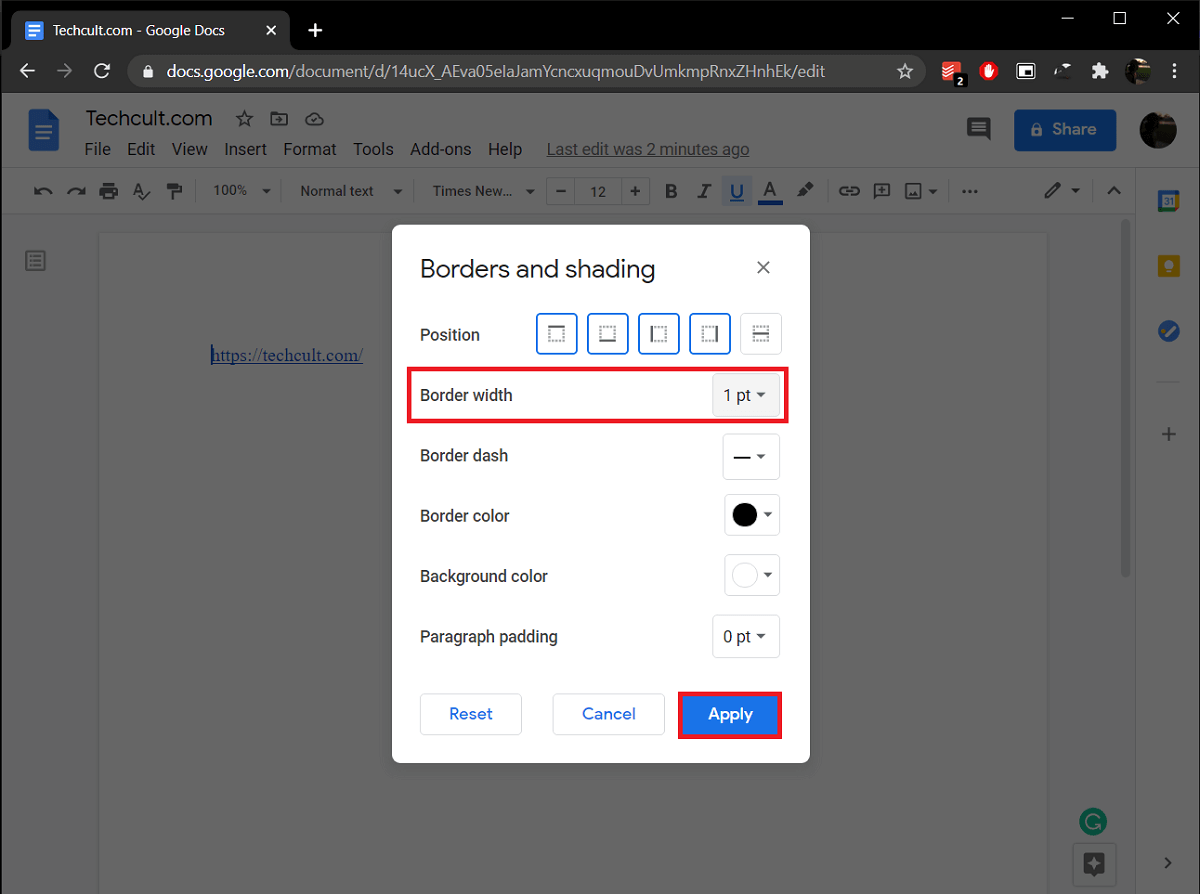
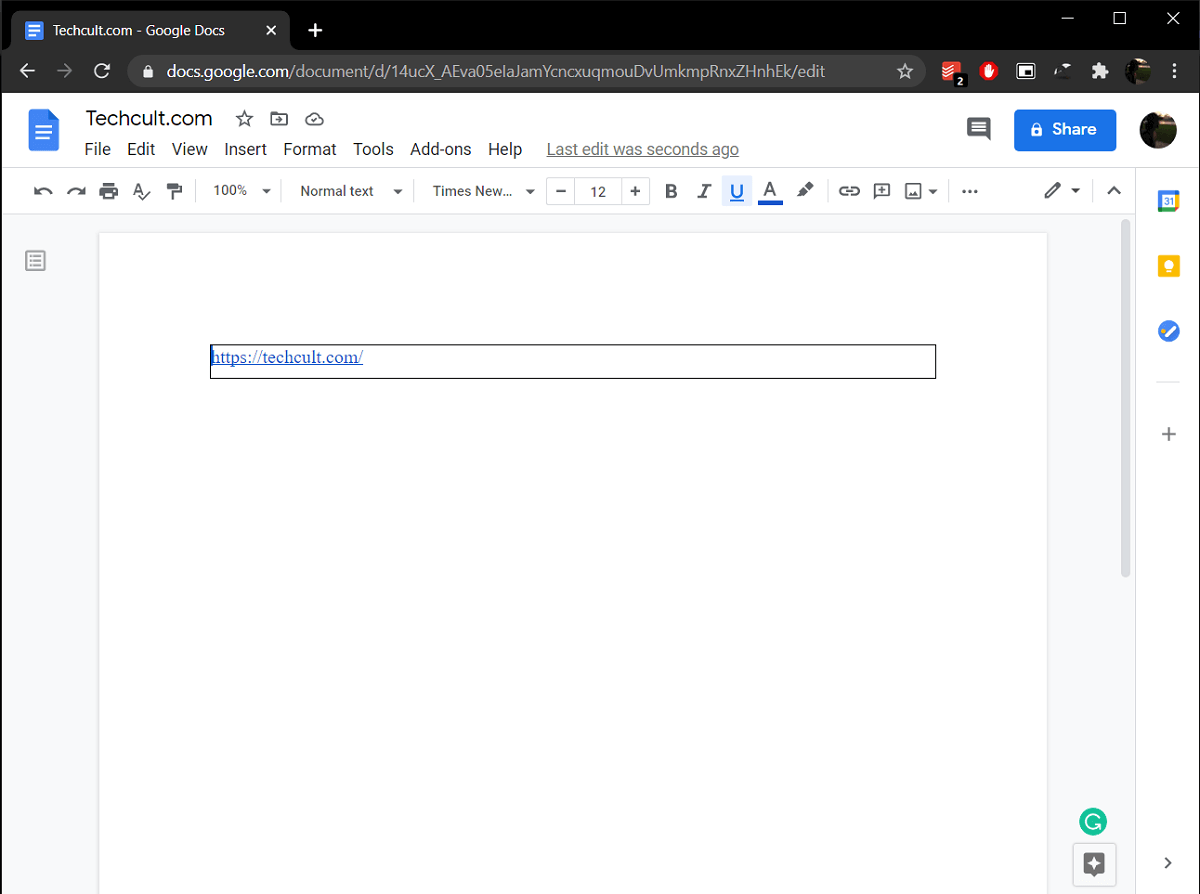
4. Finally, click on the Apply button to insert the border around your paragraph.
Recommended:
We hope the above guide was helpful and you were able to create borders in Google Docs and achieving the desired look for your Google document using one of the above methods. For any more assistance regarding this matter, connect with us in the comments section below.