How to Enable or Disable Adaptive Brightness in Windows 10

Well, Adaptive Brightness is a feature of Windows 10 which adjust your screen brightness according to the environment light intensity. Now with all the new displays coming out, most of them have a built-in ambient light sensor that helps take the benefit of Adaptive brightness feature. It works exactly like your smartphone automatic brightness, where the screen brightness is set according to the surrounding light. So your laptop display will always adjust brightness according to the surrounding light, for example, if you’re in a too dark location, then the screen will get dim automatically, and if you’re in a too bright location, then your screen brightness will automatically increase.
It doesn’t necessarily mean that everyone likes this feature because it can get annoying when Windows is constantly adjusting your screen brightness while working. Most of us like to adjust screen brightness according to our needs manually. Anyway, without wasting any time, let’s see How to Enable or Disable Adaptive Brightness in Windows 10 with the help of the below-listed tutorial.
How to Enable or Disable Adaptive Brightness in Windows 10
Make sure to create a restore point just in case something goes wrong.
Method 1: Enable or Disable Adaptive Brightness in Windows 10 Settings
Note: This option only works for Windows 10 Enterprise and Pro Editions Users.
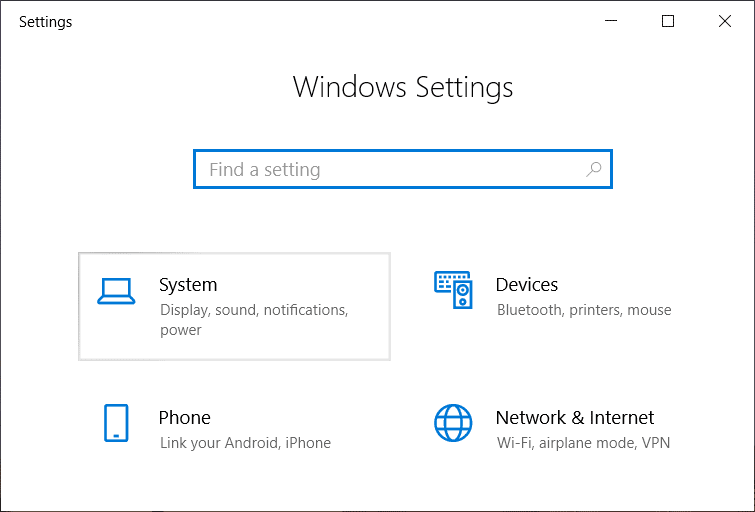
1. Press Windows Key + I to open Settings then click on System.
2. Now, from the left-hand menu select Display.
3. On the right window, find “Change brightness for built-in display“.
4. To enable the Adaptive Brightness, make sure to turn on the toggle of Night Light under “Change brightness for built-in display“.

5. Similarly, if you want to disable this feature, then turn off the toggle and close Settings.
6. Reboot your PC to save changes.
Method 2: Enable or Disable Adaptive Brightness in Power Options
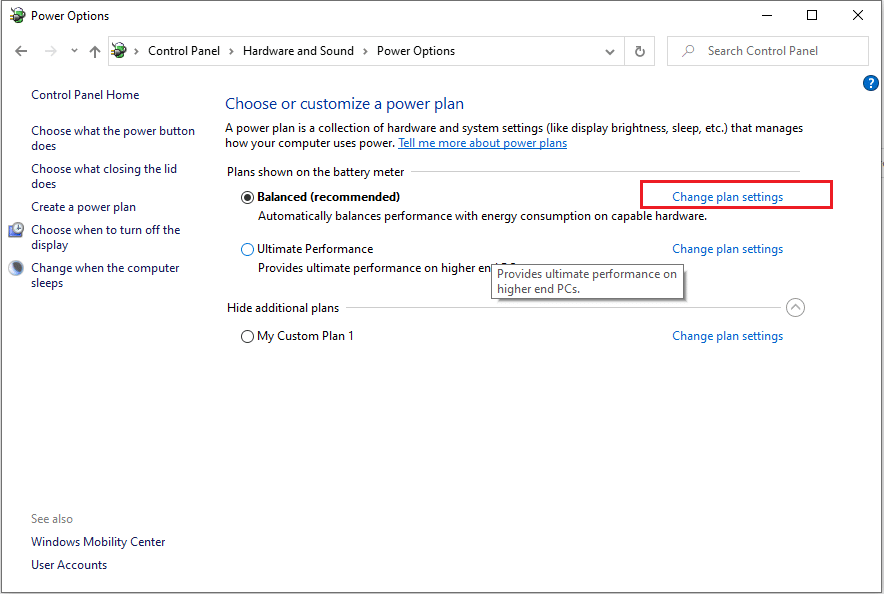
1. Press Windows Key + R then type powercfg.cpl and hit Enter.

2. Now, next to your currently active power plan, click on “Change plan settings“.
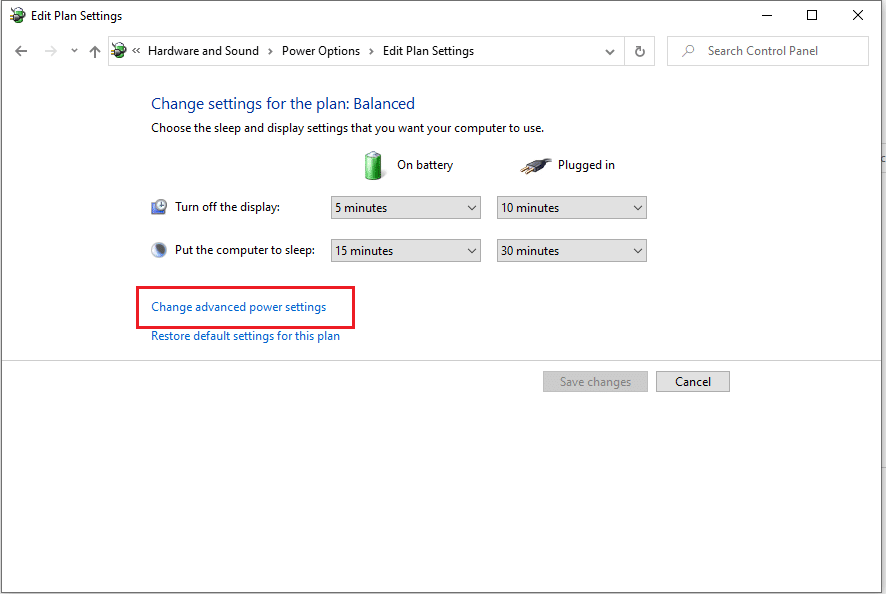
3. Next, click on “Change advanced power settings“.
4. Under Power Options window, scroll down and expand Display.
5. Click on the “+” icon to expand then similarly expand “Enable adaptive brightness“.
6. If you want to enable adaptive brightness, then make sure to set “On battery” and “Plugged in” to On.
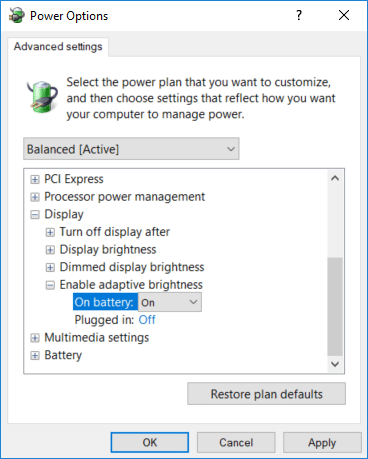
7. Similarly, if you want to disable the setting, then set it to Off.
8. Click Apply, followed by OK.
Method 3: Enable or Disable Adaptive Brightness in Command Prompt
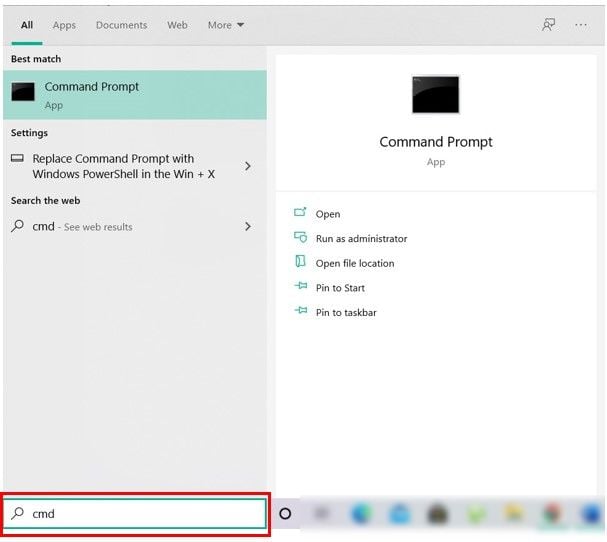
1. Open Command Prompt. The user can perform this step by searching for ‘cmd’ and then press Enter.
2. Now type the following command according to your preference into cmd and hit Enter:
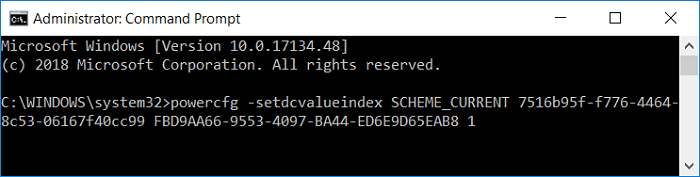
To Enable Adaptive Brightness:
Enable On Battery: powercfg -setdcvalueindex SCHEME_CURRENT 7516b95f-f776-4464-8c53-06167f40cc99 FBD9AA66-9553-4097-BA44-ED6E9D65EAB8 1
Enable Plugged in: powercfg -setacvalueindex SCHEME_CURRENT 7516b95f-f776-4464-8c53-06167f40cc99 FBD9AA66-9553-4097-BA44-ED6E9D65EAB8 1
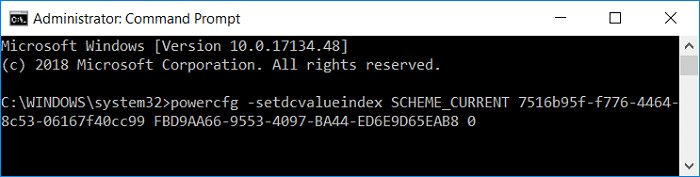
To Disable Adaptive Brightness:
Disable On Battery: powercfg -setdcvalueindex SCHEME_CURRENT 7516b95f-f776-4464-8c53-06167f40cc99 FBD9AA66-9553-4097-BA44-ED6E9D65EAB8 0
Disable Plugged in: powercfg -setacvalueindex SCHEME_CURRENT 7516b95f-f776-4464-8c53-06167f40cc99 FBD9AA66-9553-4097-BA44-ED6E9D65EAB8 0
3. Now enter the below command and hit Enter to apply the changes:
powercfg -SetActive SCHEME_CURRENT
4. Close cmd and restart your PC to save changes.
Method 4: Enable or Disable Adaptive Brightness in Intel HD Graphics Control Panel
1. Right-click in an empty area on the desktop and then select Intel Graphics Settings from the right-click context menu.
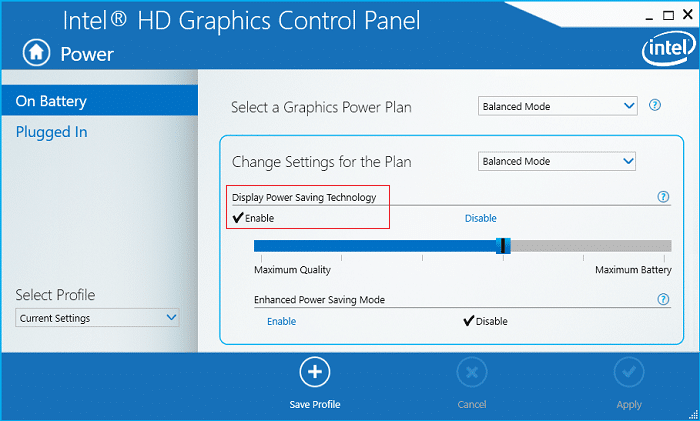
2. Click on Power icon then to enable adaptive brightness do the following.

3. From the left-hand menu, first select “On Battery” or “Plugged In” for which you want to change the settings.
4. Now, from the Change Settings for the Plan drop-down, select the plan you want to change settings for.
5. Under Display Power Saving Technology select Enable and set the slider to the level you want.
6. Click Apply and select Yes to confirm.
7. Similarly to disable adaptive brightness, click disable under Display Power Saving Technology.
8. Restart your PC to save changes.
In case disabling the adaptive brightness in above methods didn’t work as planned then you need to do this to disable adaptive brightness in Windows 10 completely:
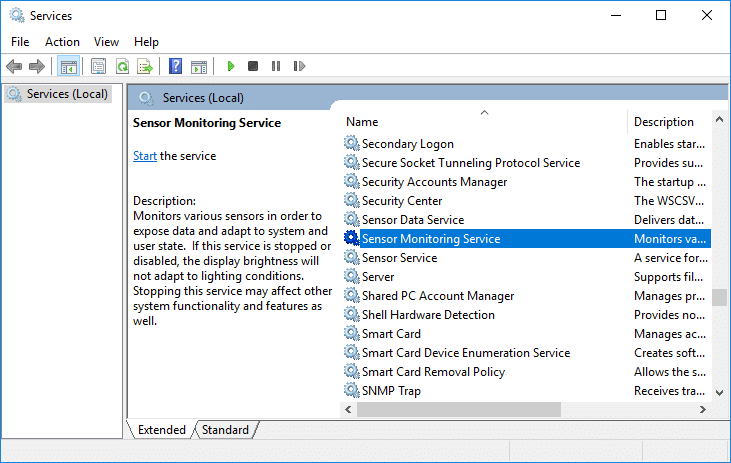
1. Press Windows Key + R then type services.msc and hit Enter.

2. In the service window, scroll down till you find “Sensor Monitoring service“.
3. Double-click on it to open Properties window then click on “Stop” if the service is running and then from the Startup type drop-down select Disabled.
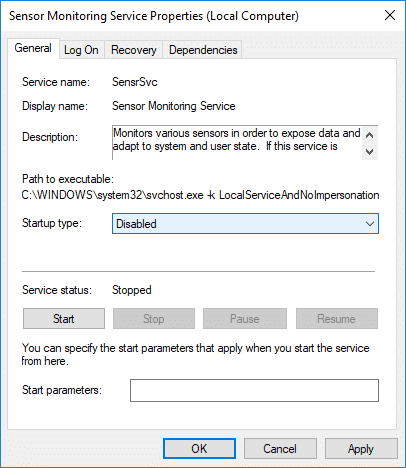
4. Click Apply, followed by OK.
5. Reboot your PC to save changes.
Recommended:
That’s it you have successfully learned How to Enable or Disable Adaptive Brightness in Windows 10 but if you still have any queries regarding this tutorial then feel free to ask them in the comment’s section.