How to Hide a Drive in Windows 10

Most of the Windows users are concerned about their private data. We intend to either hide or lock the folder or file using encryption software or using Windows inbuilt encryption tools to protect our confidential data. But when you have many files or folders which needs to be encrypted or hidden then it’s not a good idea to encrypt each & every file or folder, instead what you can do is that you can shift all your confidential data to a particular drive (partition) then hide that drive altogether to protect your private data.
Once you hide the particular drive, it will not be visible to anyone, and hence no one will be able to access the drive, except you. But before making the drive hidden to make sure it doesn’t contain any other files or folders except your private data, you want to be hidden. The disk drive would be hidden from File Explorer, but you will still be able to access the drive using the command prompt or address bar in the File Explorer.
But using this method to hide drive doesn’t prevent users from accessing disk management to view or change the drive characteristics. Other users can still access your hidden drive using 3rd party programs specifically made for this purpose. Anyway, without wasting any time, let’s see How to Hide a Drive in Windows 10 with the help of the below-listed tutorial.
How to Hide a Drive in Windows 10
Make sure to create a restore point just in case something goes wrong.
Method 1: How to Hide a Drive in Windows 10 using Disk Management
1. Press Windows Key + R then type diskmgmt.msc and hit Enter to open Disk Management.

2. Right-click on the drive you want to hide then select “Change Drive Letters and Paths“.
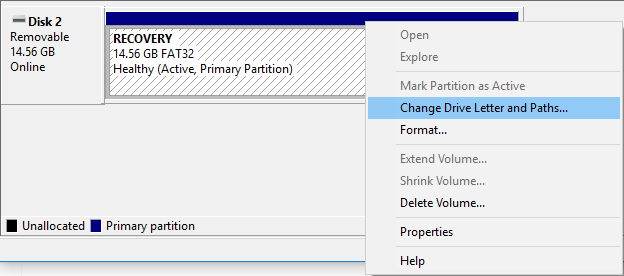
3. Now select the drive letter then click on the Remove button.

4. If asked for confirmation, select Yes to continue.

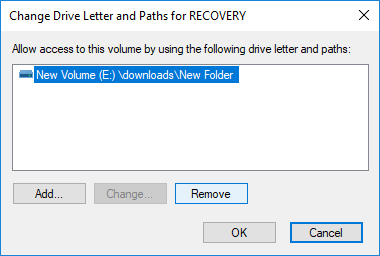
5. Now again right-click on the above drive then select “Change Drive Letters and Paths“.
6. Select the drive, then click the Add button.

7. Next, select “Mount in the following empty NTFS folder” option then click Browse button.
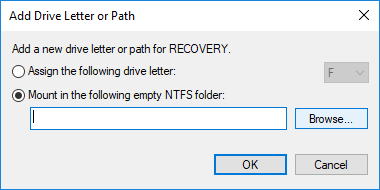
8. Navigate to the location where you want to hide your drive, for example, C:Program FileDrive then click OK.
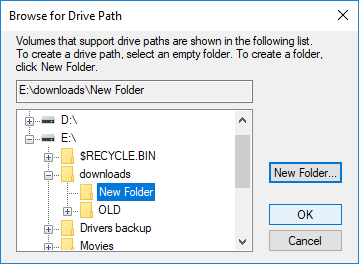
Note: Make sure the folder is present in the location you specified above or you can click on the New Folder button to create the folder from the dialog box itself.
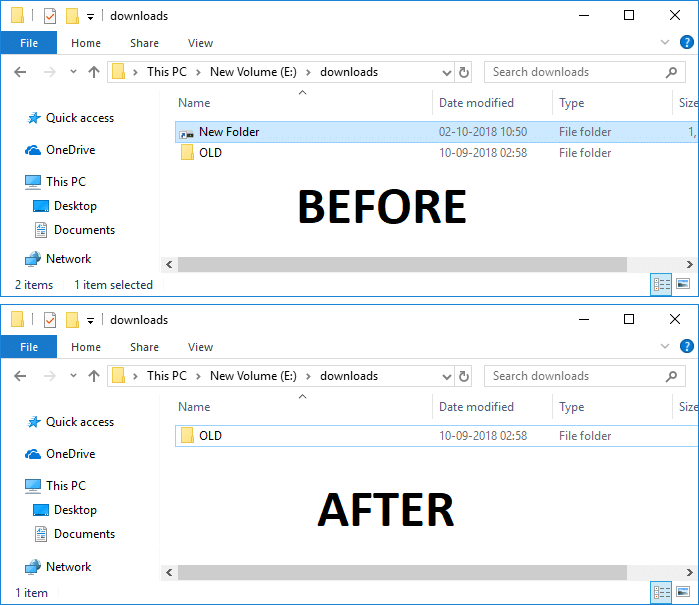
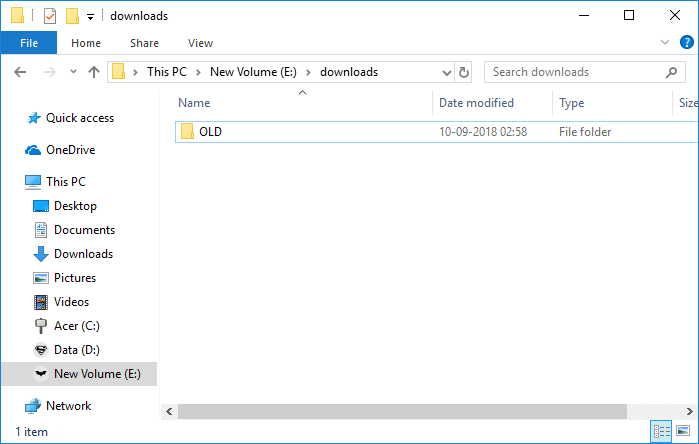
9. Press Windows Key + E to open File Explorer then navigate to the above location where you have mounted the drive.
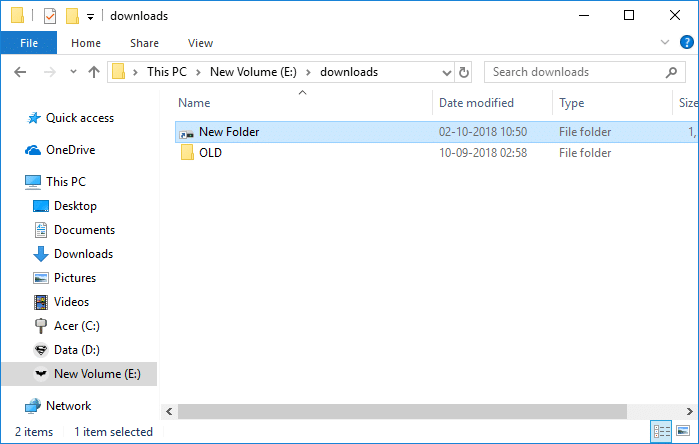
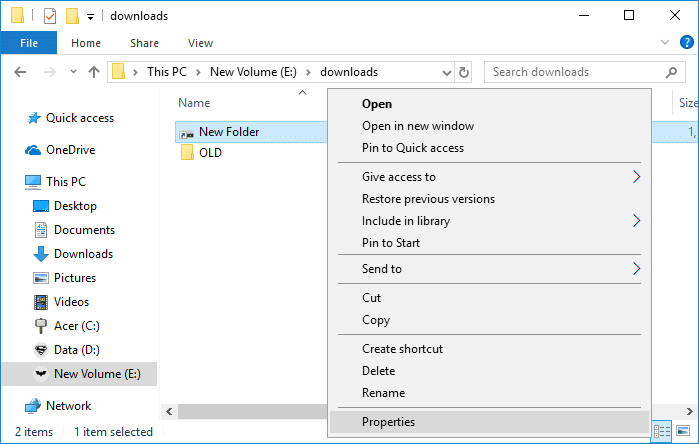
10. Now right-click on the mount point (which will be the Drive folder in this example) then select Properties.
11. Make sure to select General tab then under Attributes checkmark “Hidden“.
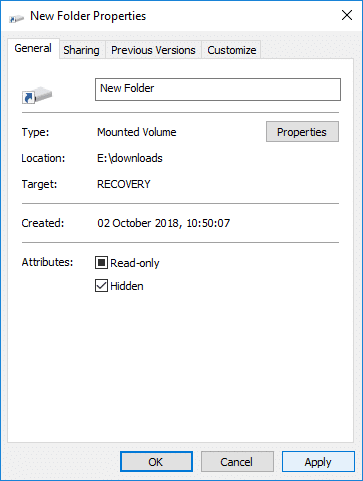
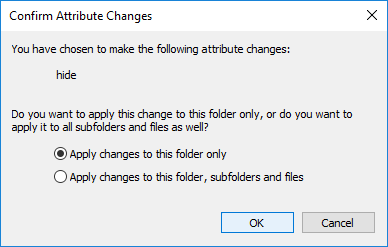
12. Click Apply then checkmark “Apply changes to this folder only” and click OK.
13. Once you have followed the above steps properly, then the drive will no longer be shown.
Note: Make sure “Don’t Show hidden files, folders, or drives” option is checked under Folder Options.
Unhide the drive using Disk Management
1. Press Windows Key + R then type diskmgmt.msc and hit Enter to open Disk Management.
2. Right-click on the drive you have hidden then select “Change Drive Letters and Paths“.
3. Now select the drive letter then click on the Remove button.
4. If asked for confirmation, select Yes to continue.
5. Now again right-click on the above drive then select “Change Drive Letters and Paths“.
6. Select the drive, then click the Add button.
7. Next, select “Assign the following drive letter” option, select a new drive letter and click OK.

8. Click Apply, followed by OK.
Method 2: How to Hide a Drive in Windows 10 by removing the drive letter
If you use this method, you won’t be able to access the drive until you undo the below-listed steps.
1. Press Windows Key + R then type diskmgmt.msc and hit Enter to open Disk Management.
2. Right-click on the drive you want to hide then select “Change Drive Letters and Paths“.
3. Now select the drive letter then click on the Remove button.
4. If asked for confirmation, select Yes to continue.
This will successfully hide the drive from all users, including you, to unhide the drive you need to follow these steps:
1. Again open Disk Management then right-click on the drive you have hidden and select “Change Drive Letters and Paths“.
2. Select the drive, then click the Add button.
3. Next, select “Assign the following drive letter” option, select a new drive letter and click OK.
4. Click Apply, followed by OK.
Method 3: How to Hide a Drive in Windows 10 using Registry Editor
1. Press Windows Key + R then type regedit and hit Enter to open Registry Editor.

2. Navigate to the following Registry key:
HKEY_LOCAL_MACHINESoftwareMicrosoftWindowsCurrentVersionPoliciesExplorer
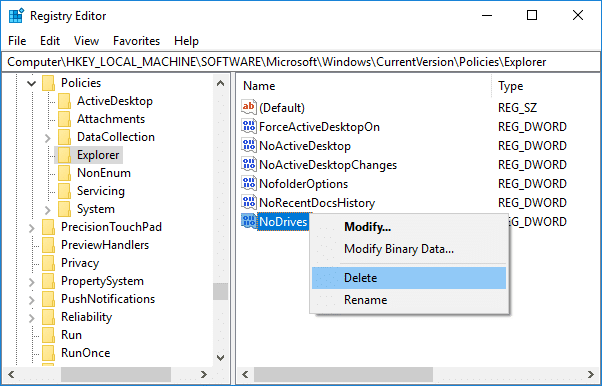
3. Right-click on Explorer then select New and click on DWORD (32-bit) Value.
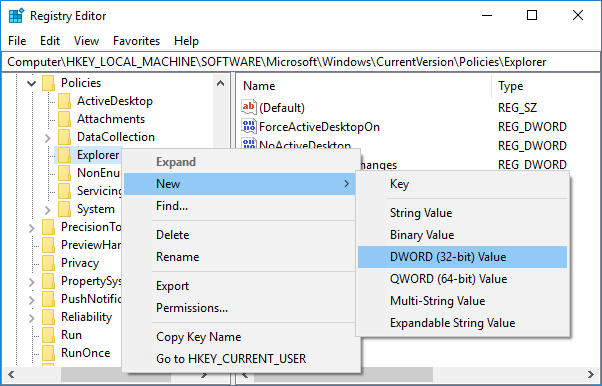
4. Name this newly created DWORD as NoDrives and hit Enter.
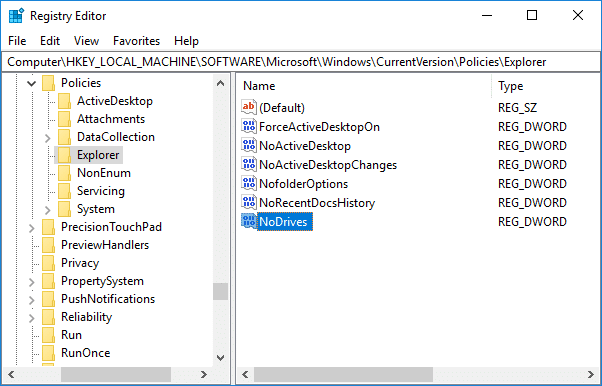
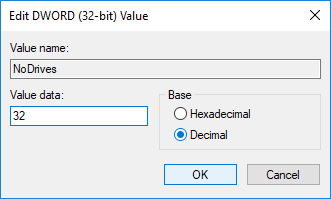
5. Now double-click on NoDrives DWORD to change its value according to:
Just make sure to select Decimal then undervalue data using any value from the below-listed table.
| Drive Letter | Decimal Value Data |
| Show all drives | 0 |
| A | 1 |
| B | 2 |
| C | 4 |
| D | 8 |
| E | 16 |
| F | 32 |
| G | 64 |
| H | 128 |
| I | 256 |
| J | 512 |
| K | 1024 |
| L | 2048 |
| M | 4096 |
| N | 8192 |
| O | 16384 |
| P | 32768 |
| Q | 65536 |
| R | 131072 |
| S | 262144 |
| T | 524288 |
| U | 1048576 |
| V | 2097152 |
| W | 4194304 |
| X | 8388608 |
| Y | 16777216 |
| Z | 33554432 |
| Hide all drives | 67108863 |
6. You can either hide a single drive or combination of drives, to hide a single drive (ex-drive F) enter 32 under value data field of NoDrives (make sure that Decimal is selected under Base) click OK. To hide a combination of drives (ex-drive D & F) you need to add the decimal numbers for the drive (8+32) which means you need to enter 24 under the value data field.
7. Click OK then close the Registry Editor.
8. Reboot your PC to save changes.
After the reboot, you will no longer be able to see the drive which you have hidden, but you would still be able to access it by using the specified path in the File Explorer. To unhide the drive right-click on the NoDrives DWORD and select Delete.
Method 4: How to Hide a Drive in Windows 10 using Group Policy Editor
Note: This method won’t work for Windows 10 Home edition users as it will only for Windows 10 Pro, Education, and Enterprise edition users.
1. Press Windows Key + R then type gpedit.msc and hit Enter.

2. Navigate to the following path:
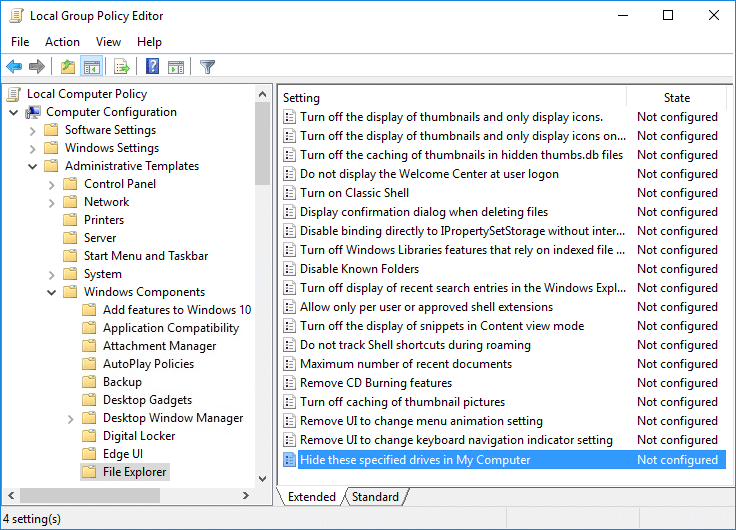
User Configuration > Administrative Templates > Windows Components > File Explorer
3. Make sure to select File Explorer than in right window double-click on “Hide these specified drives in My Computer” policy.
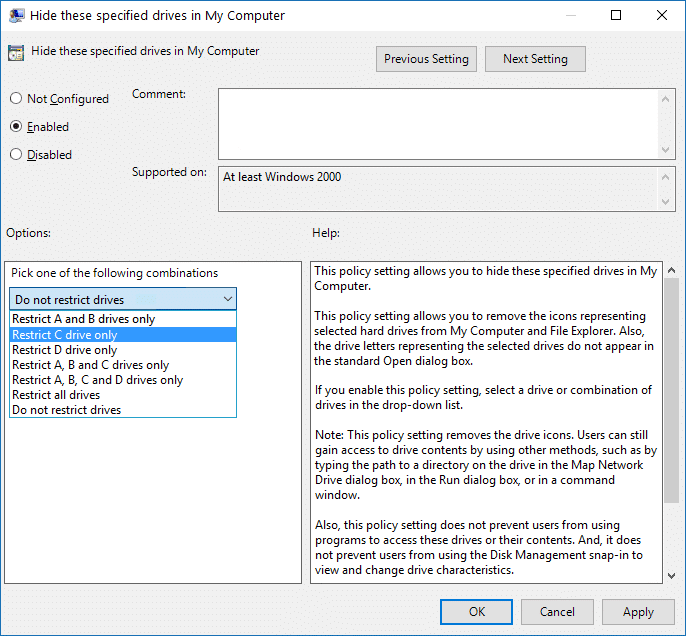
4. Select Enabled then under Options, select the drive combinations you want or select the Restrict all-driving option from the drop-down menu.
5. Click Apply, followed by OK.
6. Restart your PC to save changes.
Using the above method will only remove the drive icon from File Explorer, you would still be able to access the drive using the File Explorer’s address bar. Also, there is no way to add more drive combination to the above list. To unhide the drive select Not Configured for the “Hide these specified drives in My Computer” policy.
Method 5: How to Hide a Drive in Windows 10 using Command Prompt
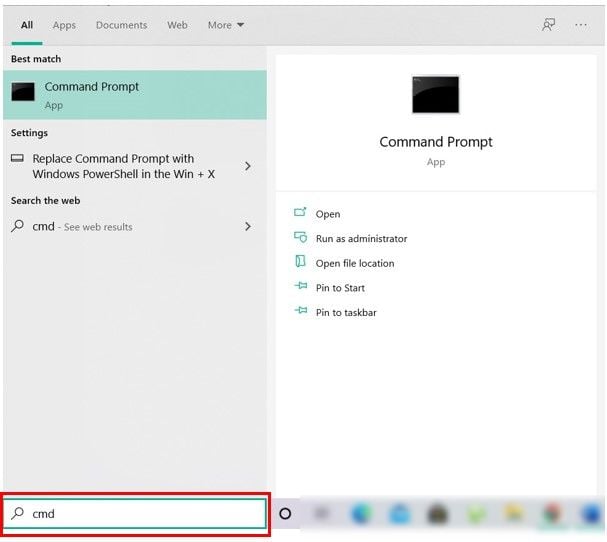
1. Open Command Prompt. The user can perform this step by searching for ‘cmd’ and then press Enter.
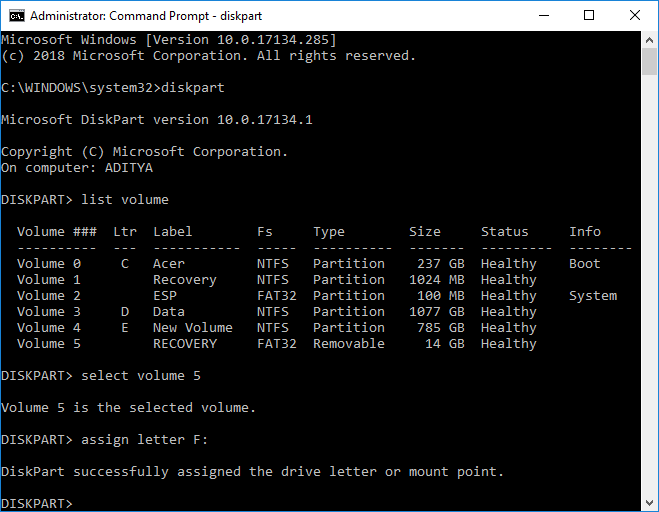
2. Type the following command one by one and hit Enter after each:
diskpart
list volume (Note down the number of the volume for which you want to hide the drive for)
select volume # (Replace the # with the number which you noted above)
remove letter drive_letter (Replace drive_letter with actual drive letter which you want to use for example: remove letter H)

3. Once you hit Enter, you will see the message “Diskpart successfully removed the drive letter or mount point“. This will successfully hide your drive, and in case, you want to unhide the drive use the following commands:
diskpart
list volume (Note down the number of the volume for which you want to unhide the drive for)
select volume # (Replace the # with the number which you noted above)
assign letter drive_letter (Replace drive_letter with actual drive letter which you want to use for example assign letter H)
Recommended:
That’s it you have successfully learned How to Hide a Drive in Windows 10 but if you still have any questions regarding this tutorial then feel free to ask them in the comment’s section.