How to Open TAR Files (.tar.gz) on Windows 10

How to Open TAR files on Windows 10: PC’s can store a large amount of data and this data is not limited to the files created on the same PC but you can also download files from the Internet, transfer files using USB or external hard disk, etc. You can possibly transfer this data using email also, but only if the size of the data is under 1 GB. But the questions arise, if you have thousands of files how should one send these files using email? Well, in this case you should take advantages of TAR files as sending the files separately will take a lot of time. Hence, to solve this problem TAR files were created.
TAR File: Tar File are also called tarball which is a collection of files where several files are wrapped up in one single file. So instead of keeping track of all the files separately, after creating TAR files, you need to keep track of only one file. Once the TAR files are created, the next logical step is compression which happens automatically. So not only you are saving the headache of managing all the files but also the bandwidth as sending smaller file will take less time and will also occupy less disk space. The extension of TAR file is .tar.gz.
TAR files are typically used in Linux & Unix operating systems. They are equivalent to Zip files in Windows. Now if you talk about accessing TAR files on Windows operating system then you will require a third-party program called 7-Zip (there are several others but we prefer 7-Zip). 7-Zip is a very lightweight third party app that does this job very well. Without a third-party application, you will be forced to use Command Prompt to access the TAR files which involves using some complex command which is not recommended for everyone.
Open TAR Files (.tar.gz) on Windows 10 using 7-Zip
Make sure to create a restore point just in case something goes wrong.
To use 7-Zip, first, you need to download and install it.
How to Download & Install 7-Zip on Windows 10?
To download and Install 7-Zip follow the below steps:
1.Open the official website of 7-zip and then download 7-zip.
2.Once the download page opens up, you will see two download links. One for Windows (32-bit) and other for Windows (64-bit).
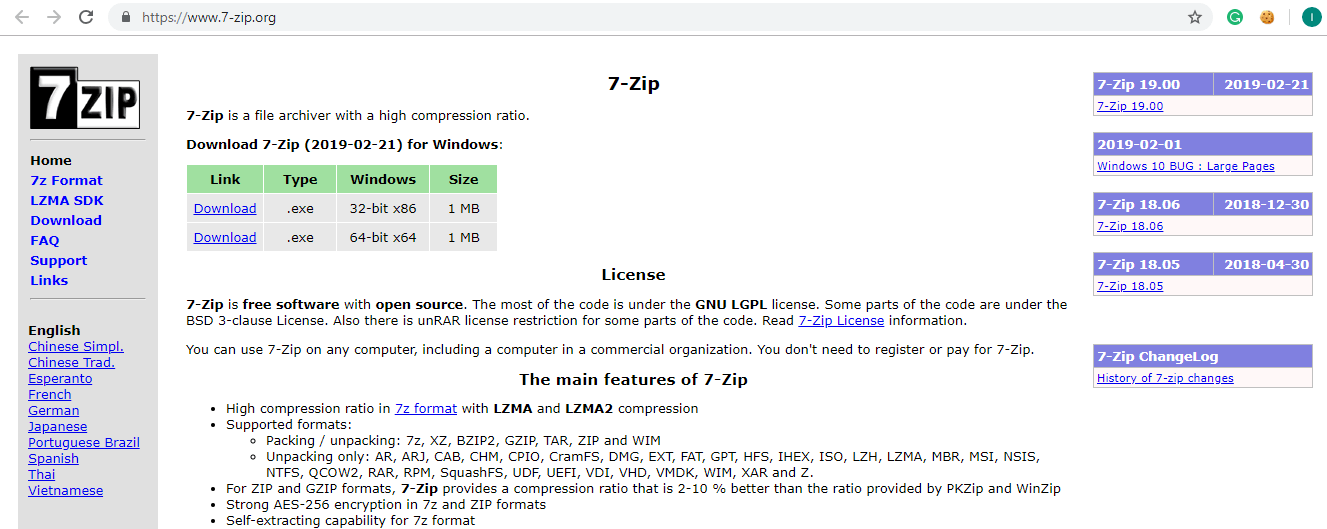
3.Click on the download link according to your System architecture. If you’re not sure then check if you have a 32-bit or 64-bit system.
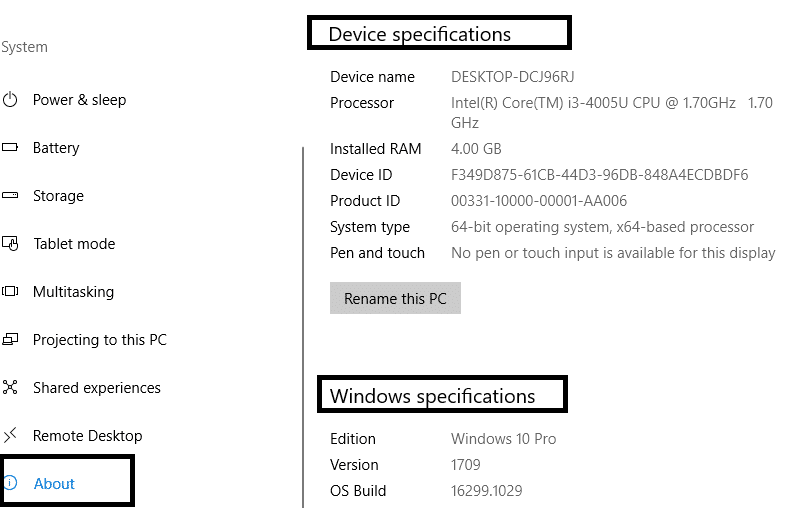
Note: In the above image under System type you can it is clearly mentioned that it is a 64-bit operating system.
4.After you click on the download link, 7-zip will start downloading.
5.When the download is completed, double-click on the downloaded file.
6.Next, choose the destination folder where you want to install 7-zip, leave it, if you want to install it under the default directory.
Note: By default C drive is selected.
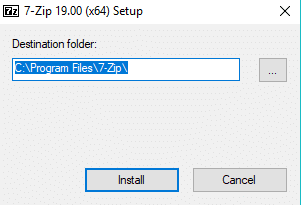
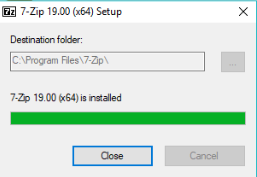
7.Click on the Install button to start Installation.
8.Once the Installation is completed, click on the close button.
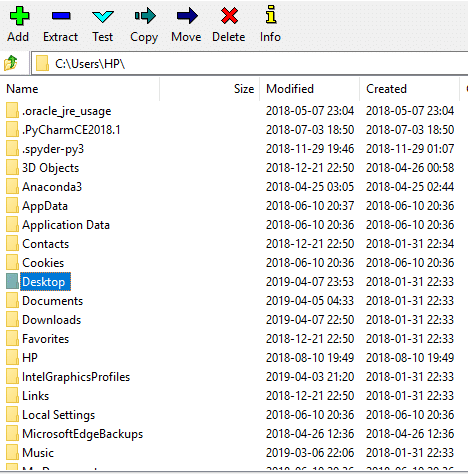
9.Navigate to the folder where you have installed 7-zip and you should see something like this:
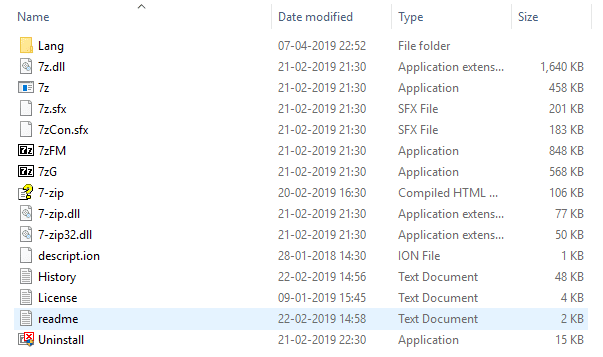
10.Copy the 7zFM application.
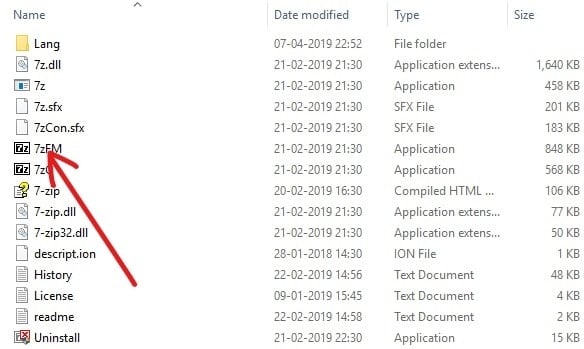
11.Finally, paste the copied item on the desktop. Now you will have a 7-zip icon on the desktop from where you can easily access the application anytime you want.

After completing the above steps, 7-zip is ready to use.
How to create TAR files using 7-zip?
TAR files are a collection of multiple files. To create a TAR file follow the below steps:
1.Double-click on the 7-zip shortcut on desktop which you just created.
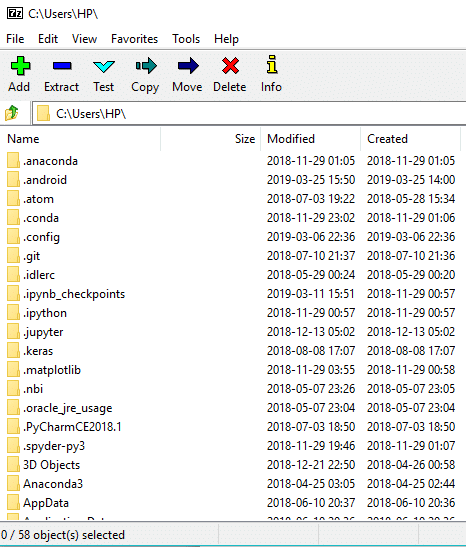
2.Now click on the Browse symbol present on the left-hand side of the address bar.
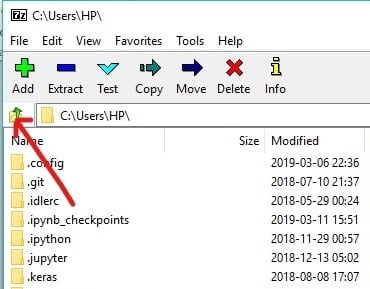
3.Navigate to the location where all your files are present which will be combined to make a single TAR file.
4.Double-click on your folder.
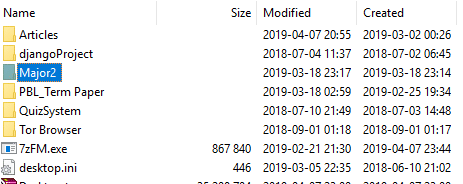
5.Next, you can see all the files inside the folder.
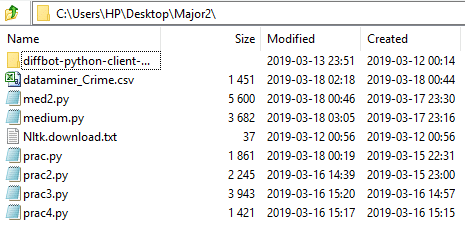
6.Select the desired files which you want to include under the TAR file.
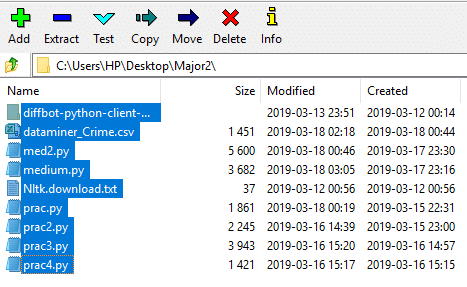
7.Next, click on the Add button icon available at the top left corner.
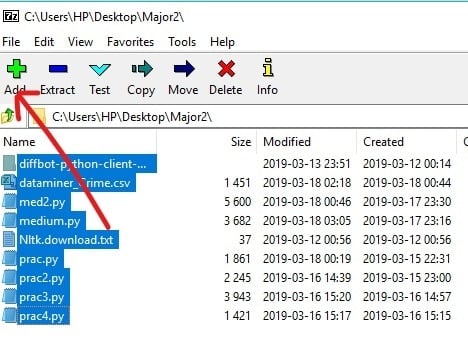
8.Once you click on the Add button the below dialog box will appear:
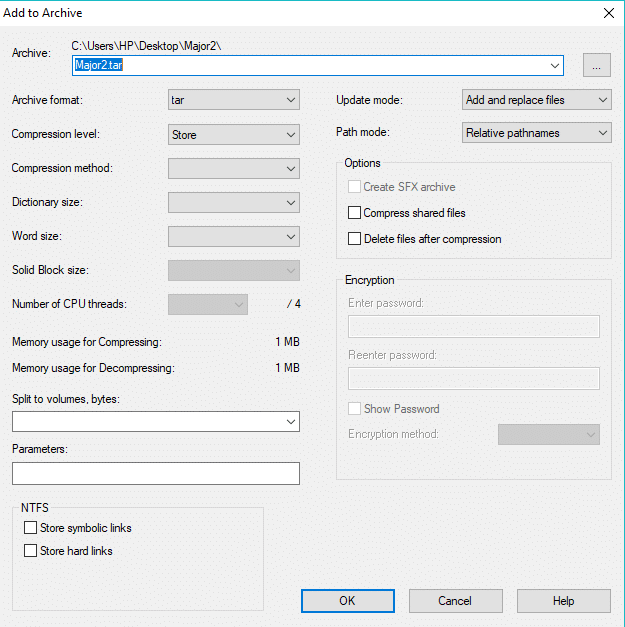
9.Under the archive address, type the name which you want to give to your TAR file.
10.From the Archive format dropdown menu, make sure to select tar if some other format is selected.
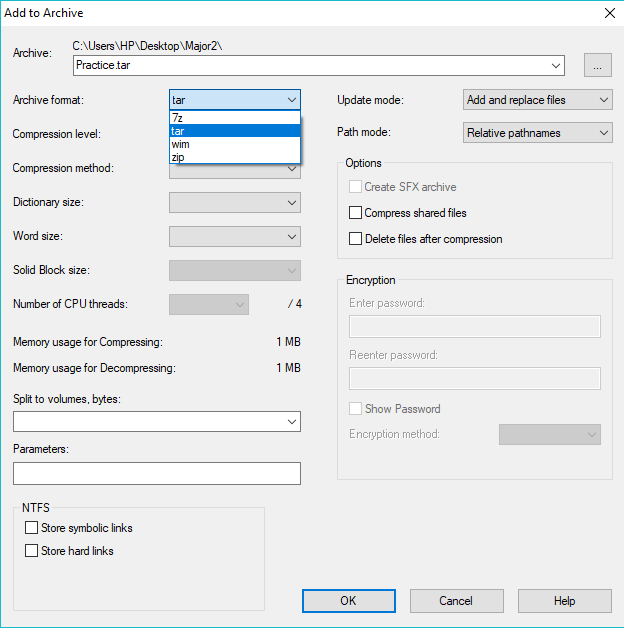
11.Finally, click OK to start the process.
You TAR file will be created under the same folder which you selected in step 4 i.e. this is the folder under which all your files are present which you selected while creating the TAR file. Visit that folder to see the created TAR file.
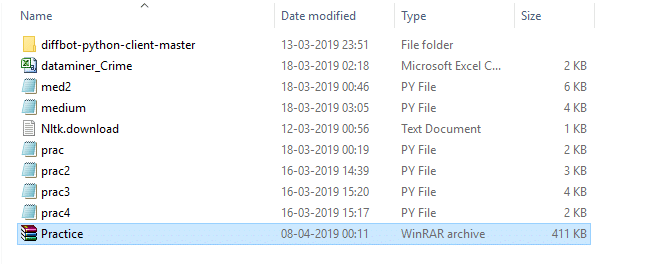
After completing the above steps your TAR file will be created.
How to open TAR files on Windows 10?
To open the TAR file which you have created or downloaded, follow the below steps:
1.Again open the 7-zip application by double-clicking on the desktop shortcut.
2.Now click on the Browse symbol present on the left-hand side of the address bar.
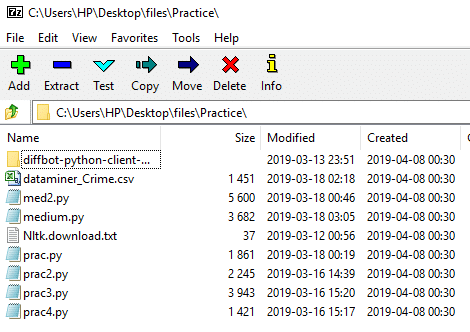
3.Navigate to the location of your TAR file.
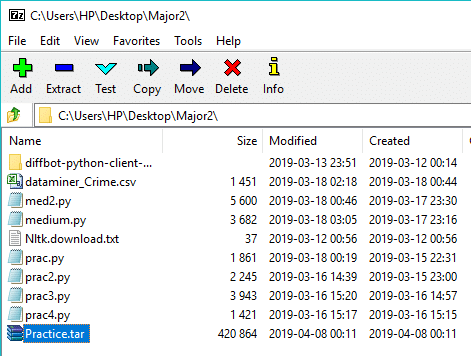
4.Select the desired TAR file and then click on the Extract button.
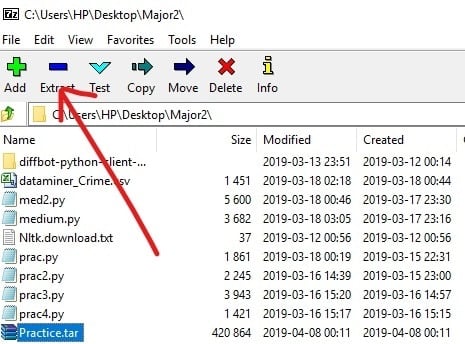
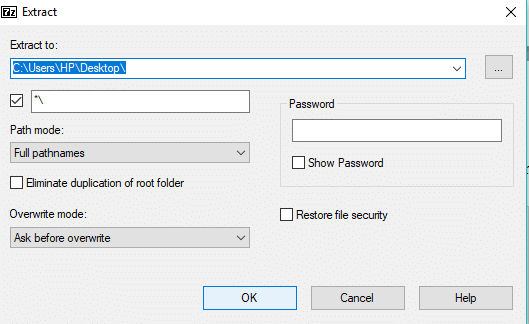
5.Once you click on the Extract button, the below dialog box will appear.
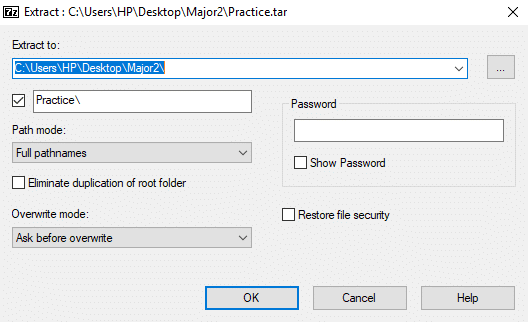
6.Under the “Extract to:” path, type the exact path where you want to extract the files under TAR. Or you could simply click on the three dots button to manually navigate to the desired folder.
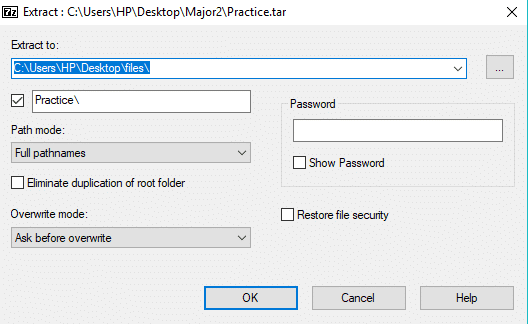
7.Next, click on OK to extract the files.
8.Navigate to the extracted folder under 7-zip.

9.Double-click on the extracted folder and you will see all the files which were used to create the TAR file will appear.
10.Now select the files which you want to extract to your PC.

11.Right-click on it and you will see the below dialog box:
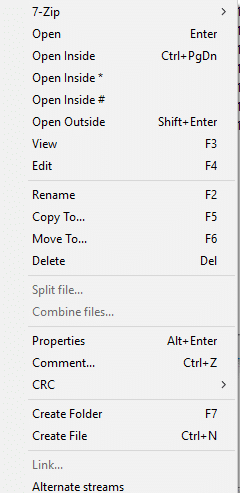
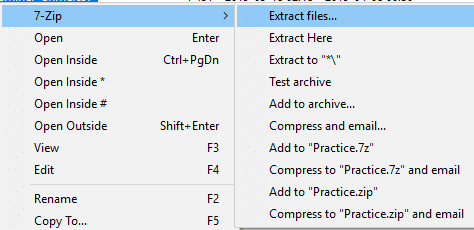
12.Select 7-zip from the right-click context menu and click on Extract files to extract the files under a specific folder or click on Extract Here to extract the files under the same folder where the TAR file is present.
13.If you selected Extract files then you will need to enter the location where you want to extract the files and click OK.
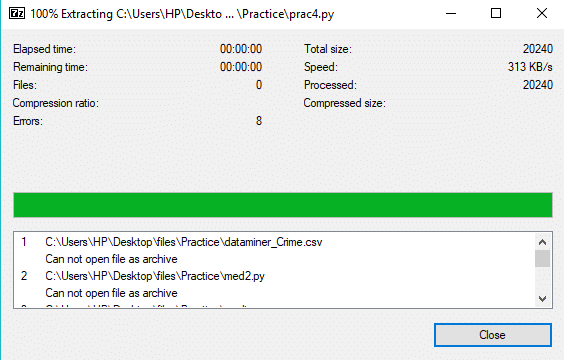
14.After the extraction is 100% complete, click on Close button.
After completing the above steps, navigate to the location where you have extracted your files and you will find the extracted folder or files there.

How to open TAR Files using Command Prompt
Someone people don’t like to install any third-party application on their system, and if you’re among such people then don’t worry as we can access or open TAR files using Command Prompt.
To open TAR File using Command Prompt follow the below steps:
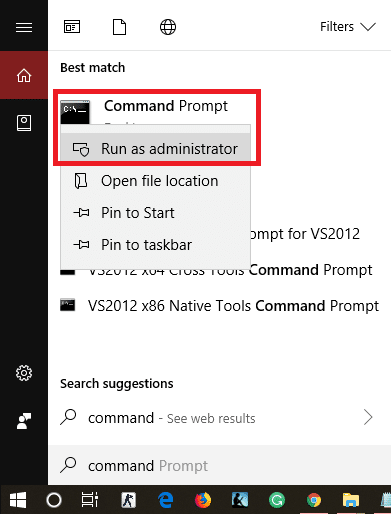
1.Type cmd in Windows search then right-click on Command Prompt and select Run as administrator.
2.Navigate to the location where your TAR file is present by utilizing the cd command:
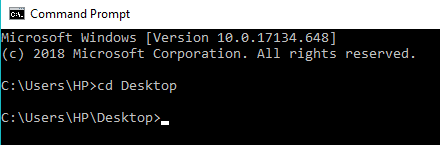
Note: If you file is present under C:Program Files then type cd C:Program Files.
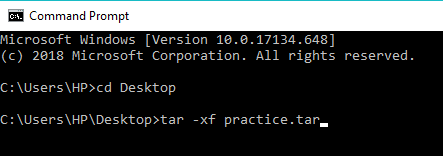
3.Now type the following command under cmd and hit Enter:
tar –xf TAR_file_name
Note: You need to replace the TAR_file_name with the actual name of your TAR file eg: tar -xf practice.tar
4.Your TAR file will be extracted under the same location.
Note: The TAR file will be extracted under the same location where the TAR file is present. And you cannot manually select the location where you want to extract the TAR file as you can using the 7-zip.
Recommended:
I hope this article was helpful and you can now easily Open TAR Files (.tar.gz) on Windows 10 using 7-zip, but if you still have any questions regarding this tutorial then feel free to ask them in the comment’s section.