How to Enable Virtualization on Windows 10?

There are several things that make Windows 10 the best Windows version there has ever been. One such feature is the support for hardware virtualization and therefore, the ability to create virtual machines. To those unaware and in layman’s terms, virtualization is the creation of a virtual instance of something (the list includes an operating system, storage device, network server, etc.) on the same set of hardware. Creating a virtual machine allows users to test beta applications in an isolated environment, use and easily switch between two different operating systems, etc.
Although virtualization is a feature that most users have no use for, it is disabled by default on Windows. One needs to manually enable it from the BIOS menu and then install Windows’ virtualization software (Hyper-V). In this article, we will be covering all the little details of enabling virtualization on Windows 10 and also show you how to create a virtual machine.
How to Enable Virtualization on Windows 10
Requisites for Virtualization
Hardware virtualization was first introduced in Windows 8 and has since evolved to include a greater number of features such as enhanced session mode, high fidelity graphics, USB redirection, Linux secure boot, etc. in Windows 10. Although, better and more virtualization features also demand a more powerful system. Below is a list of prerequisites your computer needs to possess in order for you to create and run a virtual machine.
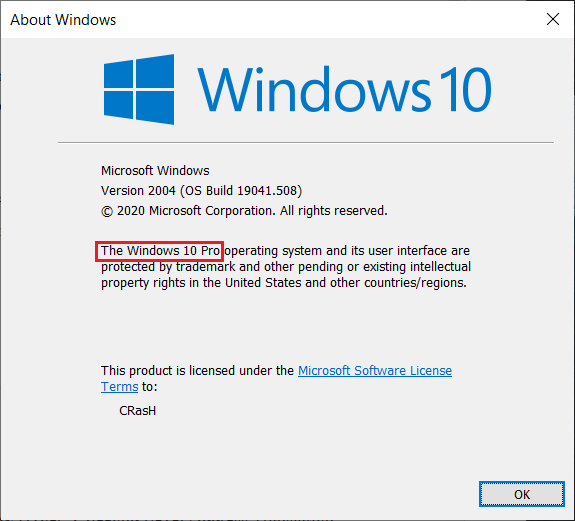
1. Hyper-V is only available on Windows 10 Pro, Enterprise, and Education versions. If you have Windows 10 Home and wish to create a virtual machine, you will need to upgrade to the Pro version. (If you are unsure about your Windows version, type winver in the start search bar or run command box and press enter.)
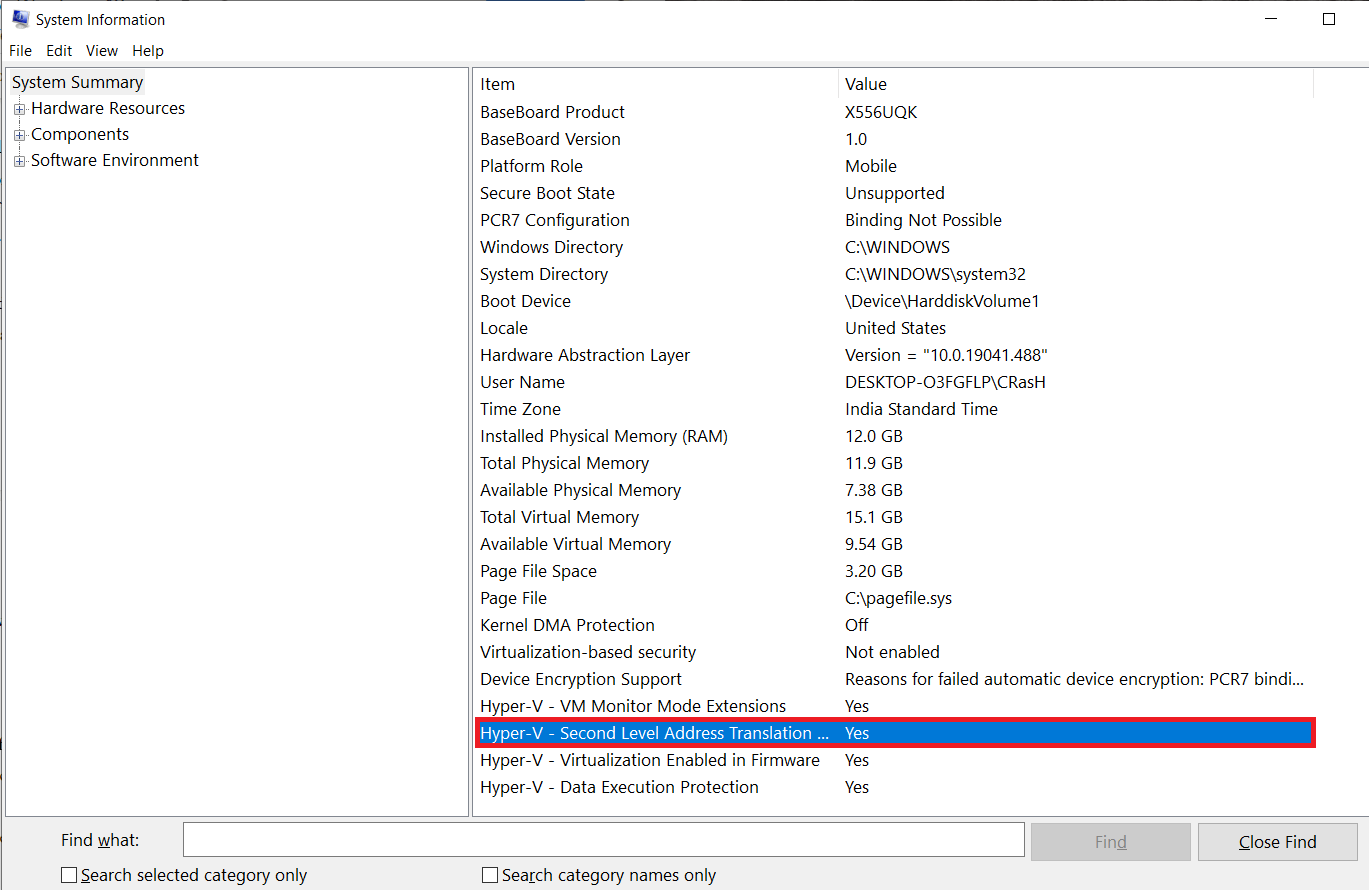
2. Your computer should be running on a 64-bit processor that supports SLAT (Secondary Level Address Translation). To check for the same, open the System Information application and review the System Type & Hyper-V Second Level Address Translation Extensions entries.
3. A minimum of 4gb of system RAM should be installed, although, having more than that would make for a much smoother experience.
4. There should also be enough free storage space to install the desired OS on the virtual machine.
Check if Virtualization is enabled in BIOS/UEFI
Virtualization technology may be already enabled on your computer. To check if that is indeed the case, follow the below steps.
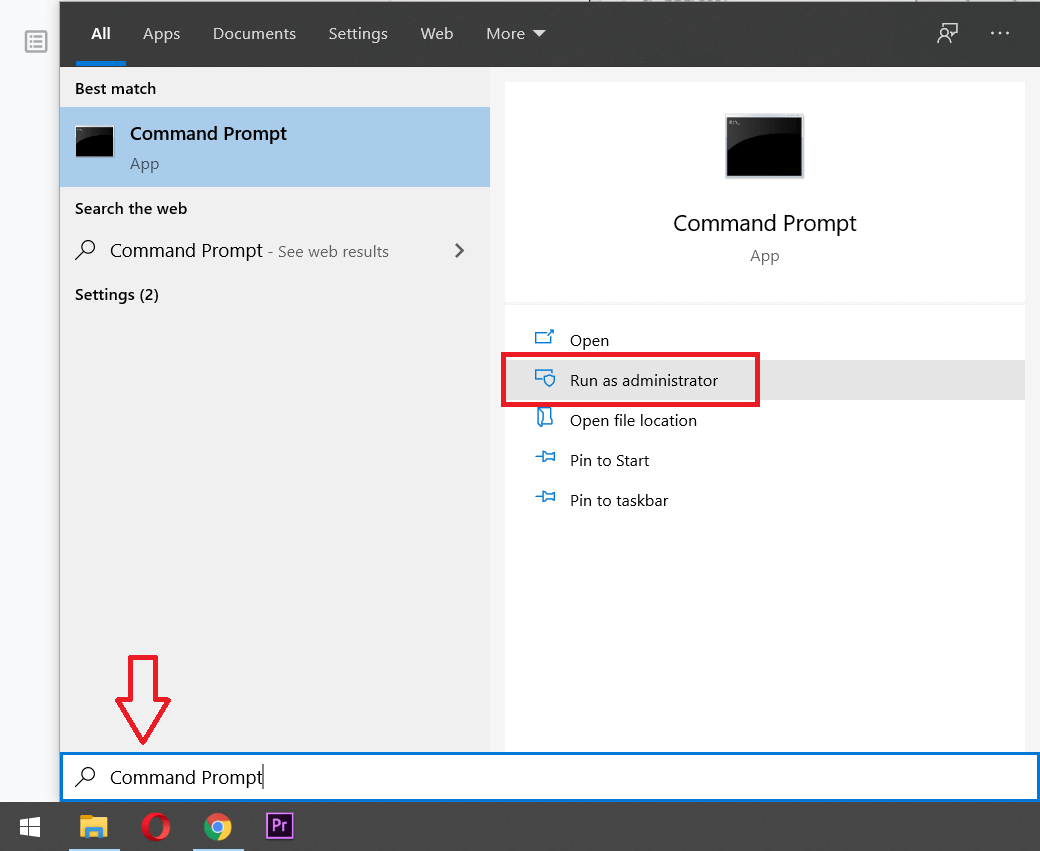
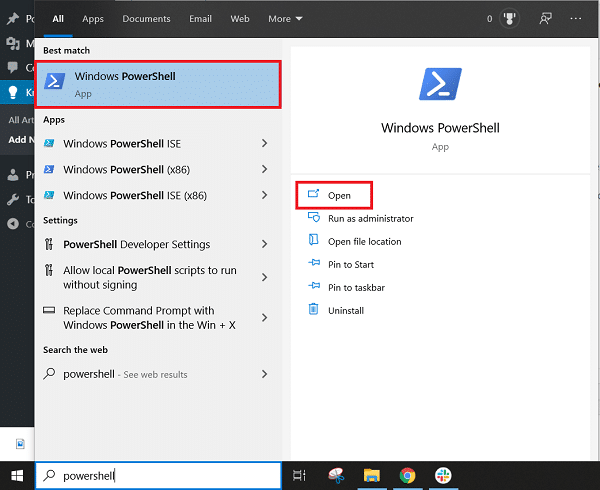
1. Search for Command Prompt or Powershell (either of them works) in the search bar and click on Open.
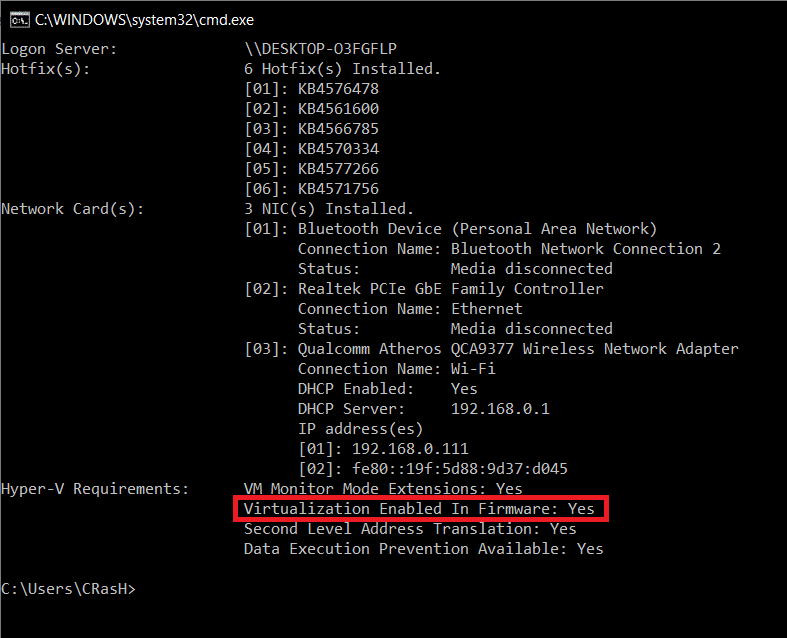
2. Type systeminfo.exe and press enter to execute the command. It may take a few seconds for the window to gather all the system information and display it for you.
3. Scroll through the displayed information and try to locate the Hyper-V Requirements section. Check the status for Virtualization Enabled in Firmware. It should, as obvious, read Yes if Virtualization is enabled.
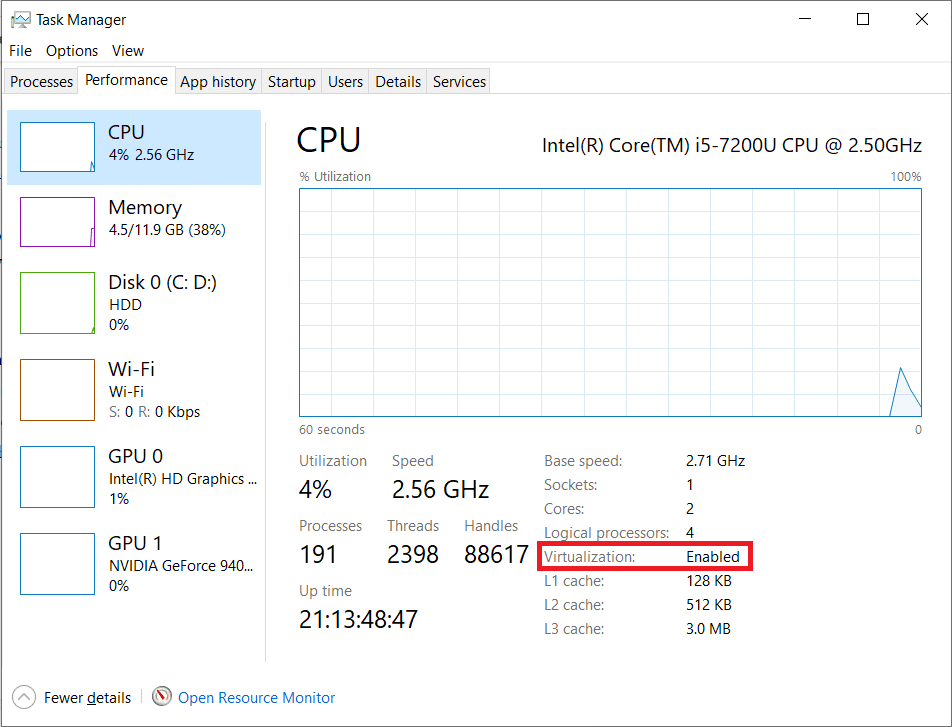
Another way to check if virtualization is enabled is to open Windows Task Manager (Ctrl + Shift + Esc) and in the Performance tab, check its status (Ensure the computer’s CPU is selected on the left). If virtualization isn’t enabled, first enable it from the BIOS menu and then install Hyper-V to create virtual machines.
Enable Virtualization in BIOS/UEFI
BIOS, the software that is responsible for making sure your computer boots on properly, also handles a number of other advanced features. As you might have guessed, BIOS also contains the settings to enable virtualization technology on your Windows 10 computer. To enable Hyper-V and manage your virtual machines, you will need first to enable virtualization in the BIOS menu.
Now, BIOS software differs from manufacturer to manufacturer, and also the mode of entry (BIOS key) to the BIOS menu is different for each. The easiest way to enter BIOS is to press one of the following keys repeatedly (F1, F2, F3, F10, F12, Esc, or Delete key) when the computer boots. If you do not know the BIOS key specific to your computer, follow the below guide instead and enable virtualization on Windows 10 PC:
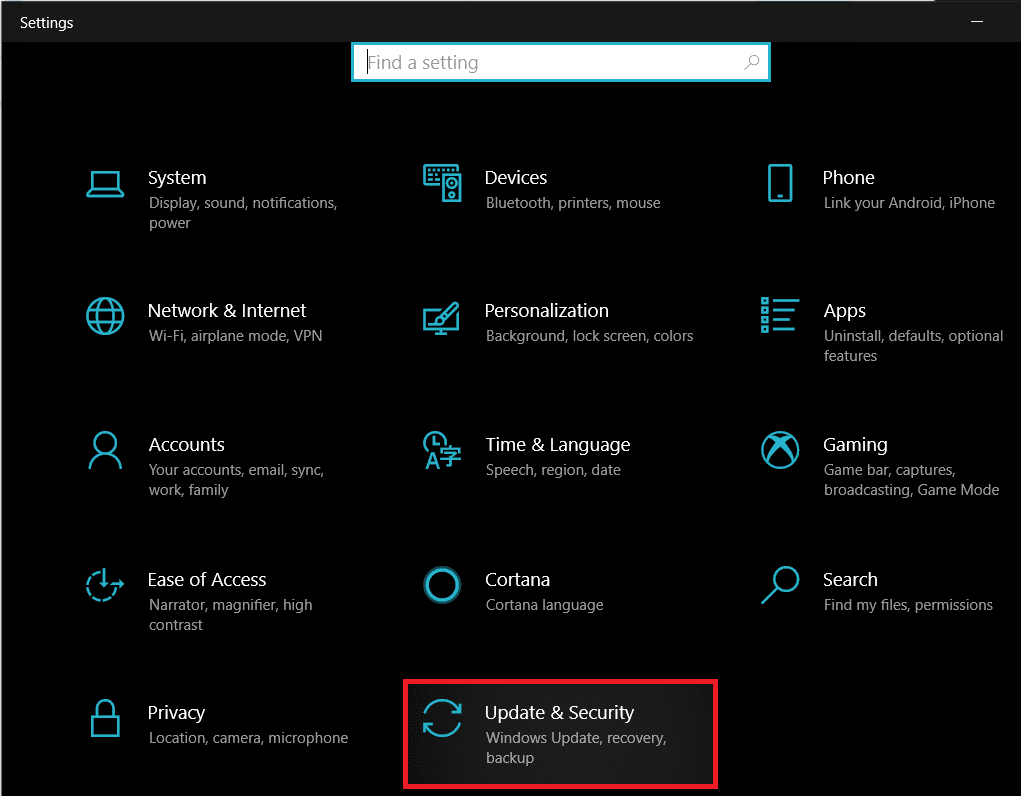
1. Open Windows Settings by pressing the hotkey combination of Windows key + I and click on Update and Security.
2. Using the left navigation menu, move to the Recovery settings page.
3. Here, click on the Restart now button under the Advanced startup section.

4. On the Advanced startup screen, click on Troubleshoot and enter Advanced Options.
5. Now, click on UEFI Firmware Settings and reboot.
6. The precise location of Virtualization or Virtual Technology settings will be different for each manufacturer. In the BIOS/UEFI menu, look for the Advanced or Configuration tab, and under it, enable virtualization.
3 Ways to Enable Hyper-V in Windows 10
Microsoft’s native hypervisor software is called Hyper-V, and it lets you create and manage virtual computer environments, also known as virtual machines on a single physical server. Hyper-V can run operating systems virtually, along with hard drives and network switches. Advanced users can even use Hyper-V to virtualize servers.
While Hyper-V is built-in on all supported PCs, it needs to be enabled manually. There are exactly 3 ways to install Hyper-V on Windows 10, all of which are explained in detail below.
Method 1: Enable Hyper-V From the Control Panel
This is the easiest & most straightforward method as you have a graphical user interface at your disposal. You merely need to navigate your way to the required destination and tick a box.
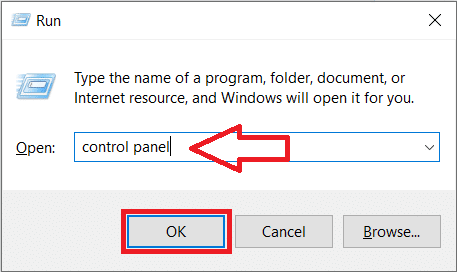
1. Press Windows key + R to launch the Run command box, type control or control panel in it, and click on OK to open the same.
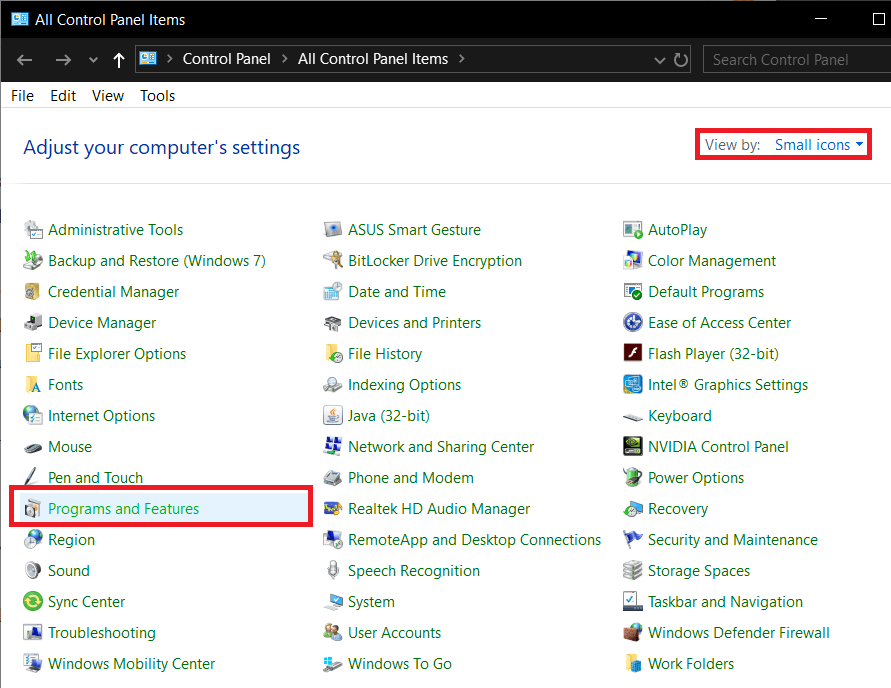
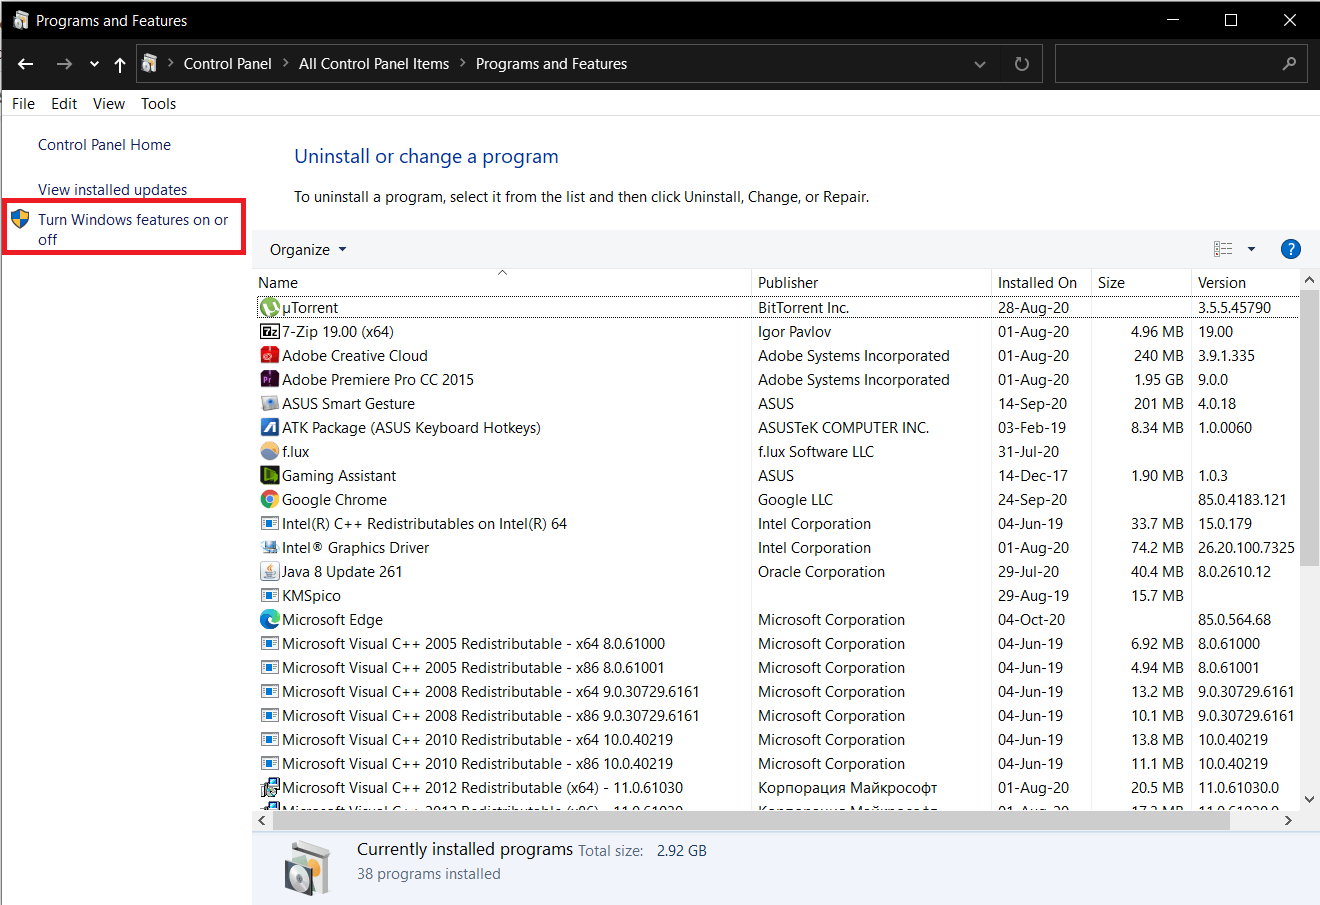
2. Look for Programs and Features in the list of All Control Panel items and click on it. You can change the icon size to small or large to make looking for the item easier.
3. In the Programs and Features window, click on the Turn Windows features on or off hyperlink present on the left.
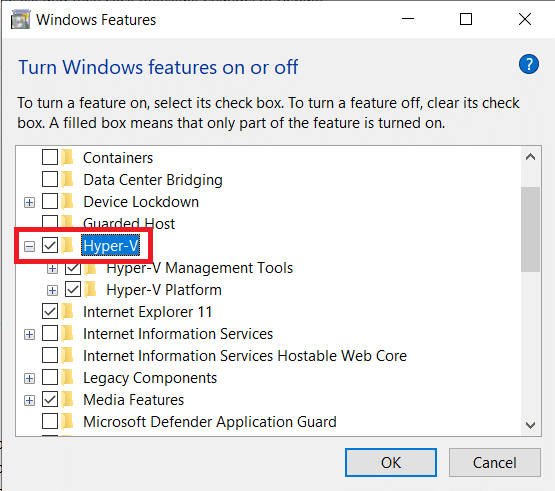
4. Finally, enable Virtualization by ticking the box next to Hyper-V and click on OK.
5. Windows will automatically start downloading and configuring all the files required to create a virtual machine on your computer. Once the download process completes, you will be requested to Restart.
Click on Restart now to reboot your PC immediately or click on Don’t restart and restart manually at a later time as per your convenience. Virtualization will only be enabled after the reboot, so do not forget to perform one.
Method 2: Enable Hyper-V using Command Prompt
A single command is all you need to enable and configure Hyper-V from the Command Prompt.
1. Type Command Prompt in the Start search bar (Windows key + S), right-click on the search result, and select Run as Administrator.
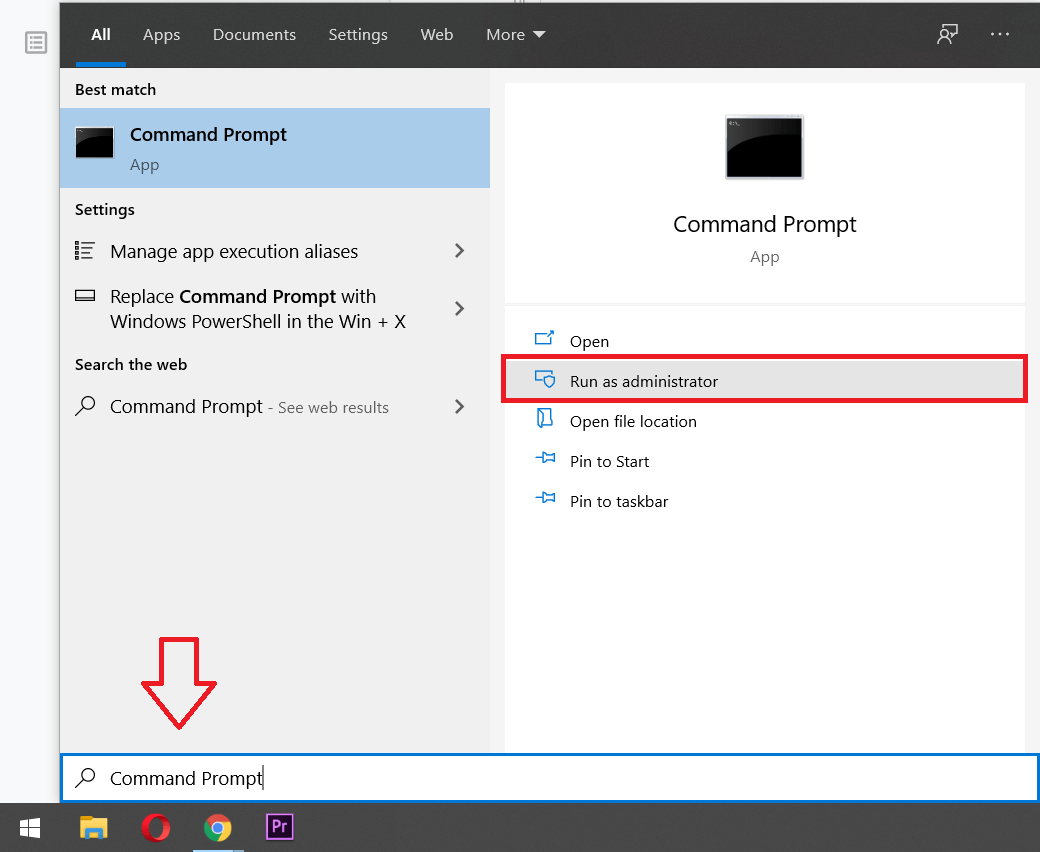
Note: Click on Yes in the User Account Control pop-up that appears requesting permission to allow the program to make changes to the system.
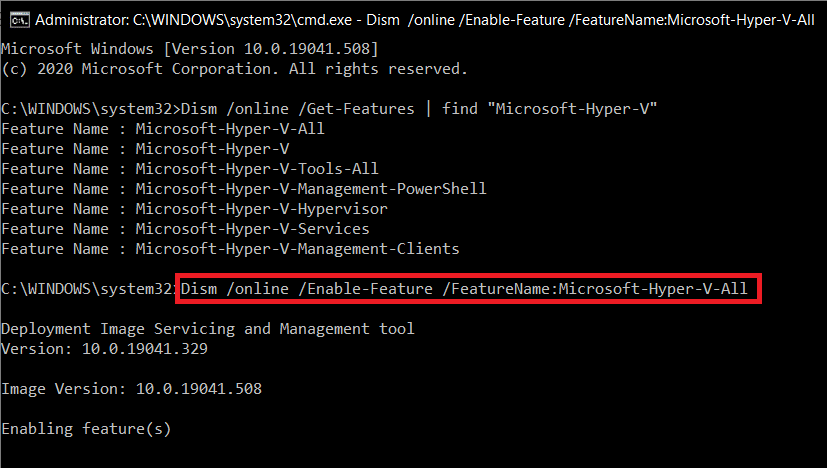
2. In the now elevated Command Prompt window, type the below command and press enter to execute it.
Dism /online /Get-Features | find “Microsoft-Hyper-V”
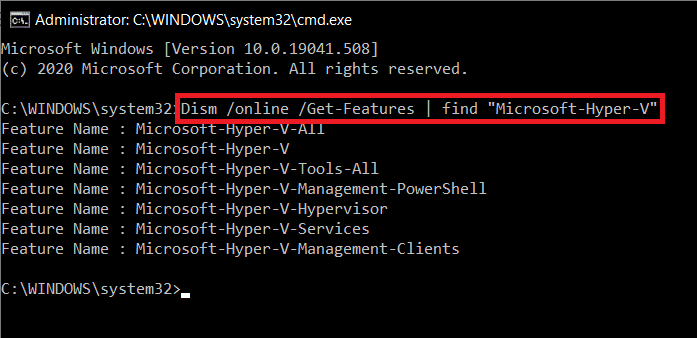
3. You will now receive a list of all available Hyper-V related commands. To install all Hyper-V features, execute the command
Dism /online /Enable-Feature /FeatureName:Microsoft-Hyper-V-All
4. All Hyper-V features will now be installed, enabled, and configured for your use. To complete the process, a computer restart is required. Press Y and hit enter to restart from the command prompt itself.
Method 3: Enable Hyper-V using Powershell
Similar to the previous method, you only need to execute a single command in an elevated Powershell window to install all Hyper-V features.
1. Similar to Command Prompt, Powershell also needs to be launched with administrative privileges to enable Hyper-V. Press Windows key + X (or right-click on the Start button) and select Windows Powershell (Admin) from the power user menu.
2. To obtain a list of all available Hyper-V commands and features, execute
Get-WindowsOptionalFeature -Online | Where-Object {$_.FeatureName -like “Hyper-V“}
3. Execute the first command in the list to install and enable all Hyper-V features. The entire command line for the same is
Enable-WindowsOptionalFeature -Online -FeatureName Microsoft-Hyper-V -All
4. Press Y & hit enter to restart your PC and enable Hyper-V.
How to create a Virtual Machine using Hyper-V?
Now that you have enabled virtualization and set up Hyper-V on Windows 10, it is time to put the technology to use and create a virtual machine. There are multiple ways to create a virtual machine (Hyper-V Manager, PowerShell, and Hyper-V Quick Create), but the easiest one is by using the Hyper-V Manager application.
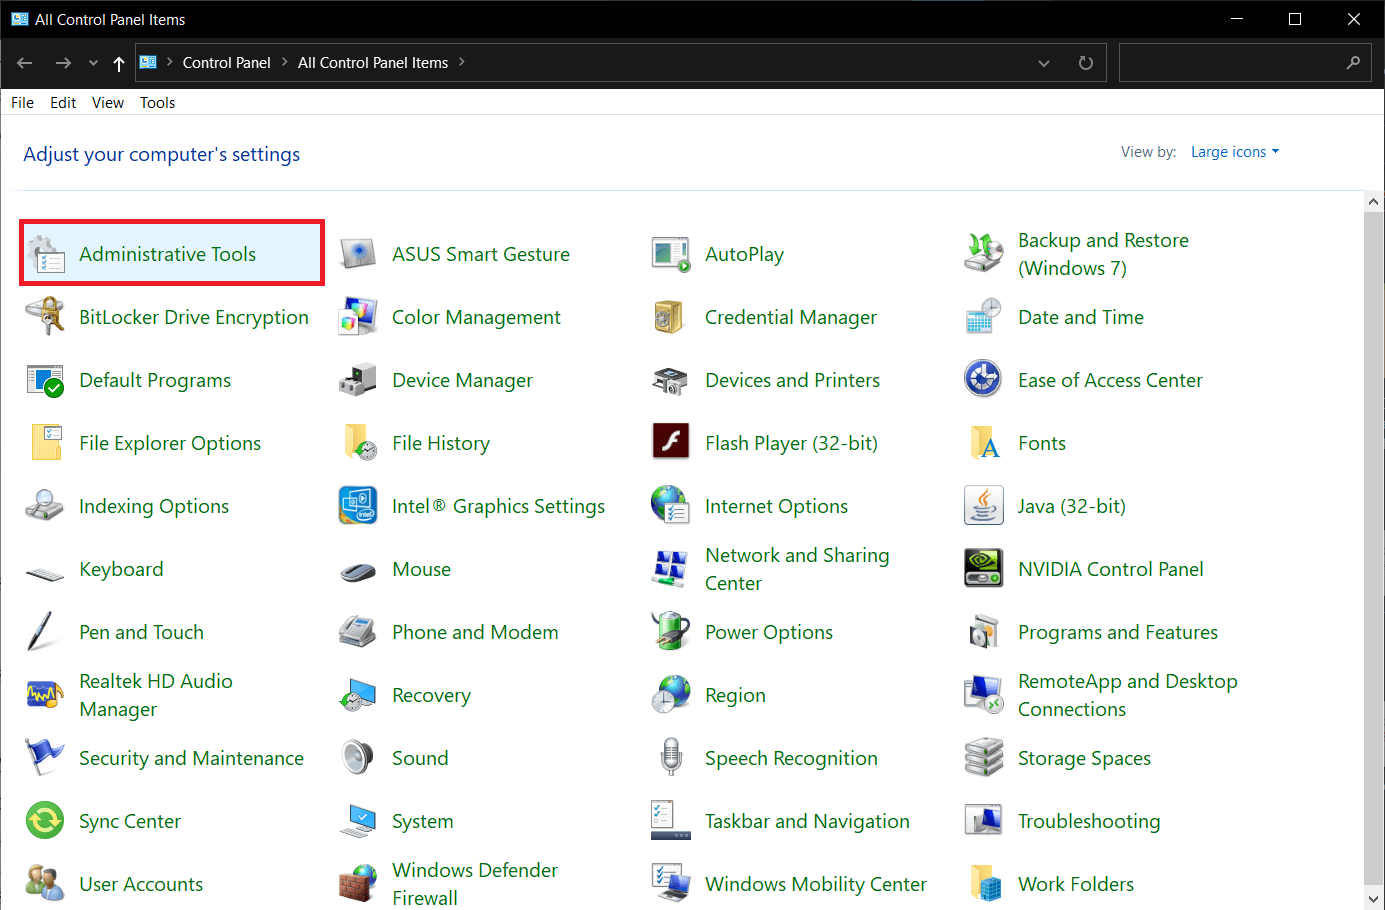
1. Open Control Panel using your preferred method and click on Administrative Tools. You can also open the same (Windows Administrative Tools) directly through the search bar.
2. In the following explorer window, double-click on Hyper-V Manager.
3. A Hyper-V manager window will open soon. On the left, you will find the name of your computer, select it to proceed.
4. Now, click on Action present at the top and select New, followed by Virtual Machine.
5. If you want to create a Virtual Machine with the most basic configuration, directly click on the Finish button in the New Virtual Machine Wizard window. On the other hand, to customize the Virtual Machine, click on Next and go through the individual steps one by one.
6. You will find the new virtual machine on the right panel of the Hyper-V Manager window. Options to turn it on or off, shut down, settings, etc. will also be present there.
Recommended:
So that is how you can enable virtualization and create a virtual machine on Windows 10 PC. If you are having a hard time understanding any of the steps, comment down below, and we will get back to you ASAP.