Unable to install Windows 11 and getting This PC can’t run Windows 11 error? Here’s how to enable TPM 2.0 and SecureBoot, in order to fix the “This PC Can’t Run Windows 11” error in the PC Health Check application.
The long-awaited update to Windows 10, the most used computer operating system across the world, was finally announced by Microsoft a couple of weeks ago (June 2021). As expected, Windows 11 will introduce a host of new features, the native applications, and the general user interface will receive a visual design overhaul, gaming improvements, support for Android applications, widgets, etc. Elements such as the Start menu, action center, and the Microsoft Store have also been completely revamped for the latest version of Windows. Current Windows 10 users will be allowed to upgrade to Windows 11 without any additional cost at the end of 2021, when the final version is made available to the public.

Fix This PC can’t run Windows 11 Error
Steps to Fix if Your PC Can’t Run Windows 11 error
System Requirements for Windows 11
Along with detailing all the changes that Windows 11 will bring forth, Microsoft also revealed the minimum hardware requirements to run the new OS. They are as follows:
- A modern 64-bit processor with a clock speed of 1 Gigahertz (GHz) or higher and 2 or more cores (Here is a complete list of Intel, AMD, and Qualcomm processors that will be able to run Windows 11.)
- At least 4 gigabytes (GB) of RAM
- 64 GB or larger storage device (HDD or SSD, either of them will work)
- A display with a minimum resolution of 1280 x 720 and larger than 9-inch (diagonally)
- The system firmware must support UEFI and Secure Boot
- Trusted Platform Module (TPM) version 2.0
- Graphics Card should be compatible with DirectX 12 or later with WDDM 2.0 driver.
To make things easier and allow users to check whether their current systems are compatible with Windows 11 by the press of a single click, Microsoft also released the PC Health Check application. However, the download link for the application is no longer online, and users can instead install the open-source WhyNotWin11 tool.
Many users who were able to get their hands on the Health Check app have reported receiving a “This PC can’t run Windows 11” pop-up message upon running the check. The pop-up message also provides more information on why Windows 11 can’t be run on a system, and the reasons include – processor is not supported, storage space is lesser than 64GB, TPM and Secure Boot are not supported/disabled. While resolving the first two issues will require changing hardware components, the TPM and Secure Boot issues can be resolved quite easily.

Method 1: How to Enable TPM 2.0 from BIOS
A Trusted Platform Module or TPM is a security chip (cryptoprocessor) that provides hardware-based, security-related functions to modern Windows computers by securely storing encryption keys. TPM chips include multiple physical security mechanisms making it difficult for hackers, malicious applications, and viruses to alter them. Microsoft mandated the use of TPM 2.0 (the latest version of TPM chips. The previous one was called TPM 1.2) for all systems manufactured post-2016. So if your computer isn’t archaic, it is likely that the security chip is pre-soldered onto your motherboard but is simply disabled.
Also, the requirement of a TPM 2.0 in order to run Windows 11 caught most users by surprise. Earlier, Microsoft had listed TPM 1.2 as the minimum hardware requirement but later changed it to TPM 2.0.
The TPM security technology can be managed from the BIOS menu but before booting into it, let’s ensure your system is equipped with a Windows 11 compatible TPM. To do this –
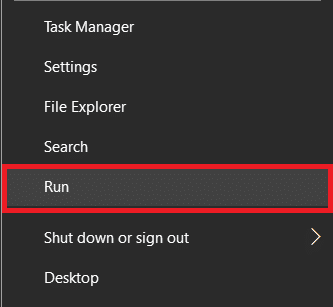
1. Right-click on the Start menu button and select Run from the power user menu.
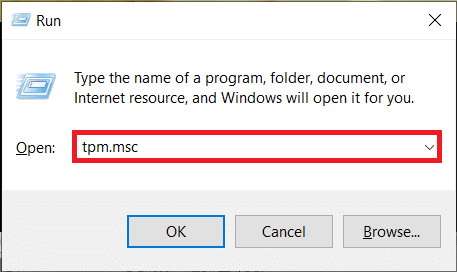
2. Type tpm.msc in the text field and click on the OK button.
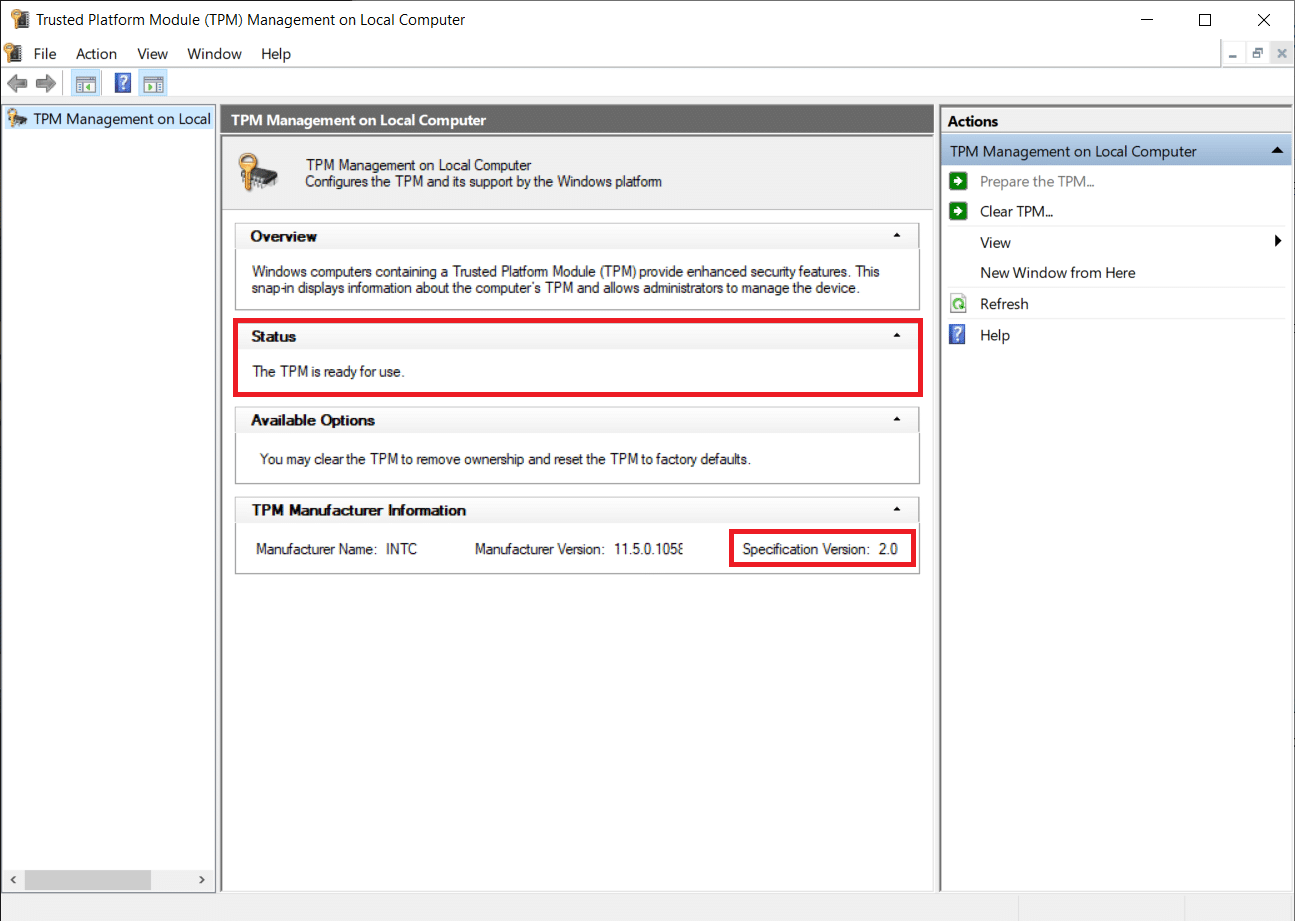
3. Wait patiently for the TPM Management on Local Computer application to launch, check Status and the Specification version. If the Status section reflects ‘The TPM is ready for use’ and the version is 2.0, the Windows 11 Health Check app might be the one at fault here. Microsoft themselves have addressed this issue and have taken down the application. An improved version of the Health Check app will be released later.
Also Read: Enable or Disable Secure Login in Windows 10
However, if the Status indicates that the TPM is off or cannot be found, follow the below steps to enable it:
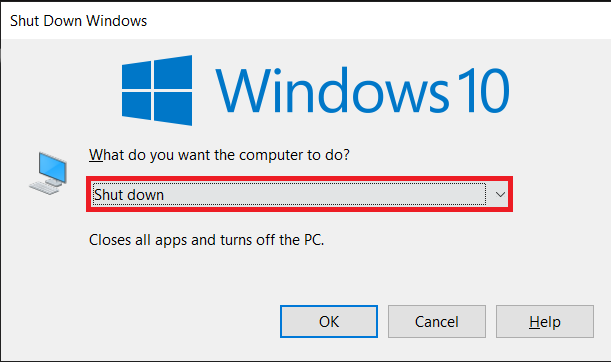
1. As mentioned earlier, TPM can only be enabled from the BIOS/UEFI menu, so start by closing down all the active application windows and press Alt + F4 once you are on the desktop. Choose Shut Down from the selection menu and click on OK.
2. Now, restart your computer and press the BIOS key to enter the menu. The BIOS key is unique for each manufacturer and can be found by performing a quick Google search or by reading the user manual. The most common BIOS keys are F1, F2, F10, F11, or Del.
3. Once you have entered the BIOS menu, find the Security tab/page and switch to it using the keyboard arrow keys. For some users, the Security option will be found under Advanced Settings.
4. Next, locate the TPM settings. The exact label may vary; for example, on some Intel-equipped systems, it might be “PTT,” “Intel Trusted Platform Technology,” or simply “TPM Security” and “fTPM” on AMD machines.
5. Set the TPM Device status to Available and TPM State to Enabled. (Make sure you do not mess with any other TPM-related setting.)

6. Save the new TPM settings and reboot your computer. Run the Windows 11 check again to confirm if you’re able to fix This PC can’t run Windows 11 error.
Method 2: Enable Secure Boot
Secure Boot, as the name suggests, is a security feature that only allows trusted software and operating systems to boot. The traditional BIOS or the legacy boot would load the bootloader without performing any checks, while the modern UEFI boot technology stores official Microsoft certificates and cross-checks everything before loading. This prevents malware from messing with the boot process and, thus, results in improved general security. (Secure boot is known to cause issues when booting certain Linux distributions and other incompatible software.)
To check whether your computer supports the Secure Boot technology, type msinfo32 in the Run Command box (Windows logo key + R) and hit enter.

Check the Secure Boot State label.
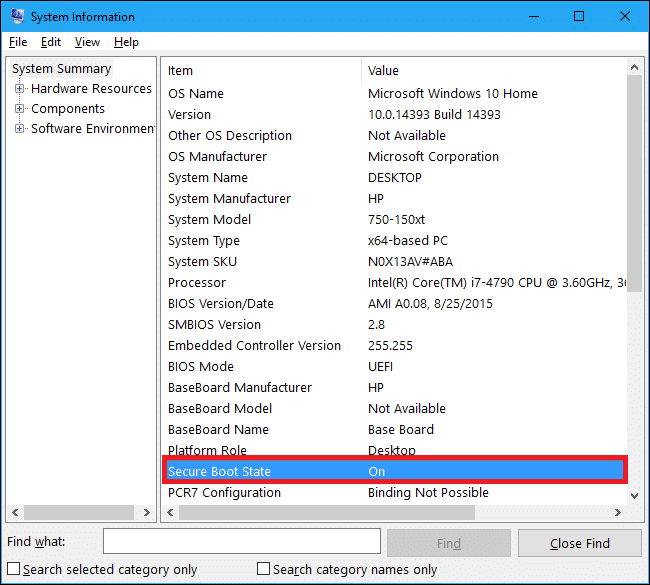
If it reads ‘Unsupported,’ you won’t be able to install Windows 11 (without any trickery); on the other hand, if it reads ‘Off,’ follow the below steps.
1. Similar to TPM, Secure Boot can be enabled from within the BIOS/UEFI menu. Follow steps 1 and 2 of the previous method to enter the BIOS menu.
2. Switch to the Boot tab and enable Secure Boot using the arrow keys.
For some, the option to enable Secure Boot will be found inside the Advanced or Security menu. Once you enable Secure Boot, a message requesting confirmation will appear. Choose Accept or Yes to continue.

Note: If the Secure Boot option is greyed out, ensure the Boot Mode is set to UEFI and not Legacy.
3. Save the modification and exit. You should no longer receive the “This PC can’t run Windows 11” error message.
Recommended:
Microsoft is rightfully doubling down on security with the requirement of TPM 2.0 and Secure Boot in order to run Windows 11. Anyway, fret not if your current computer does not meet the minimum system requirements for Windows 11, as workarounds to incompatibility issues are sure to be figured out once the final build for the OS is released. You can rest assured that we will be covering those workarounds whenever they are available, along with several other Windows 11 guides.