How to Install Windows 11 on Legacy BIOS

Windows 11 is strict on the system requirements needed to upgrade your computer to this latest operating system by Microsoft. Requirements like TPM 2.0 and Secure Boot are becoming one of the major reasons for not receiving Window 11 updates. This is why even 3-4 years old computers are standing incompatible with Windows 11. Fortunately, there are various ways to bypass these requirements. In this article, we are going to explore how to install Windows 11 on Legacy BIOS without Secure Boot or TPM 2.0.
How to Install Windows 11 on Legacy BIOS without Secure Boot or TPM 2.0
What is Secure Boot?
Secure Boot is a feature in start-up software in your computer that ensures your computer begins safely and securely by preventing unauthorized software, such as malware, from taking control of your computer at boot-up. If you have Windows 10 modern PC with UEFI (Unified Extensible Firmware Interface), you are being protected from malicious software trying to take control of your computer when it starts up.
What is TPM 2.0?
TPM stands for Trusted Platform Module. When you turn on a newer PC with full-disk encryption and a TPM, the little chip will generate a cryptographic key, which is a one-of-a-kind code. The drive encryption is unlocked and your computer will start up if everything is normal. Your PC would not boot up if there is a problem with the key, for example, if a hacker tried to tamper with the encrypted drive.
Both these features boost Windows 11 security making you the only person to log in to your computer.
There are many ways to bypass these checks. The following methods are efficient to install Windows 11 on legacy BIOS without Secure Boot and TPM 2.0.
Method 1: Use Third-party App
Rufus is a well-known free tool used in the Windows community to create Bootable USB drives. In the beta version of Rufus, you get the option to bypass Secure Boot and TPM checks. Here is how to install Windows 11 on legacy BIOS:
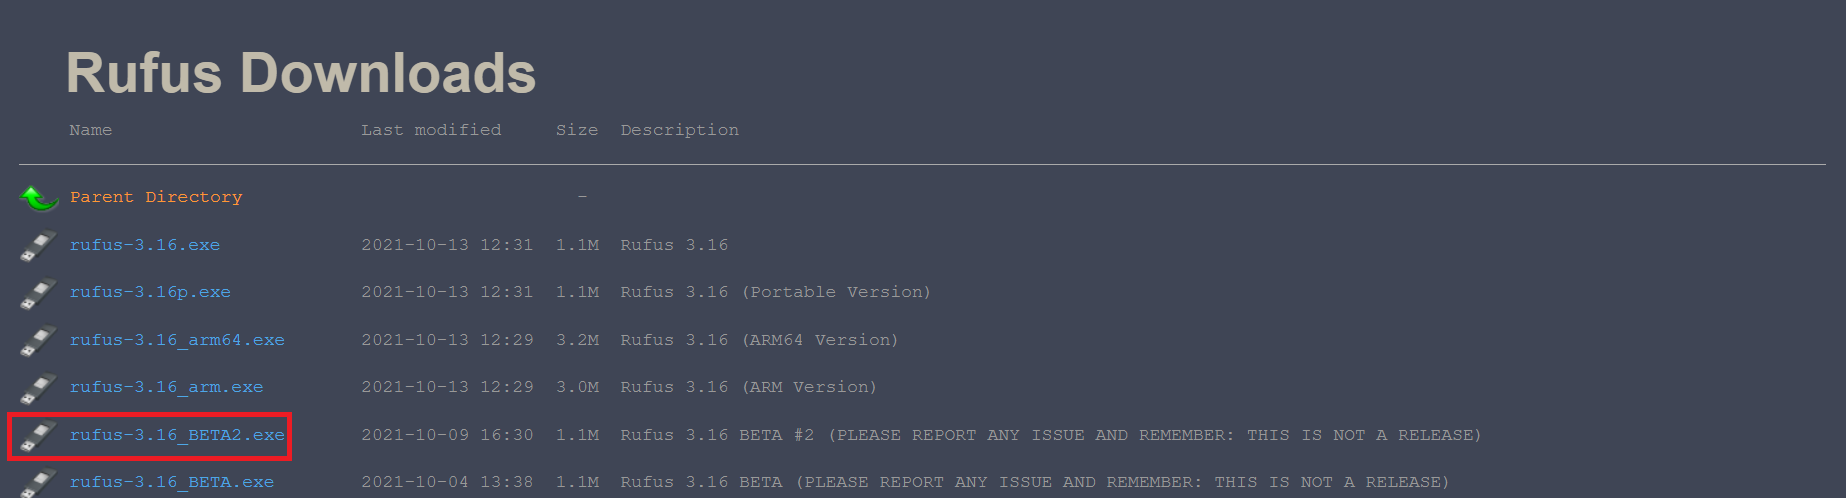
1. Download Rufus BETA version from its official website.
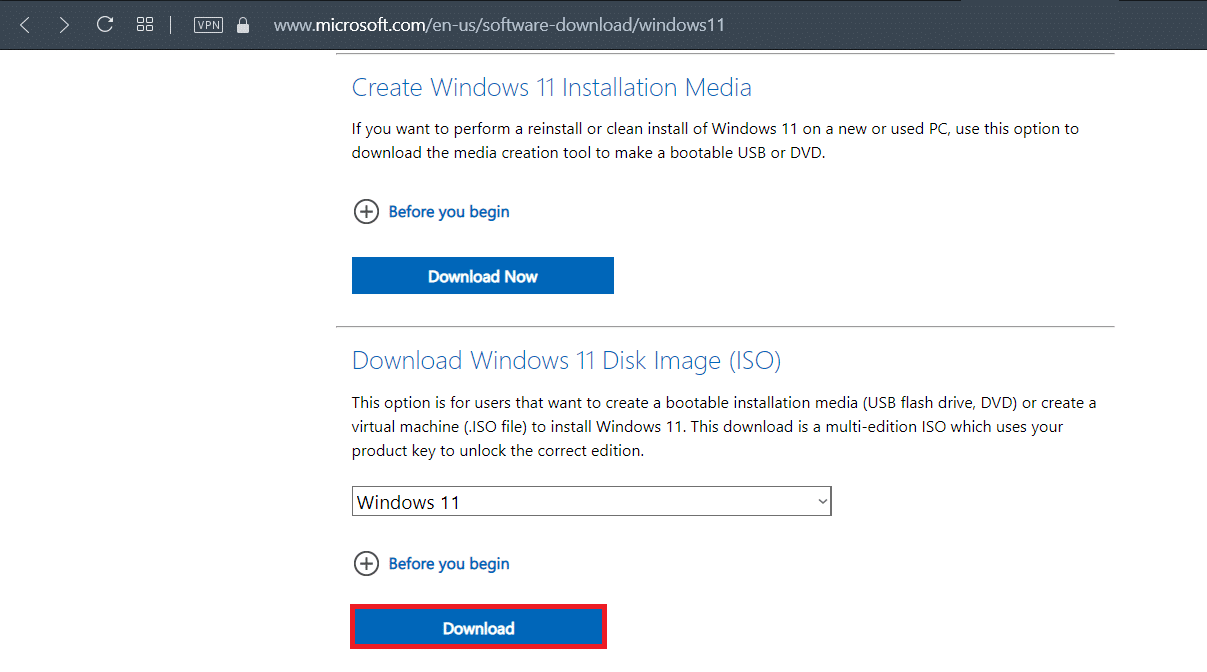
2. Then, download the Windows 11 ISO file from Microsoft website.
3. Now, plug in USB device with at least 8GB of storage space available.
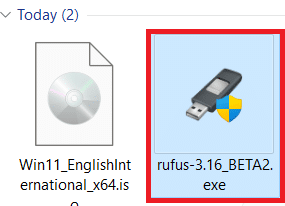
4. Locate the downloaded Rufus installer in File Explorer and double-click on it.
5. Click on Yes in the User Account Control prompt.
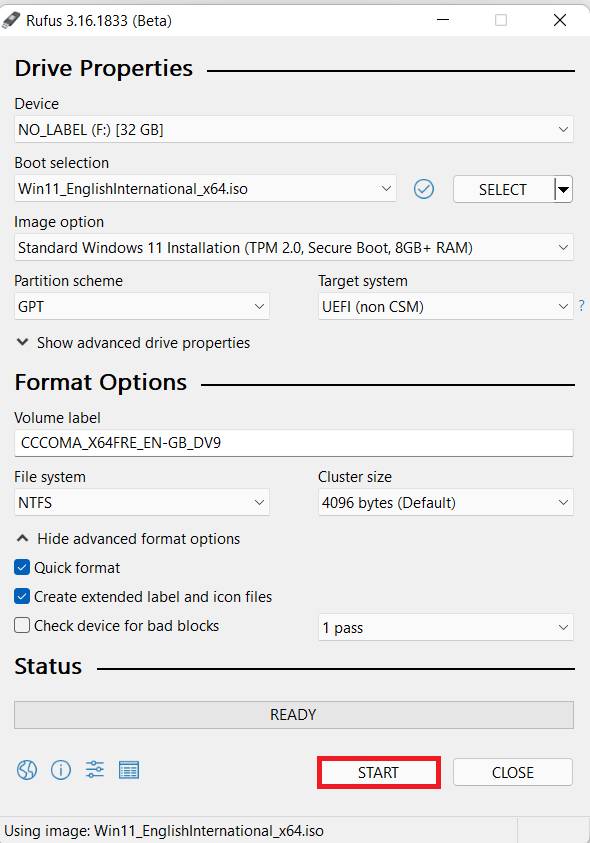
6. Select the USB device from the Device drop-down list to install Windows 11 on legacy BIOS.
7. Then, click on SELECT next to Boot Selection. Browse and select the downloaded Windows 11 ISO image.
8. Now, select extended Windows 11 installation (no TPM/no Secure Boot/8GB- RAM) under Image option drop-down menu, as illustrated below.
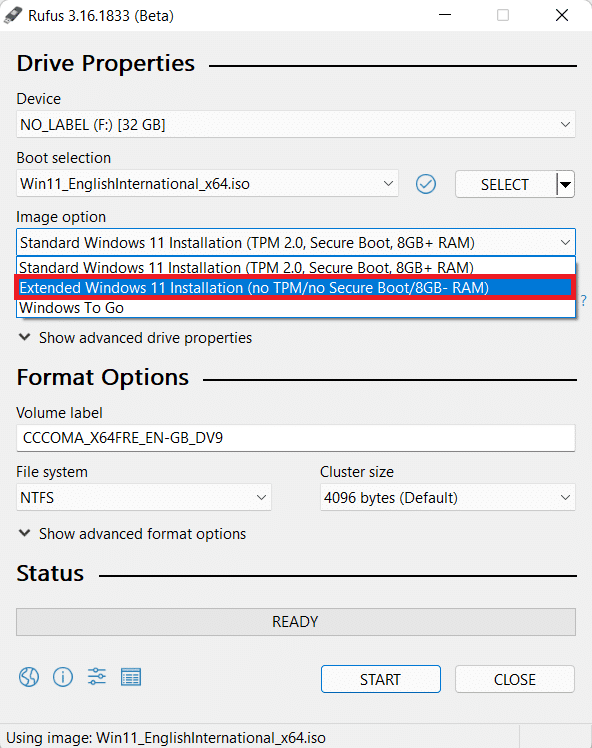
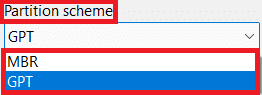
9. Click on the drop-down list under the Partition scheme. Choose MBR if your computer runs on legacy BIOS or GPT if it uses UEFI BIOS mode.
Note: You can also configure other options like Volume label, & File system. You can also check for bad sectors on the USB drive under Show advanced format options.

10. Finally, click on START to create a bootable USB device.
Once the process is completed, you can install Windows 11 on an unsupported computer using the Bootable USB drive.
Also Read: How to Create Windows 10 Installation Media with Media Creation Tool
Method 2: Modify Windows 11 ISO File
Modifying Windows 11 ISO files can also help bypass Secure Boot and TPM checks. However, you need Windows 11 ISO and Windows 10 bootable USB drives. Here’s how to install Windows 11 on legacy BIOS:
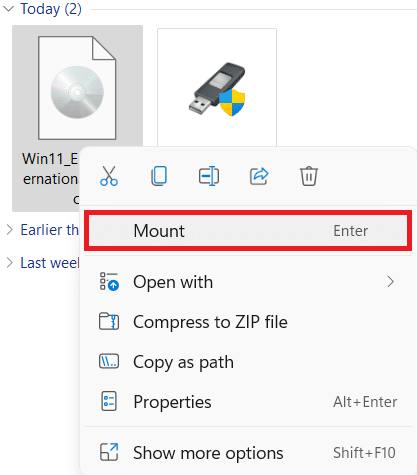
1. Right-click on Windows 11 ISO and select Mount from the menu.
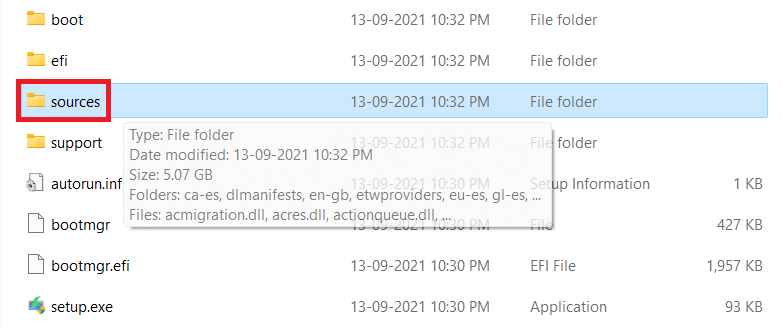
2. Open the mounted ISO file and look for the folder named sources. Double click on it.

3. Search for install.wim file in the sources folder and Copy it, as shown.

4. Plug in Windows 10 bootable USB drive and open it.
5. Find the sources folder in the USB drive and open it.
6. Paste the copied install.wim file in the sources folder by pressing Ctrl + V keys.
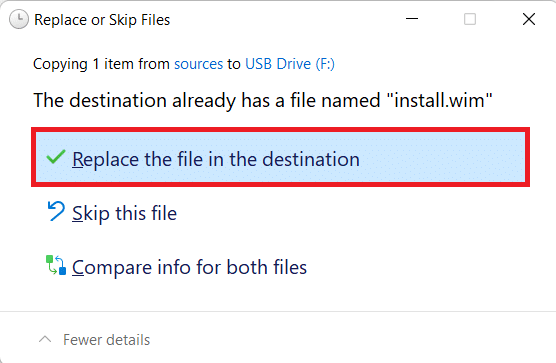
7. In the Replace or Skip Files prompt, click on Replace the file in the destination, as depicted.
8. Boot your computer using the Bootable USB drive.
Recommended:
We hope learnt how to install Windows 11 on legacy BIOS without Secure Boot and TPM 2.0. You can send your suggestions and queries in the comment section down below. We would love to know which topic you want us to explore next!