When you try to update any listed pending components in your Windows 11 PC, you may face the install error 0x8007012a issue. Even though you click on the Retry button, the error will not vanish unless you follow any troubleshooting methods. Since several users have complained about Windows update install error 0x8007012a, this guide is intended to resolve the same with effective troubleshooting methods. So, continue reading.
How to Fix Windows Update Install Error 0x8007012a
Windows 11 is the most advanced release from Microsoft, comprising a truckload of many new interesting features. Specifically, looks pretty along with clean search menu options and the facility to download & use Android applications on your Windows 11 PC as well. Yet, being its tender stage, it faces some errors, and the worst part of them is the one that prevents you from updating the components installed on the PC. You may face this issue due to some of the reasons listed below.
- System bugs
- Network issues
- External peripheral glitches
- Antivirus interference
- Damaged system files
- Incorrect registry inputs
Here, we have shown the troubleshooting methods to fix the said error. The methods are arranged from simple to advanced effective steps so that you might attain faster results. Follow them in the same order as instructed below.
Method 1: Connect to a Proper Network
When your internet connectivity is not optimum, the connection interrupts more frequently. This is the most apparent reason behind install error 0x8007012a. Firstly, you should run a Speed test to know your current network speed. Now, follow some basic tips given below to improve your internet connection.
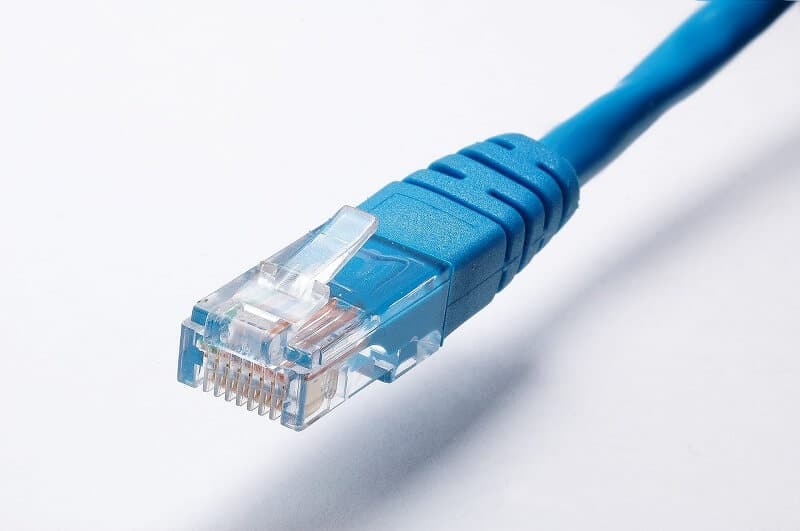
- Replace Faulty Cables: If you use an old, damaged, or unreliable cable, the internet connection will keep disconnecting from the device. Even if your internet speed is very high, you will not get uninterrupted service when the wires are broken. There are a couple of cables that are responsible for internet connectivity. One will connect your modem with your router, and the other will connect your modem with the wall. If there is any problem with any part of the cable, your connection will not be set up to the level. Ensure that the wires are not damaged and if they are not in optimum condition, then replace them with a new one.
- Check Internet Modem: If your modem is not communicating correctly with the Internet Service Provider (ISP), then there are more chances that you might encounter this issue. Whenever you buy a modem, it must be approved by your Internet Service Provider (ISP). However, even it is approved, many crucial conflicts arise in its compatibility. Therefore, you must need a helping hand to enable proper connectivity with the ISP. Next time, if you face this issue, try checking the modem connection and reconnect it again if it is disabled.
- Switch to Faster Internet Package: You can also prefer a new faster internet package and buy it from your network provider.
Method 2: Reboot PC
Before trying the rest of the methods, you are advised to reboot your PC. In most cases, a simple restart will fix the issue without any challenging layouts. So, try to reboot your PC by following the below-mentioned steps and check if you face the problem again. Alternatively, you can fully shut down the system using the Power options and turn it on again.
1. Navigate to the Start menu.
2. Now, select the power icon.
Note: In Windows 10, the Power icon is found at the bottom. Whereas in Windows 8, the Power icon is located at the top.
3. Several options like Sleep, Shut down, and Restart will be displayed. Here, click on Restart.
Also Read: Fix Windows Update Error 0x80070005
Method 3: Perform Clean Boot
The issues concerning Windows update install error 0x8007012a can be fixed by a clean boot of all essential services and files in your Windows 10 system. Make sure you log in as an administrator to perform Windows clean boot. Read our guide to perform a clean boot in Windows 10.
Method 4: Remove USB Devices & Disc
If you have any DVDs, Compact Discs, or USB devices connected with your PC, disconnect them and reboot your machine. You are advised to remove the external devices with intense care to avoid any data loss.
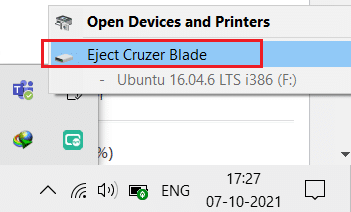
1. Locate the Safely Remove Hardware and Eject Media icon in the Taskbar, as shown.
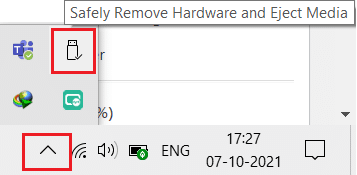
2. Right-click on the icon and select the Eject <name of the device>. Here, we are removing USB device named Cruzer Blade.
3. Likewise, remove all external devices safely from the system
4. Lastly, reboot your PC and check if the issue is fixed.
Method 5: Run Windows Update Troubleshooter
Running the Windows Update Troubleshooter will resolve any glitches in update services. Follow these steps to run Windows Update Troubleshooter.
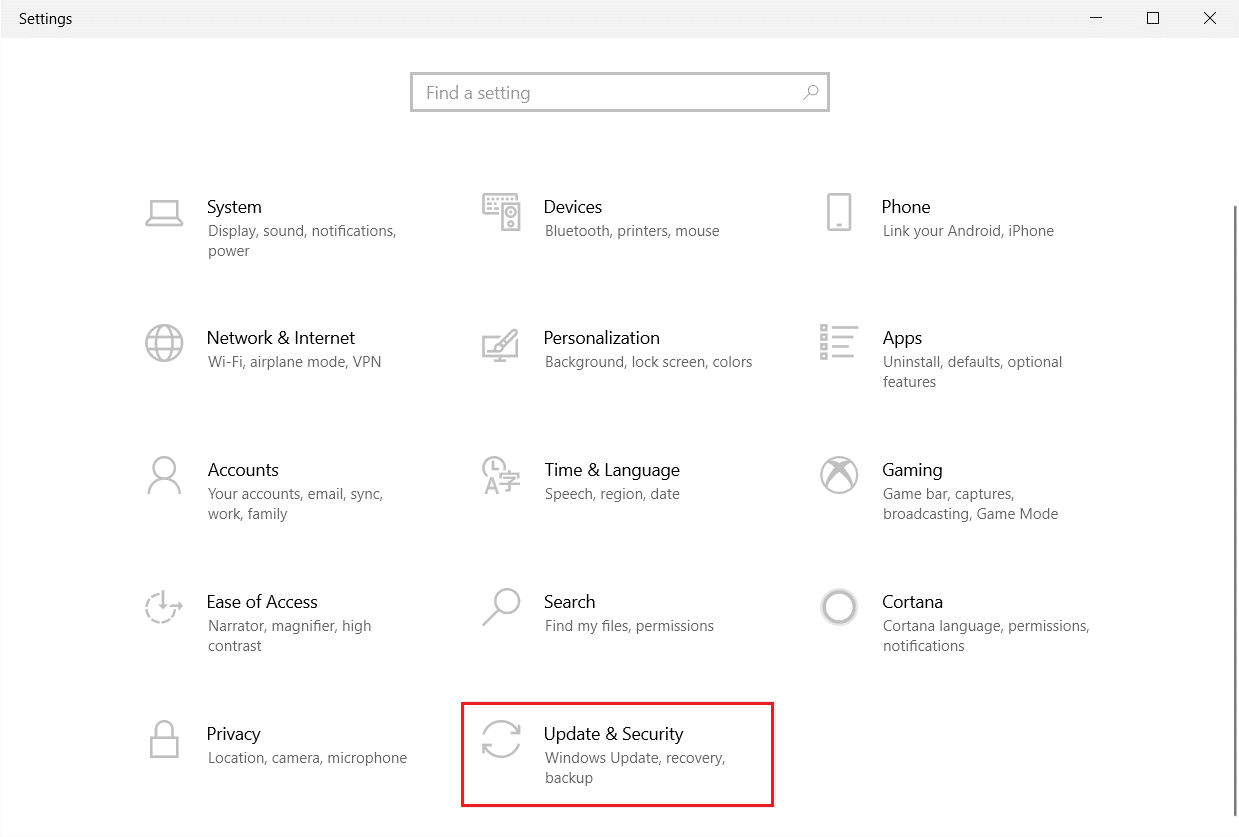
1. Press Windows + I keys simultaneously to launch Settings.
2. Click on the Update & Security tile, as shown.
3. Go to Troubleshoot menu in the left pane.
4. Select Windows Update troubleshooter and click on Run the troubleshooter button shown highlighted below.

5. Wait for the troubleshooter to detect and fix the problem. Once the process is complete, restart your PC.
Also Read: Fix Windows 10 Update Pending Install
Method 6: Reset Winsock Catalog
Winsock Catalog is an interface to communicate between Windows network software and network services. Resetting this interface would help in fixing the issue. Follow the below steps to reset Winsock Catalog.
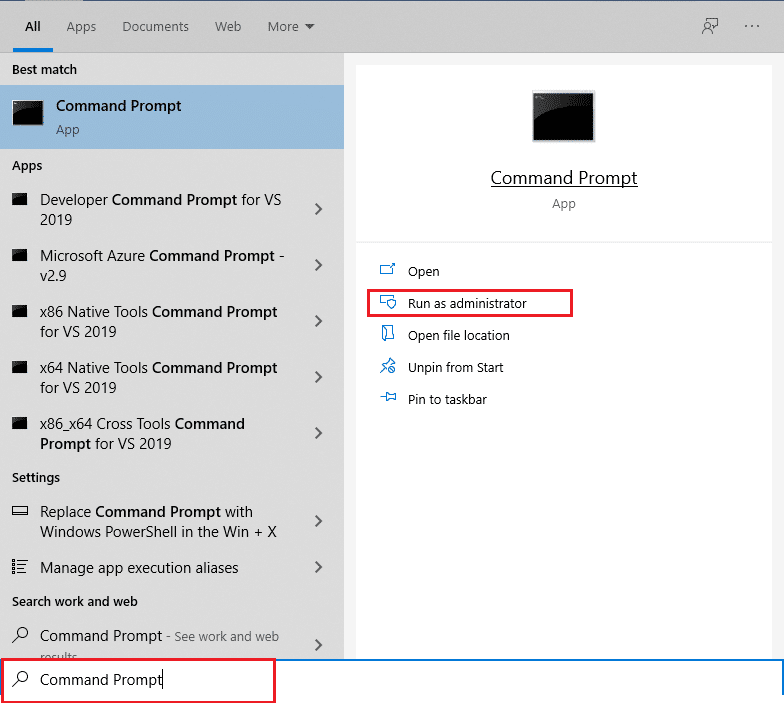
1. Press the Windows keys, type command prompt, and click on Run as administrator.
2. Type the command netsh winsock reset and press Enter.
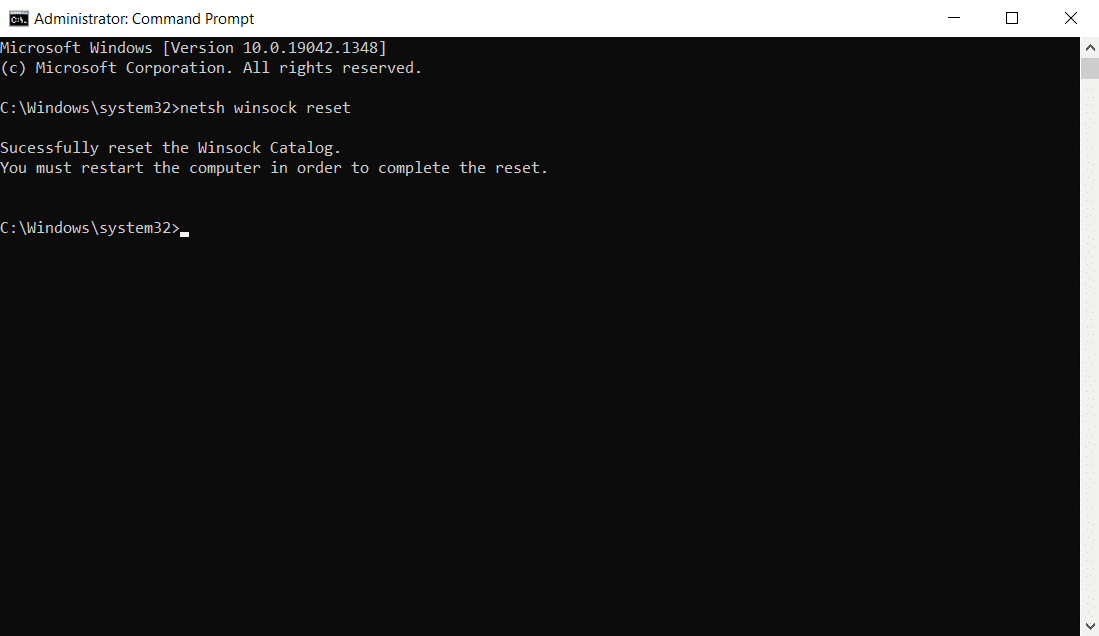
3. Restart your PC once the process is complete.
Method 7: Reset Update Components
The net results of this method include:
- Restart the BITS, MSI Installer, Cryptographic, and the Windows Update Services.
- Rename the SoftwareDistribution and Catroot2 folders.
These two impacts will fix the Windows 11 update getting stuck on this issue and follow the below instructions to implement the same.
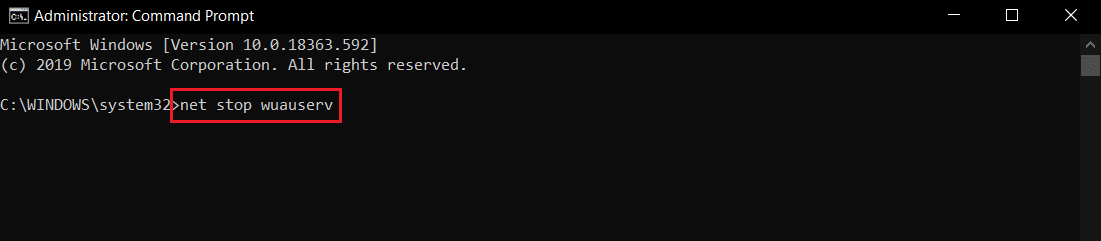
1. Launch Command Prompt as administrator.
2. Now, type the following commands one by one and hit Enter after each command.
net stop wuauserv
net stop cryptSvc
net stop bits
net stop msiserver
ren C:WindowsSoftwareDistribution SoftwareDistribution.old
ren C:WindowsSystem32catroot2 Catroot2.old
net start wuauserv
net start cryptSvc
net start bits
net start msiserver
Wait for the commands to be executed and check if the install error 0x8007012a issue is fixed in your system
Also Read: Fix Windows Update Error 0x800704c7
Method 8: Change DNS Address
Several users have reported that install error 0x8007012a will be fixed by changing the DNS address provided by your Internet Service Provider. You may use Google DNS address to tackle the issue, and here are a few instructions to change the DNS address of your PC.
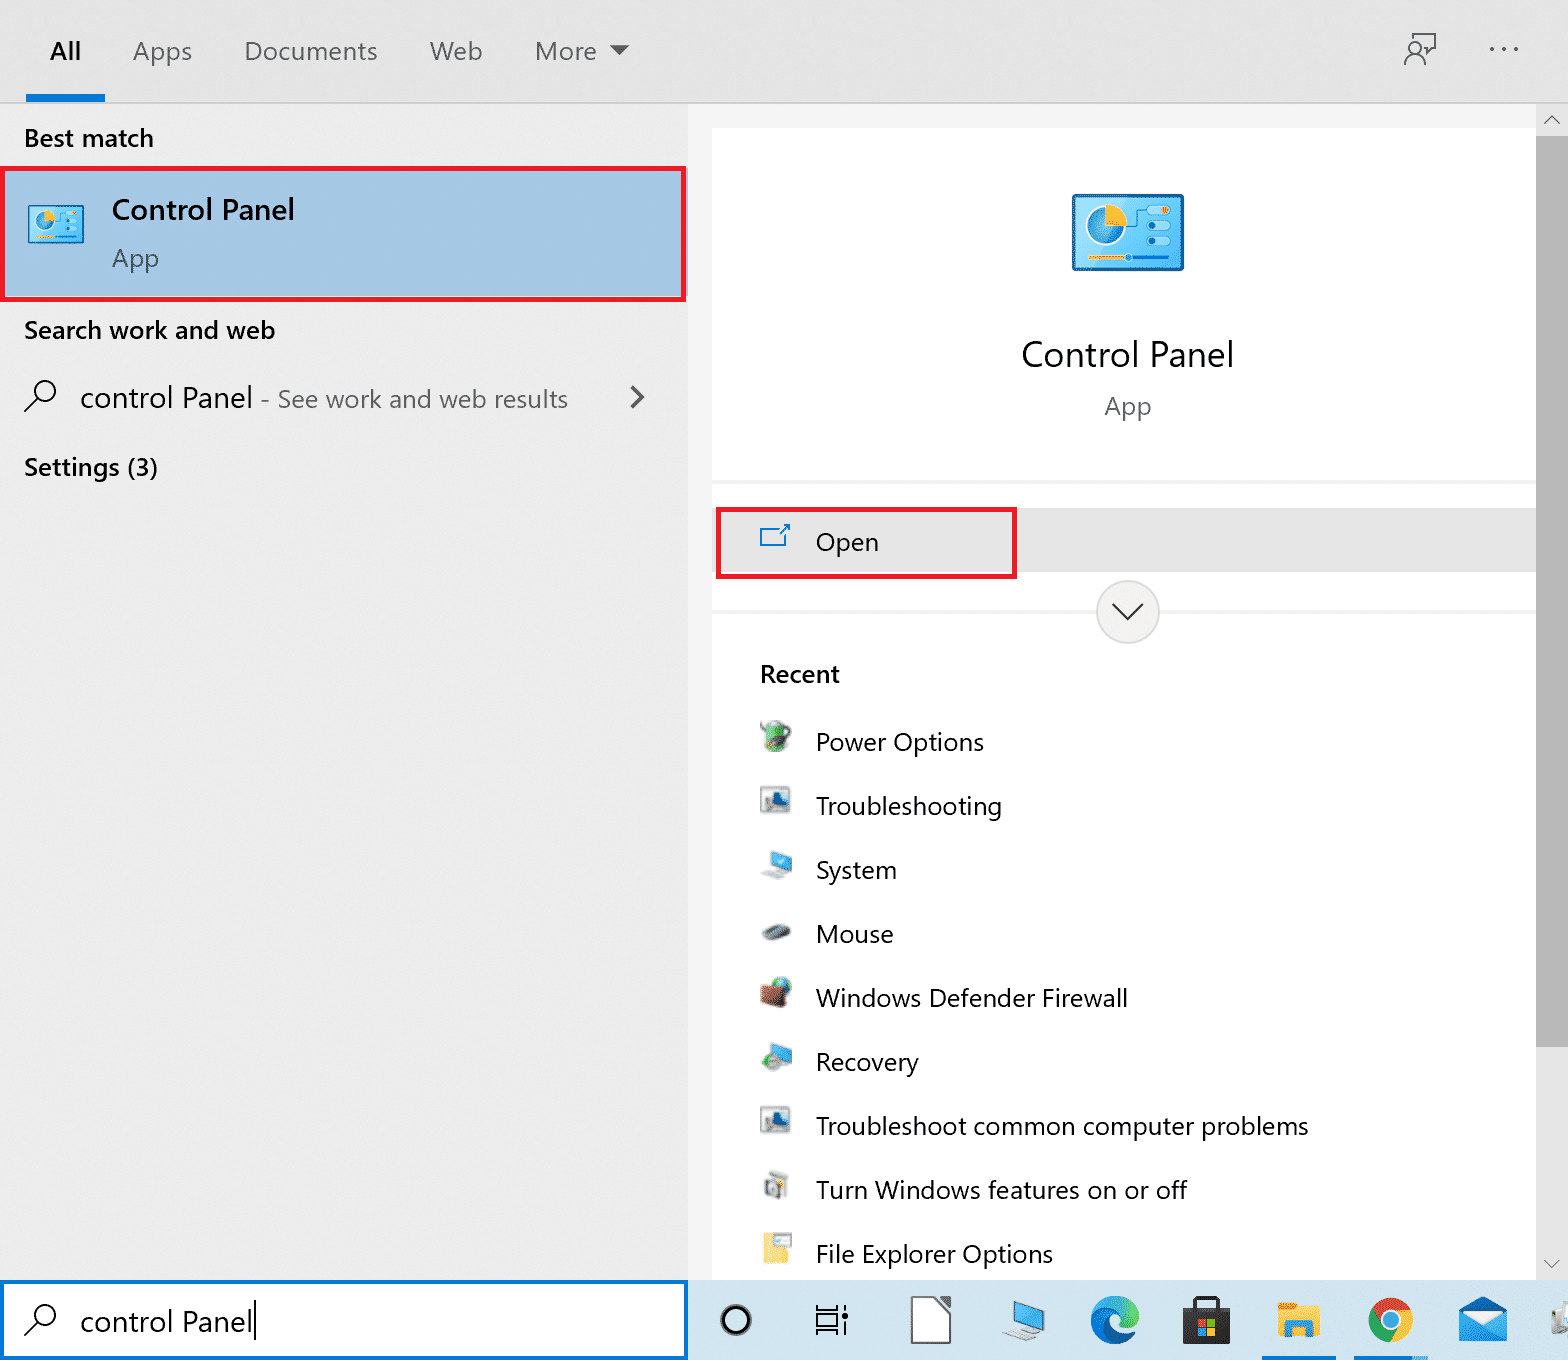
1. Press the Windows key, type Control Panel and click on Open.
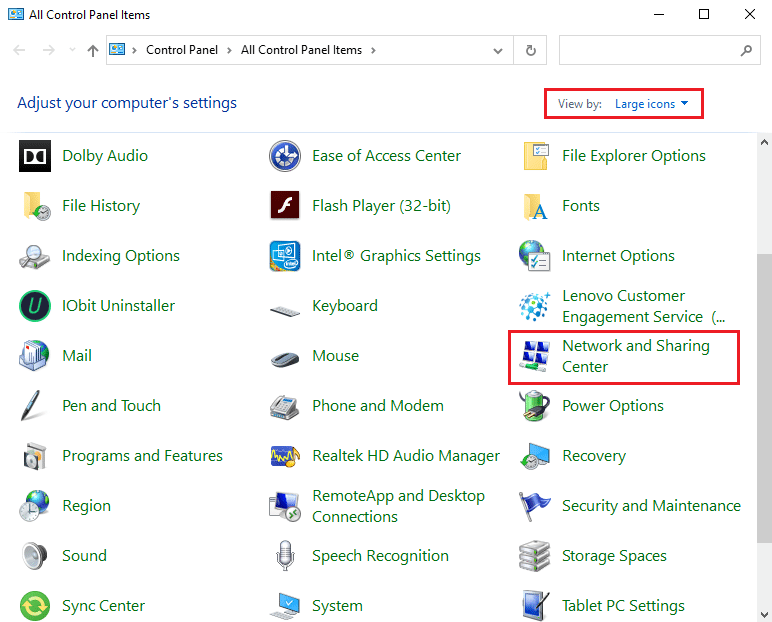
2. Set View by: > Large icons and click on the Network and Sharing Center from the list.
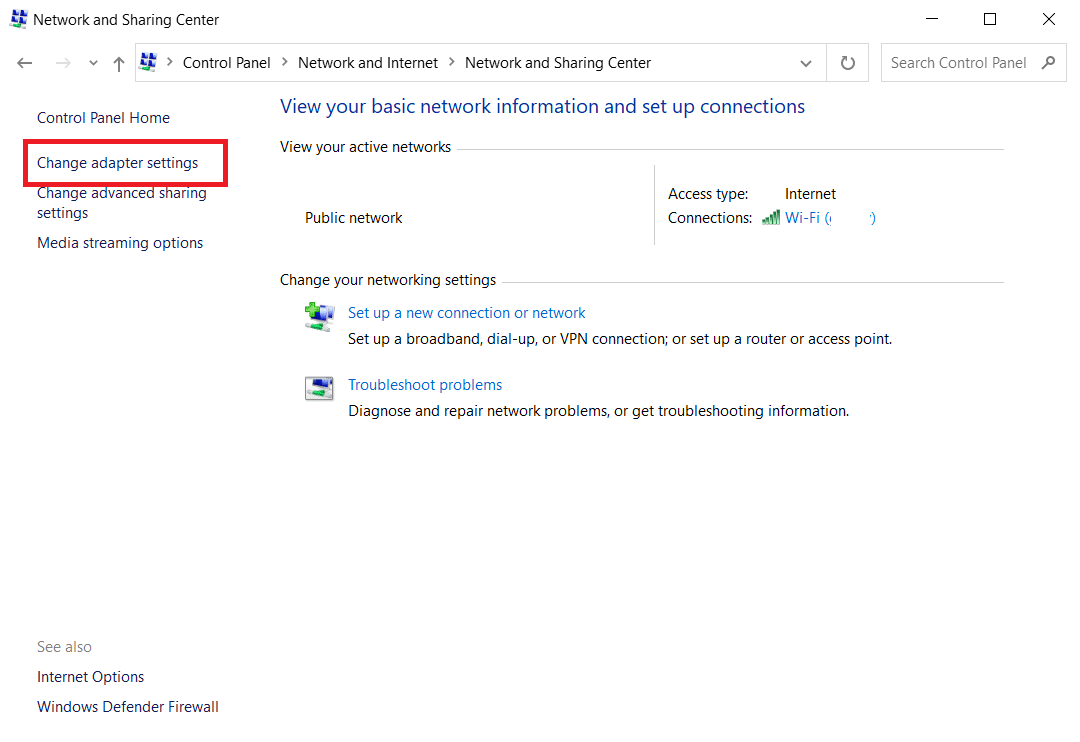
3. Next, click on the Change adapter settings hyperlink present in the left pane.
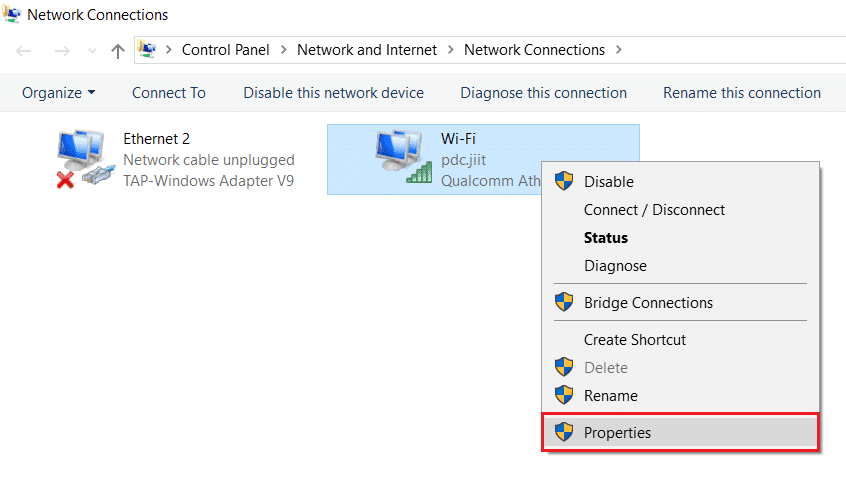
4. Right-click on your current network connection (e.g. Wi-Fi) and select Properties, as depicted.
5: Under This connection uses the following items: list, locate and click Internet Protocol Version 4 (TCP/IPv4).
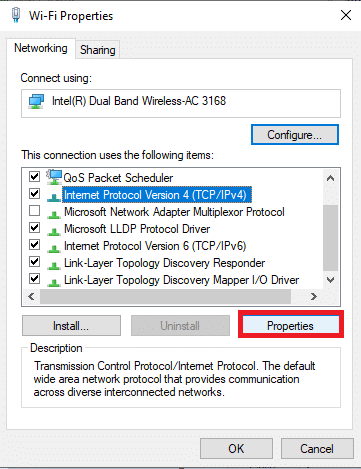
6. Click the Properties button, as highlighted above.
7. Here, select Use the following DNS server addresses: option and enter the following:
Preferred DNS server: 8.8.8.8
Alternate DNS server: 8.8.4.4

8. Click on OK to save changes.
Method 9: Disable Proxy Servers
Several network connectivity issues may lead to install error 0x8007012a, and you can fix them by resetting local network settings, as discussed below.
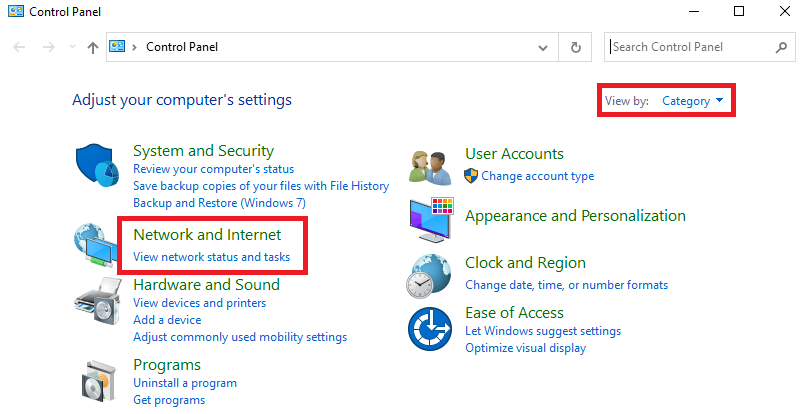
1. Open Control Panel from Windows Search Menu.
2. Now, set the View by option to Category.
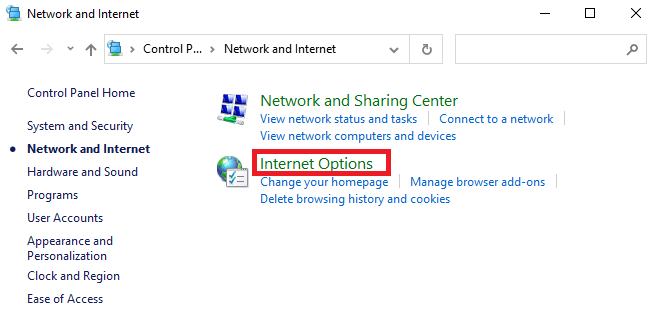
3. Select the Network and Internet settings.
4. Here, click on Internet Options as shown below.
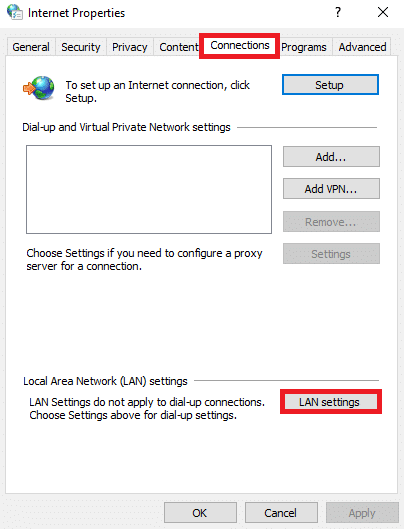
5. Now, in the Internet Properties window, switch to the Connections tab.
6. Select LAN settings, as highlighted below.
7. Here, check the box Automatically detect settings and ensure Use a proxy server for your LAN box is unchecked.
Note: You can enable the option again when you need it.
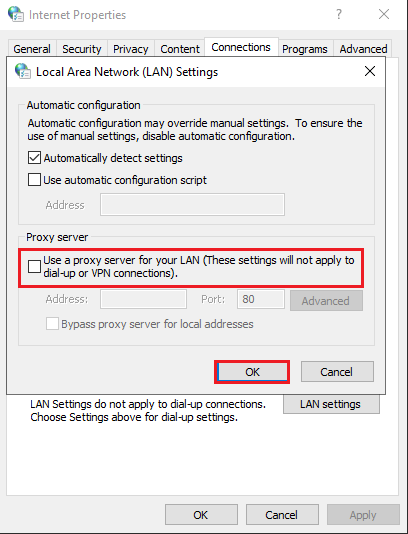
8. Finally, click on OK to save the changes and check if the issue is resolved.
Also Read: Fix Windows 10 Update Stuck or Frozen
Method 10: Enable Background Intelligent Transfer Service
To fix this issue, check if all essential services like BITS (Background Intelligent Transfer Service) are running. Here is how to do it.
1. Launch the Run dialog box by pressing Windows + R keys simultaneously.
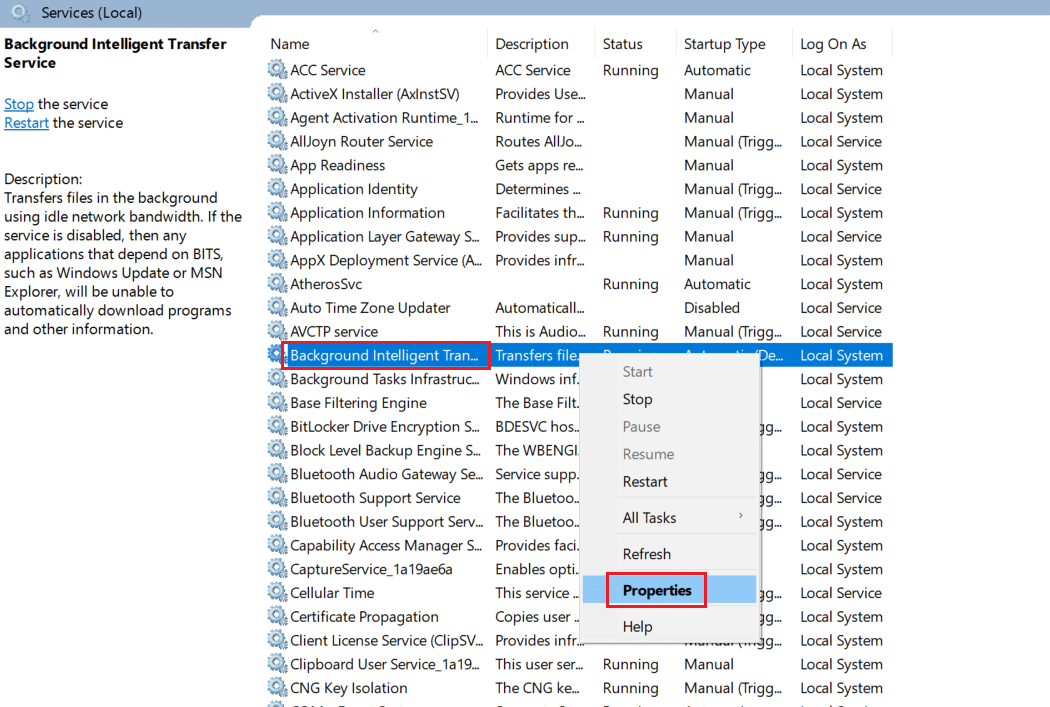
2. Type services.msc and hit Enter key.

3. In the right pane, right-click on Background Intelligent Transfer Service and select Properties, as shown.
4. Under the General tab, select Automatic from the drop-down list titled Startup type.
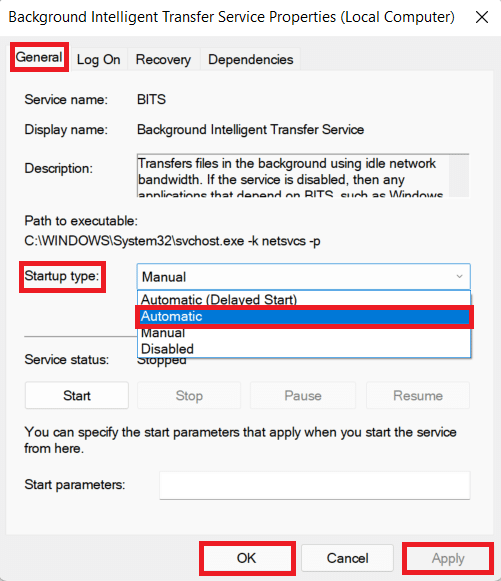
5. Click on Apply > OK to save these changes.
Method 11: Restart Windows Update Service
Sometimes, you could fix install error 0x8007012a by manually restarting the Windows Update Service. Then, follow the below instructions to implement the same.
1. Open the Run dialog box and type services.msc, hit the Enter key to launch the Services window.
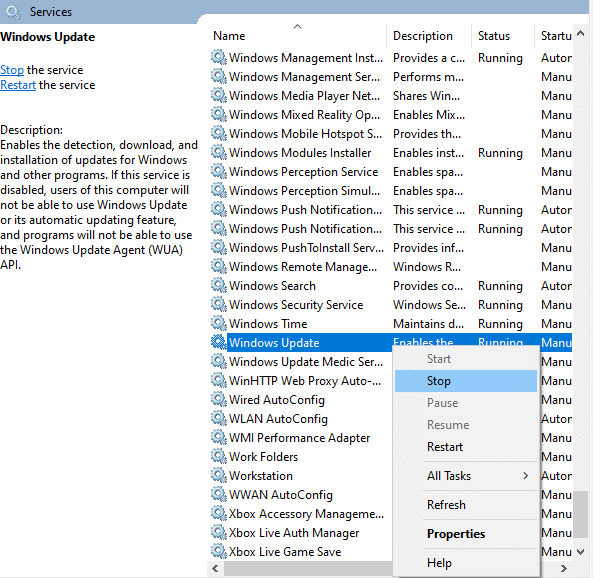
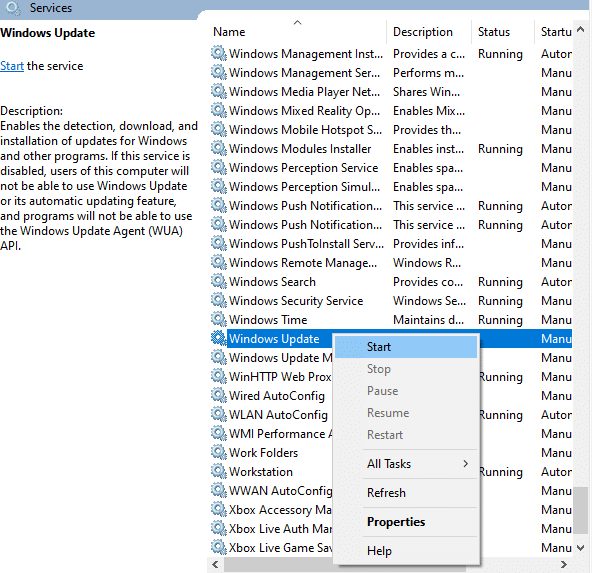
2. Now, scroll down the screen and right-click on Windows Update.
Note: If the current status is not Running, you can skip the below step.
3. Here, click on Stop if the current status displays Running.
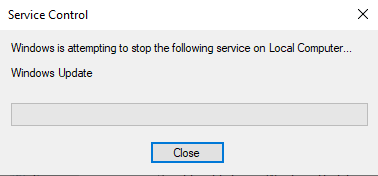
4. You will receive a prompt, Windows is attempting to stop the following service on Local Computer… Wait for the prompt to be completed. It will take around 3 to 5 seconds.
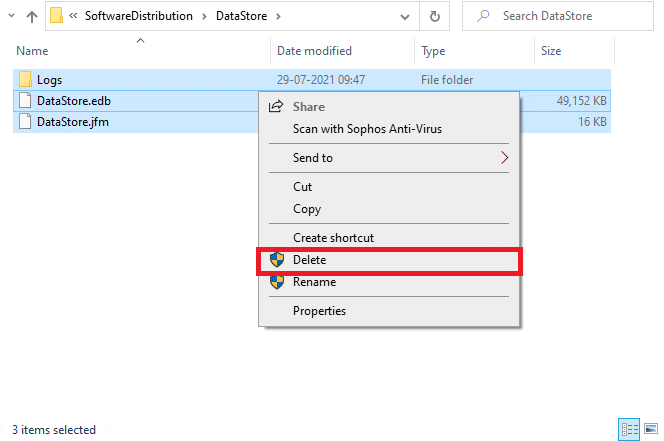
5. Now, open the File Explorer by clicking Windows + E keys together, navigate to the following path.
C:WindowsSoftwareDistributionDataStore
6. Here, select all the files and folders by pressing Ctrl + A keys together and right-click on the empty space.
7. Then, select the Delete option to remove all the files and folders from the DataStore location.
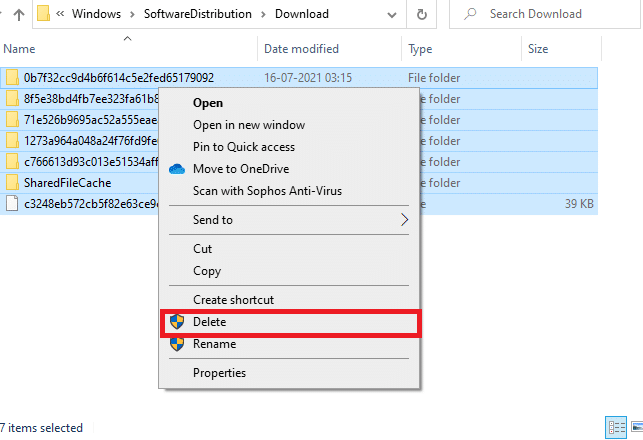
8. Now, navigate to the given path and Delete all the files in the Downloads location as mentioned in the previous steps.
C:WindowsSoftwareDistributionDownload
9. Now, go back to the Services window and right-click on the Windows Update.
10. Here, select the Start option as depicted in the below picture.
11. You will receive a prompt, Windows is attempting to start the following service on Local Computer… Wait for 3 to 5 seconds and close the Services window.
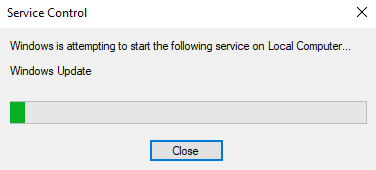
Check if the issue is resolved in your system.
Also Read: How to Fix Windows 10 Won’t Update
Method 12: Run System File Checker and DISM
Windows 10 users can automatically scan and repair their system files by running System File Checker. In addition, it is a built-in tool that lets the user delete files and fix this issue. Then, follow the below-mentioned steps to implement the same.
1. Hit the Windows key, type Command Prompt and click on Run as administrator.
2. Click on Yes in the User Account Control prompt.
3. Type chkdsk C: /f /r /x command and hit Enter key.

4. If you are prompted with a message, Chkdsk cannot run…the volume is… in use process, then, type Y and hit the Enter key.
5. Again, type the command: sfc /scannow and press Enter key to run the System File Checker scan.
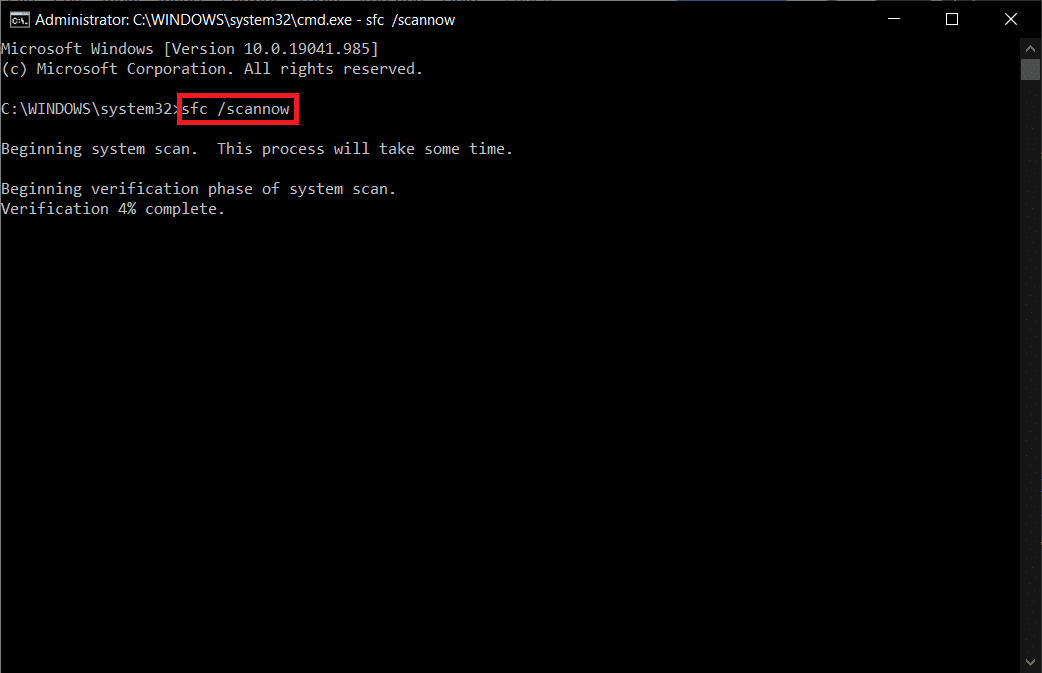
Note: A system scan will be initiated and it will take a couple of minutes to finish. Meanwhile, you can continue performing other activities but be mindful of not accidentally closing the window.
After completing the scan, it will show either of these messages:
- Windows Resource Protection did not find any integrity violations.
- Windows Resource Protection could not perform the requested operation.
- Windows Resource Protection found corrupt files and successfully repaired them.
- Windows Resource Protection found corrupt files but was unable to fix some of them.
6. Once the scan is finished, restart your PC.
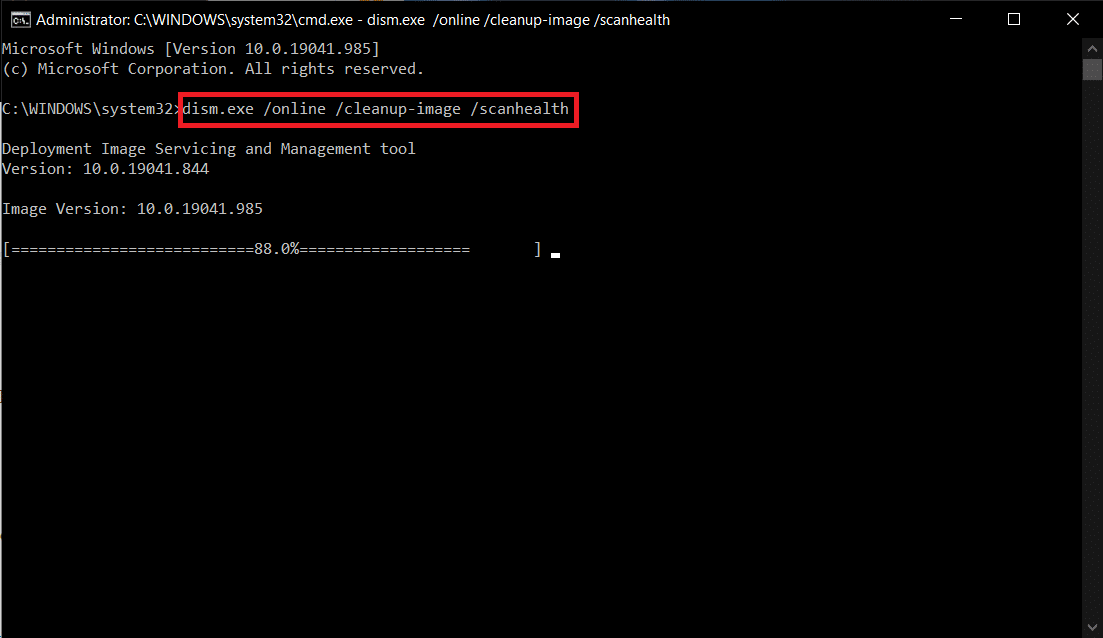
7. Again, launch Command Prompt as administrator and execute the given commands one after the other:
dism.exe /Online /cleanup-image /scanhealth
dism.exe /Online /cleanup-image /restorehealth
dism.exe /Online /cleanup-image /startcomponentcleanup
Note: You must have a working internet connection to execute DISM commands properly.
Method 13: Run Malware Scan
Few anti-malware programs can help you overcome malicious software. However, they routinely scan and safeguard your system. Therefore to avoid this issue, run an antivirus scan in your system and check if Windows update install error 0x8007012a problem is solved. Then, follow the below-mentioned steps to do so.
1. Hit Windows + I keys simultaneously to launch Settings.
2. Here, click on Update & Security settings as shown.
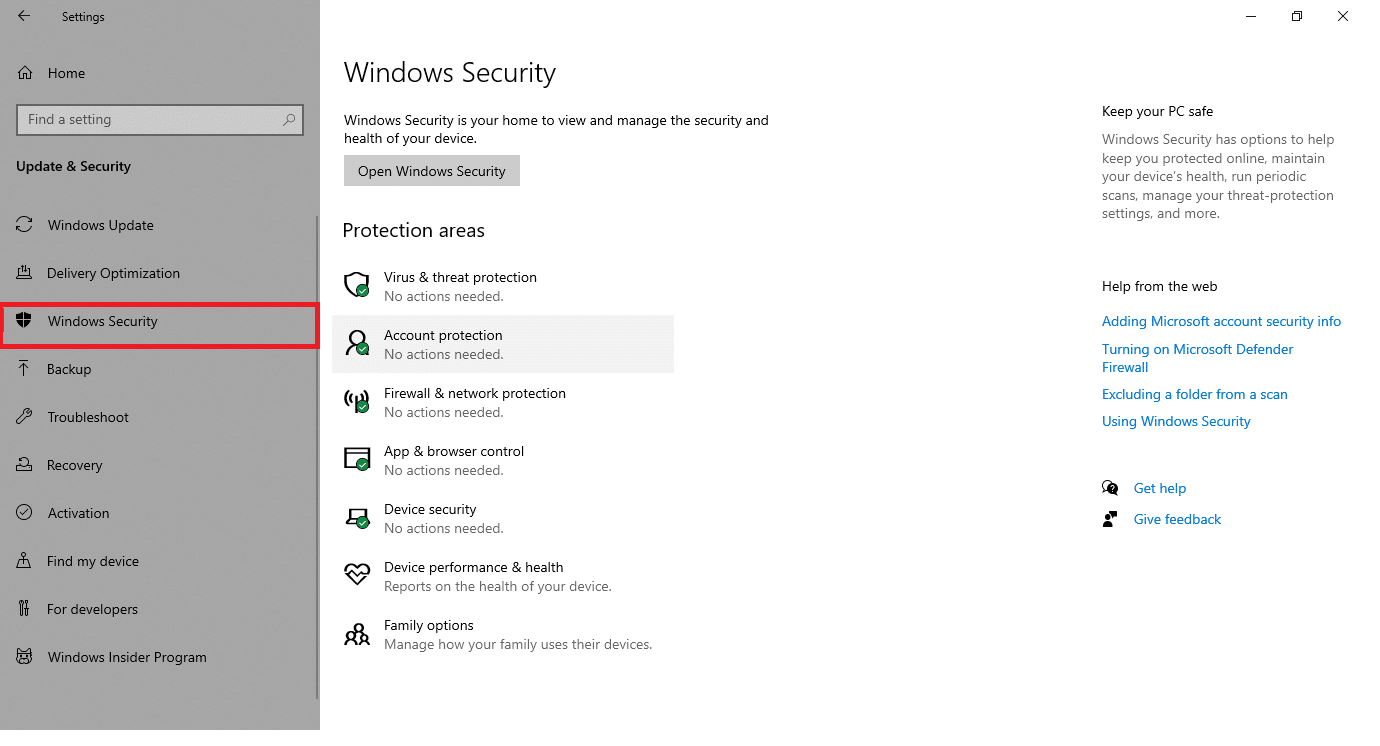
3. Go to Windows Security in the left pane.
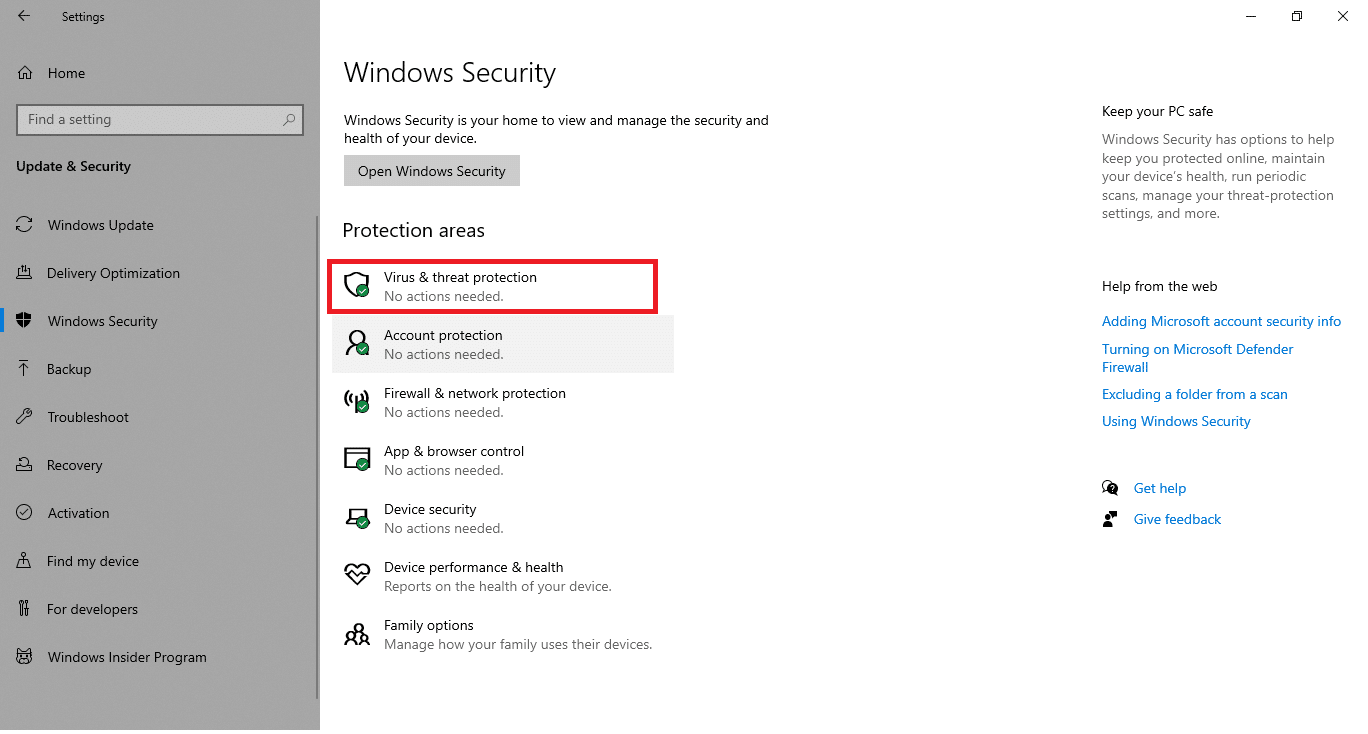
4. Click on the Virus & threat protection option in the right pane.
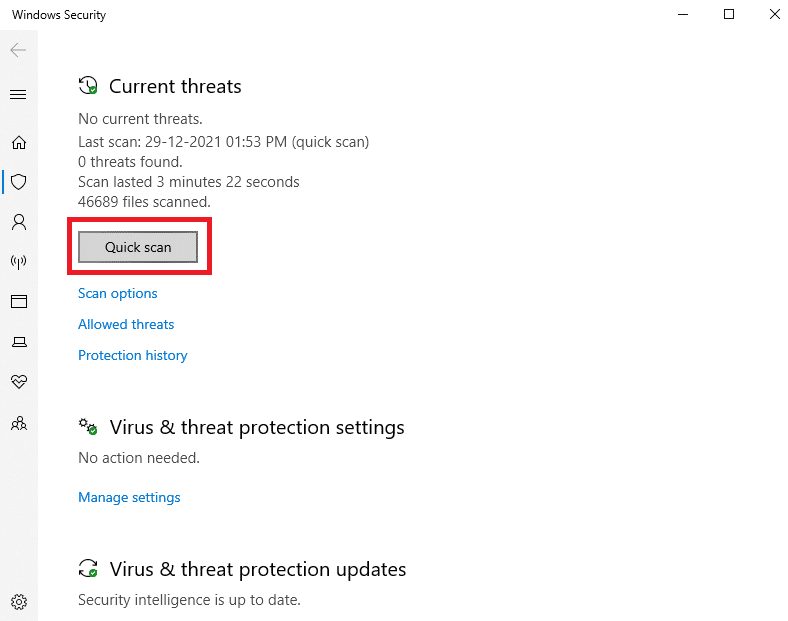
5. Click on the Quick Scan button to search for malware.
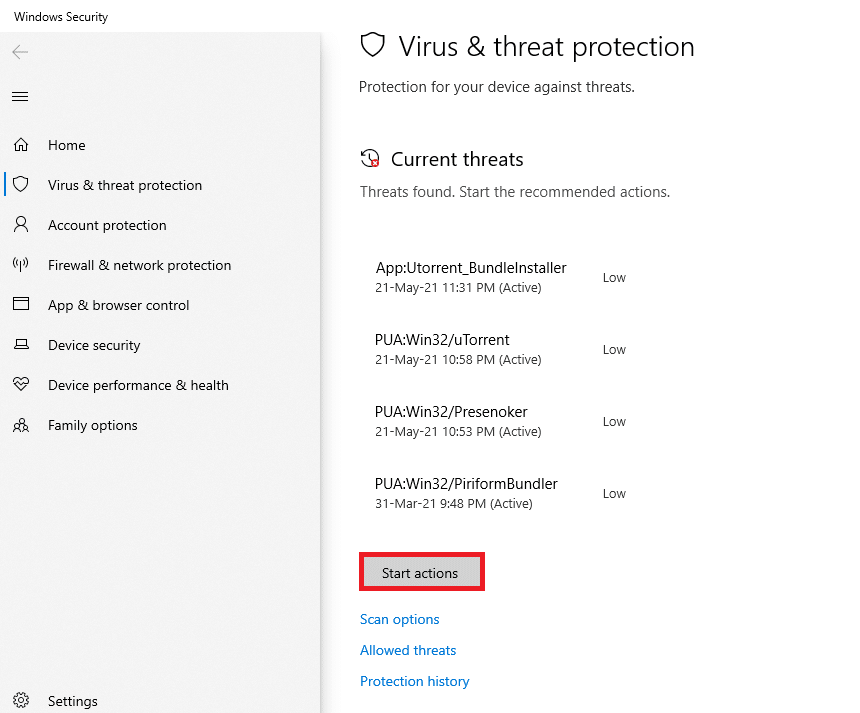
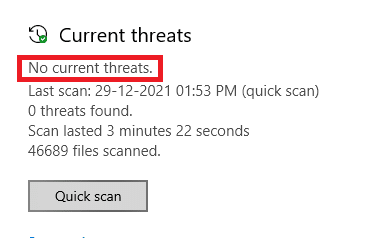
6A. Once the scan is done, all the threats will be displayed. Click on Start Actions under Current threats.
6B. If there is no threat in your device, the device will show the No current threats alert.
Also Read: How to Fix Error 0x80070002 Windows 10
Method 14: Download the Updates Manually
If you have confirmed that there are no damaged files, malicious programs in your PC, and all essential services are running but still facing the same error, you can manually download the updates as instructed below. Before doing this, you have to identify the KB number of your PC that is popping up with Windows update install error 0x8007012a. Follow the given steps to download the updates manually.
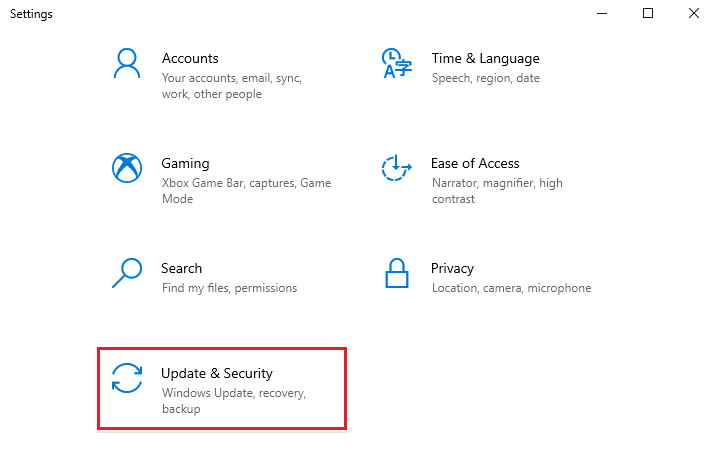
1. Press the Windows + I keys together to open Settings in your system.
2. Now, select Update & Security.
3. Now, click on the View update history option, as highlighted below.
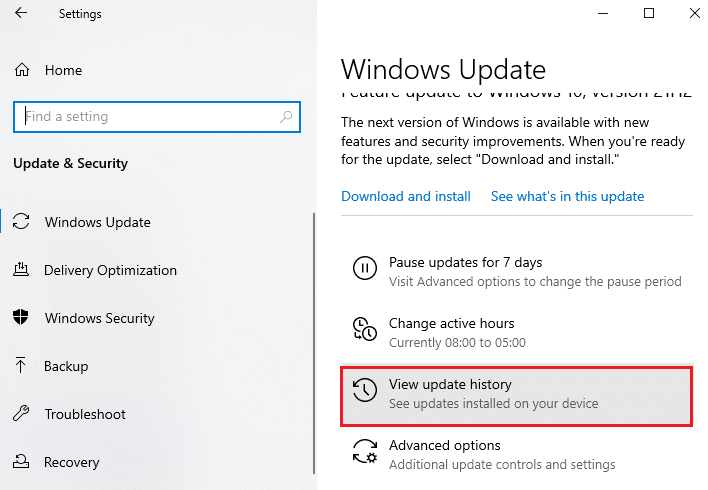
4. In the list, note down the KB number that is pending to be downloaded due to the error message.
5. Here, type the KB number in the Microsoft Update Catalog search bar.
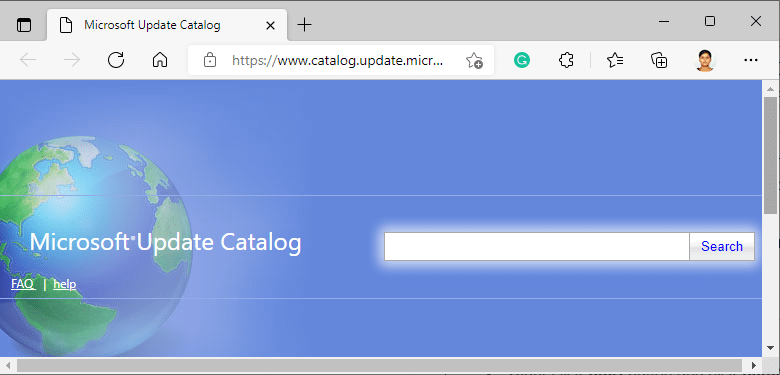
6. Follow the on-screen instructions to download and install the update manually.
Recommended:
We hope that this guide was helpful and you could fix Windows update install error 0x8007012a. Let us know which method worked for you the best. Also, if you have any queries/suggestions regarding this article, then feel free to drop them in the comments section.