While using the computer at any time, you might experience troubles with the internet connection on your PC. It is indeed a frustrating experience when you cannot access the wired or wireless available networks around you when needed. That is why Windows provide the users with a tool that can be used to troubleshoot those connection problems. Let us learn more about how to troubleshoot network connectivity problems with network troubleshooter Windows 10, reset TCP/IP, and other methods.
How to Troubleshoot Network Connectivity Problems on Windows 10
Following are some of the uses of network troubleshooting to fix the network-related problems on Windows systems:
- Troubleshooting the network helps you diagnose and resolve problems within the computer network.
- All the problems related to network operations will be analyzed by the troubleshooter, and the issues will be displayed on the screen.
- This method eliminates the potential symptoms of the network connection error and prevents it from occurring again.
Let us move on to discussing the different methods explaining how to troubleshoot network connectivity problems you may be facing right now.
Method 1: Run Network Troubleshooter
Follow the below methods to run a network troubleshooter from the settings application to troubleshoot network connectivity problems on your Windows 10 PC:
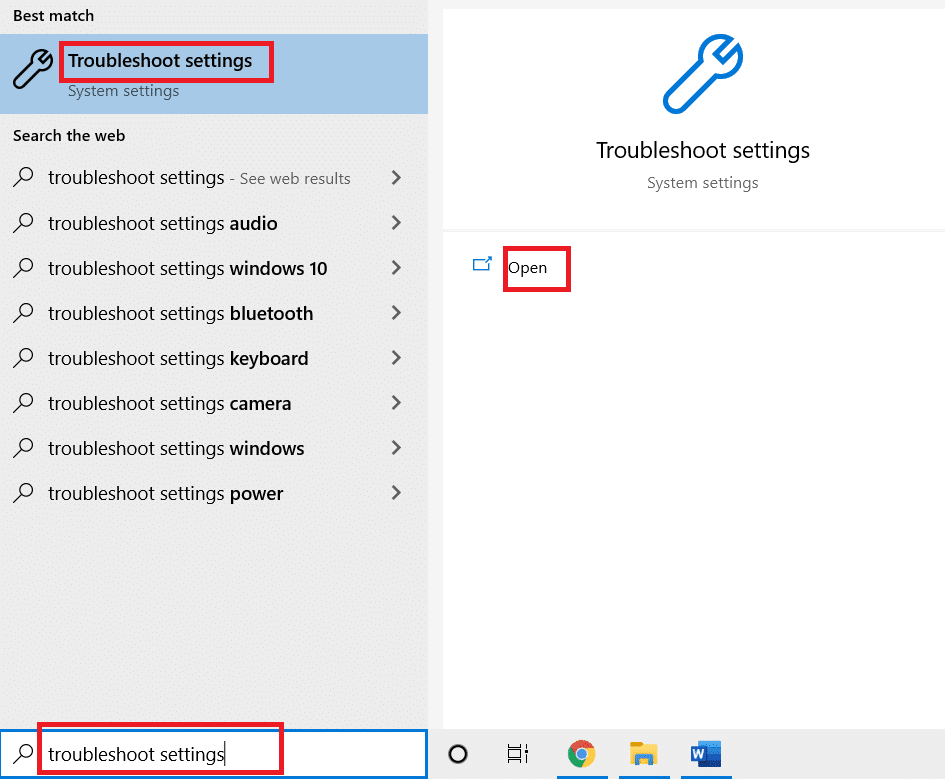
1. Hit the Windows key and type Troubleshoot settings in the search bar. Click Open as shown.
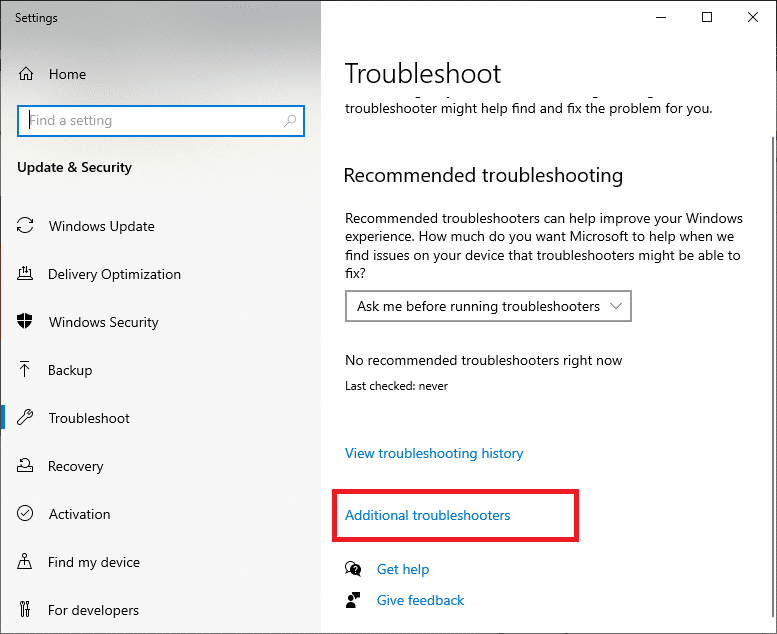
2. Click on Additional troubleshooters.
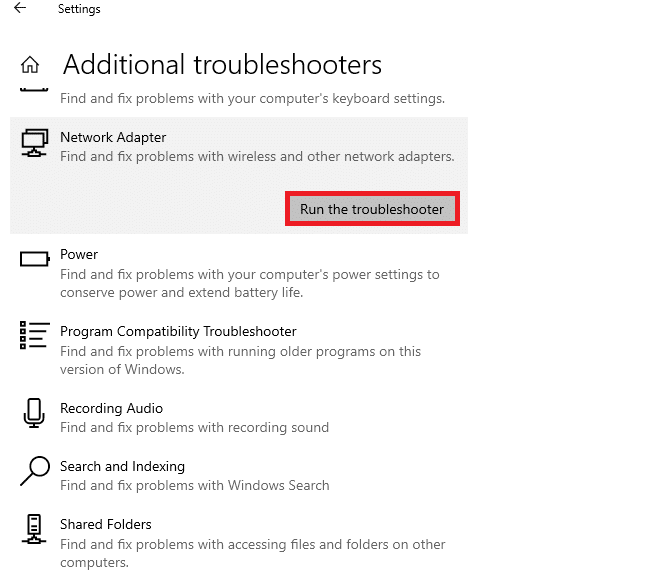
3. Select Network Adapter and click on Run the troubleshooter to run this network troubleshooter on Windows 10.
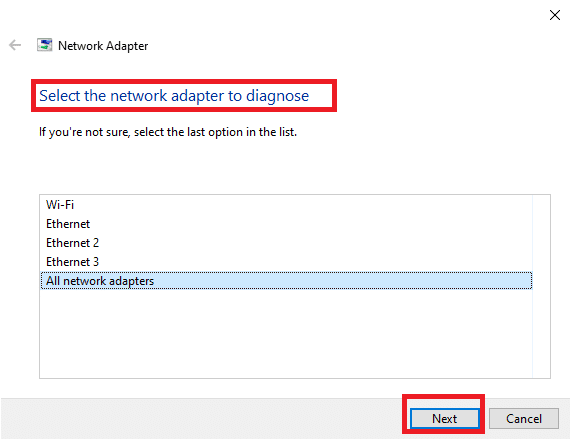
4. Select the network adapter to diagnose from given options and click on Next.
- Wi-Fi
- Ethernet
- All network adapters
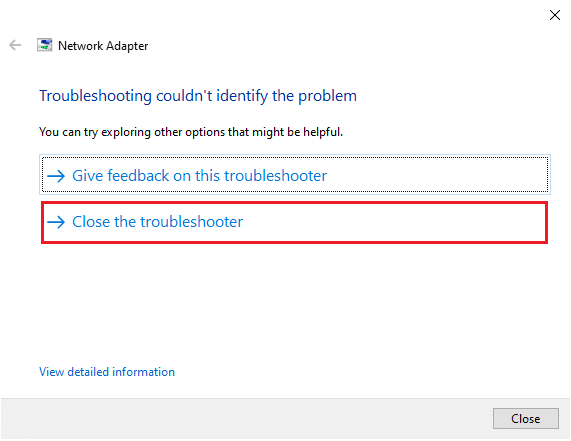
5. Wait for the troubleshooter to detect the problems.
6A. If the result is Troubleshooting couldn’t identify the problem, click on Close the troubleshooter.
6B. If the troubleshooter has identified a problem, then follow the on-screen instructions to fix the possible network problems.
Also Read: Fix Network Connection Error 0x00028002
Method 2: Change Network Adapter Settings
The most typical reasons for network adapter not working Windows 10 issue include a failing TCP/IP stack, IP address, or DNS client resolver cache. Thus, change network adapter settings Windows 10 to solve the issue, as follows:
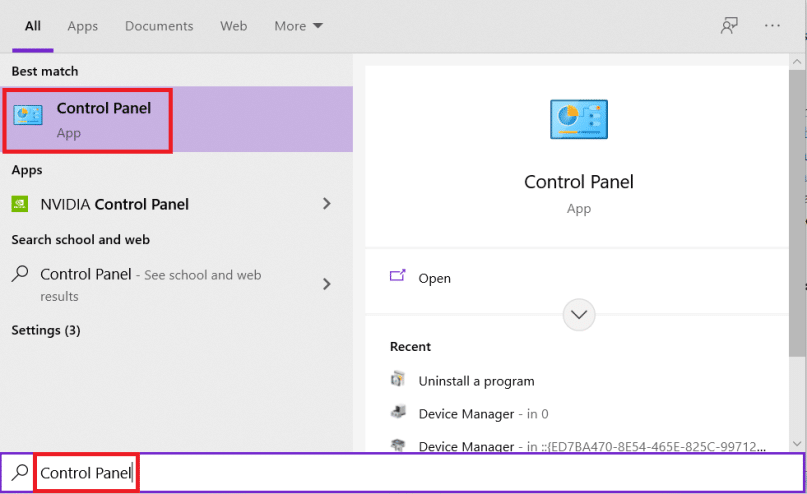
1. Launch Control Panel through the Windows Search Bar, as shown.
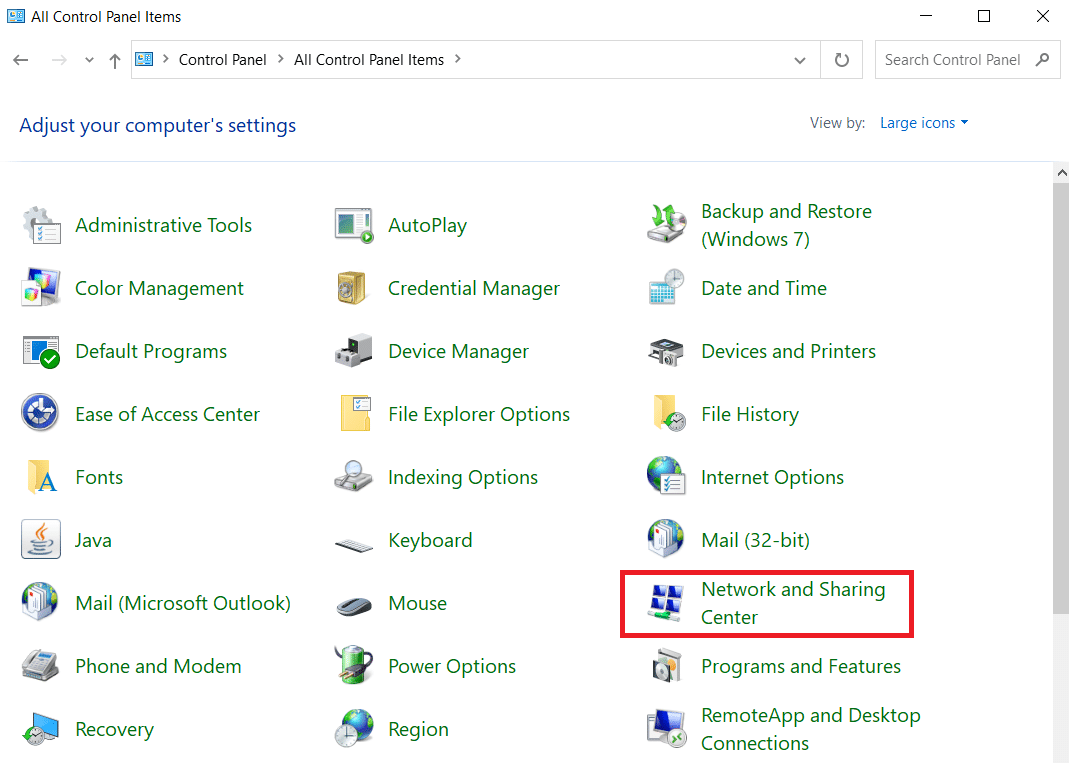
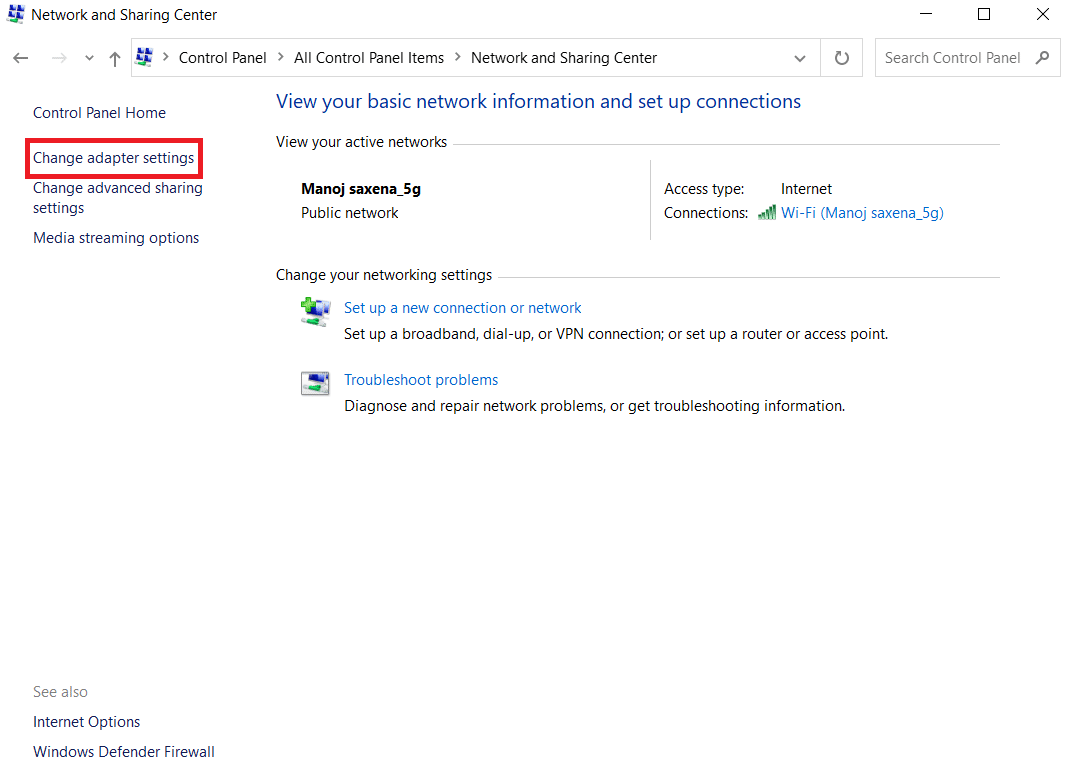
2. Set View by > Large icons and click on Network and Sharing Center.
3. Click on Change adapter settings, as shown.
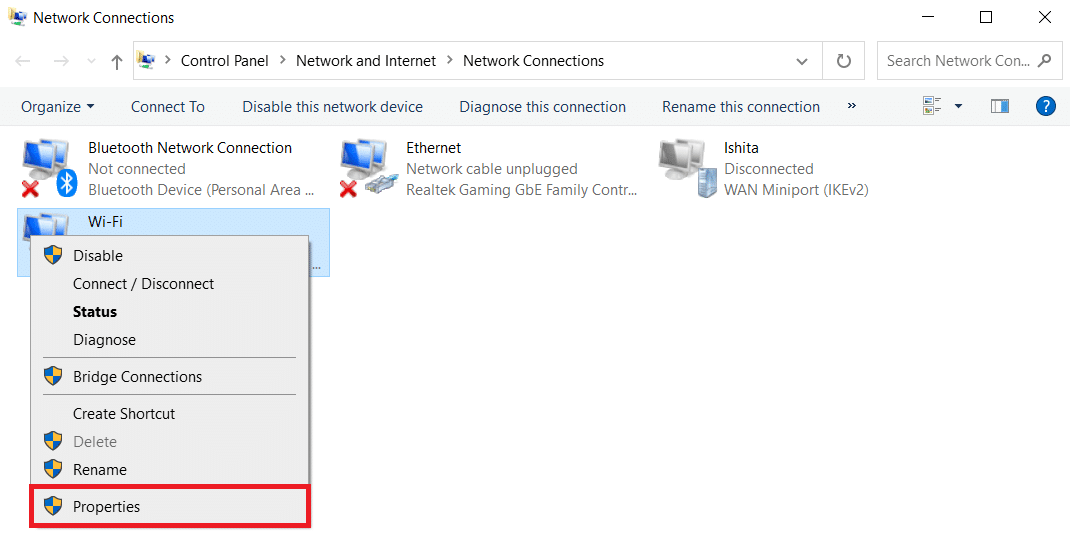
4. Select Properties from the Wi-Fi wireless adapter context menu by right-clicking on it.
5. Look for Internet Protocol Version 4 (TCP/IPv4) in the list of options that appears and uncheck it to disable it.
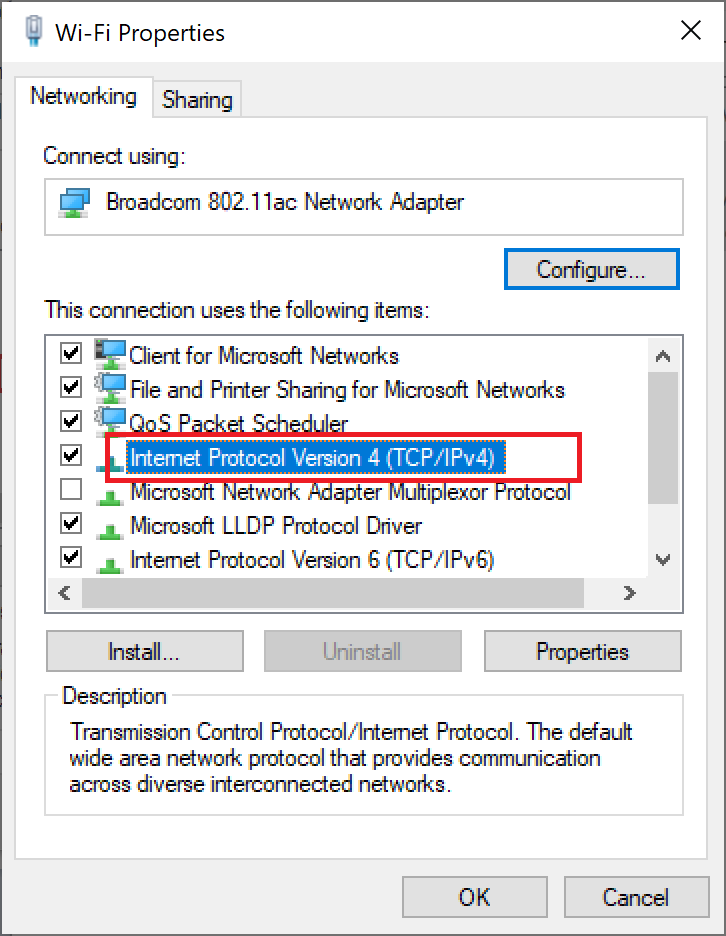
6. To make the changes stay, click OK and restart your PC.
Also Read: How to Enable DNS over HTTPS in Chrome
Method 3: Reset TCP/IP
Few users have reported that you could fix the network connectivity problems by resetting the TCP/IP configuration. Implement the below-mentioned steps to reset TCP/IP for smooth network connectivity in the future:
1. Hit the Windows key, type Command Prompt, and click on Run as administrator.
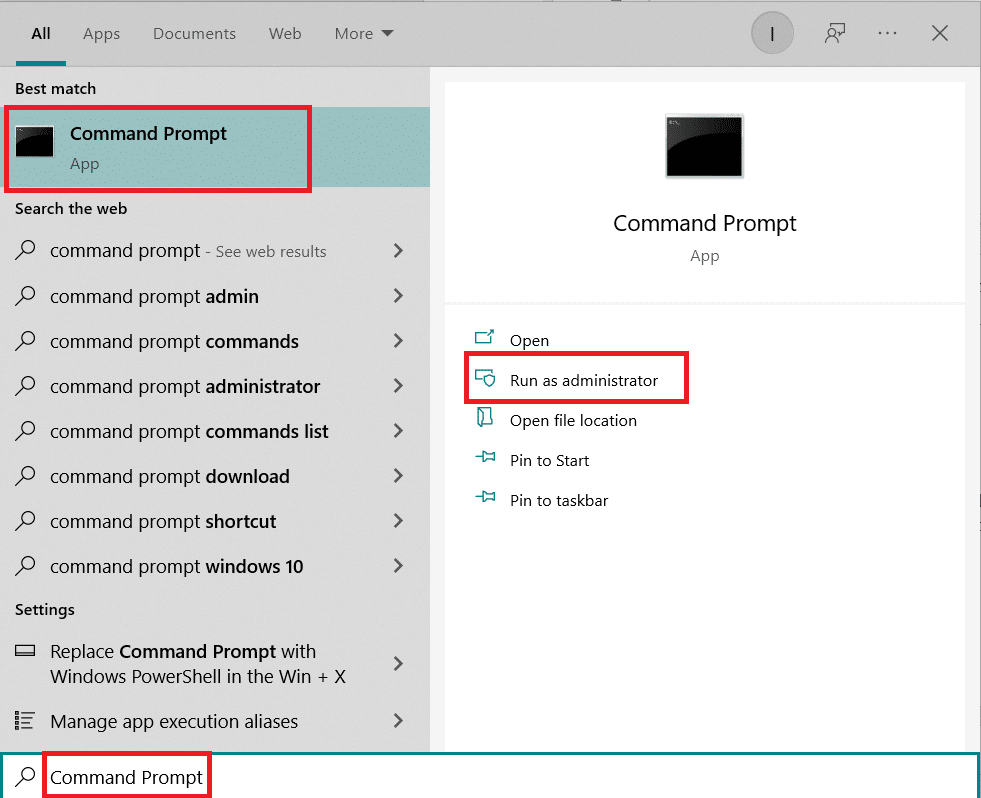
2. Now, type the following commands one by one and hit Enter after each command:
ipconfig /release
ipconfig /all
ipconfig /flushdns
ipconfig /renew
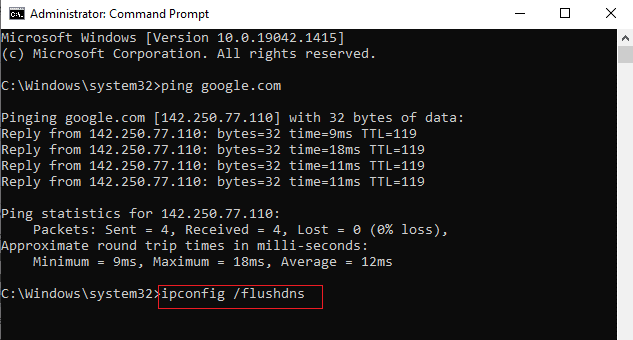
3. Finally, wait for the commands to be executed and reboot your PC. You will have completed the reset TCP/IP process.
Also Read: How to Change DNS Server on Windows 11
Method 4: Restart or Reset Router and Modem
By restarting or resetting the router and modem, you can resolve the network connectivity problems and refresh your internet connection.
Method 4A: Restart Router/Modem
Restarting the router/modem will re-initiate the network connectivity. Few users have reported that all the changes marked in the configuration settings will be effective when you restart the router/modem. Therefore, follow the below-mentioned steps to do so:
1. Find the Power button at the back of your router/modem.
2. Press the button once to turn it off.
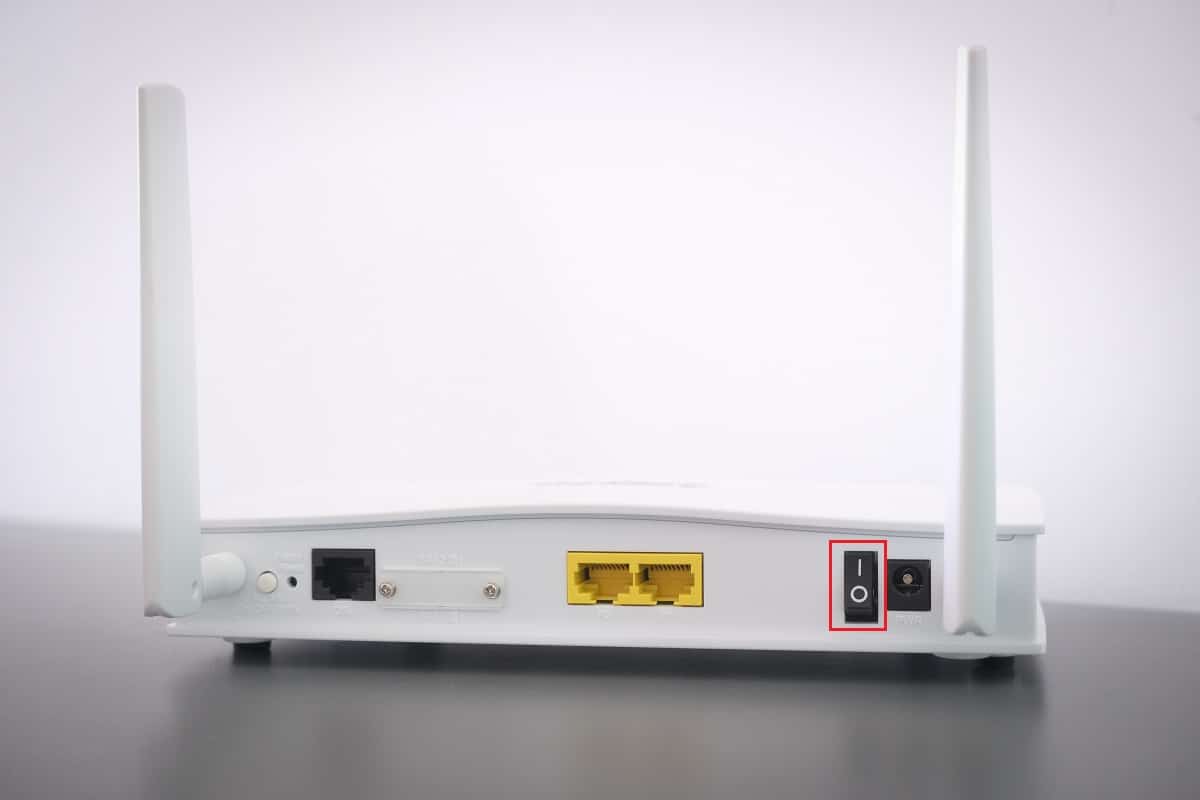
3. Now, disconnect the Router/Modem power cable and wait until the power is entirely drained from the capacitors.
4. Then, reconnect the power cable and switch it on after a minute.
5. Wait until the network connection is re-established and try signing in again.
Also Read: What is the Difference Between a Router and a Modem?
Method 4B: Reset Router
Before you try the below instructions, you must be aware of a few points:
Note 1: All the settings and setups like forwarded ports, black-listed connections, credentials, etc., will be erased. So, make sure to keep an account of these before proceeding to the instructions discussed below.
Note 2: After Reset, the router will switch back to its default settings and authentication password. So, use its default credentials to log-in after the reset.
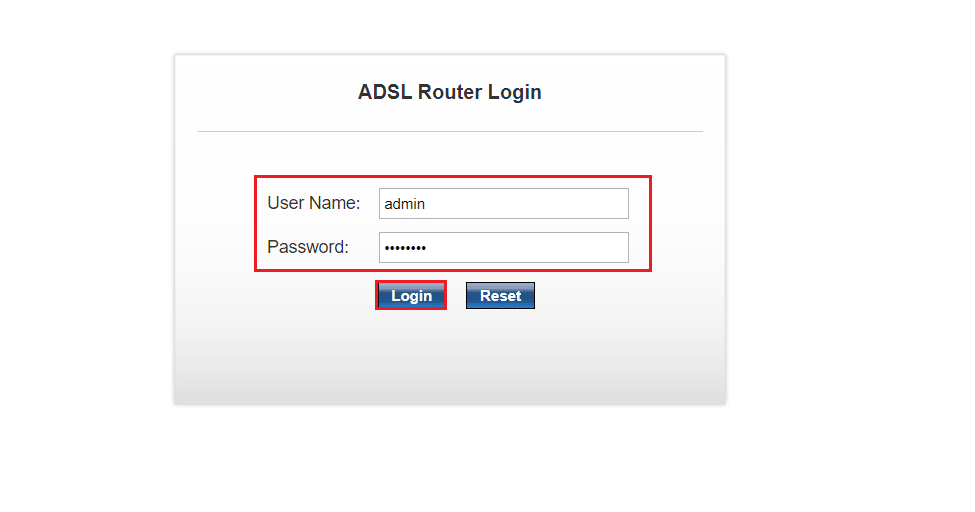
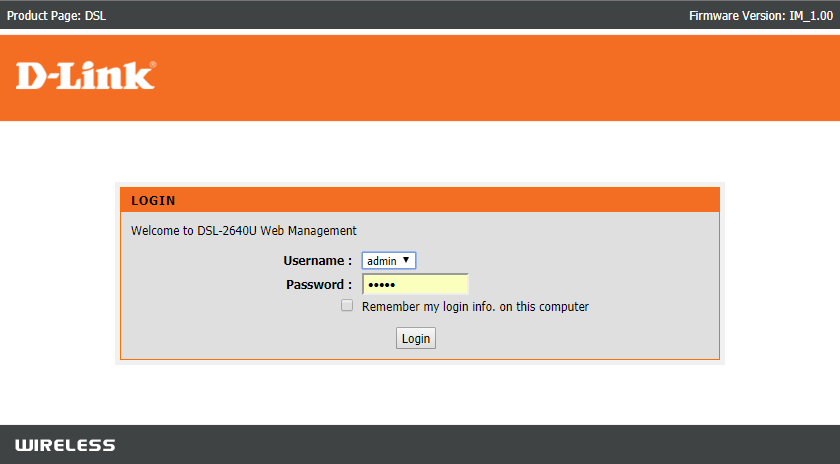
1. Open the router settings using the default gateway IP address. Then, use your credentials to Login as shown.
2. Note down all the configuration settings. You will require them after resetting the router as you may lose your ISP credentials if you use a P2P protocol (Point-to-Point Protocol over the Internet)
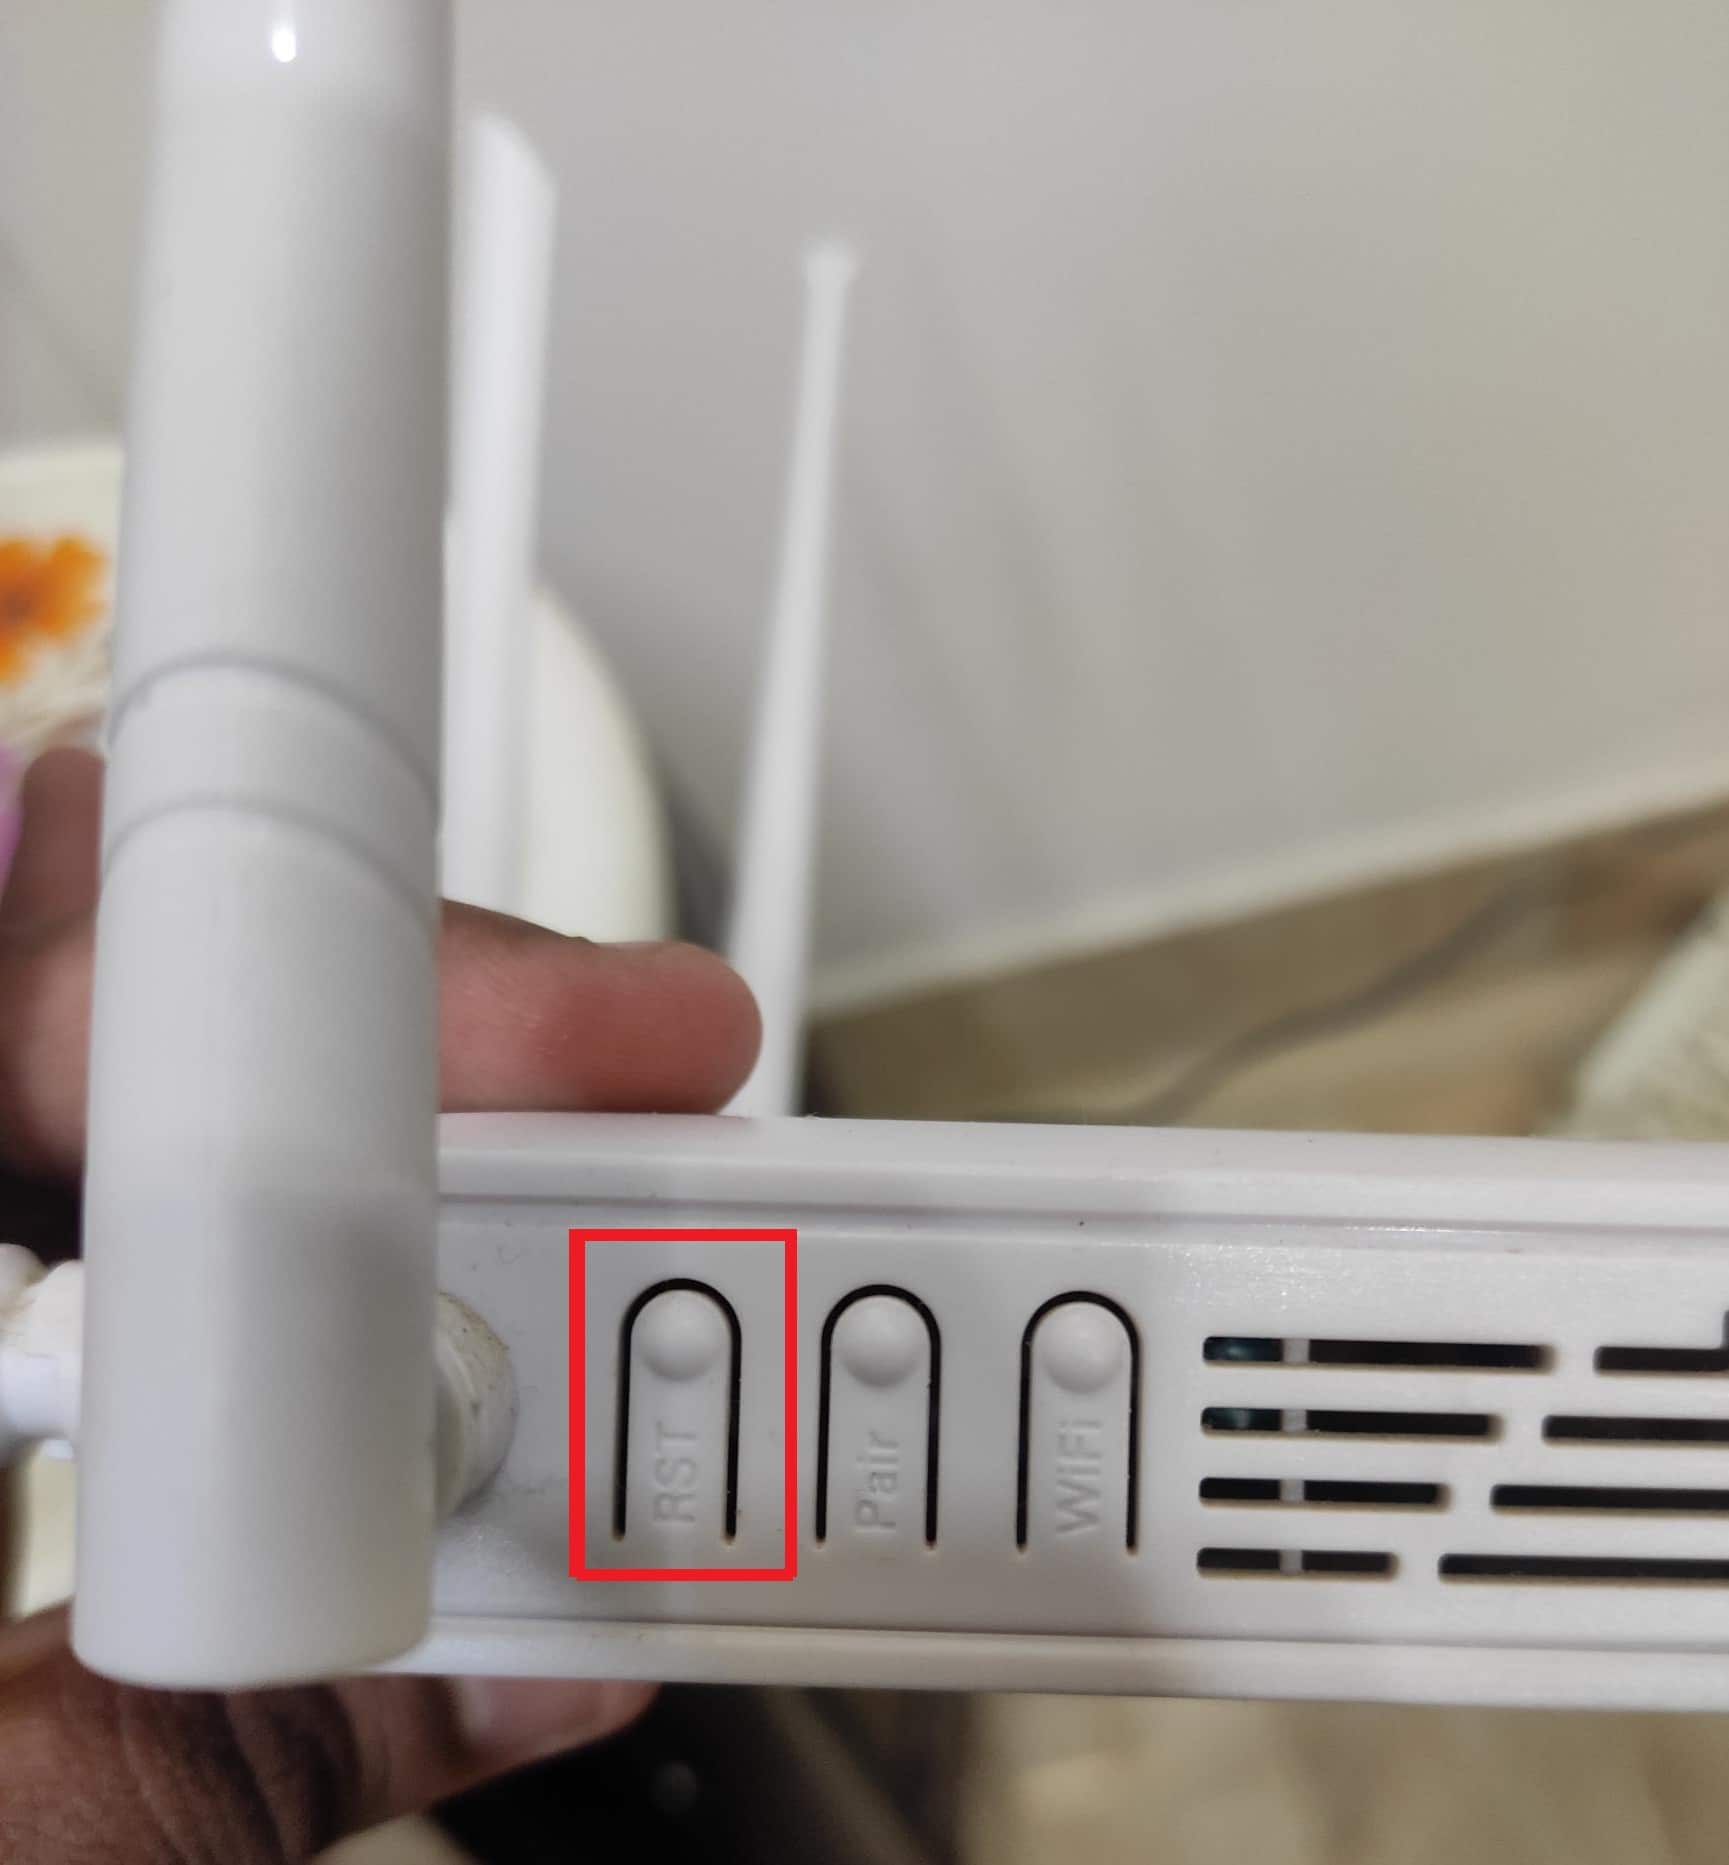
3. Now, hold the Reset button on your router for 10-30 seconds.
Note: You may have to use pointing devices like a pin, or toothpick to press the RESET button in some Routers.
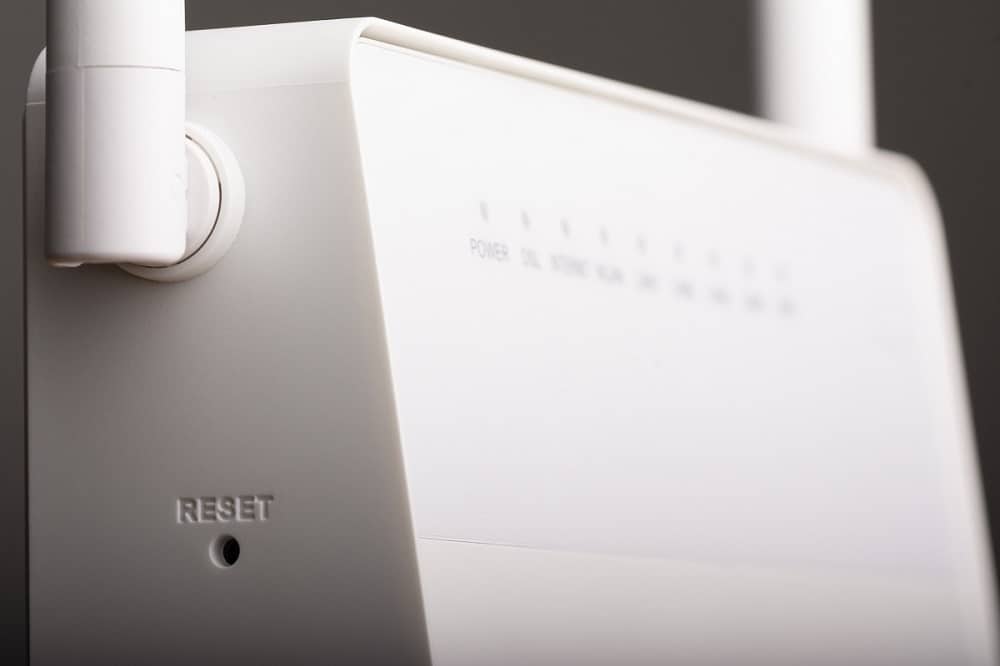
4. The router will automatically turn off and turn back on. You can release the button when the lights begin to blink.
5. Re-enter configuration details for the router on the webpage.
Also Read: How to Find My Router’s IP Address
Method 4C: Reset Modem
If the issue is not resolved even after restart/reset of the router, try resetting the modem. It is one of the effective methods to solve how to troubleshoot network connectivity problems.
Note: Please keep in mind that resetting the modem will also reset all of your device settings. Modem resetting can be done in the following ways:
Option 1: Using Reset Button
By pushing the reset button available on the backside of the modem, you can reset the modem settings.
Option 2: Using Web Browser
1. Type 192.168.1.1 or 192.168.1.2 into the address bar of the web browser.
2. Type your credentials and hit Enter key to log in.
Note: Different routers have different default login credentials.
3. Select Settings > System > Maintenance.
4. Choose Restore Default Settings and wait for the process to be completed.

5. After the reset is finished, the modem will restart itself.
Frequently Asked Questions (FAQs)
Q1. What does a network troubleshooter do on Windows 10?
Ans. When you run network troubleshooter on your system, it identifies the network and connection problems by analyzing the network components and operations. Further, the troubleshooter fixes the problems within a few steps. It is the safest and most reliable way to know what network problems your device is facing and fix the issues instantly.
Q2. Can any device face network problems?
Ans. Yes, any device may face network issues once or more times as a computer system may fail to configure with the available network to form a proper connection. However, it is solvable as to how to troubleshoot network connectivity problems methods are mentioned to troubleshoot this problem in this article.
Q3. Is it hard to troubleshoot network issues on Windows 10?
Ans. No, it is easy. Windows has provided the easiest ways for users to identify and solve network issues. Follow the above methods carefully to know how to troubleshoot network connectivity problems.
Recommended:
So these were the methods about how to troubleshoot network connectivity problems on Windows 10. Please let us know if this method worked the best for you. And leave any questions or comments in the space below for us.