How to Disable Antivirus Temporarily on Windows 10

Antivirus programs are great to secure our system from any unfounded malicious virus and malware attacks. However, sometimes antivirus programs may prevent some of the programs from working properly on the system, causing other harmful errors in the processes. Read this article further to know how to disable or turn off antivirus temporarily on Windows 10 including the popular McAfee and Avast Antivirus.
How to Disable Antivirus Temporarily on Windows 10
In some cases, trusted devices are also prevented by the third-party antivirus software from being opened, which may be the reason behind the various system issues. You may disable your antivirus temporarily to fix this error.
Note: Always remember, a system without an antivirus protection suite is more prone to several malware attacks. Enable it again once you have resolved your issue.
In this article, we have mentioned disabling methods of Avast Free Antivirus, BitDefender, Norton Security, and McAfee antivirus suite. Follow the method for the desired antivirus software carefully on your system.
Option I: Disable Avast Free Antivirus
Follow the given steps for your Avast Free Antivirus program:
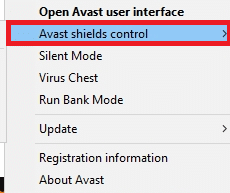
1. Navigate to the Avast Antivirus icon in the Taskbar and right-click on it.
![]()
2. Now, select the Avast shields control option.
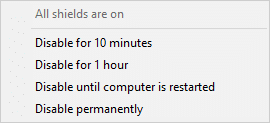
3. Choose the option according to your convenience and confirm the prompt displayed on the screen.
- Disable for 10 minutes
- Disable for 1 hour
- Disable until computer is restarted
- Disable permanently
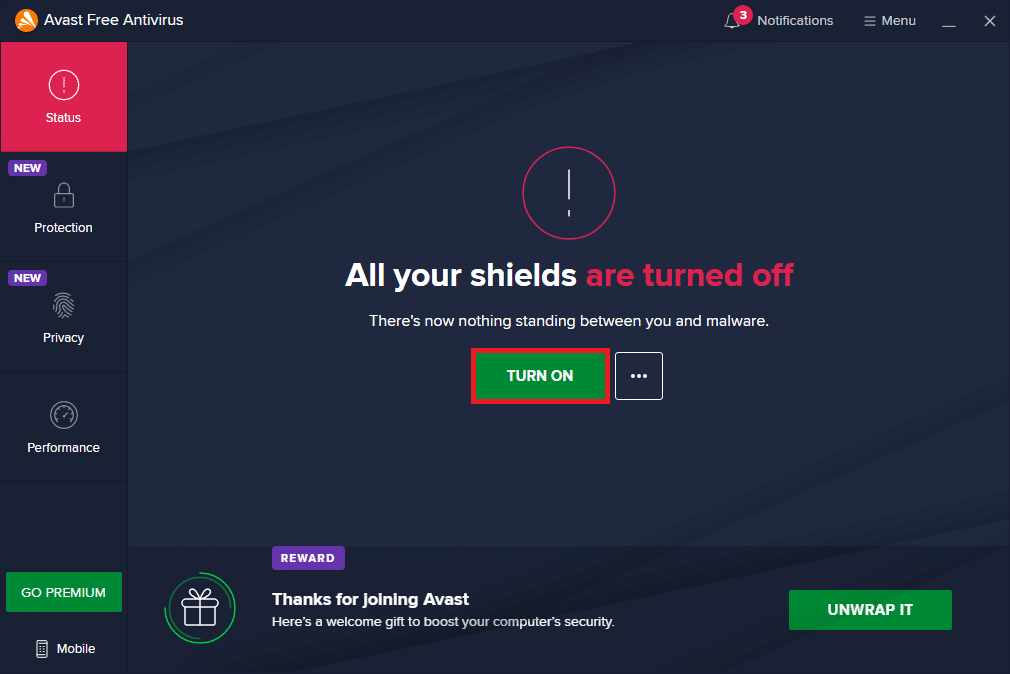
Note: To activate the settings, go back to the Main window. Click on TURN ON button shown highlighted to enable all Avast shields again.
Also Read: 5 Ways to Completely Uninstall Avast Antivirus in Windows 10
Option II: Disable BitDefender
In the how to disable the antivirus temporarily method, we will now see the steps to disable the BitDefender Antivirus program on Windows 10:
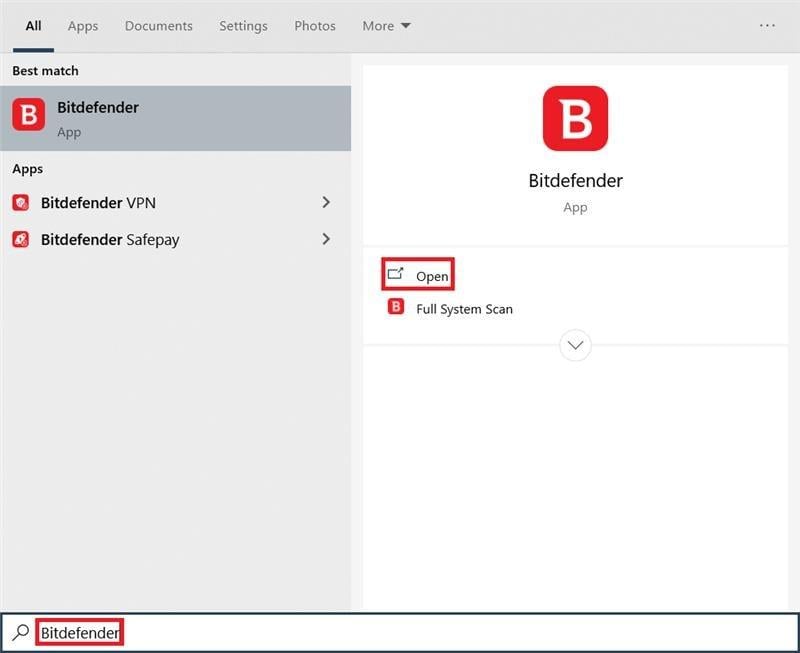
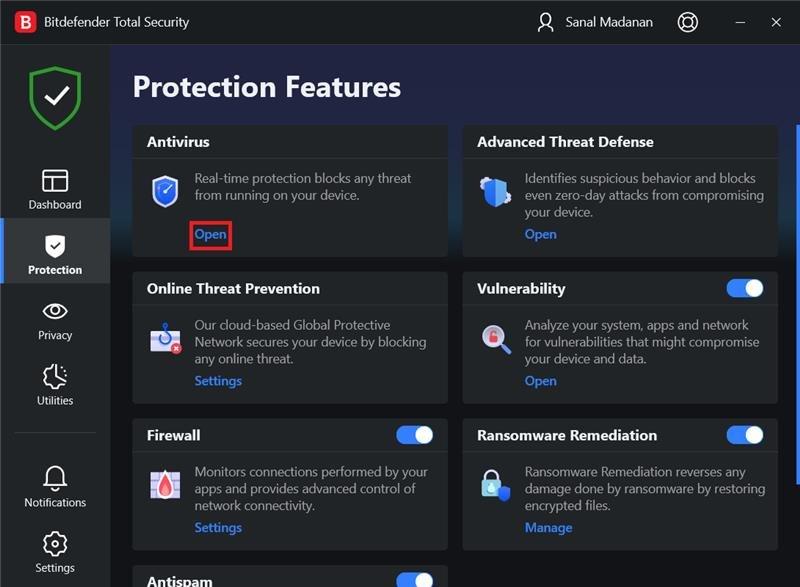
1. Click on Start and type BitDefender. Click on Open from the Start menu search results.
2. Click on the Protection tab on the left pane and click on Open under Antivirus.
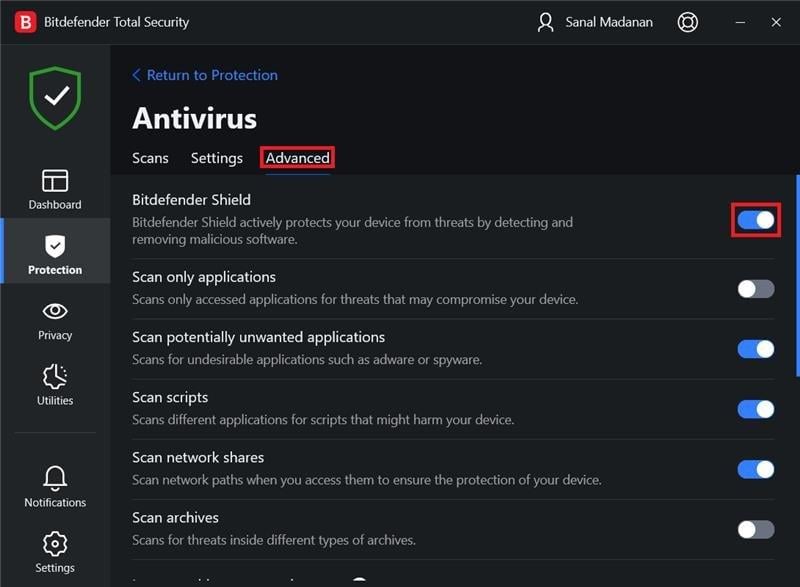
3. Click Advanced and use the switch off the toggle to turn off BitDefender Shield as depicted.
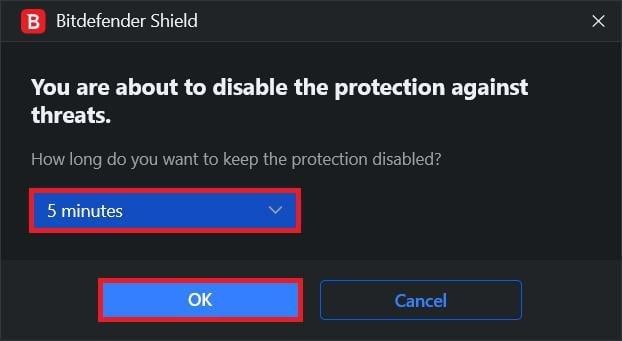
4. Use the drop-down list to choose the time period for How long do you want to keep the protection disabled? and click on OK.
Also Read: How to Disable Windows 10 Firewall
Option III: Disable Norton Security
If you have the Norton Security Antivirus program installed on your system, follow these steps to disable it:
1. Right-click on the Antivirus Program icon from the system tray and select Disable Auto-Protect as shown.

2. From Select the duration dropdown menu, choose a time period for which the Antivirus will remain disabled.
3. Finally, click OK on the Security Request page to disable it.

Also Read: Fix The Parameter Is Incorrect in Windows 10
Option IV: Disable McAfee
Follow the upcoming steps to disable McAfee Antivirus temporarily.
1. To enter the McAfee control panel, double-click the McAfee icon on the system tray.
![]()
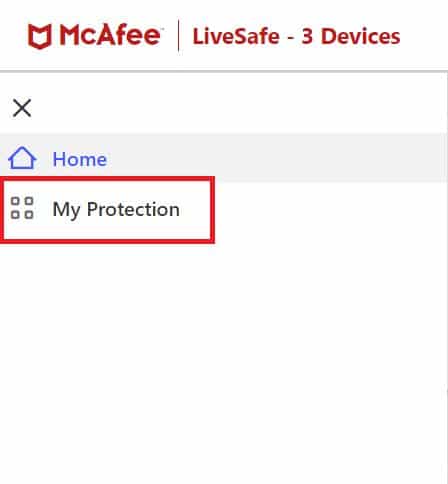
2. To access the Navigation Center, click the hamburger icon in the top-left corner of the McAfee window.
![]()
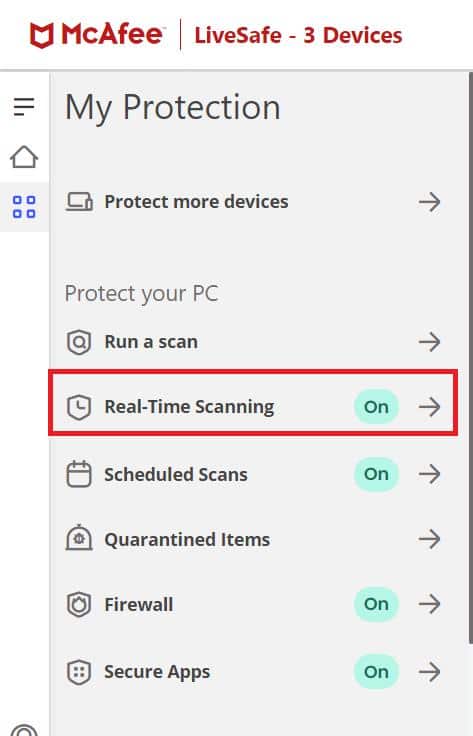
3. Click on My Protection as shown.
4. To see the antivirus choices, click the Real-Time Scanning link.
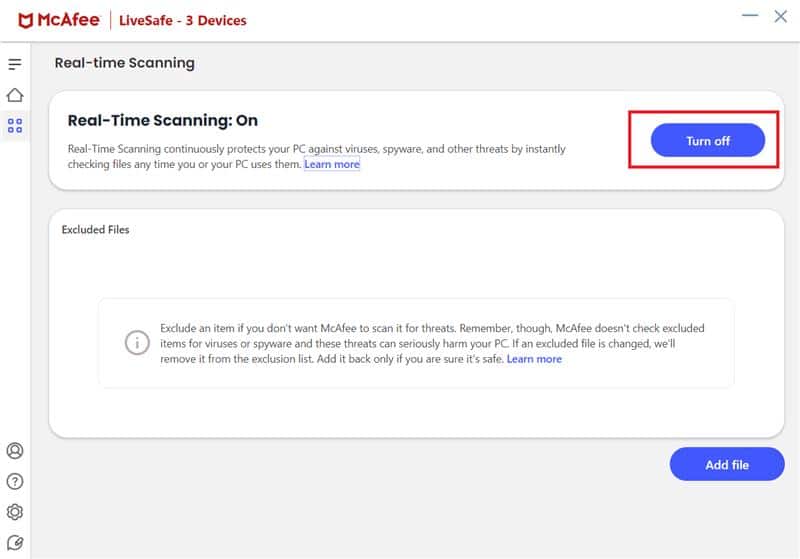
5. Click the Turn off button shown highlighted to disable Real-Time Scanning.
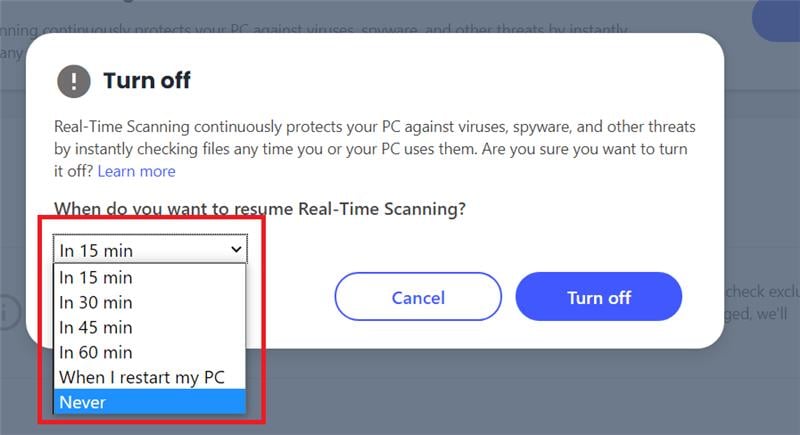
6. In the When Do You Want to Resume Real-Time Scanning? drop-down box, choose the time period as:
- In 15 min
- In 30 min
- In 45 min
- In 60 min
- When I restart my PC.
Note: If you choose Never, the virus prevention option will be disabled unless you explicitly enable it.
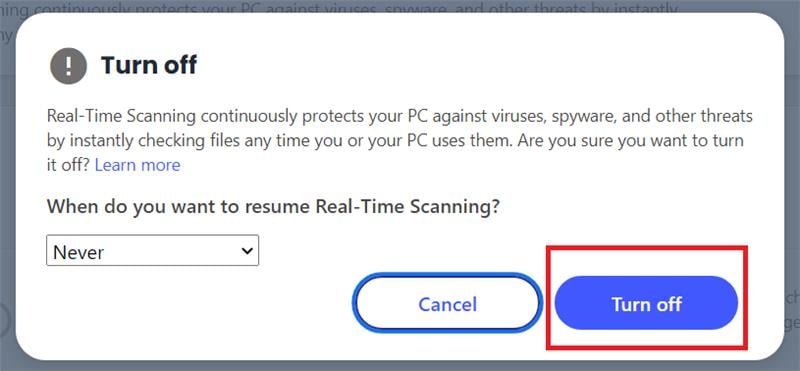
7. To turn off the protection, click the Turn Off button.
8. The warning Your Computer Is At Risk appears right away, suggesting that virus protection isn’t turned on. Close the McAfee control panel and Exit.
Recommended:
We hope you found the answer to how to disable antivirus temporarily on Windows 10 query. Feel free to reach out to us with your queries and suggestions via the comments section below.