Fix Default Printer Keeps Changing Issue: In Microsoft latest operating system which is Windows 10, they have removed the Network Location aware feature for Printers and because of this, you can’t set the default printer of your choice. Now the default printer is set automatically by Windows 10 and is generally the last printer you selected. If you want to change the default printer and don’t want it to automatically change then follow the below-listed troubleshooting guide.
Default Printer Keeps Changing [SOLVED]
Make sure to create a restore point just in case something goes wrong.
Method 1: Disable Windows 10 to Automatically Manage your Printer
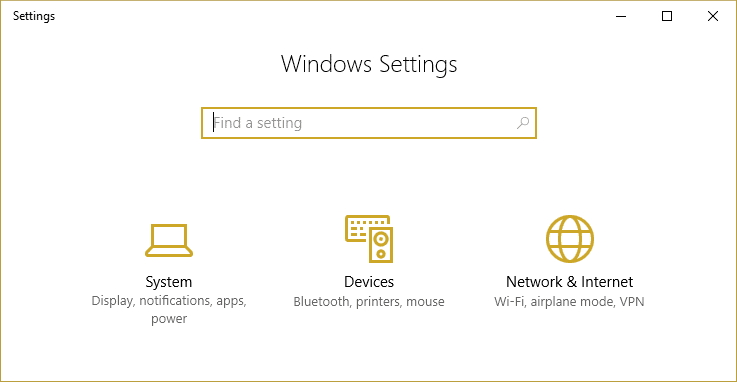
1.Press Windows Key + I to open Settings then click Devices.
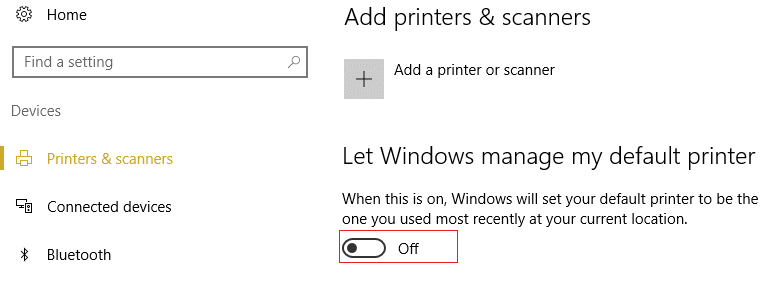
2.Now from the left-hand menu select Printers & scanners.
3.Disable the toggle under “Let Windows manage my default printer.“
4.Close everything and reboot your PC.
Method 2: Manually Set the Default Printer
1.Press Windows Key + X then select Control Panel.
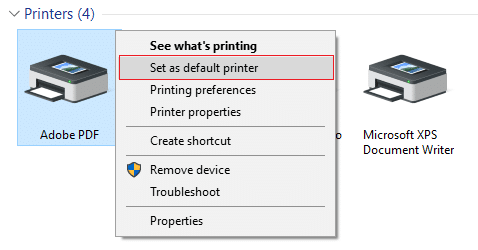
2.Click Hardware and Sound and then select Devices and Printers.

3.Right-click on your printer and select Set as a default printer.
4.Restart your PC to save changes.
Method 3: Registry Fix
1.Press Windows Key + R then type regedit and hit Enter to open Registry Editor.

2.Navigate to the following registry key:
HKEY_CURRENT_USERSOFTWAREMicrosoftWindows NTCurrentVersionWindows
3.Double click on LegacyDefaultPrinterMode and change its value to 1.

Note: If the value is not present then you have to manually create this key, right-click in an empty area in the right-hand side window in the registry then select New > DWORD (32-bit) Value and name this key as LegacyDefaultPrinterMode.
4.Click OK and close registry editor. Again set your default Printer by following the above method.
5.Reboot your PC to save changes.
6.If this doesn’t fix the issue then again open Registry Editor and navigate to the following path:
HKEY_USERSUSERS_SIDPrintersConnections
HKEY_USERSUSERS_SIDPrintersSettings
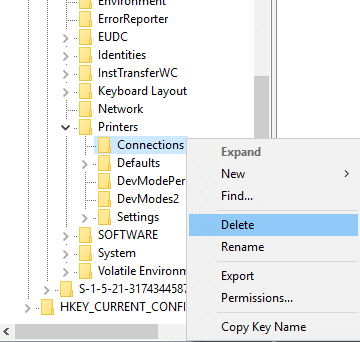
7.Delete all the entries present inside these keys and then navigate to:
HKEY_USERSUSERS_SIDPrintersDefaults
8.Delete the DWORD DisableDefault in the right-hand side window and again set your default Printer.
9.Reboot your PC to save the above settings.
Recommended for you:
That’s it you have successfully Fix Default Printer Keeps Changing [SOLVED] but if you still have any questions regarding this guide then feel free to ask them in the comment’s section.