Different people use the laptop for various purposes such as some use it for business, some for office work, some for entertainment, etc. But one thing which all the young users do on their system is playing various types of games on their PC. Also, with the introduction of Windows 10, all the latest features are by-default installed on the system. Also, Windows 10 is game ready and supports various features such as the Xbox app, Game DVR and many other features. One feature that is required by every game is DirectX which is also pre-installed on Windows 10, so you probably won’t need to install it manually. But what is this DirectX and why it is required by the games?
DirectX: DirectX is a collection of different application programming interfaces (APIs) that handles various tasks related to multimedia like gaming, video, etc. Initially, Microsoft named all these APIs in such a way that they all started with DirectX such as DirectDraw, DirectMusic and many more. Later, the X in DirectX signifies the Xbox to indicate that the console was based on DirectX technology.
The DirectX has its own software development kit which consists of runtime libraries in binary form, documentation, headers which use in coding. These SDKs are available for free to download and to use. Now since DirectX SDKs are available to download, but the question arises, how one can install DirectX on Windows 10? Don’t worry in this article we will see how to download & install DirectX on Windows 10.
Although, we said that DirectX is pre-installed on Windows 10 but Microsoft has been releasing updated versions of DirectX such as DirectX 12 to fix a DirectX problem you’re having such as any .dll errors or to increase the performance of your games. Now, which version of DirectX you should download & install depends on the version of Windows OS you are currently using. For different versions of the Windows operating system, there are different versions of DirectX available.
Download And Install DirectX on Windows 10
Make sure to create a restore point just in case something goes wrong.
How to Check the Current DirectX Version
Before updating DirectX, it is essential that you make sure which version of DirectX is already installed on your system. You can check this using DirectX diagnostics tools.
To check which version of DirectX is currently installed on your computer follow the below steps:
1.Open Run by searching for it using the search bar or press Windows Key + R.
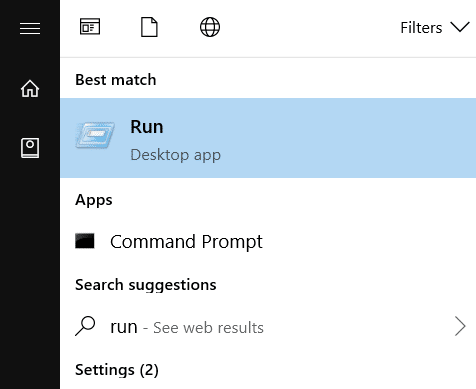
2.Type dxdiag in the Run dialog box and hit Enter.
dxdiag

3.Hit the enter button or OK button to execute the command. Below DirectX diagnostic tool dialog box will open up.
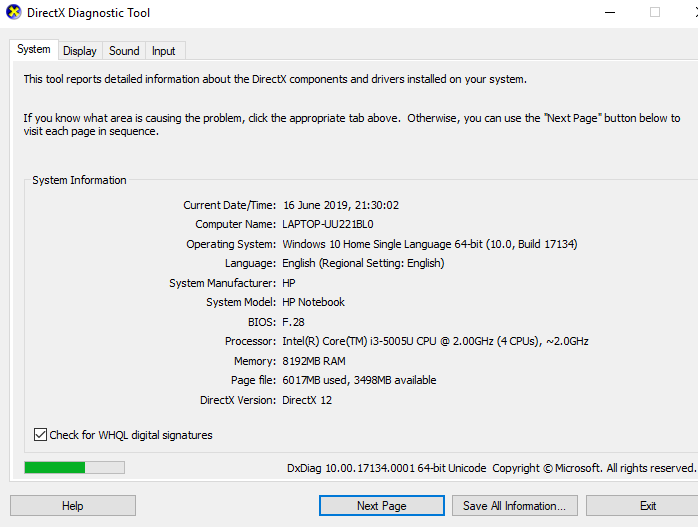
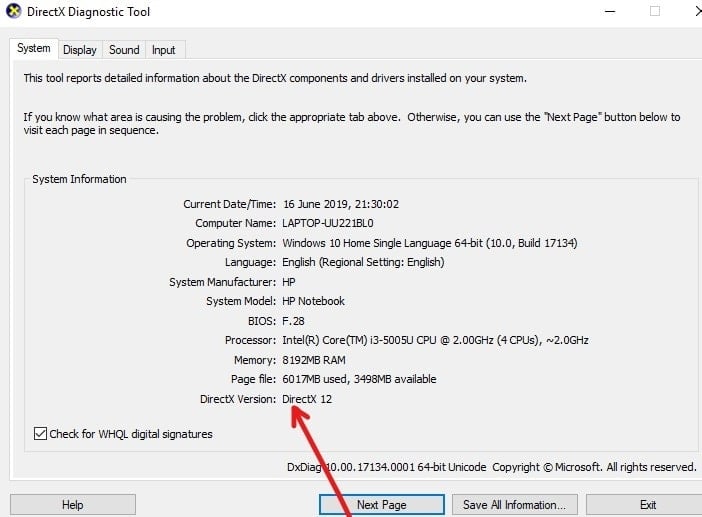
4.Now at the bottom of the System tab window, you should see the DirectX version.
5.Next to the DirectX version, you will find which version of DirectX is currently installed on your PC.
Once you get to know the version of the DirectX installed on your computer, you can easily update it to the latest version. And even if no DirectX is present on your system, you can still follow this method to download & install DirectX on your PC.
DirectX Windows Versions
DirectX 12 comes pre-installed with Windows 10 and the updates related it are only available through Windows Updates. No standalone version of DirectX 12 is available.
DirectX 11.4 & 11.3 are only supported in Windows 10.
DirectX 11.2 is supported in Windows 10, Windows 8.1, Windows RT 8.1, and Windows Server 2012 R2.
DirectX 11.1 is supported in Windows 10, Windows 8, Windows 7 (SP1), Windows RT, and Windows Server 2012.
DirectX 11 is supported in Windows 10, Windows 8, Windows 7 and Windows Server 2008 R2.
How to install the latest version of DirectX
Follow the below steps to update or download & install DirectX for any version of Windows operating system:
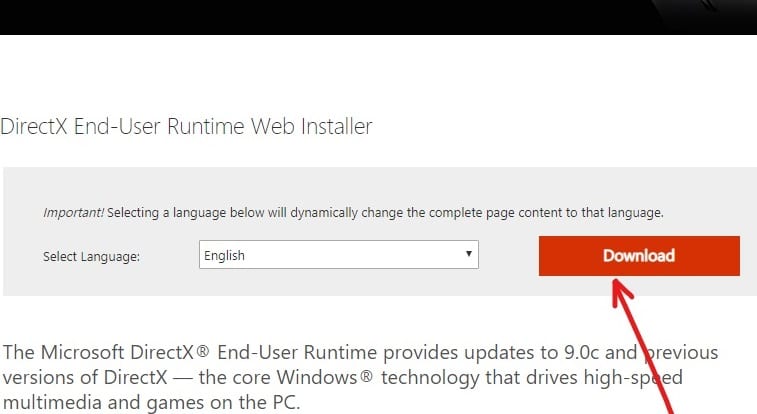
1.Visit the DirectX download page on Microsoft’s site. The below page will open up.
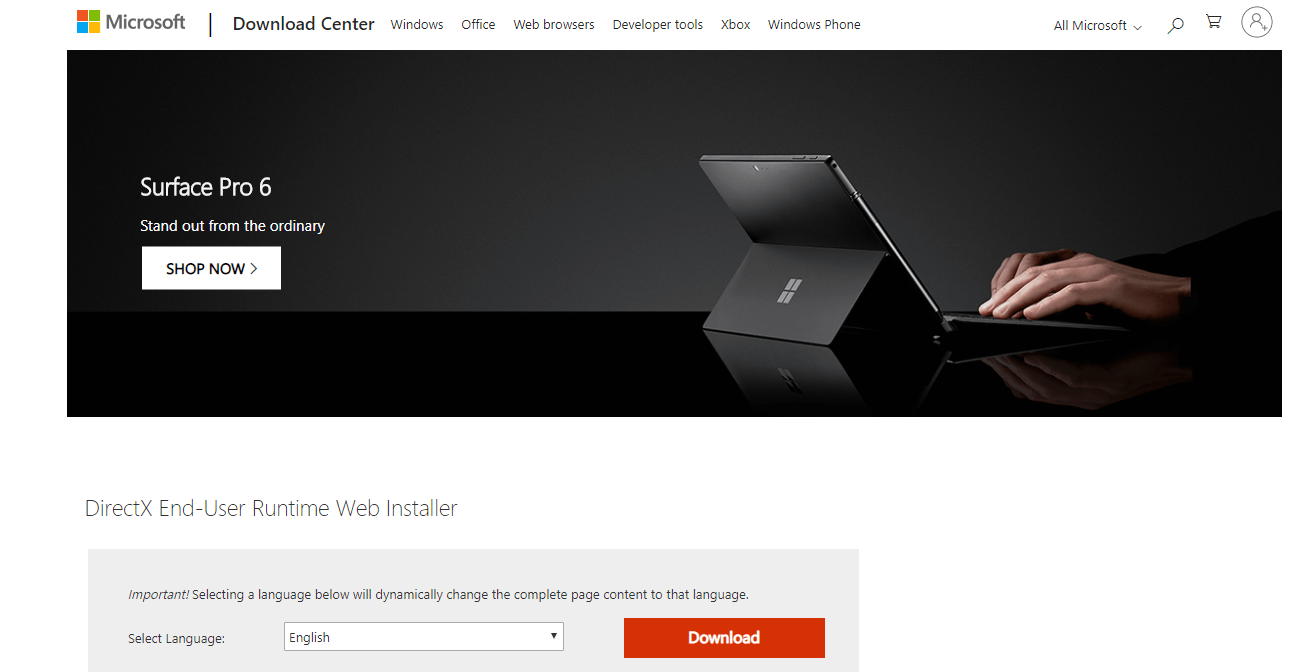
2.Select the language of your choice and click on the red Download button.
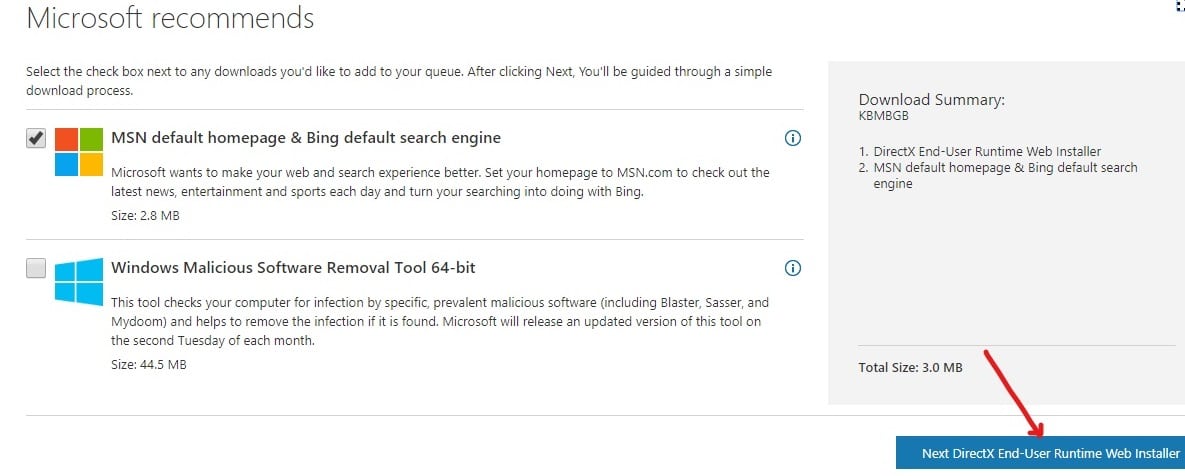
3.Click on the Next DirectX End-User Runtime Web Installer button.
Note: Along with the DirectX installer it will also recommend some more Microsoft products. You don’t need to download these additional products. Simply, uncheck all the checked boxes. Once you skip the downloading of these products, the Next button will become No thanks and continue to Install DirectX.
4.The new version of DirectX will start downloading.
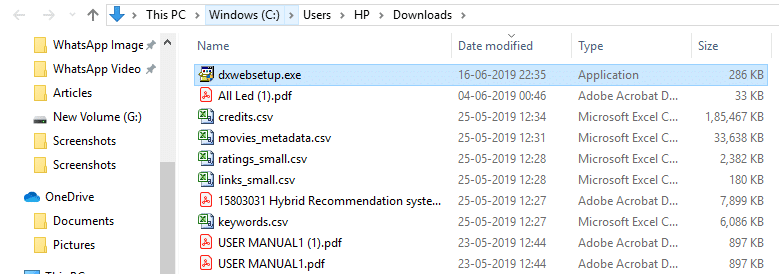
5.The DirectX file will be downloaded with name dxwebsetup.exe.
6.Double-click on the dxwebsetup.exe file which will be under the Downloads folder.
7.This will open the Setup wizard for installing the DirectX.
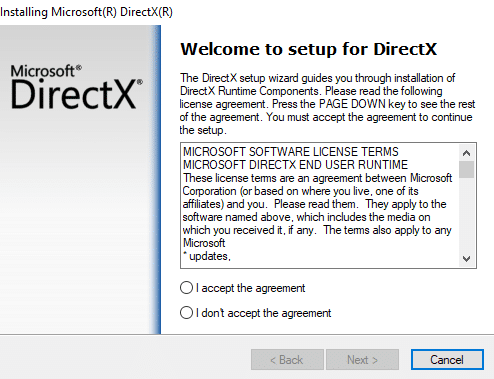
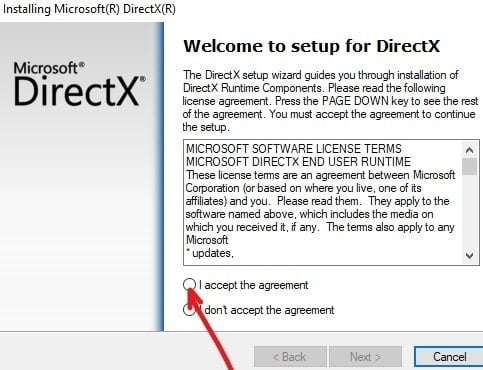
8.Click on “I accept the agreement” radio button and then click Next to continue installing DirectX.
9.In the Next step, you will be offered free Bing bar. If you want to Install it, check the box next to Install the Bing bar. If you don’t want to install it then simply leave it unchecked.
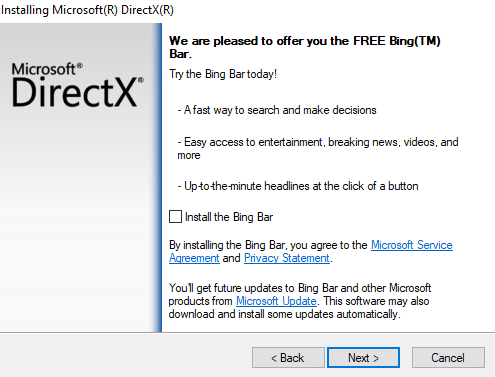
10.Click on Next button to continue with the installation.
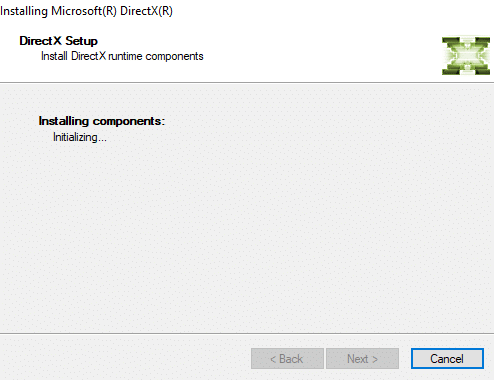
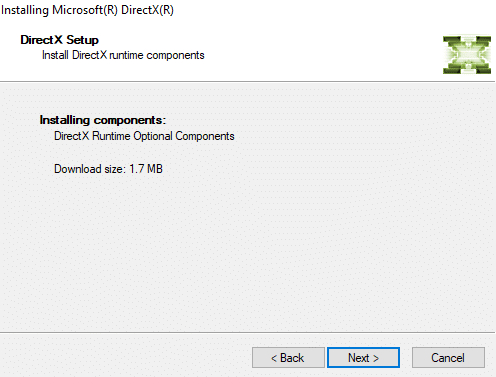
11.Your components for updated version of DirectX will start installing.
12.Details of the components which are going to be installed will appear. Click on the Next button to continue.
13.As soon as you click Next, downloading of the components will start.
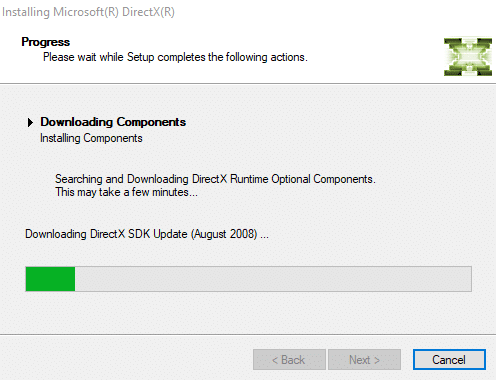
14.Once the downloading and installation of all the components is completed, click on the Finish button.
Note: Once the installation is completed, you will see the message The components installed are now ready for use on the screen.

15.After the installation is completed, restart your computer to save changes.
To restart the computer follow the below steps:
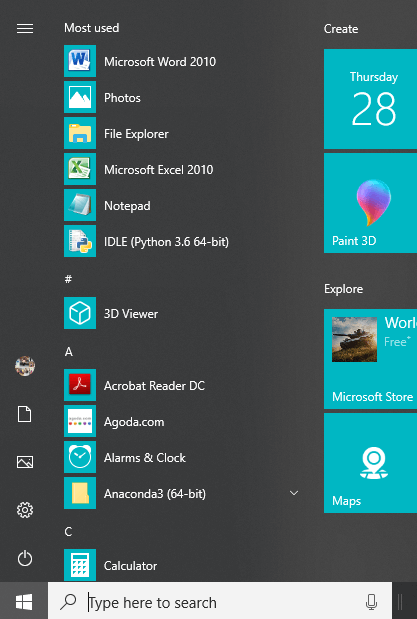
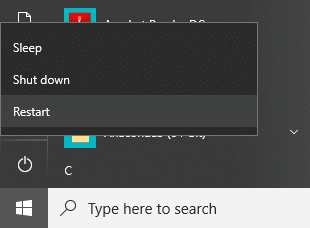
i.Click on the Start menu and then click on the Power button available at the bottom left corner.
ii.Click on Restart and your computer will restart itself.
16.After the computer restarts, you can check the DirectX version installed on your PC.
Recommended:
I hope with the help of the above steps you were able to Download and Install DirectX on Windows 10. If you still have any questions regarding this guide then feel free to ask them in the comments section.