If your PC is used by your family members, you may have multiple user accounts so that each person has his own account to manage their own files and applications separately. With the introduction of Windows 10, you can either create a local account or use a Microsoft account to sign in to Windows 10. But as the number of user account grows, you find it hard to manage them, and some of the accounts also become absolute, in this case, you might want to disable certain accounts. Or if you want to block the access of certain user then also you need to disable the user account to block the person from accessing your PC.

Now in Windows 10, you have two options: to stop the user from accessing the account, either you could block the user account or disable his/her account. The only thing to note down here is that you must be signed in to your administrator account to follow this tutorial. So without wasting any time, let’s see how to Enable or Disable User Accounts in Windows 10 with the help of the below-listed guide.
Enable or Disable User Accounts in Windows 10
Make sure to create a restore point just in case something goes wrong.
Method 1: Enable or Disable User Accounts using Command Prompt
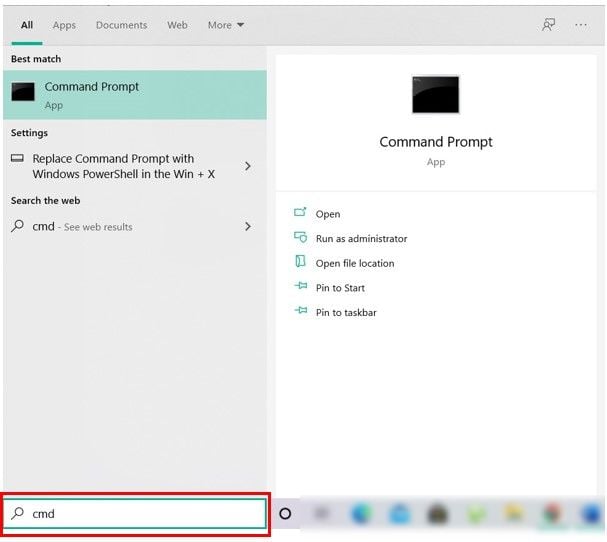
1. Open Command Prompt. The user can perform this step by searching for ‘cmd’ and then press Enter.
2. To Disable a User Account in Windows 10 type the following command into cmd and hit Enter:
Net user User_Name /active:no
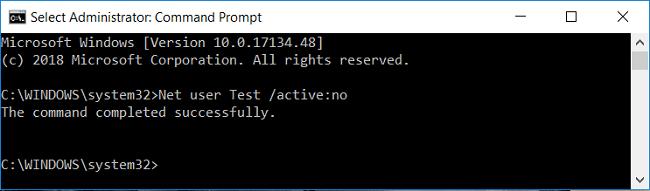
Note: Replace User_Name with the account username you want to disable.
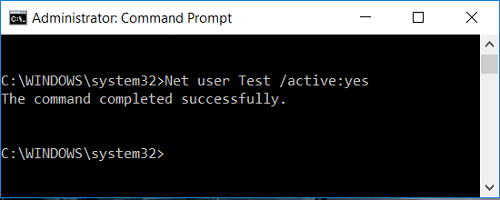
3. To Enable a User Account in Windows 10 type the following command into cmd and hit Enter:
Net user User_Name /active:yes
Note: Replace User_Name with the account username you want to enable.
4. Reboot your PC to save changes.
Method 2: Enable or Disable User Account using Group Policy Editor
1. Press Windows Key + R then type gpedit.msc and hit Enter.

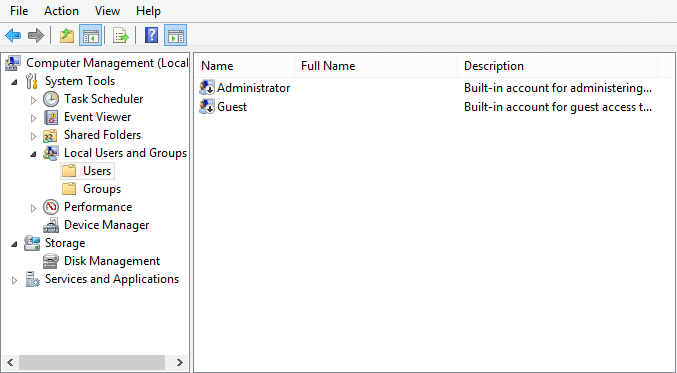
2. Expand Local Users and Groups (Local) then select Users.
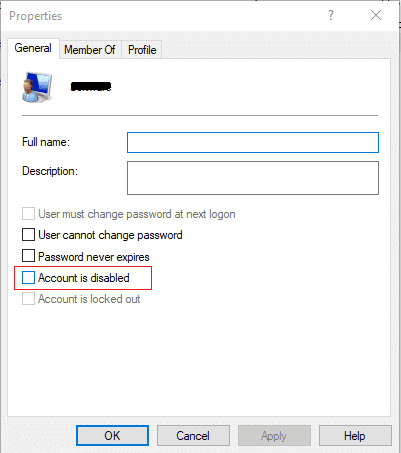
3. Now in the right window, pane double-click on the name of the user account you want to disable.
4. Next, in the Properties window checkmark “Account is disabled” to disable the user account.

5. Click Apply, followed by OK.
6. If you need to enable the user account in the future, go to the Properties window and uncheck “Account is disabled” then click Apply followed by OK.
7. Restart your PC to save changes.
Method 3: Enable or Disable User Account using Registry
1. Press Windows Key + R then type regedit and hit Enter to open Registry Editor.

2. Navigate to the following registry key:
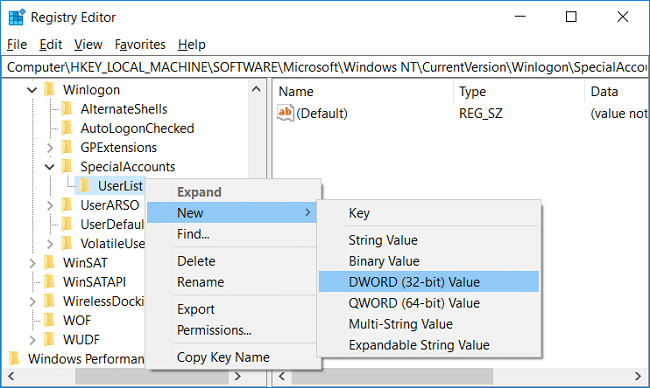
HKEY_LOCAL_MACHINESOFTWAREMicrosoftWindows NTCurrentVersionWinlogonSpecialAccountsUserList
3. Right-click on UserList then selects New > DWORD (32-bit) Value.
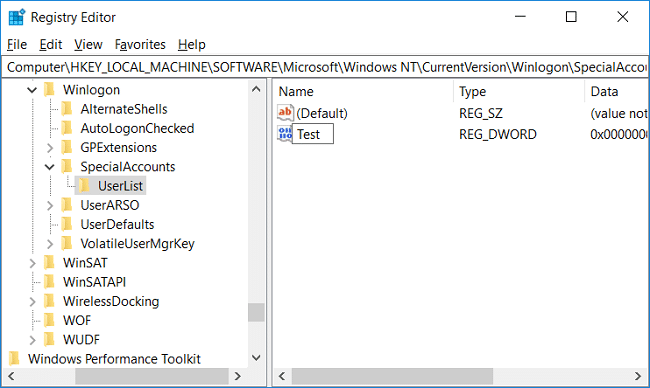
4. Type the name of the user account you want to disable for the name of the above DWORD and hit Enter.
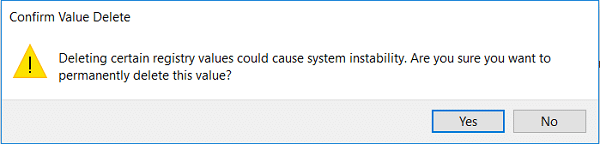
5. To enable the user account to right-click on the above-created DWORD and select Delete.
6. Click Yes, to confirm and close the registry.
7.Reboot your PC to save changes.
Method 4: Enable or Disable User Account using PowerShell
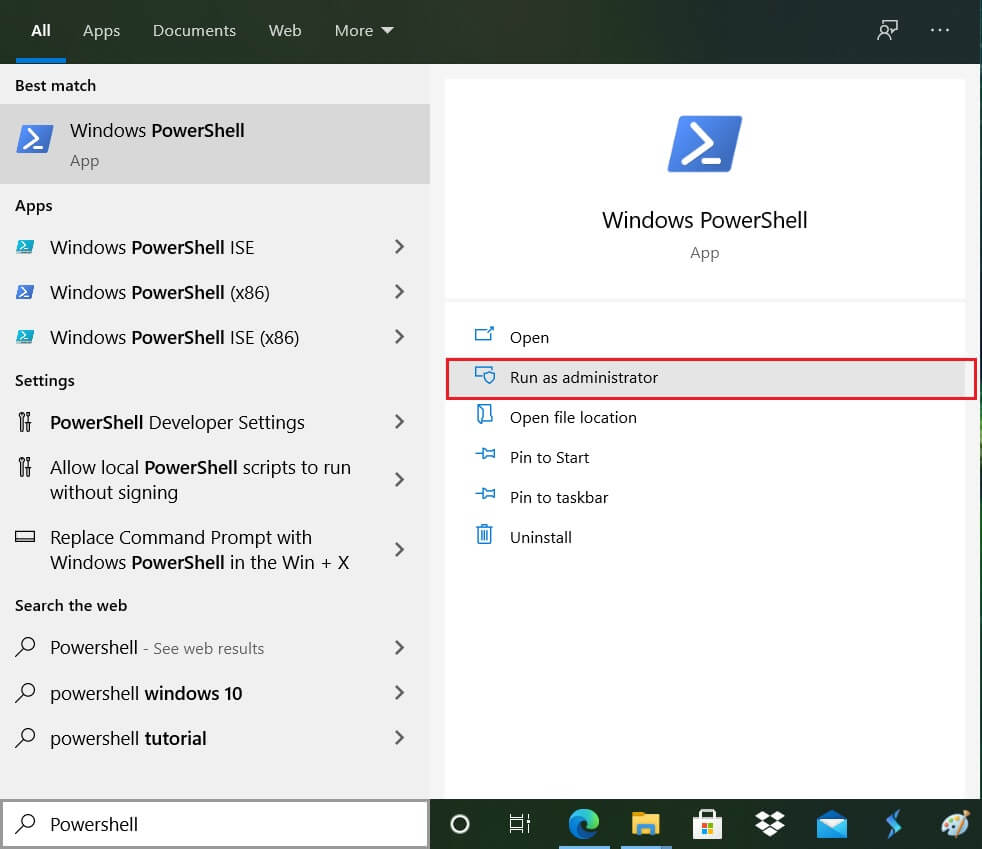
1. Press Windows Key + Q to bring up Search, type PowerShell then right-click on PowerShell and select Run as Administrator.
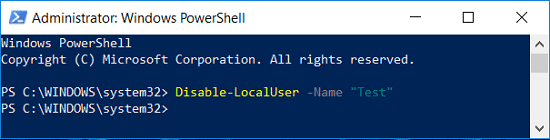
2. To Disable a User Account in Windows 10 type the following command into PowerShell and hit Enter:
Disable-LocalUser -Name “User_Name”
Note: Replace User_Name with the account username you want to disable.
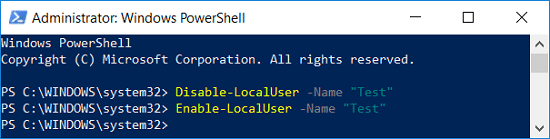
3. To Enable a User Account in Windows 10 type the following command into PowerShell and hit Enter:
Enable-LocalUser -Name “User_Name”
Note: Replace User_Name with the account username you want to enable.
4. Reboot your PC to save changes.
Recommended:
That’s it you have successfully learned How to Enable or Disable User Accounts in Windows 10 but if you still have any queries regarding this article then feel free to ask them in the comment’s section.