Fix Autoplay not working in Windows 10: Autoplay is a feature of the Microsoft Windows operating system that decides what actions to take when an external drive or removable media is discovered by the system. For example, if the drive contains music files then the system will automatically recognize this and as soon as the removable media is connected it will run the Windows media player. Similarly, the system recognizes pictures, videos, documents, etc files and run the appropriate application to play or display the content. Autoplay also displays a list of options every time a removable media is connected to the system according to the file type present on the media.
Well, Autoplay is a very useful feature but it seems it’s not working correctly in Windows 10. Users are reporting an issue with Autoplay where when the removable media is attached to the system there is no Autoplay dialog box, instead, there is just a notification about the Autoplay in the Action Center. Even if you click this notification in the Action Center it won’t bring up the Autoplay dialog box, in short, it does nothing. But don’t worry about it as every problem has a solution this issue is also pretty fixable. So without wasting any time let’s see how to actually Fix Autoplay not working in Windows 10 with the below-listed troubleshooting guide.
Fix Autoplay not working in Windows 10
Make sure to create a restore point just in case something goes wrong.
Method 1: Reset Autoplay Settings to Default
1.Press Windows Key + X then select Control Panel.

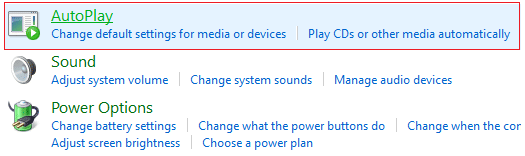
2.Click on Hardware and Sound then click Autoplay.
3.Scroll down to bottom and click Reset all defaults.
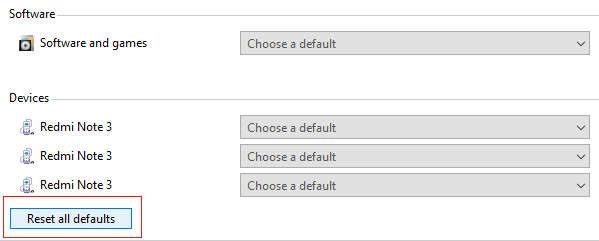
4.Click Save and close the Control Panel.
5.Insert removable media and check if Autoplay is working or not.
Method 2: AutoPlay options in Settings
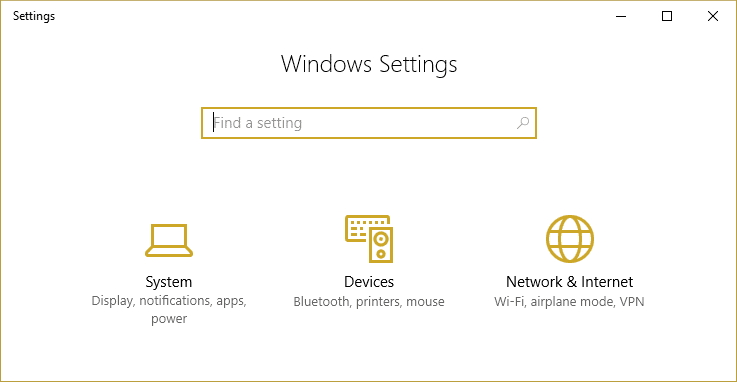
1.Press Windows Key + I to open Settings and click Devices.
2.From the left-hand side menu, select AutoPlay.
3.Turn on the toggle under Autoplay to enable it.
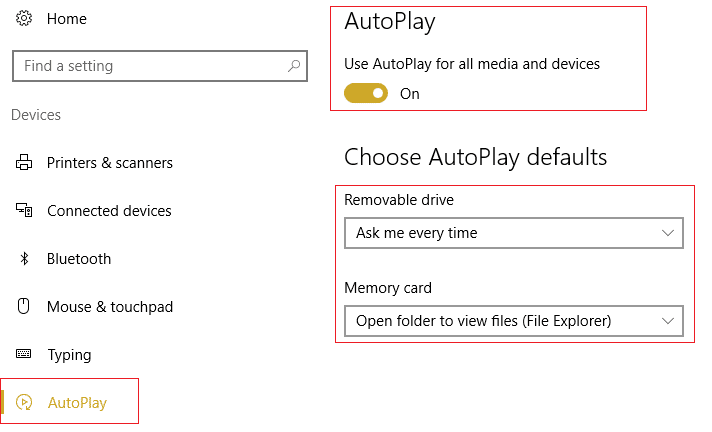
4.Change the value of the Choose AutoPlay defaults according to your needs and close everything.
5.Reboot your PC to save changes.
Method 3: Registry Fix
1.Press Windows Key + R then type regedit and hit Enter to open Registry Editor.

2.Navigate to the following Registry Key:
HKEY_LOCAL_MACHINESOFTWAREMicrosoftWindowsCurrentVersionPoliciesExplorer
3.Make sure Explorer is highlighted in the left window pane then click NoDriveTypeAutoRun in the right window pane.
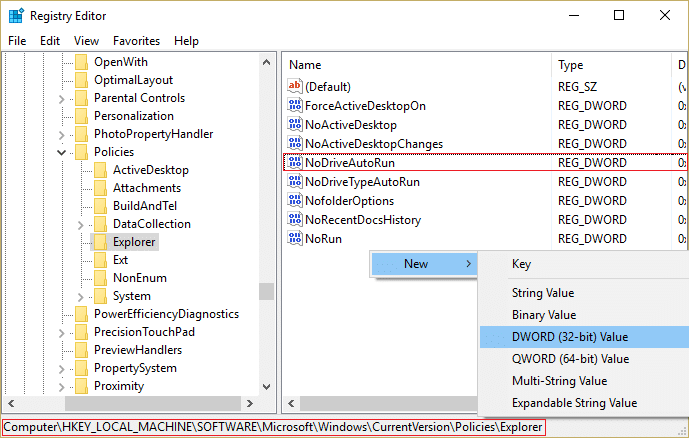
4.If the above value does not exit then you need to create one. Right-click in the empty area in the right window pane then select New > DWORD (32-bit) value.
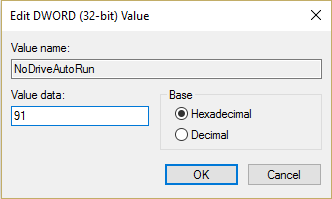
5.Name this newly create key as NoDriveTypeAutoRun and then double-click on it to change its value.
6.Make sure hexadecimal is selected and in Value data field enter 91 then click OK.
7.Again navigate to the following registry Key:
HKEY_CURRENT_USERSoftwareMicrosoftWindowsCurrentVersionPoliciesExplorer
8.Follow the steps from 3 to 6.
9.Exit Registry Editor and restart your PC to save changes.
This should Fix Autoplay not working in Windows 10 but if not then continue to the next method.
Method 4: Make sure Shell Hardware Detection Service is running
1.Press Windows Key + R then type services.msc and hit Enter.

2.Scroll down till you find Shell Hardware Detection service then right-click on it and select Properties.
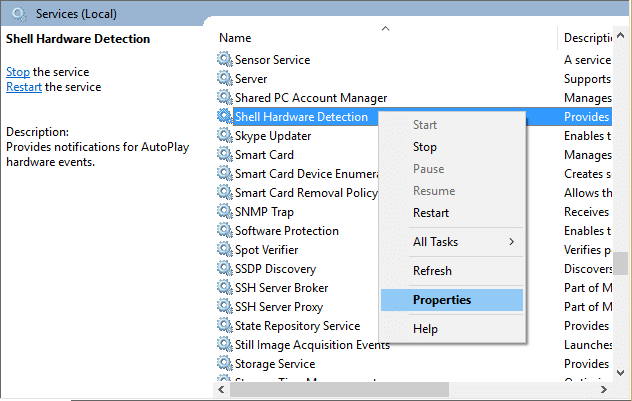
3.Make sure the Startup type is set to Automatic and if the service is not running, click Start.
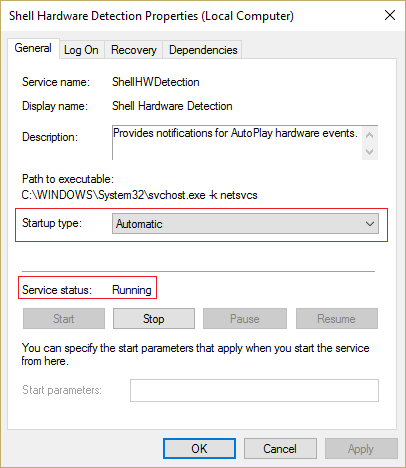
4.Click Apply followed by Ok.
5.Reboot your PC to save changes.
Method 5: Repair Install Windows 10
This method is the last resort because if nothing works out then this method will surely repair all problems with your PC. Repair Install just uses an in-place upgrade to repair issues with the system without deleting user data present on the system. So follow this article to see How to Repair Install Windows 10 Easily.
Recommended for you:
That’s it you have successfully Fix Autoplay not working in Windows 10 but if you still have any questions regarding this guide then feel free to ask them in the comment’s section.