Fix We couldn’t update the system reserved partition: When you try to update or upgrade your PC to a newer version of Windows it likely that you will see this error. The main cause of this error is because of insufficient available space on EFI system reserved partition on your hard disk. The EFI system partition (ESP) is a partition on your hard disk or SSD which is used by Windows adhering to the Unified Extensible Firmware Interface (UEFI). When a computer is booted UEFI firmware loads operating system installed on ESP and various other utilities.
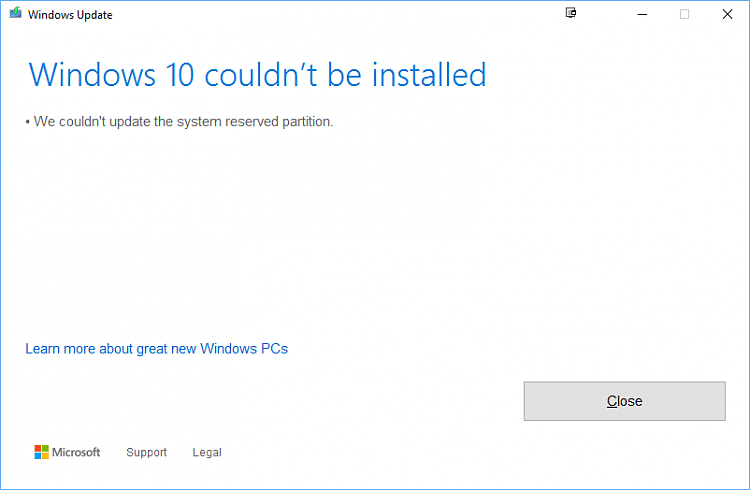
Windows 10 couldn’t be installed
We couldn’t update the system reserved partition
Now the easiest way this issue could be fixed is to increase the size of EFI system reserved partition and that’s what exactly we are going to teach in this article.
We couldn’t update the system reserved partition [SOLVED]
Make sure to create a restore point just in case something goes wrong.
Method 1: Using MiniTool Partition Wizard
1.Download and install MiniTool Partition Wizard.
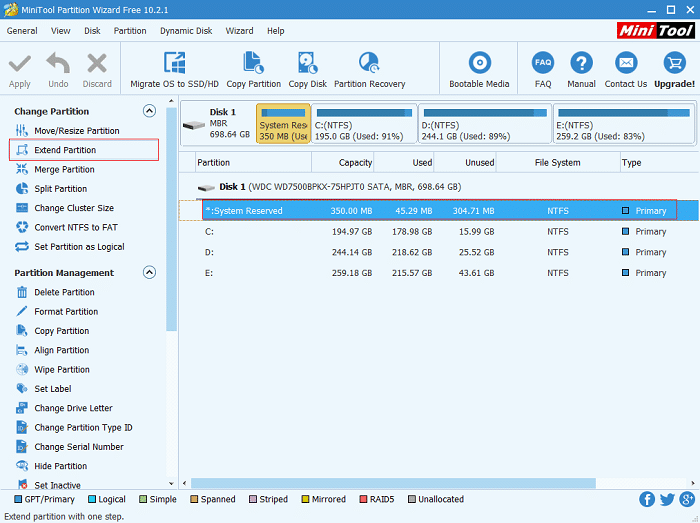
2.Next, select the system reserved partition and choose the function “Extend Partition.“
3.Now choose a partition from which you want to allocate space to the system reserved partition from the drop-down Take Free Space from. Next, drag the slider to decide how much free space you want to allocate and then click OK.
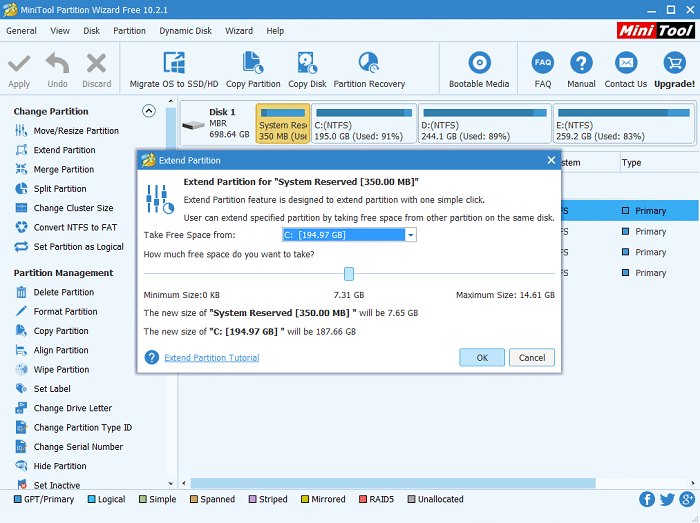
4.From the main interface we can see system reserved partition becomes 7.31GB from original 350MB (It’s just a demo, you should only increase the size of system reserved partition to maximum 1 GB), so please click “Apply” button to apply changes. This must Fix We couldn’t update the system reserved partition but if you don’t want to use the third-party application then follow the next method in order to fix the issue using the command prompt.
Method 2: Use Command Prompt
Before continuing, first determine whether you have a GTP or MBR partition:
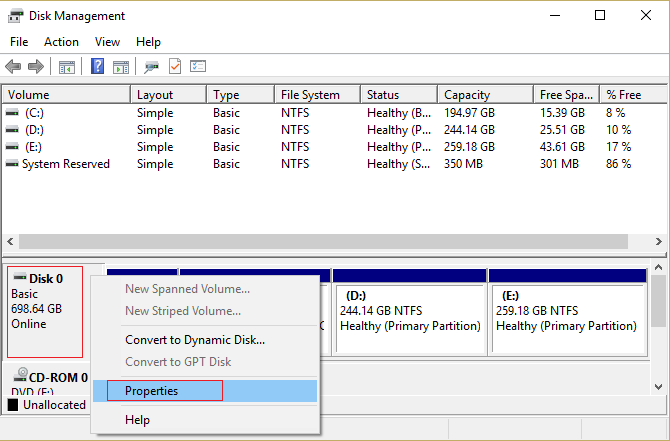
1.Press Windows Key +R then type “diskmgmt.msc” and hit Enter.

2.Right-click on your Disk (for example Disk 0) and select properties.
3.Now select the Volumes tab and check under Partition style. It should be either Master Boot Record(MBR) or GUID partition table (GPT).
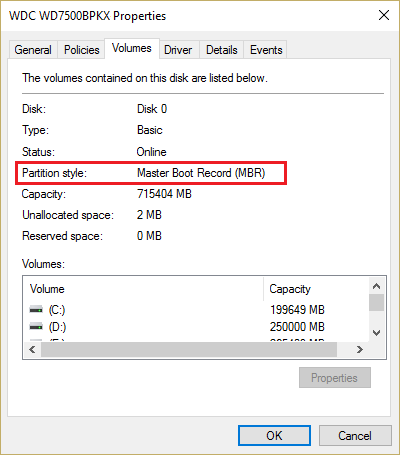
4.Next, select the below method according to your partition style.
a)If you have a GPT partition
1.Press Windows Key + X then select Command Prompt (Admin).

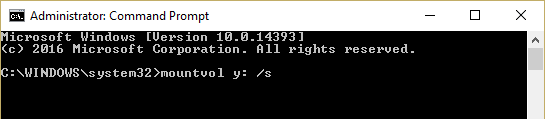
2.Type the following command in the cmd and hit Enter: mountvol y: /s
This will add the Y: drive letter in order to access the System Partition.
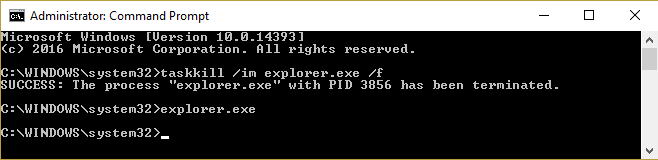
3.Again type taskkill /im explorer.exe /f and press Enter. Then type explorer.exe and press Enter to restart explorer in Admin mode.
4.Press Windows Key + E to open File Explorer then type Y:EFIMicrosoftBoot in the address bar.
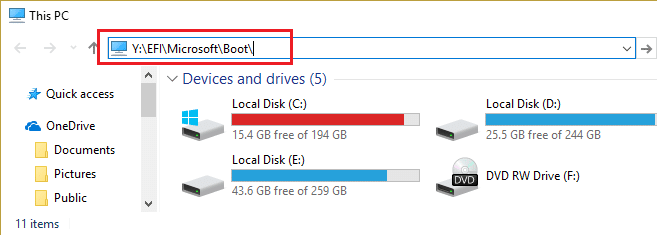
5.Then select the all the other language folders except English and permanently delete them.
For example, en-US means U.S. English; de-DE means German.
6.Also remove unused font files at Y:EFIMicrosoftBootFonts.
7.Reboot your PC to save changes. If you have a GPT partition the above steps will definitely Fix We couldn’t update the system reserved partition but if you have an MBR partition then follow the next method.
b)If you have MBR partition
Note: Make sure you have a USB flash drive with you (formatted as NTFS) with at least 250MB free space.
1.Press Windows Key + R then type diskmgmt.msc and hit Enter.
2.Select the Recovery Partition and right-click on it then select Change Drive Letters and Paths.

3.Choose Add and enter Y for the drive letter and click OK
4.Press Windows Key + X then select Command Prompt (Admin).
5.Type the following in cmd:
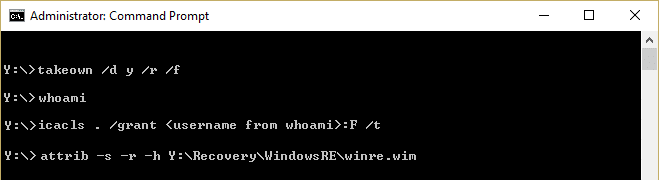
Y:
takeown /d y /r /f . (Make sure you put a space after the “f” and also include the period)
whoami (This will give you username to use in the next command)
icacls . /grant <username from whoami>:F /t (Do not put a space between the username and “:F”)
attrib -s -r -h Y:RecoveryWindowsREwinre.wim
(Don’t yet close the cmd)
6.Next, open File Explorer and note down the drive letter of the external drive you ‘re using (In our case
it’s F:).
7.Type the following command in cmd and press Enter after each one:
mkdir F:RecoveryWindowsRE
xcopy Y:RecoveryWindowsREwinre.wim F:RecoveryWindowsREwinre.wim /h
C:WindowsSystem32Reagentc /SetREImage /Path F:RecoveryWindowsRE /Target C:Windows
del Y:RecoveryWindowsREwinre.wim /F
8.Go back to Disk Management then click Action menu and select Refresh.

9.Check if the size of the System Reserved Partition has increased, if so then continue with the next step.
10.Now once everything is done, we should move the wim file back to the Recovery Partition and re-map the location.
11.Type the following command and hit Enter:
xcopy F:RecoveryWindowsREwinre.wim Y:RecoveryWindowsREwinre.wim /h
C:WindowsSystem32Reagentc /SetREImage /Path Y:RecoveryWindowsRE /Target C:Windows
12.Again select Disk Management window and right-click the Recovery Partition then select Change Drive Letter and Paths. Select Y: and choose remove.
Recommended for you:
That’s it you have successfully Fix We couldn’t update the system reserved partition but if you still have questions regarding this guide please feel free to ask them in the comment’s section.