Fix Windows Could Not Complete The Installation [SOLVED]

Fix Windows Could Not Complete The Installation. To Install Windows On This Computer, Restart The Installation: If you are facing this error then it means you are using Audit Mode to install Windows which is the main cause of this error. When Windows boots for the very first time then either it can boot to Windows Welcome Mode or Audit Mode.
What is Audit Mode?
Audit Mode is a network-enabled environment where a user can add customizations to Windows images. Whenever Windows starts it shows you a Welcome screen immediately after installation, however one can skip this Welcome screen and boot directly to audit mode instead. In short Audit Mode allows you to boot directly to Desktop after Windows installation.
Windows could not complete the installation. To install Windows on
this computer, restart the installation.
Also, the main issue in this error is that you’re stuck in a Reboot loop and that’s why it’s more annoying. Now you know about Audit Mode and Welcome Mode it’s time how to fix this error, so without wasting any time let’s see how to Install Windows when in Audit Mode.
[SOLVED] Windows Could Not Complete The Installation
Method 1: Run Automatic Repair
1. Insert the Windows 10 bootable installation DVD and restart your PC.
2. When prompted to Press any key to boot from CD or DVD, press any key to continue.

3. Select your language preferences, and click Next. Click Repair your computer in the bottom-left.

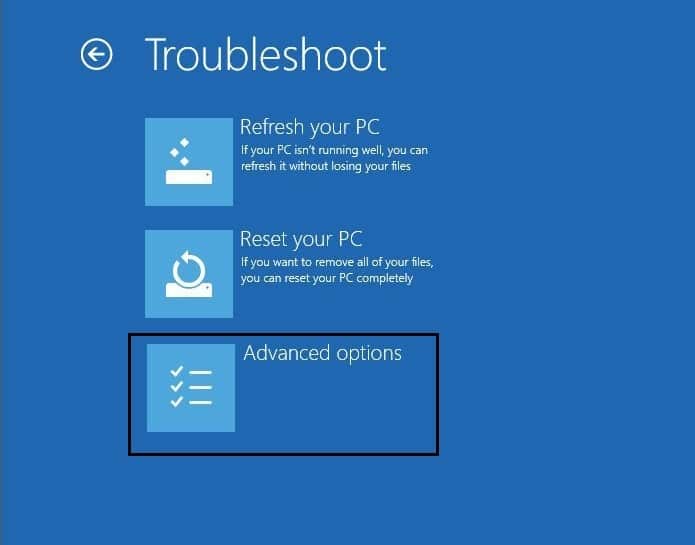
4. On choose an option screen, click Troubleshoot.

5. On Troubleshoot screen, click Advanced option.
6. On the Advanced options screen, click Automatic Repair or Startup Repair.
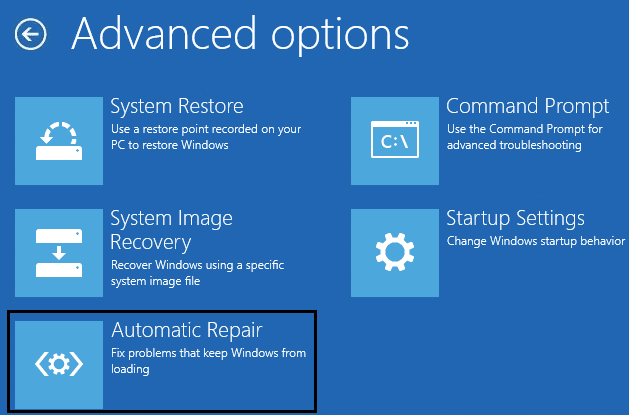
7. Wait till the Windows Automatic/Startup Repairs complete.
8. Restart and you have successfully Fix Windows Could Not Complete The Installation Error.
Method 2: Enable Administrator Account
1. On the error screen press Shift + F10 to open Command Prompt.
2. Type the following command and hit Enter: MMC
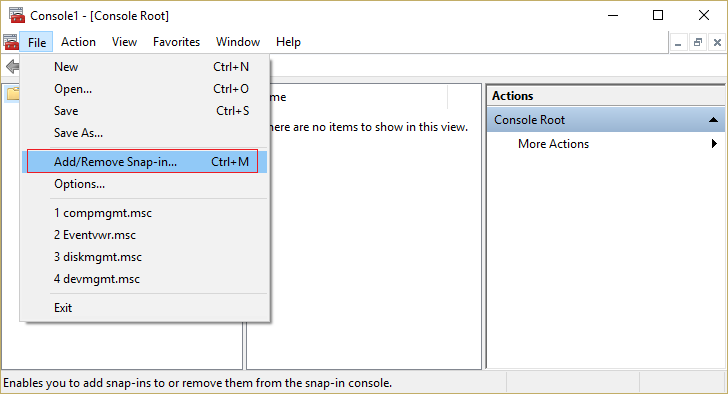
3. Next click File > Add/Remove Snap-in.
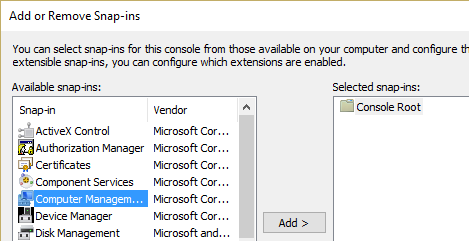
4. Select Computer Management and then double-click on it.
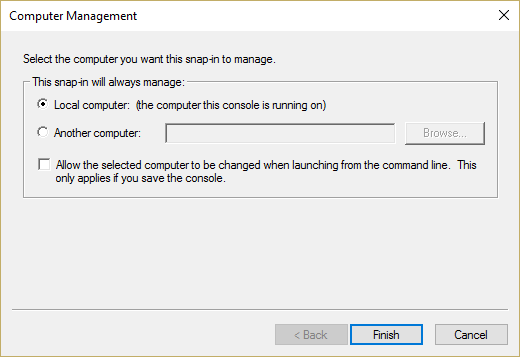
5. In the new window that opens select Local computer and then click Finish followed by OK.
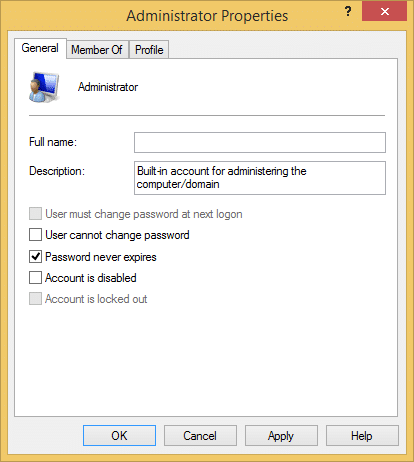
6. Then double-click Computer Management (Local) > System Tools > Local Users and Groups > Users > Administrator.
7. Make sure to Uncheck the “Account is disabled” option and click OK.
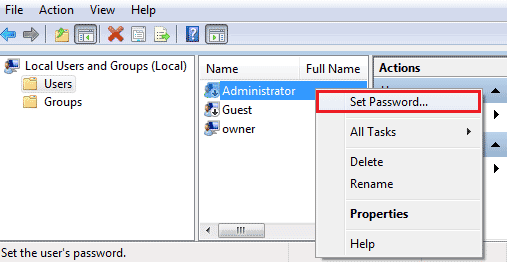
8. Next, right-click on the Administrator then select Set Password and set a strong password to get started.
9. Finally, close everything and restart your PC. After the restart, you may be able to Fix Windows Could Not Complete The Installation.
Method 3: Start Account Creation Wizard
1. Again open the Command Prompt on the error screen by pressing Shift + F10.
2. Type the following command and hit Enter: cd C:windowssystem32oobe
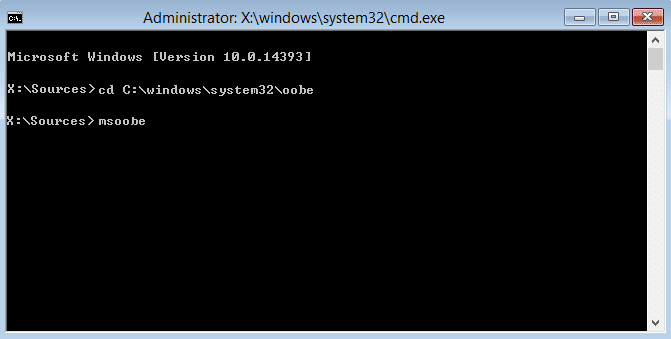
3. Again type “msoobe” (without quotes) and hit Enter.
4. The above will start the user account creation wizard, so create a generic account and it’s password.
Note: Keep your product key ready as sometimes it is required. If it asks for OEM/No then simply hit finish.
5. Once done hit Finish and close everything. Restart your PC you may have successfully fix Windows Could Not Complete The Installation. To Install Windows On This Computer, Restart The Installation.
Method 4: Change Password Requirements
This error tends to pop-up when in Audit Mode and the computer has just been joined to a domain. The error is caused by password requirements added to the local security policy. This typically includes a minimum password length and password complexity.
1. Open the Command prompt on the error screen.
2. Type the following the command and hit Enter: secpol.msc
3. Navigate to Account Policies > Password Policy.
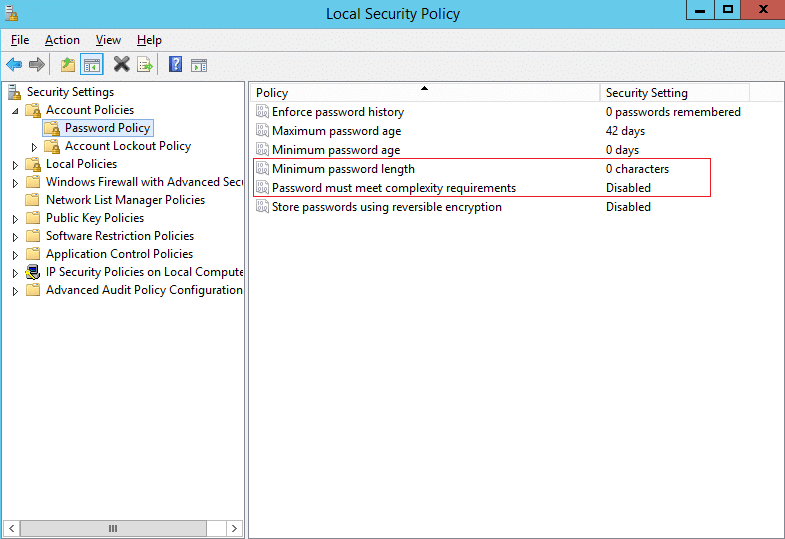
4. Now change “Minimum password length” to 0 and disable “Password must meet complexity requirements.“
5. Apply the changes and then exit the Security Policy console.
6. Click OK on the error message to reboot your PC.
Method 5: Registry Fix
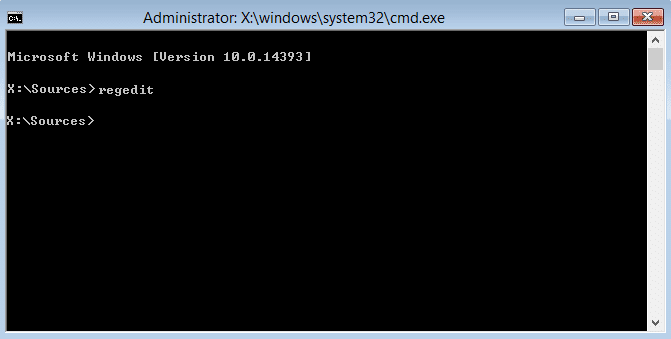
1. On the same error screen press Shift + F10 to open Command Prompt.
2. Type the following command and hit Enter: regedit
3. Now in the Registry Editor navigate to the following key: ComputerHKEY_LOCAL_MACHINESYSTEMSetupStatus
4.Adjust the following values if they don’t match the following:
Note: To change the value of the below keys double click on them and then enter the new value.
HKEY_LOCAL_MACHINESYSTEMSetupStatusAuditBoot Value: 0
HKEY_LOCAL_MACHINESYSTEMSetupStatusChildCompletionsetup.exe Value: 3
HKEY_LOCAL_MACHINESYSTEMSetupStatusChildCompletionaudit.exe Value: 0
HKEY_LOCAL_MACHINESYSTEMSetupStatusSysprepStatusCleanupState Value: 2
HKEY_LOCAL_MACHINESYSTEMSetupStatusSysprepStatusGeneralizationState Value: 7
HKEY_LOCAL_MACHINESYSTEMSetupStatusUnattendPassesauditSystem Value: 0

5. After a Reboot the Audit Mode is disabled and Windows starts regularly – in the Out of Box Experience mode.
Method 6: Disable Audit Mode
Running Sysprep command each time resets Windows licensing the state to default. So if your Windows is activated and you run this command, you’ll need to reactivate Windows after executing this command.
1. Open Command Prompt on the error screen.
2. Type the following command in the cmd and hit Enter: sysprep /oobe /generalize

3. This will disable the Audit Mode.
4. Close everything and reboot your PC normally.
5. If you’re still facing this issue then again open cmd.
6. Type the following command and hit Enter: regedit
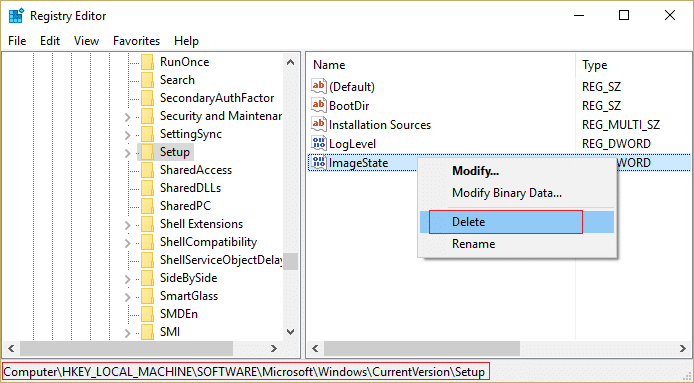
7. Navigate to the following registry key:
HKEY_LOCAL_MACHINESOFTWAREMicrosoftWindowsCurrentVersionSetupState
8. Highlight State Registry key, then right-click on ImageState in the right window pane and click on Delete.
9. Once you deleted the string, close everything and restart your PC.
Recommended for you:
That’s it you have successfully Fix Windows Could Not Complete The Installation Error but if you still have any queries regarding this guide then please feel free to ask them in the comment’s section.