Fix Windows Time Service not working: If you’re facing issues with your clock then it’s possible that Windows Time service might not be working correctly which is why you’re facing this issue but don’t worry as today we are going to discuss how to fix this issue. The main cause seems to be Windows time service which doesn’t start automatically which is causing the delay in date and time. This issue can be fixed by enabling Time Synchronization in Task Scheduler but this fix may or may not work for everyone as every user have different system configuration.
Users have also reported that while manually synchronizing time they face the error message “An error occurred while windows was synchronizing with time.windows.com” but don’t worry as we have got this covered. So without wasting any time let’s see how to Fix Windows Time Service not working with the help of below-listed troubleshooting guide.
Fix Windows Time Service not working
Make sure to create a restore point just in case something goes wrong.
Method 1: Start Windows Time service
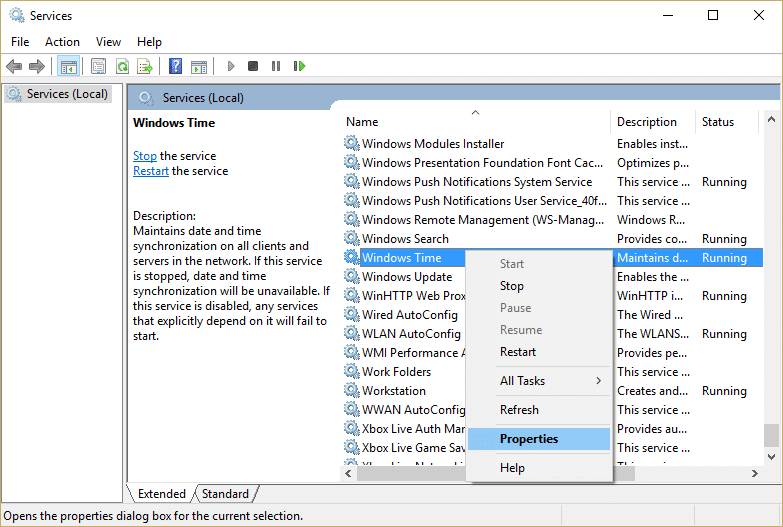
1.Press Windows Key + R then type services.msc and hit Enter.

2.Find Windows Time Service in the list then right-click and select Properties.
3.Make sure the Startup type is set to Automatic (Delayed Start) and the service is running, if not then click on start.
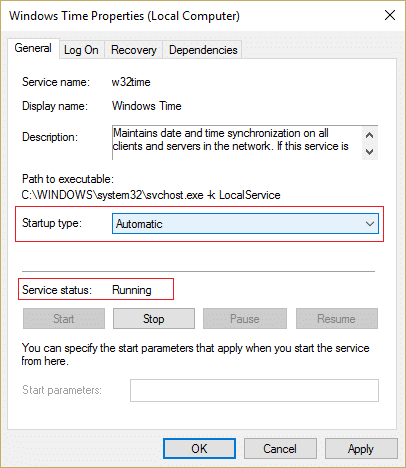
4.Click Apply followed by OK.
Method 2: Run SFC and DISM
1.Press Windows Key + X then click on Command Prompt(Admin).

2.Now type the following in the cmd and hit enter:
Sfc /scannow
sfc /scannow /offbootdir=c: /offwindir=c:windows (If above fails then try this one)

3.Wait for the above process to finish and once done restart your PC.
4.Again open cmd and type the following command and hit enter after each one:
a) Dism /Online /Cleanup-Image /CheckHealth
b) Dism /Online /Cleanup-Image /ScanHealth
c) Dism /Online /Cleanup-Image /RestoreHealth

5.Let the DISM command run and wait for it to finish.
6. If the above command doesn’t work then try on the below:
Dism /Image:C:offline /Cleanup-Image /RestoreHealth /Source:c:testmountwindows
Dism /Online /Cleanup-Image /RestoreHealth /Source:c:testmountwindows /LimitAccess
Note: Replace the C:RepairSourceWindows with the location of your repair source (Windows Installation or Recovery Disc).
7.Reboot your PC to save changes and see if you’re able to Fix Windows Time Service not working issue.
Method 3: Use a different synchronization server
1.Press Windows Key + Q to bring up Windows Search then type control and click on Control Panel.

2.Now type date in the Control Panel search and click on Date and Time.
3. On the next window switch to Internet Time tab and click on “Change settings“.
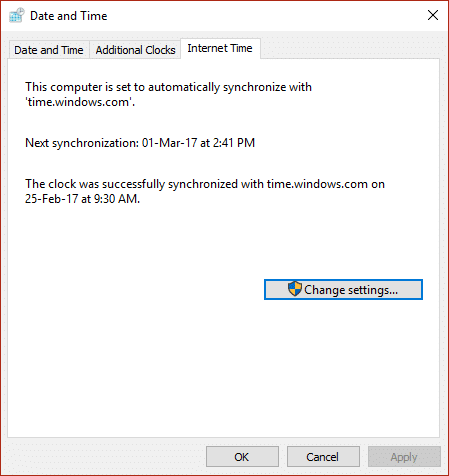
4.Make sure to checkmark “Synchronize with an Internet time server” then from the server dropdown select time.nist.gov.
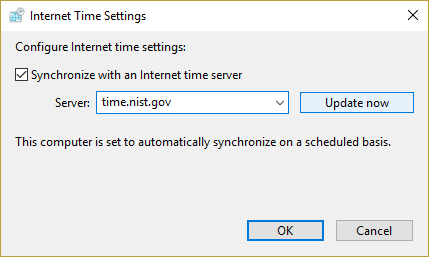
5.Click Update now button then click OK and see if you’re able to Fix Windows Time Service not working issue.
Method 4: Unregister and then again Register Time Service
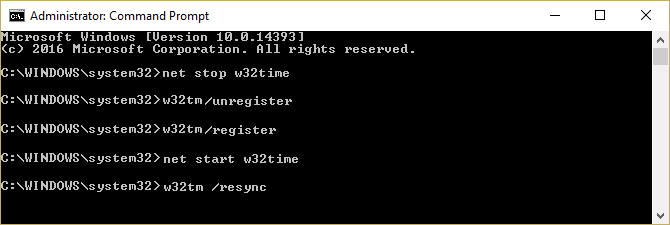
1.Press Windows Key + X then select Command Prompt (Admin).

2.Type the following command into cmd and hit Enter after each one:
net stop w32time
w32tm /unregister
w32tm /register
net start w32time
w32tm /resync
3.Wait for the above commands to finish then again follow the method 3.
4.Restart your PC and see if you’re able Fix Windows Time Service not working issue.
Method 5: Temporarily Disable Firewall
1.Type control in Windows Search then click on Control Panel from the search result.
2.Next, click on System and Security and then click on Windows Firewall.

3.Now from the left window pane click on Turn Windows Firewall on or off.

4.Select Turn off Windows Firewall and restart your PC.
If the above method doesn’t work make sure to follow the exact same steps to turn on your Firewall again.
Method 6: Enable Time Synchronization in Task Scheduler
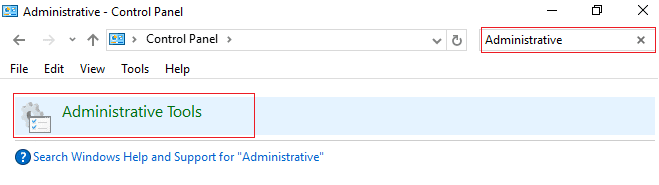
1.Press Windows Key + X then select Control Panel.

2.Click System and Security and then click Administrative Tools.
3.Double click on Task Scheduler and navigate to the following path:
Task Scheduler Library / Microsoft / Windows / Time Synchronization
4.Under Time Synchronization, right-click on Synchronize Time and select Enable.
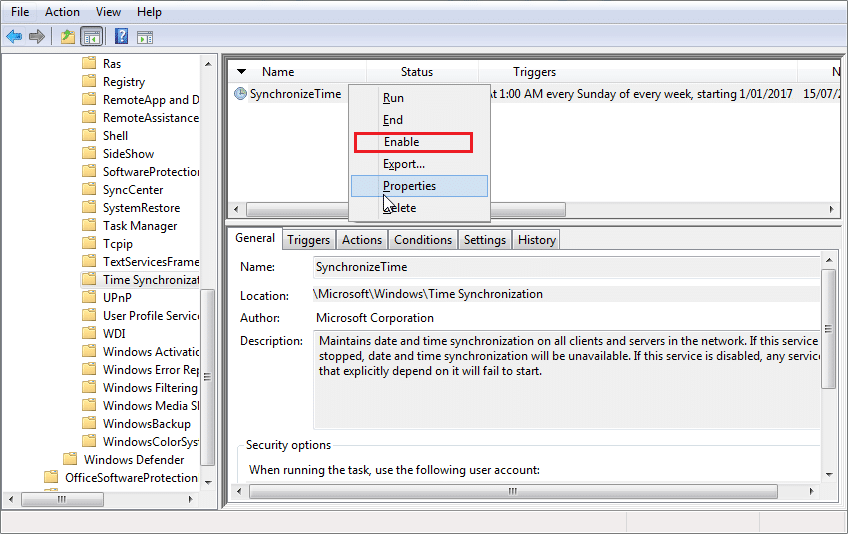
5.Reboot your PC to save changes.
Method 7: Change the default update interval
1.Press Windows Key + R then type regedit and hit Enter to open Registry Editor.

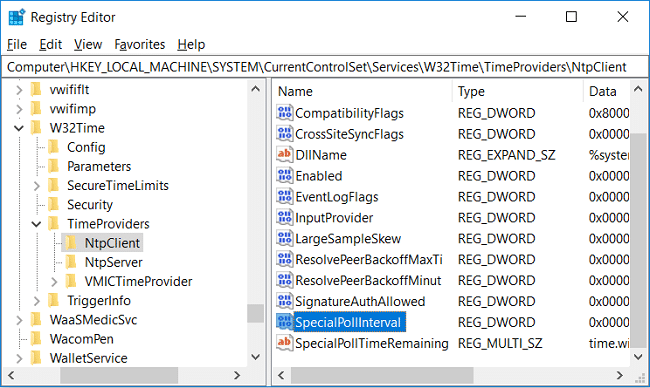
2.Navigate to the following registry key:
HKEY_LOCAL_MACHINESYSTEMCurrentControlSetServicesW32TimeTimeProvidersNtpClient
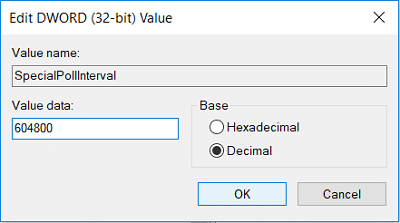
3.Select NtpClient then in the right window pane double-click on SpecialPollInterval key.
4.Select Decimal from the Base section then in the value data field type 604800 and click OK.
5.Reboot your PC to save your changes and see if you’re able to Fix Windows Time Service not working issue.
Method 8: Add more Time servers
1.Press Windows Key + R then type regedit and hit Enter to open Registry Editor.
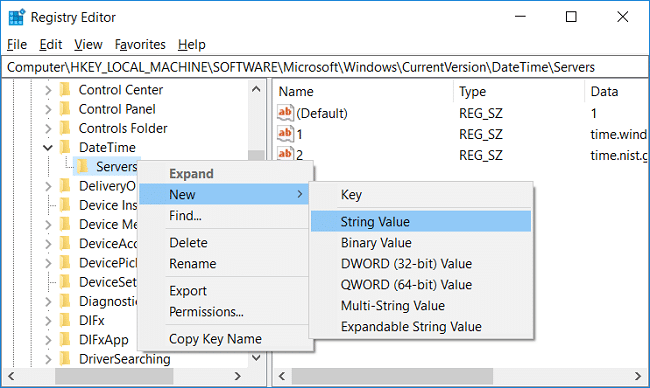
2.Navigate to the following registry key:
HKEY_LOCAL_MACHINESOFTWAREMicrosoftWindowsCurrentVersionDateTimeServers
3.Right-click on Servers then select New > String value than name this string as 3.
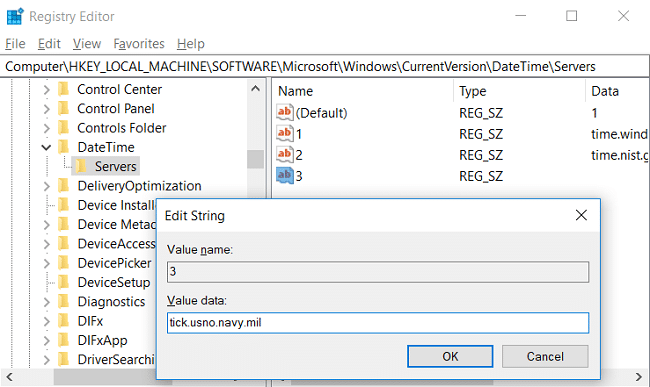
Note: Check if you already have 3 keys then you need to name this key as 4. Similarly, if you have already have 4 keys then you need to start from 5.
4.Double-click this newly created key then type tick.usno.navy.mil in the value data field and click OK.
5.Now you could add more servers by following the above steps, just use the following in value data field:
time-a.nist.gov
time-b.nist.gov
clock.isc.org
pool.ntp.org
6.Reboot your PC to save changes then again follow the method 2 to change to these time servers.
Recommended:
That’s it you have successfully Fix Windows Time Service not working in Windows 10 but if you still have any questions regarding this post then feel free to ask them in the comment’s section.