Many viewers have raised this question on several forums: How to add subtitles to a movie permanently? The movie industry has been growing rapidly as many regional films are reaching the world. Whenever you decide to watch a movie in a foreign or a regional language, you often search for it with subtitles. These days, most video streaming platforms offer subtitles in two to three languages. But what if the movie you like does not have subtitles? In such scenarios, you need to add subtitles to films or series on your own. It is not as complex as you might think. Through this guide, you will learn where to download subtitles from and how to embed subtitles to a movie permanently.

How to Add Subtitles to a Movie Permanently
There are several reasons why you would need to learn how to merge subtitles with video permanently. Some of these are enlisted below:
- You can watch a foreign language movie easily as you can understand and enjoy it better.
- If you are a digital marketer, then adding subtitles to your videos helps with marketing and sales.
- People with hearing impairment can also enjoy watching movies if they can read subtitles.
Method 1: Using VLC Player
VLC media player developed by the VideoLAN project is an open-source platform. Apart from editing options for audio and video files, it also allows users to add or embed subtitles to a movie. Moreover, you can quickly add and switch between subtitles in any language with ease.
Method 1A: Add Subtitles Automatically
When the movie file that you have downloaded already has subtitle files, then you just need to add them. Here’s how to merge subtitles with video permanently using VLC:
1. Open the desired movie with VLC media player.
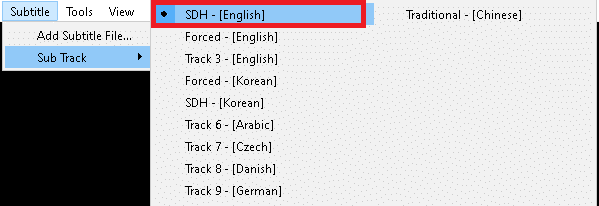
2. Click on Subtitle > Sub Track option, as shown.

3. Choose the Subtitle file you want to display. For example, SDH – [English].
Now, you will be able to read the subtitles at the bottom of the video.
Also Read: Fix VLC Subtitles Not Working in Windows 10
Method 1B. Add Subtitles Manually
Sometimes, VLC might have a problem in displaying or detecting subtitles. Thus, you must add it manually.
Note: Before beginning, you need to download the movie and its subtitles. Make sure both, subtitles and movie, are saved in the same folder.
Here’s how to embed subtitles to a movie:
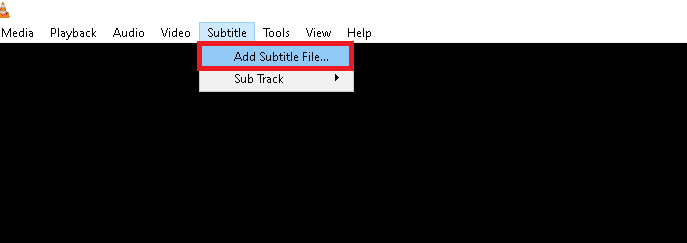
1. Open VLC Media Player and navigate to the Subtitle option, as earlier.
2. Here, click on Add Subtitle File… option, as depicted.
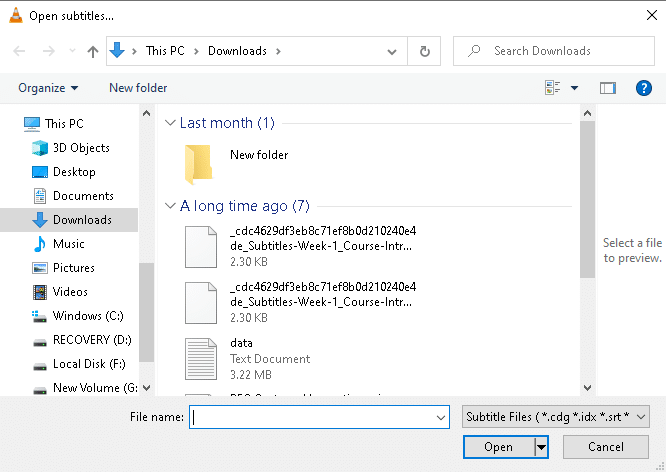
3. Select Subtitile file and click on Open to import it into VLC.
Also Read: How to Fix VLC does not support UNDF Format
Method 2: Using Windows Media Player
You can use Windows Media Player for viewing photos, listening to music, or playing videos. Additionally, it allows you to add subtitles to your movies too.
Note 1: Rename your movie file and subtitle file to the same name. Also, make sure that the video file and SRT file are in the same folder.
Note 2: The following steps have been performed on Windows Media Player 11.
1. Click on the Desired movie. Click on Open with > Windows Media Player, as illustrated below.

2. Right-click anywhere on the screen and select Lyrics, captions, and subtitles.
3. Choose On if available option from the given list, shown highlighted.

4. Restart the player. Now you will be able to view the subtitles at the bottom of the video.

Also Read: Fix Windows Media Player Media library is corrupted error
Method 3: Using VEED.IO Online Tool
Apart from using system applications, you can add subtitles to movies online quite quickly. You do not need to install any applications to your system. All you need is the internet. Many websites offer this feature; we have used VEED.IO here. Its noteworthy features include:
- The website is free to use.
- It doesn’t require SRT file for subtitles separately.
- It provides a unique option to Auto Transcribe which creates automatic subtitles for your movie.
- Furthermore, it allows you to edit the subtitles.
- Finally, you can export the edited movie for free.
Here’s how to add subtitles to a movie permanently using VEED.IO:
1. Open VEED.IO online tool in any web browser.
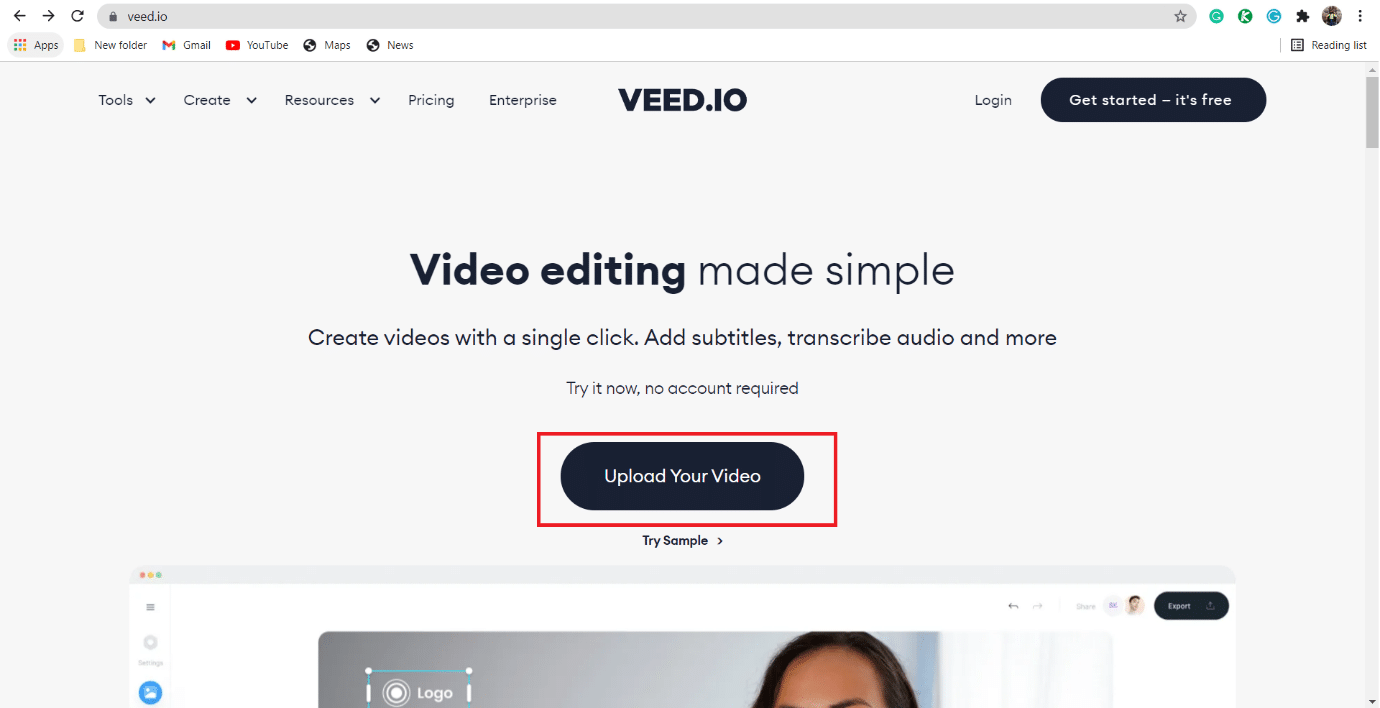
2. Click on the Upload Your Video button.
Note: You can only upload a video of upto 50 MB.
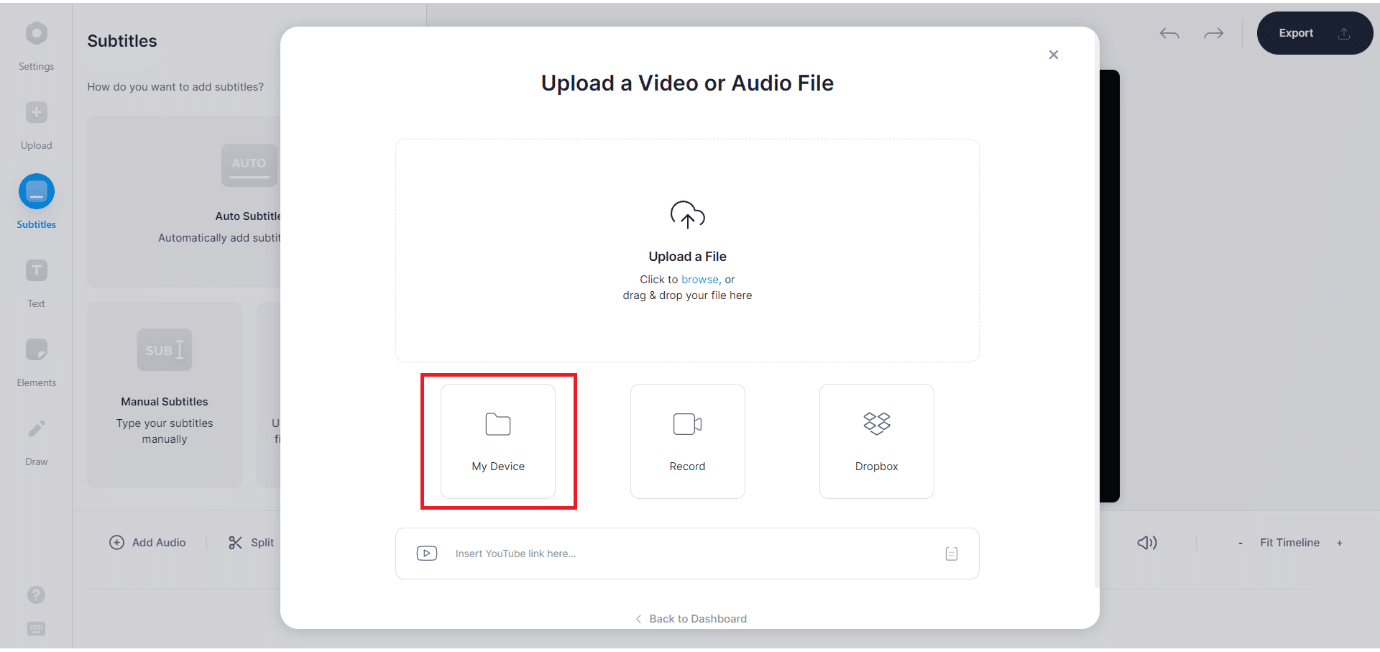
3. Now, click on My Device option, as shown.
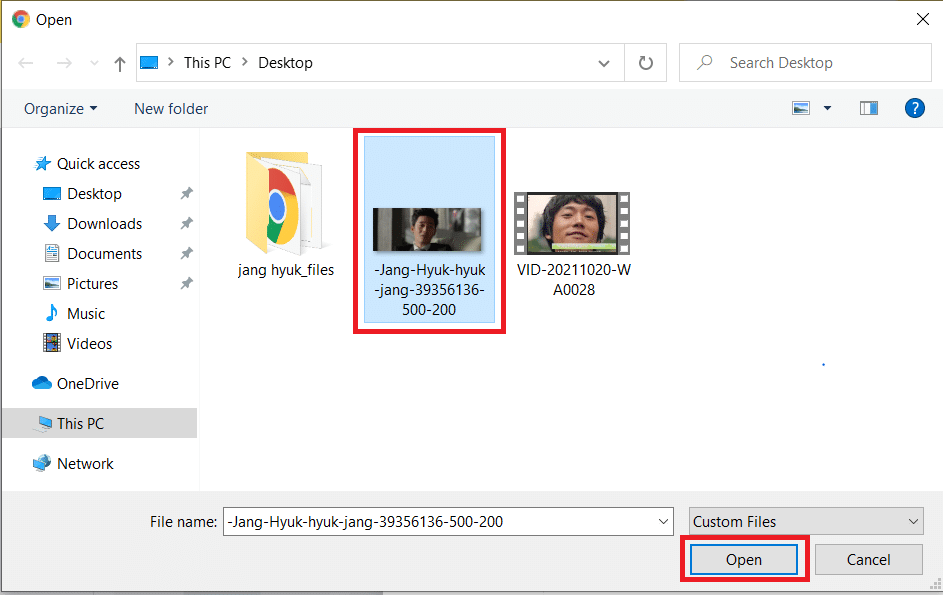
4. Choose the movie file you want to add subtitles in and click on Open, as depicted below.
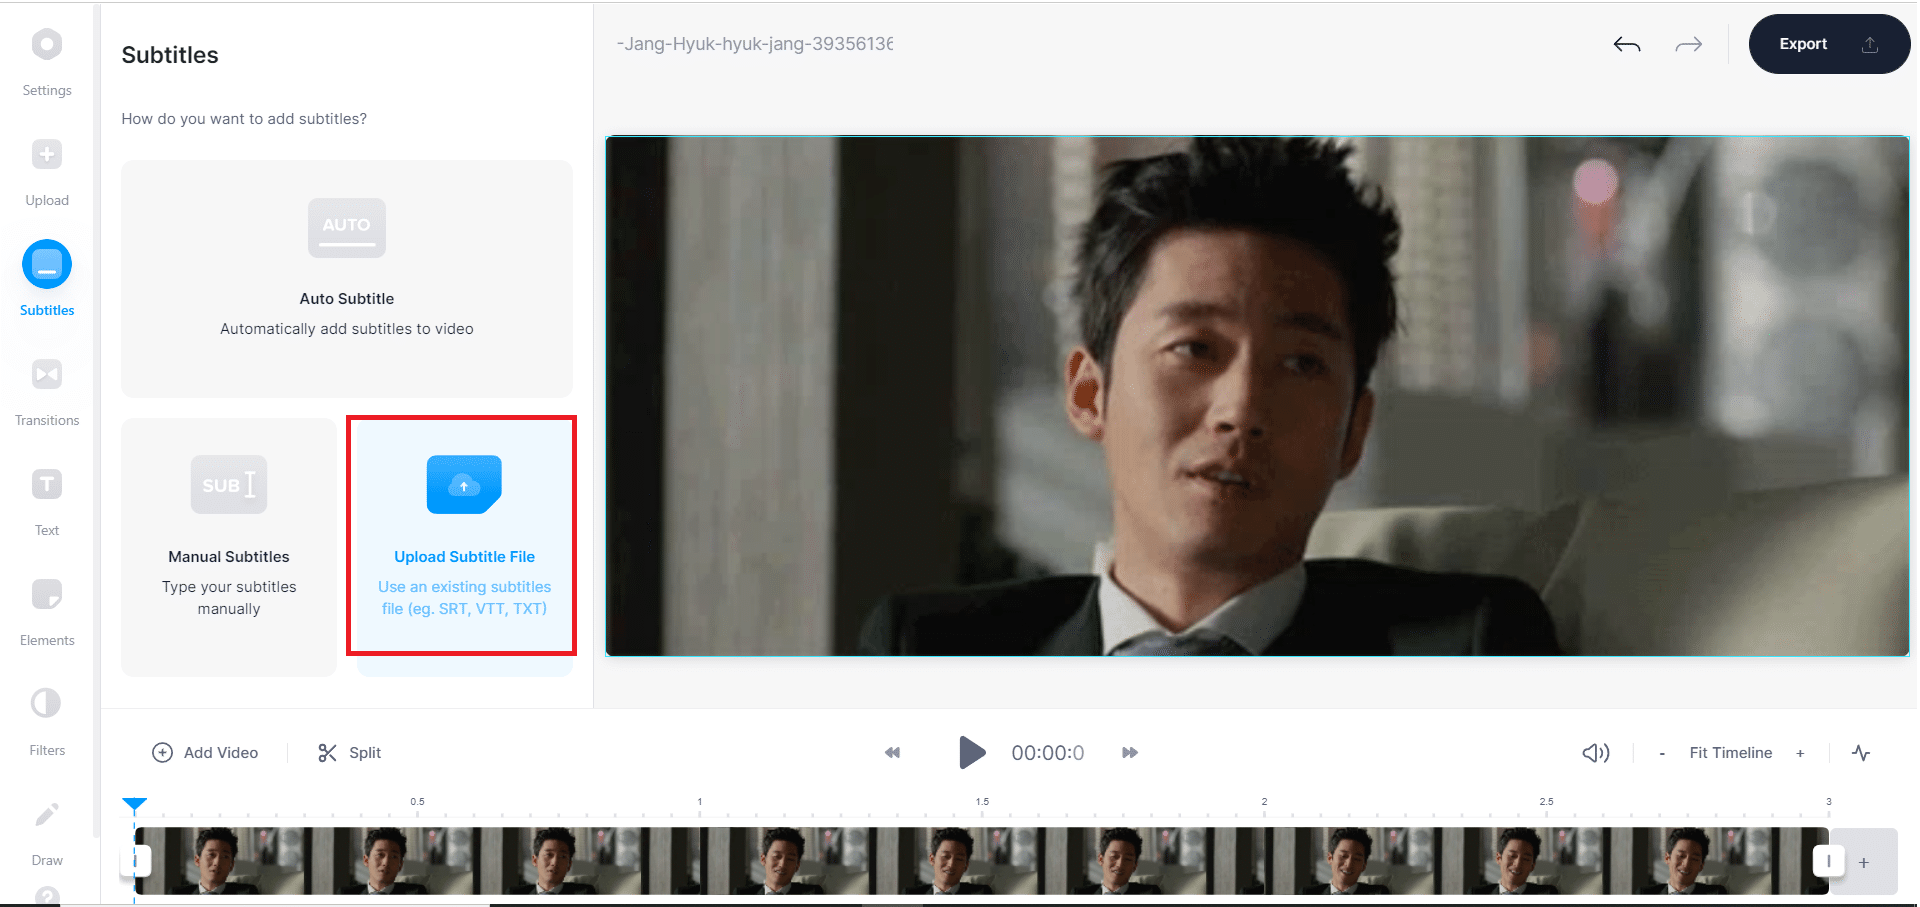
5. Choose the Subtitles option in the left pane.
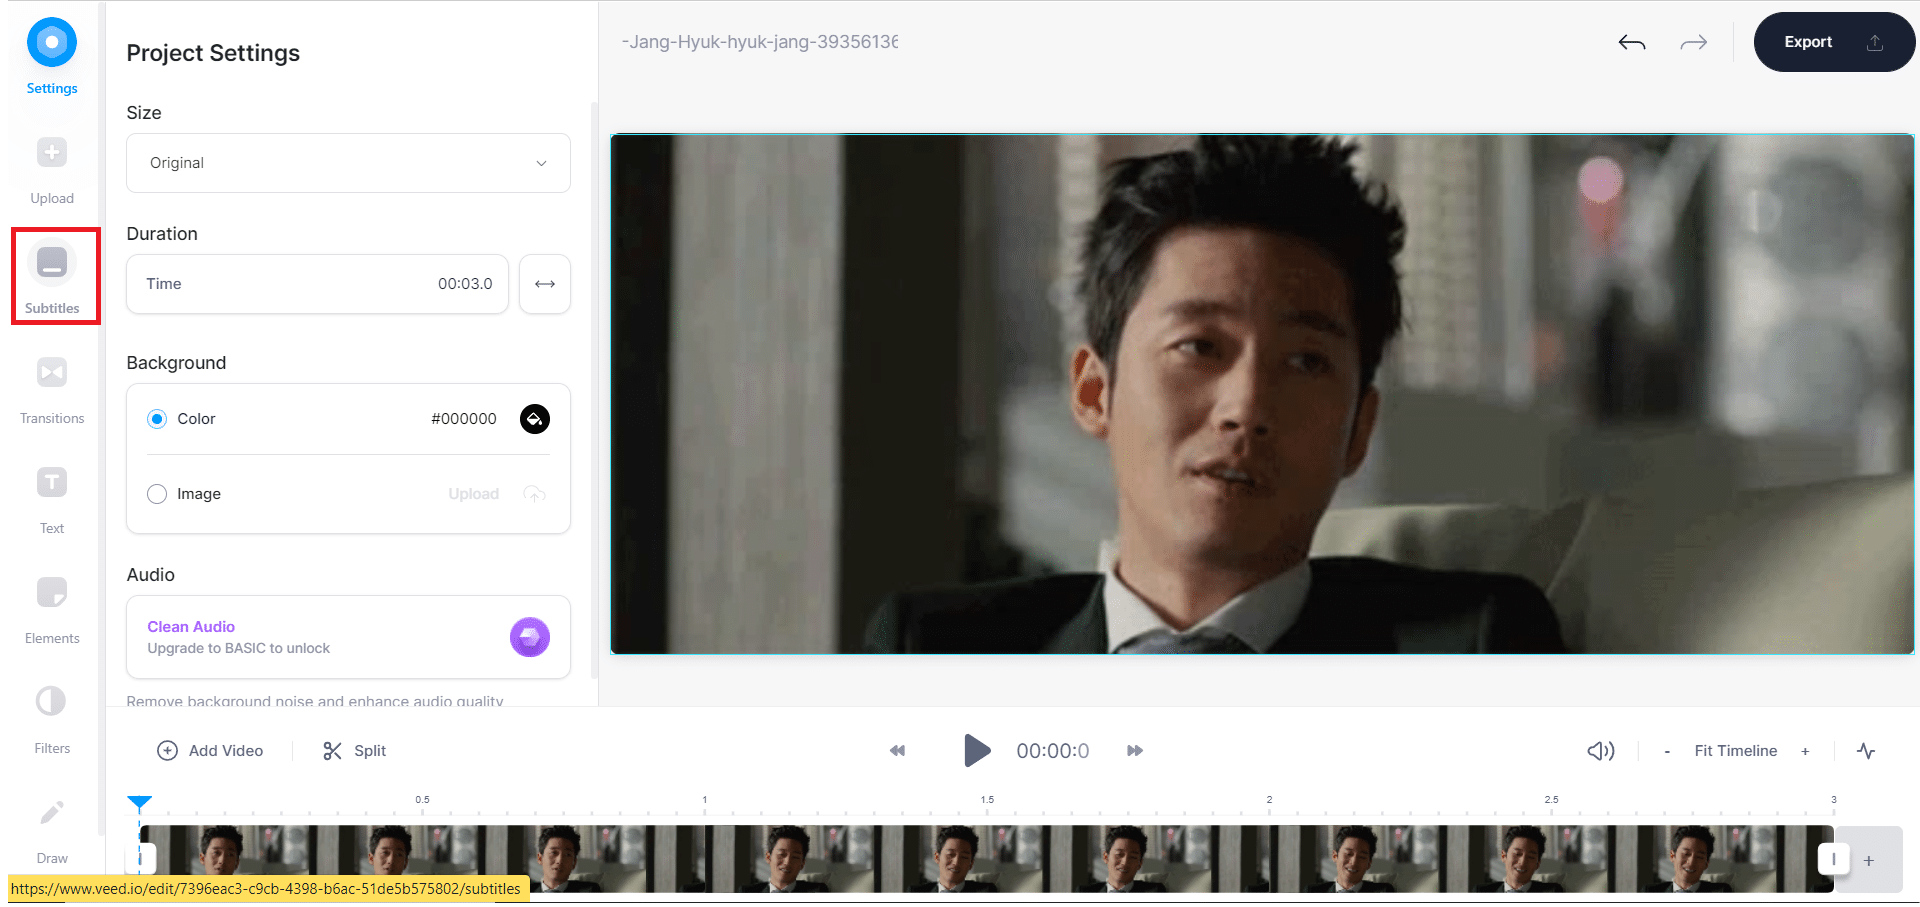
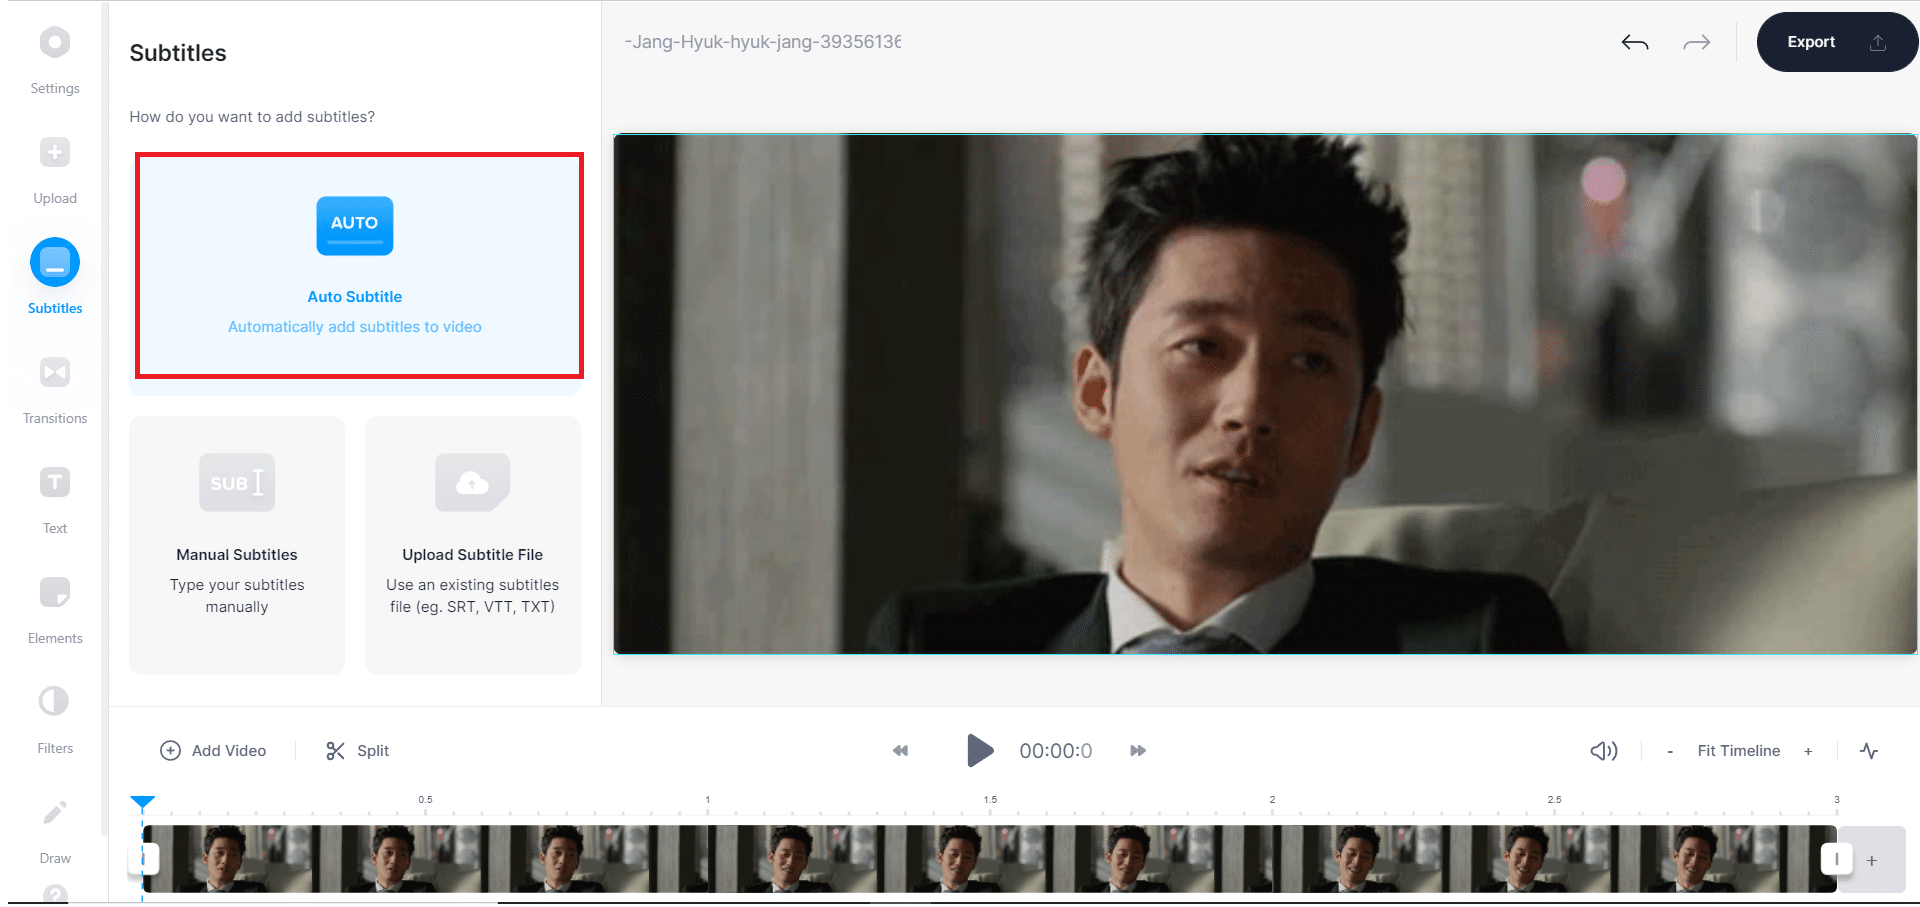
6. Choose the type of subtitles as required:
- Auto Subtitle
- Manual Subtitle
- Upload Subtitle File
Note: We recommend you choose Auto Subtitle option.
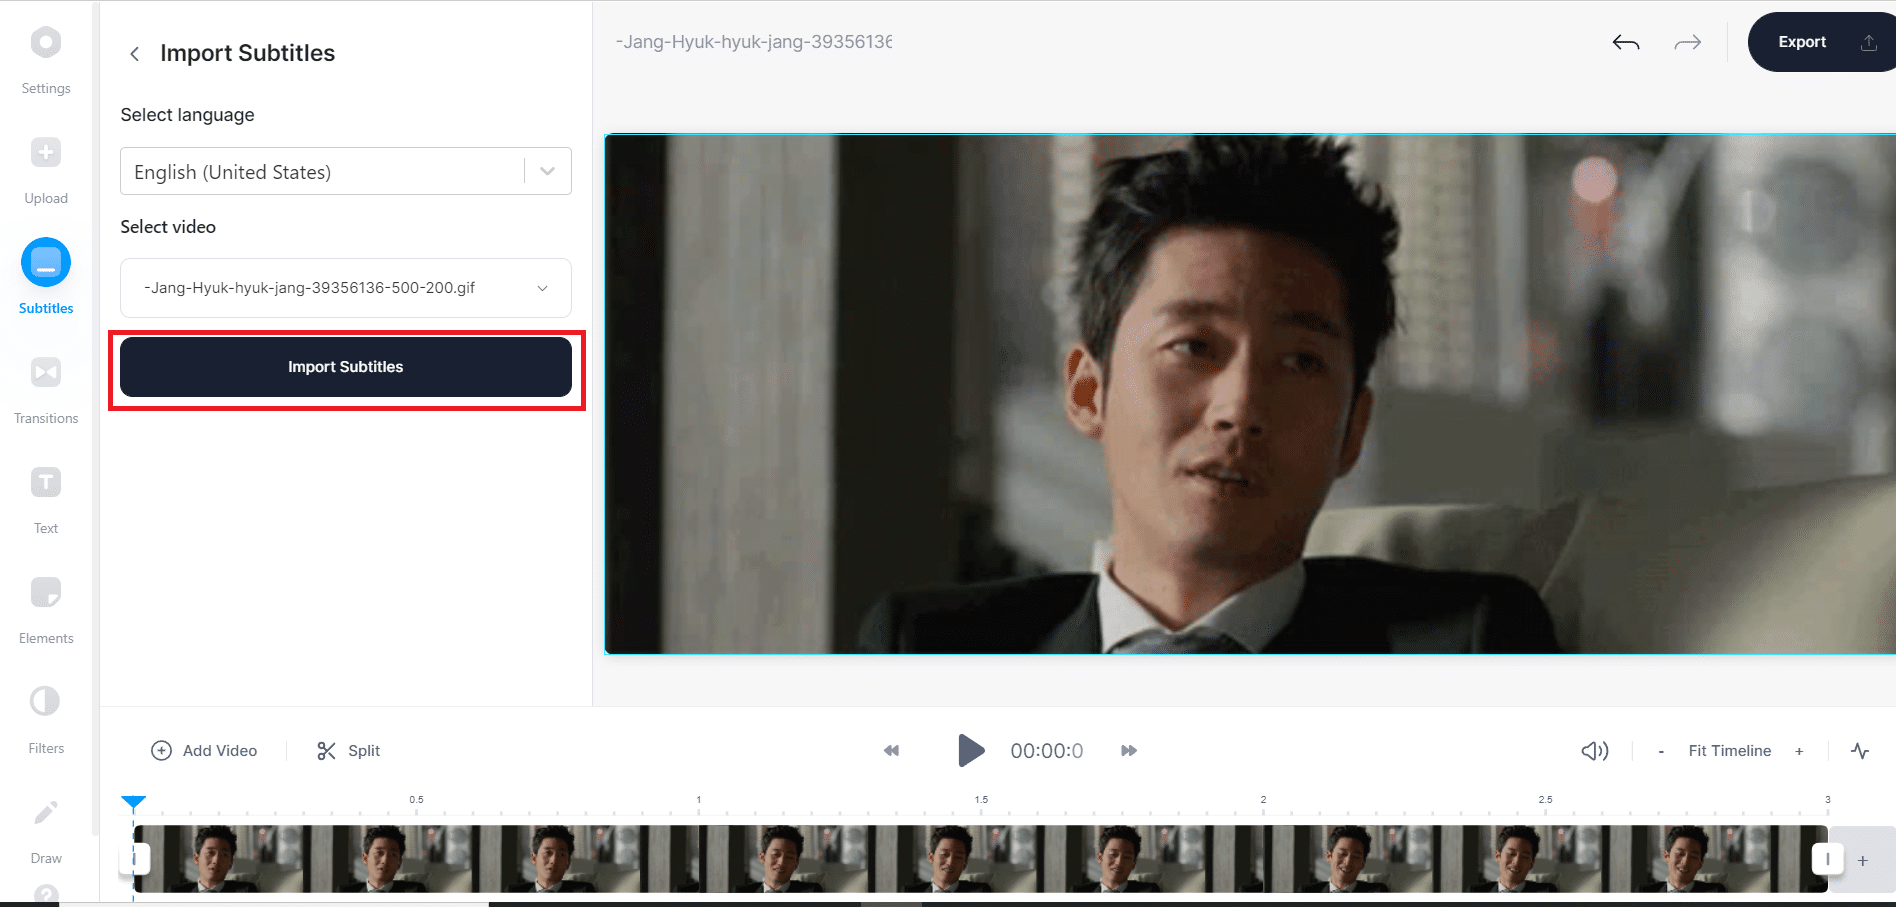
7A. If you selected the Auto Subtitle option then, click on Import Subtitles to automatically import the SRT file.
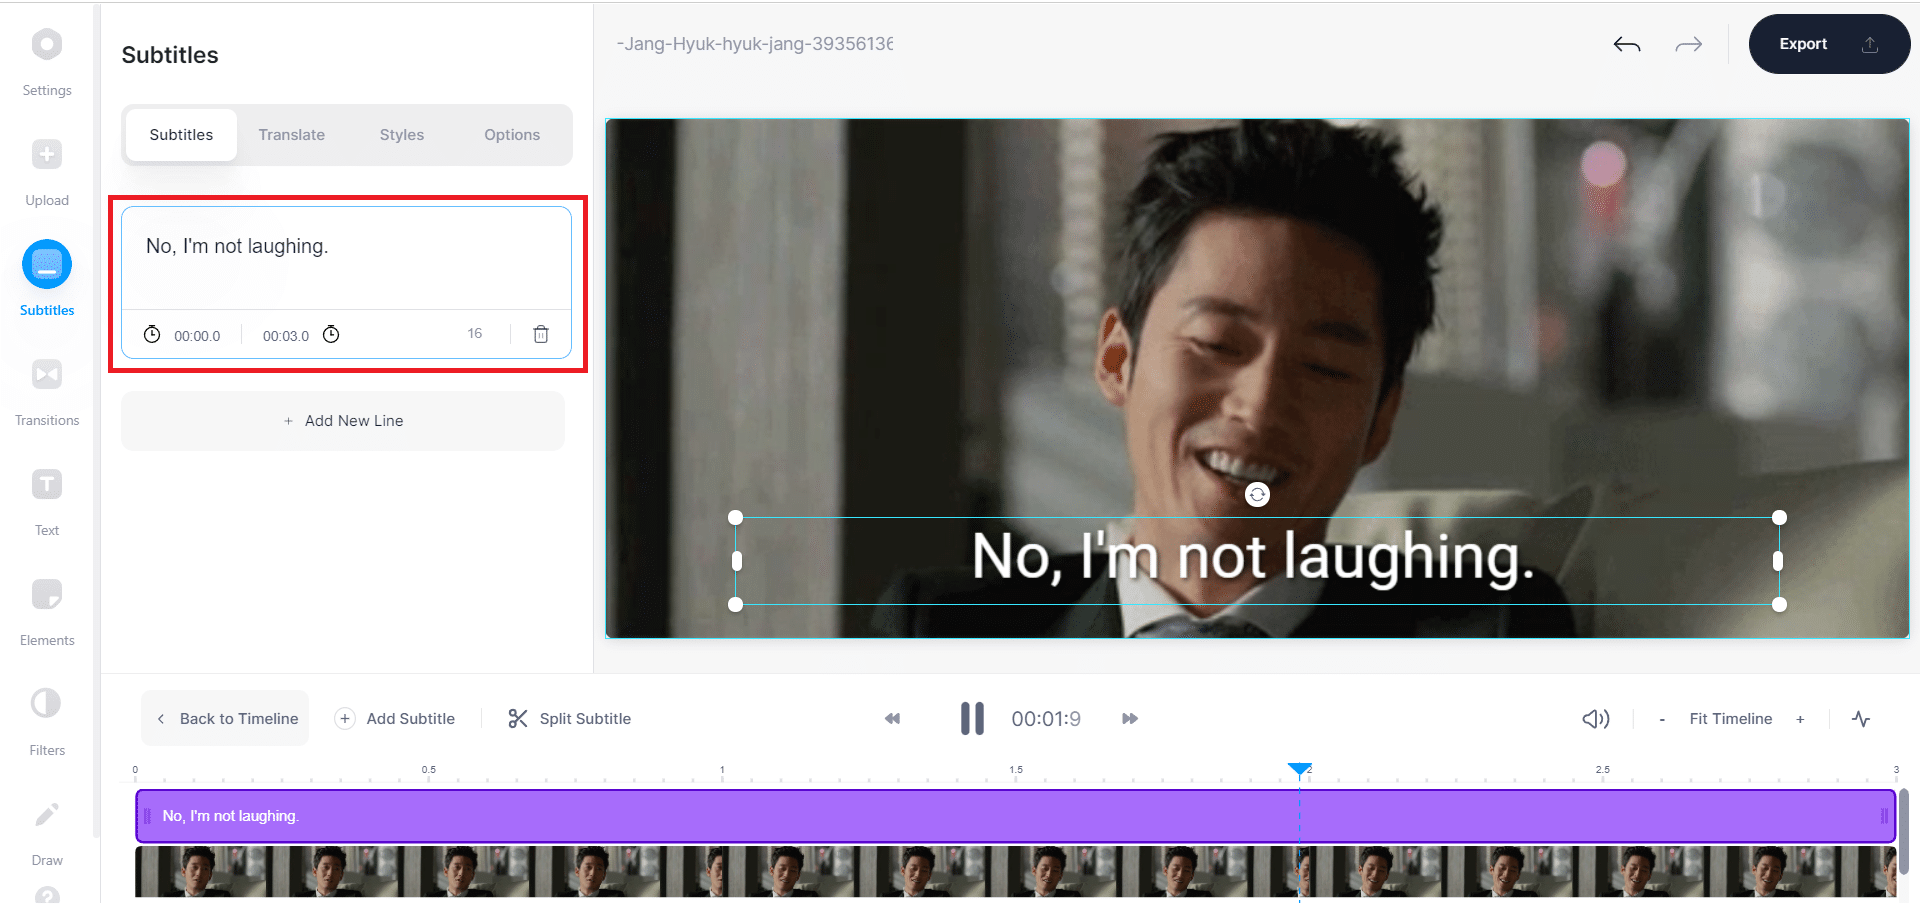
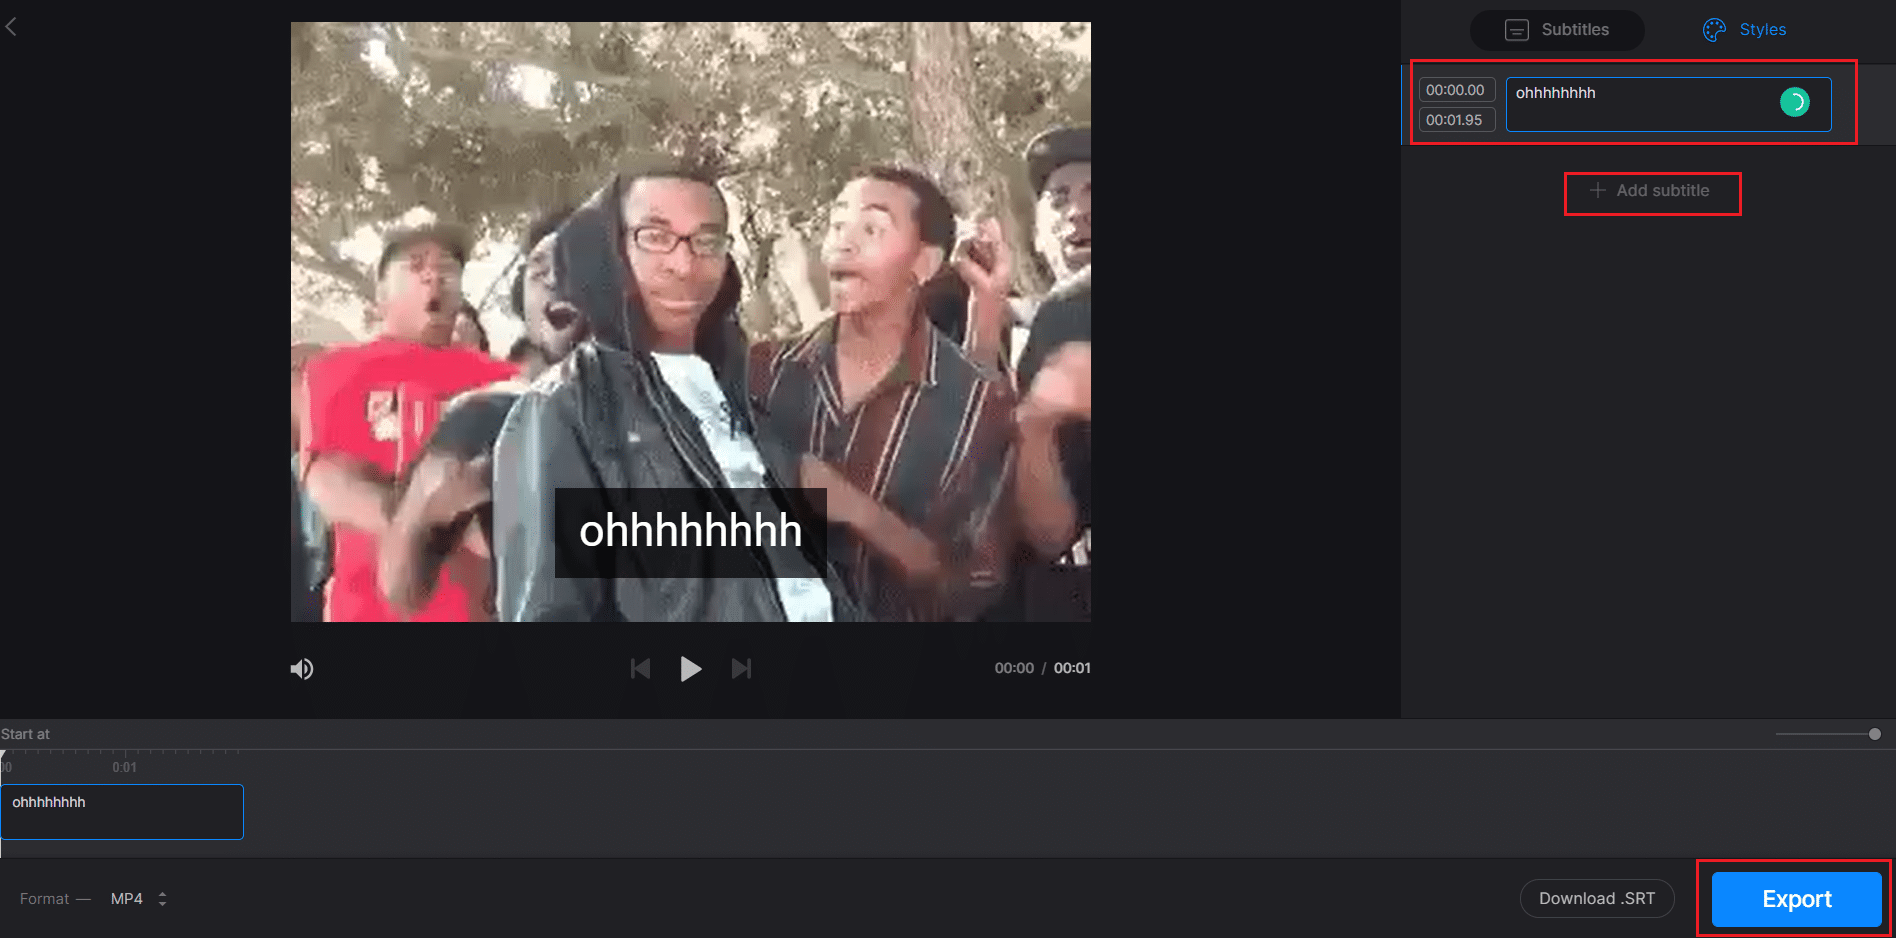
7B. If you have selected the Manual Subtitle option, then click on Add Subtitles, as depicted.
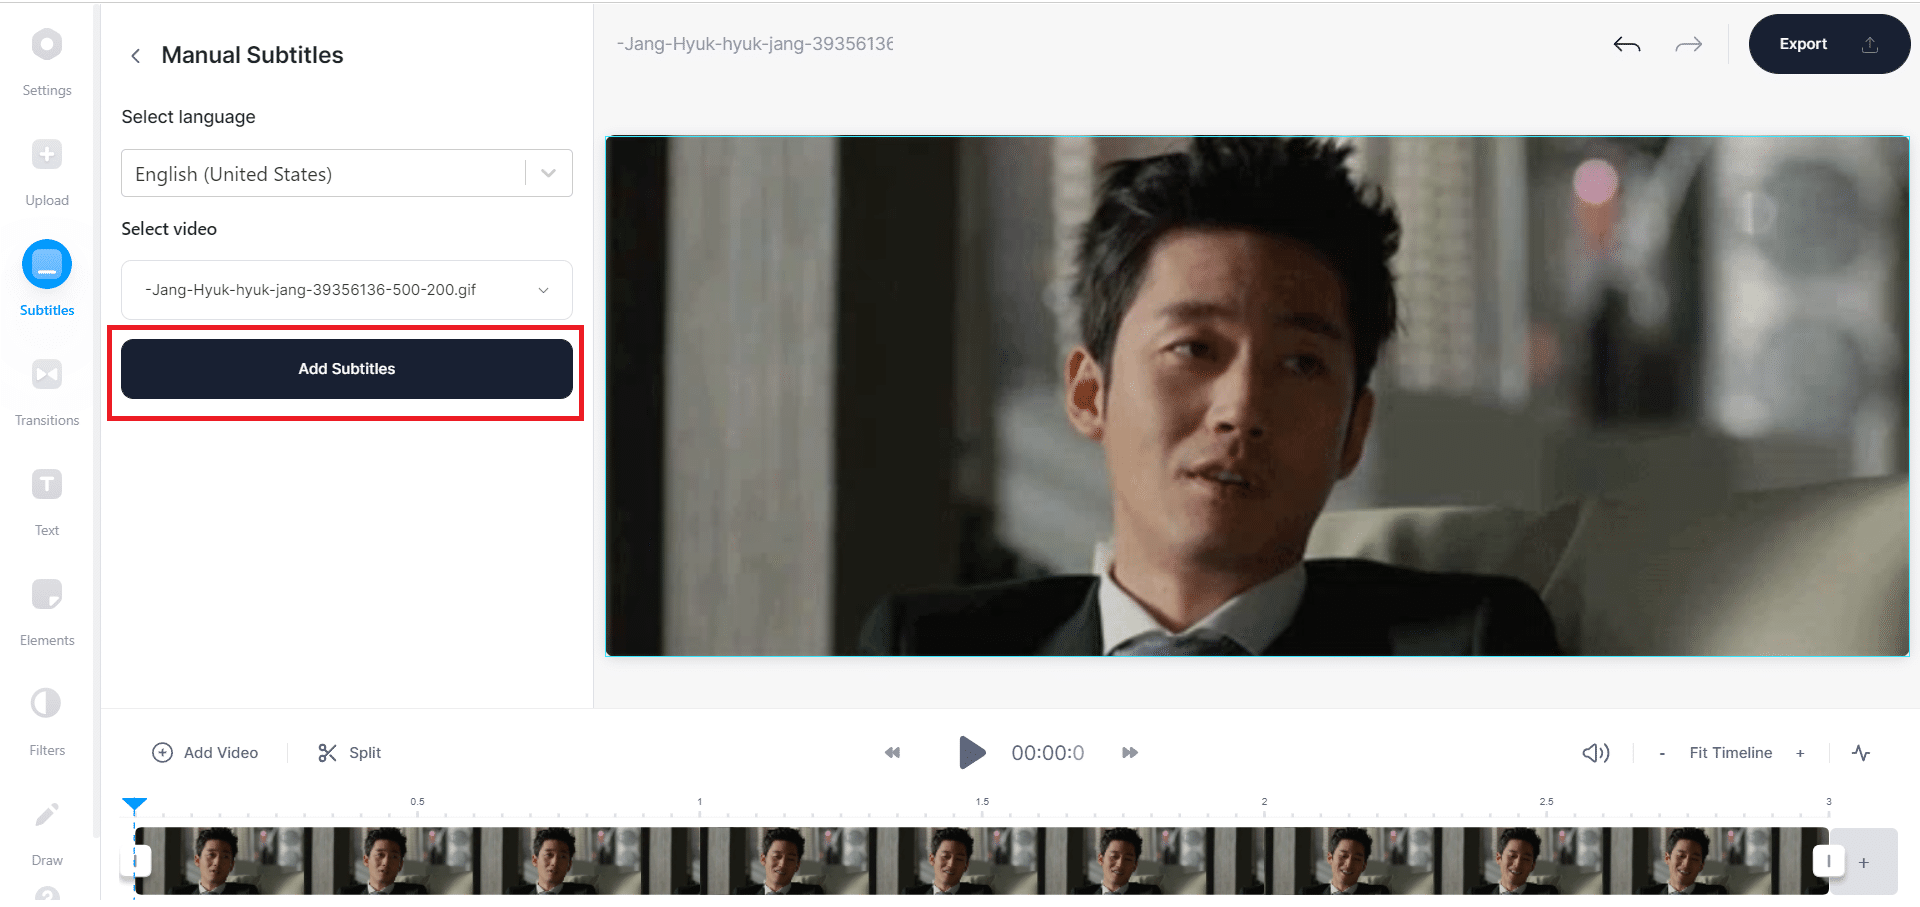
Type the subtitles in the box provided.
7C. If you selected the Upload Subtitle File option, then upload the SRT files to embed them to the video.
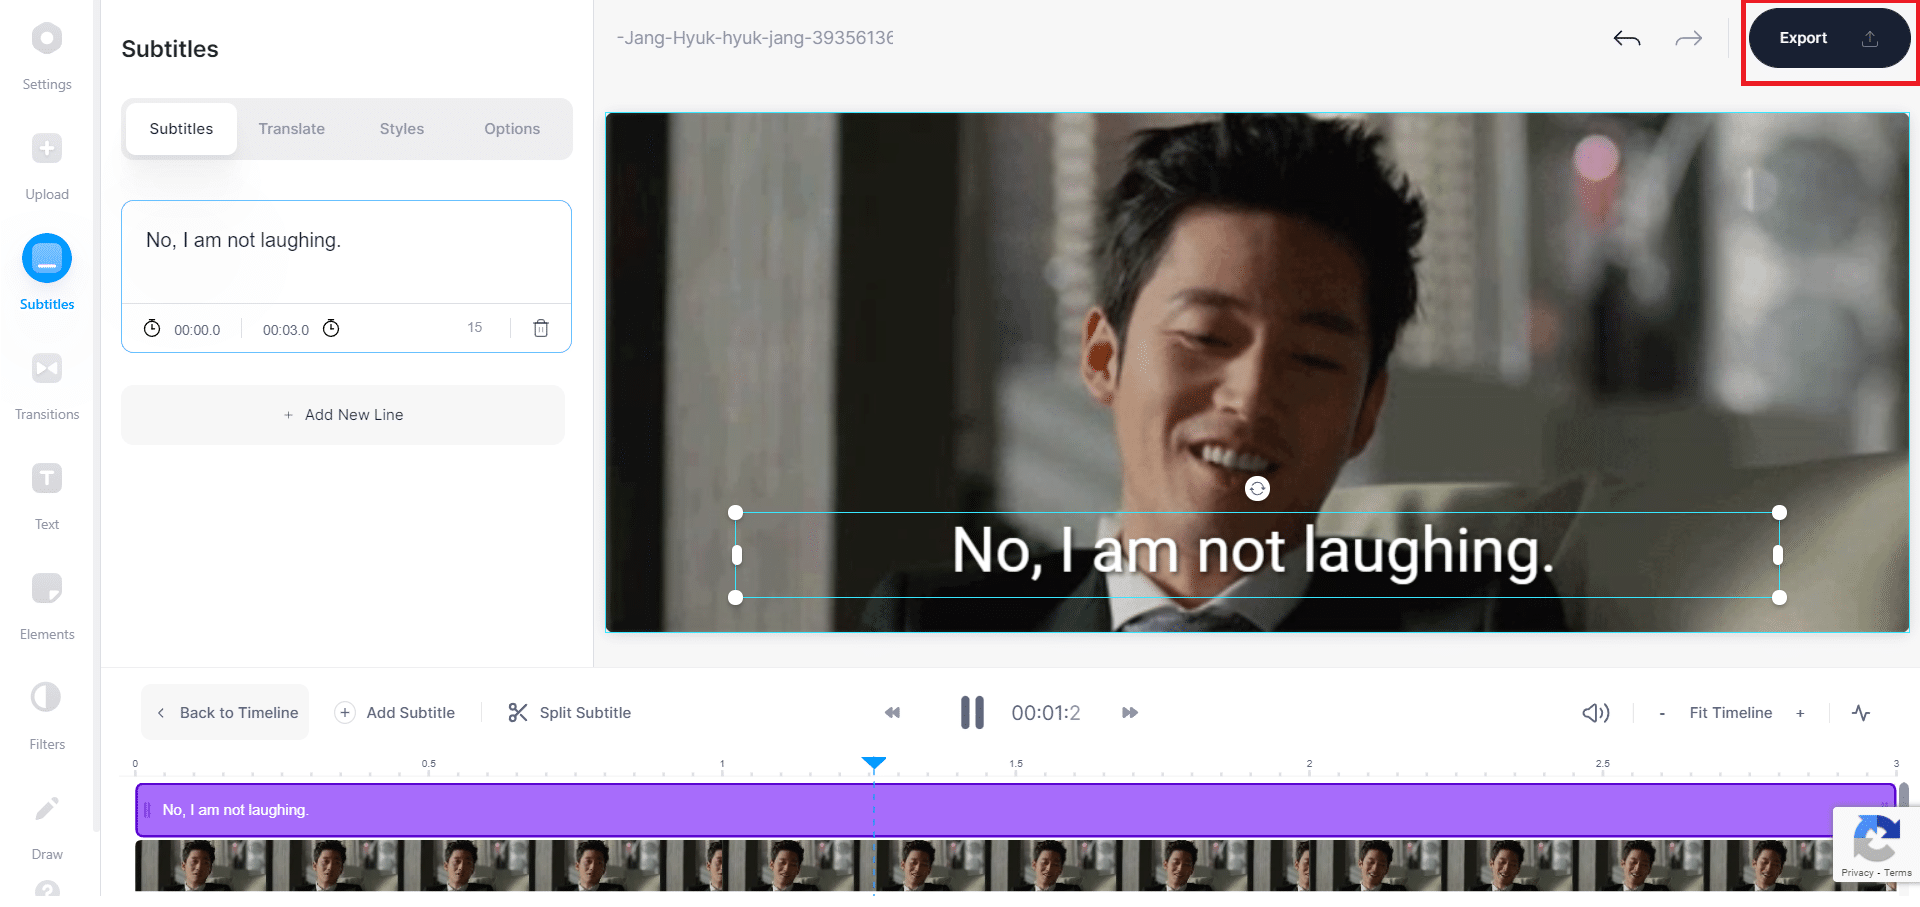
8. Finally, click on the Export button, as shown.
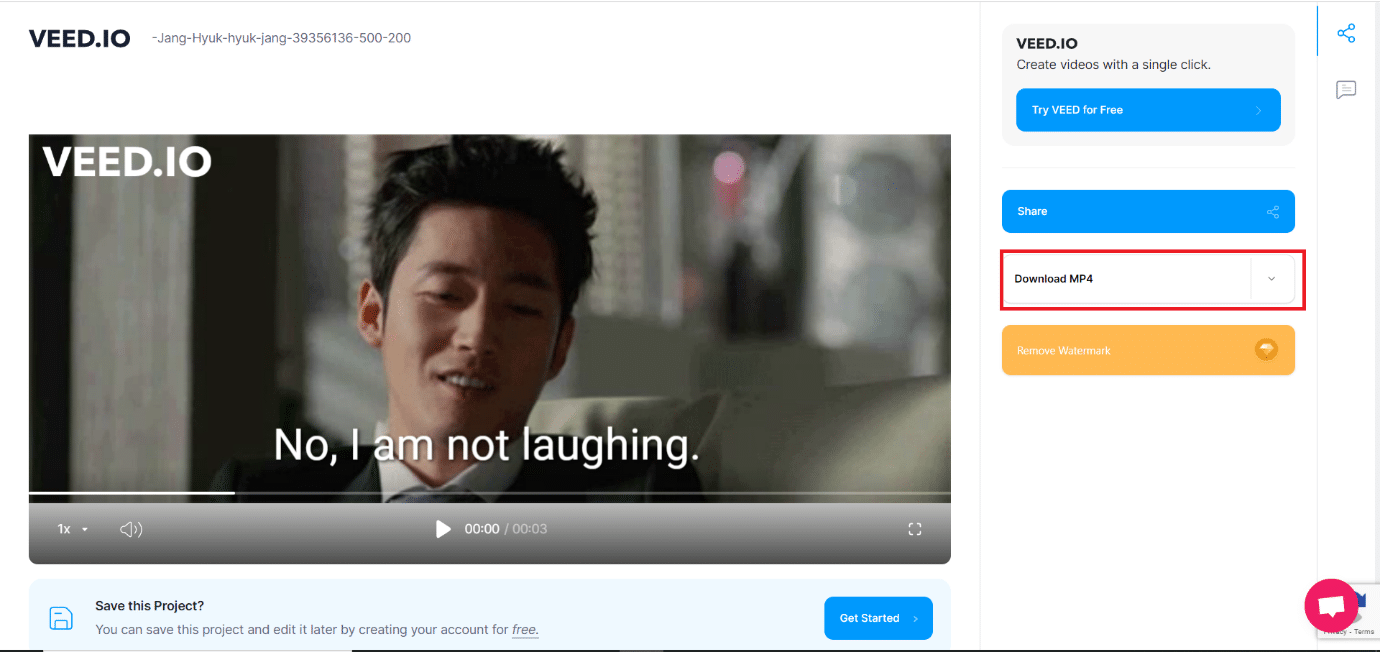
9. Click on Download MP4 option and enjoy watching it.
Note: The free video in VEED.IO comes with watermark. If you wish to remove it then, subscribe & log into VEED.IO.
Also Read: How to Convert MP4 to MP3 Using VLC, Windows Media Player, iTunes
Method 4: Using Clideo Website
You can use dedicated third-party websites too. These offer options to select suitable video quality ranging from 480p to Blu-Ray. Some popular ones are:
Here’s how to add subtitles to a movie permanently using Clideo:
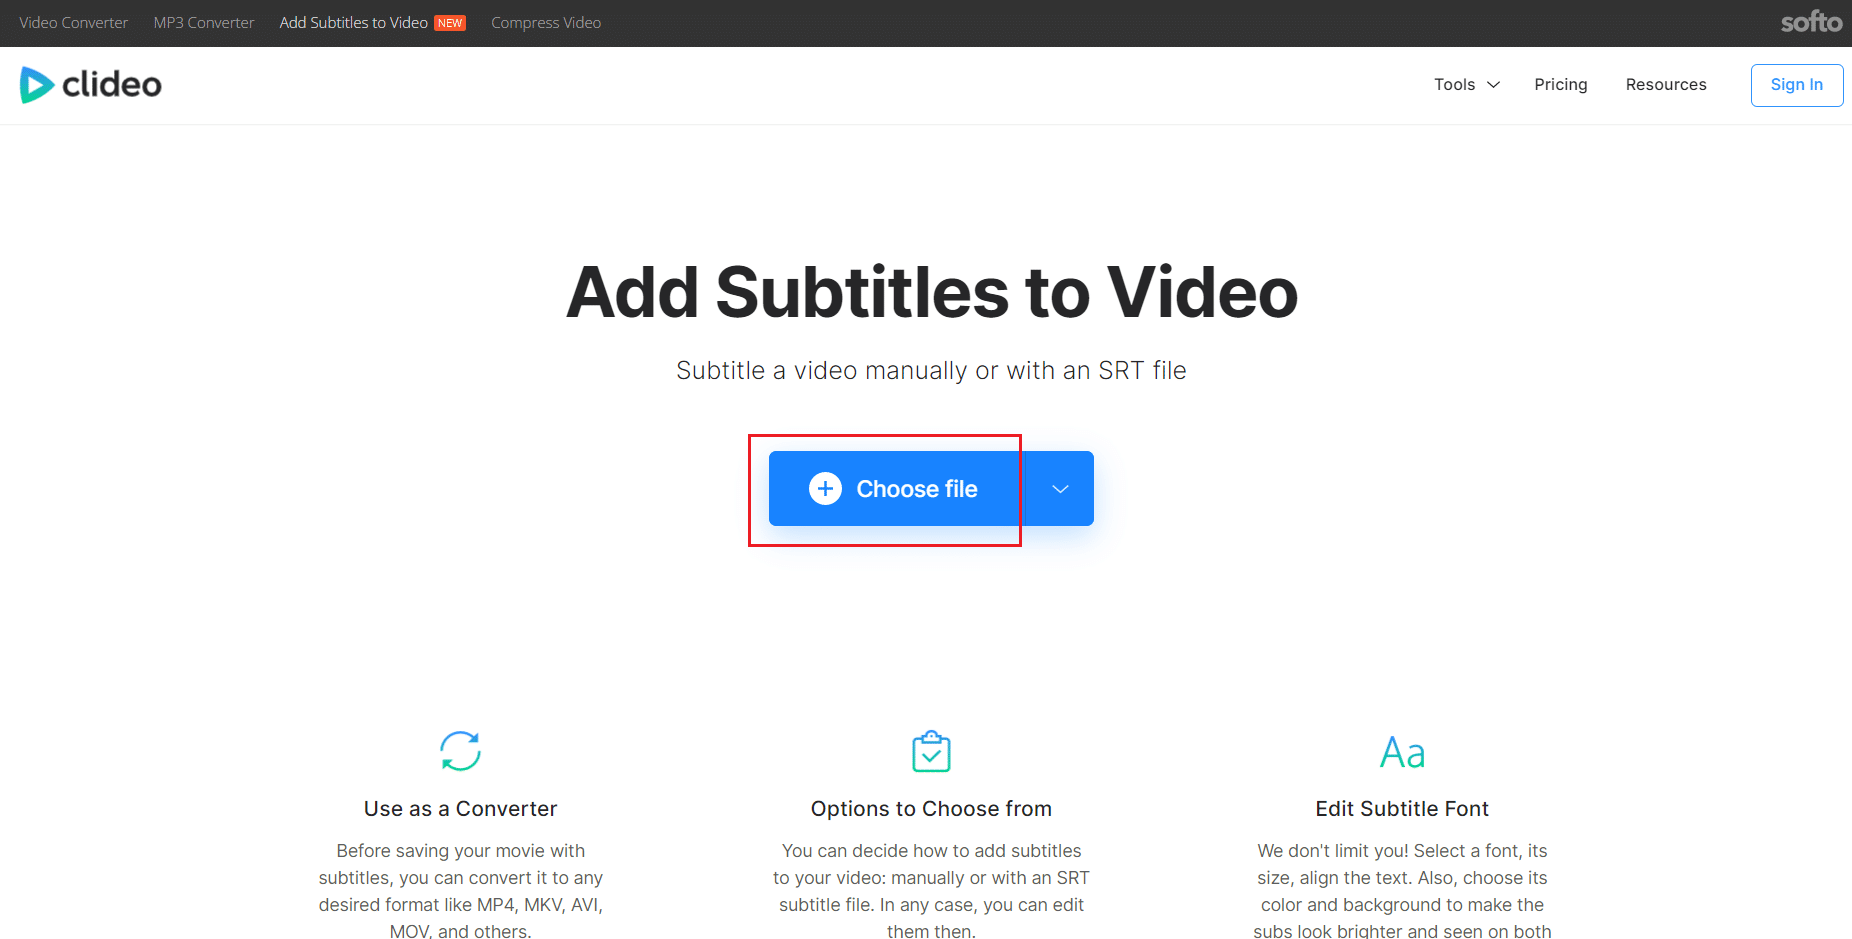
1. Open Clideo website on a web browser.
2. Click on Choose file button, as shown.
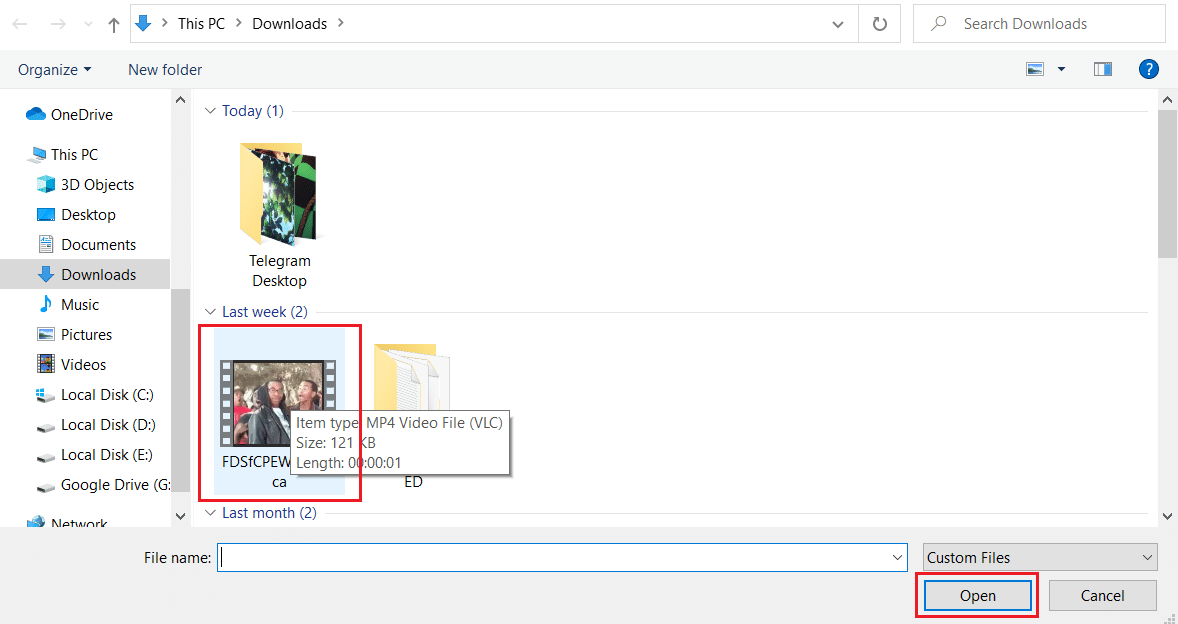
3. Select the Video and click on Open, as depicted below.
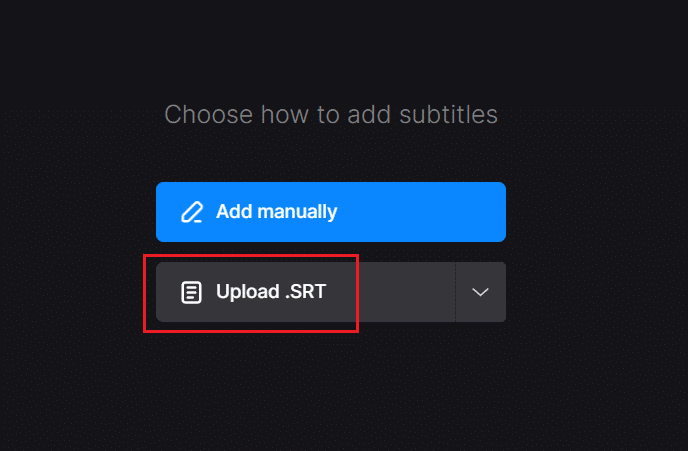
4A. Now, select Upload .SRT option to add subtitle file in the video.
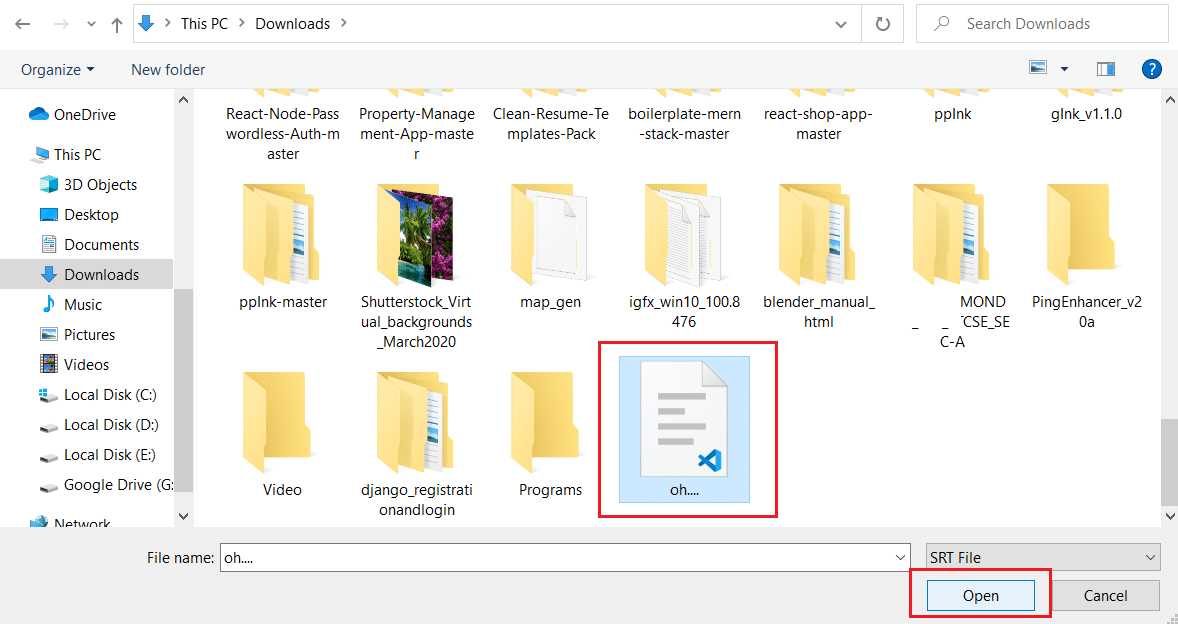
5A. Choose the Subtitle file and click on Open to add the subtitle in the video.
4B. Alternatively, select Add manually option.
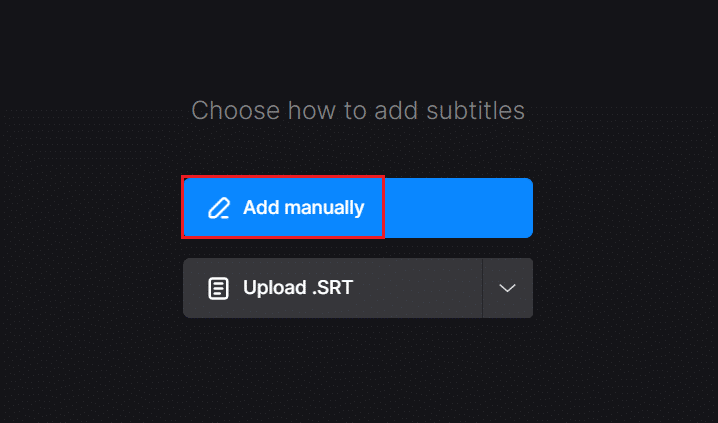
5B. Add the subtitle manually and click on Export button.
Top Websites to Download Subtitles
Most methods on how to add subtitles to a movie permanently involve using pre-downloaded SRT files. So, you need to have a subtitle downloaded in the language of your choice, before editing the movie. Many websites offer subtitles for thousands of movies, such as:
Most of the websites provide English subtitles to the movies you like, so that caters to a vast audience worldwide. However, you might face some pop-up advertisements while downloading SRT files, but the website offers you free subtitles.
Also Read: 9 Best Free Movie Streaming Apps in 2021
Frequently Asked Questions (FAQs)
Q1. Can I add subtitles to my YouTube video?
Ans. Yes, you can add subtitles to your YouTube video, as follows:
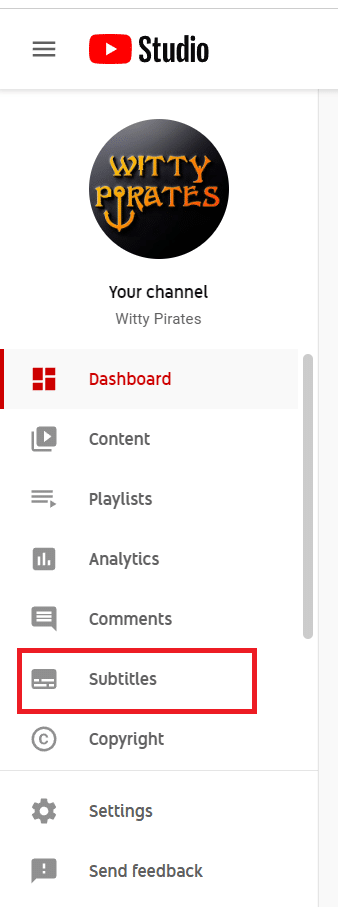
1. Sign in to your account on YouTube Studio.
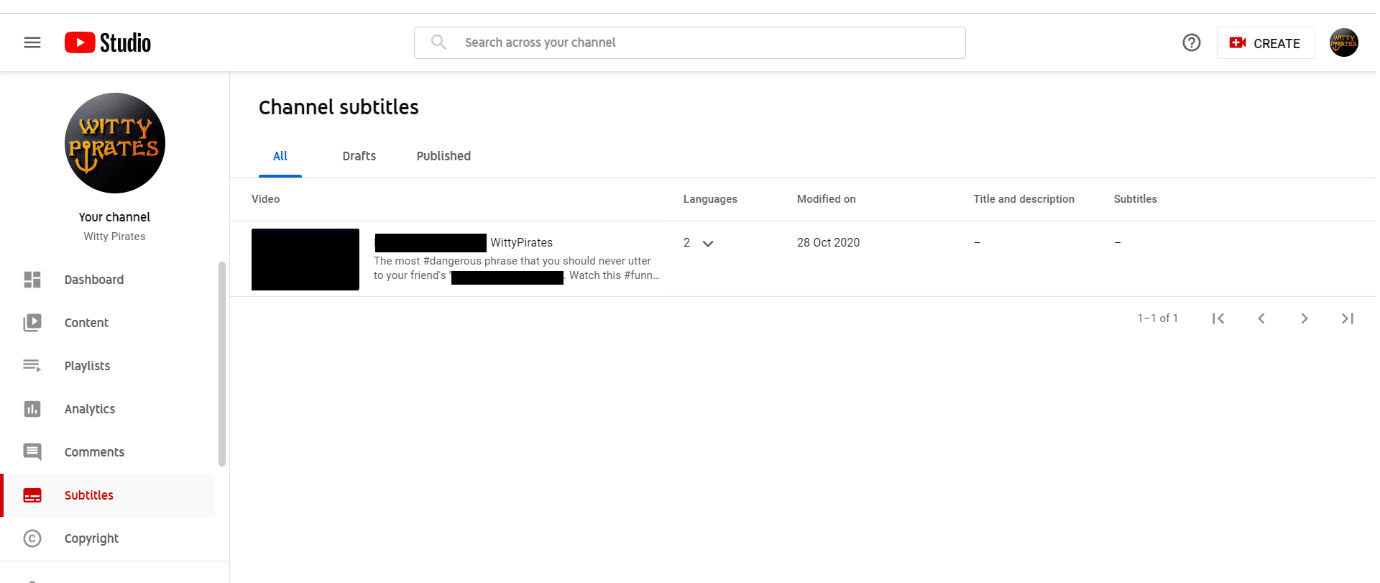
2. On the left-hand side, select the Subtitles option.
3. Click on the Video that you want subtitles to be embedded in.
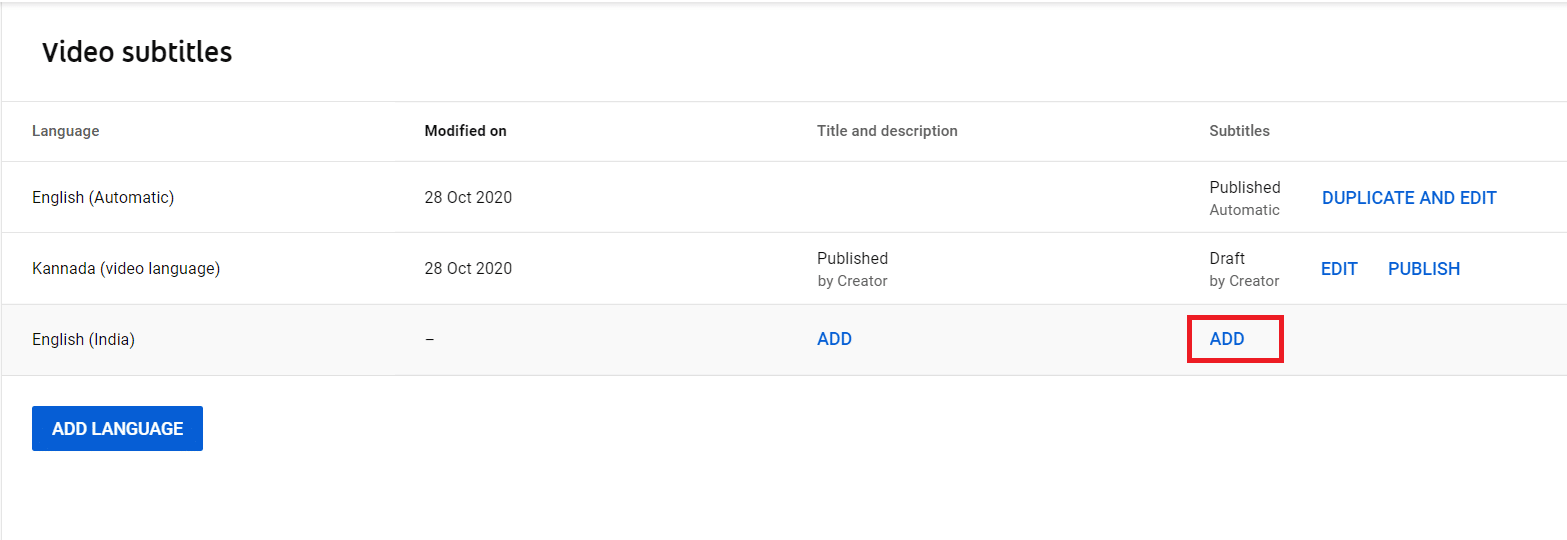
4. Select ADD LANGUAGE and choose the Desired language e.g. English (India).
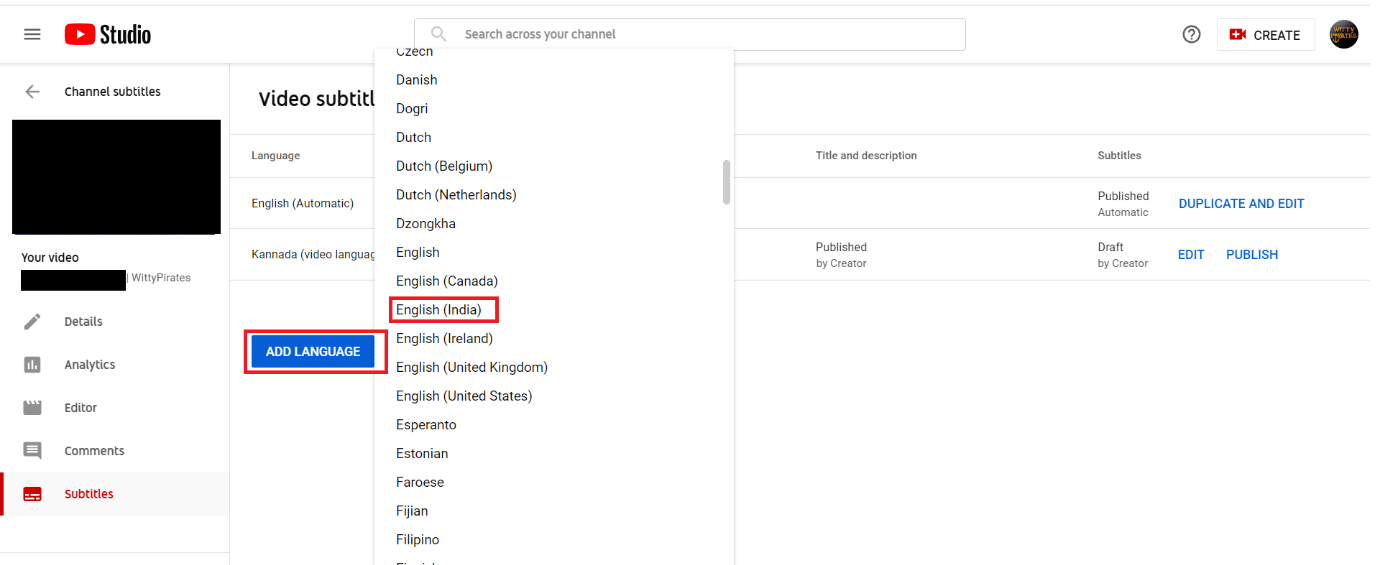
5. Click ADD button, as shown.
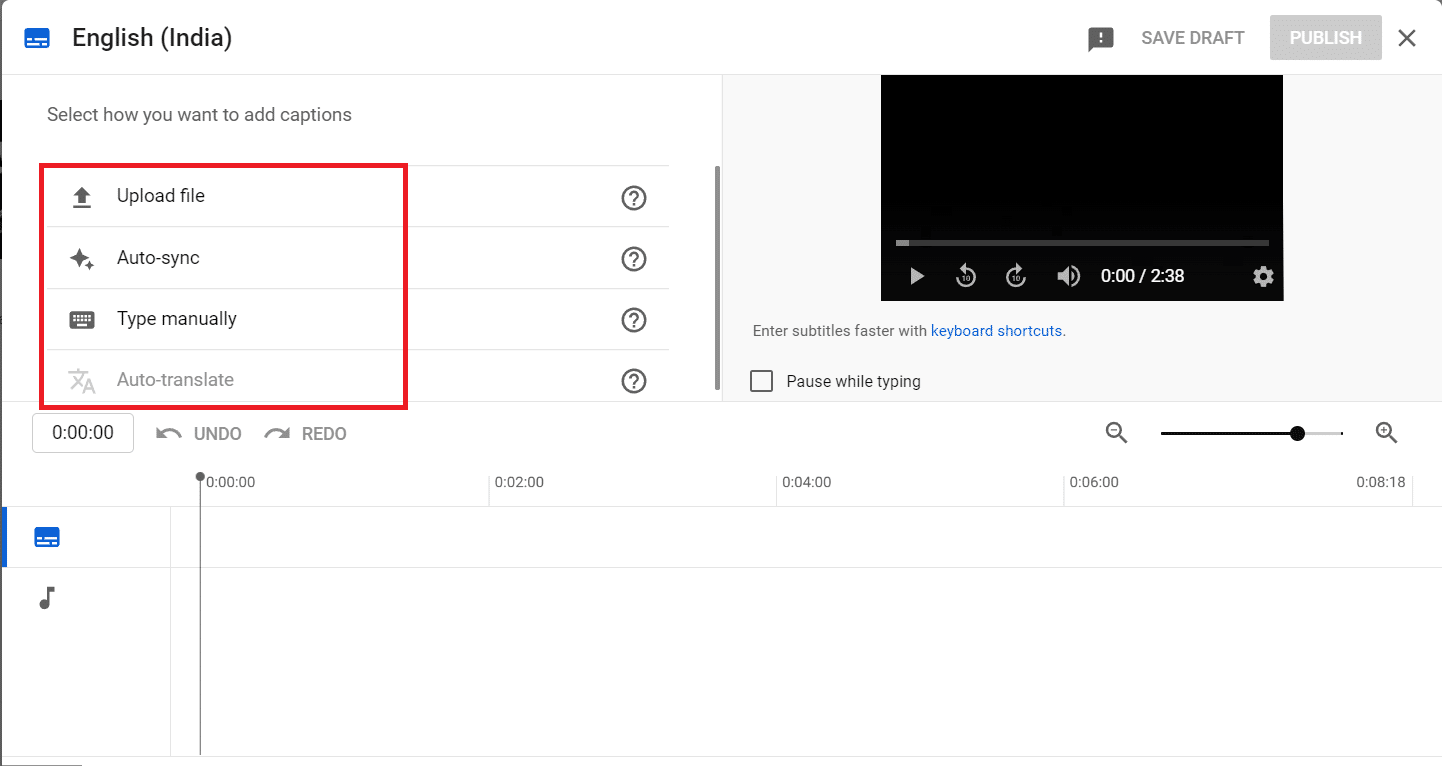
6. The available options to embed subtitles to a movie are Upload file, Auto-sync, Type manually & Auto-translate. Choose anyone as you wish.
7. After adding subtitles, click on Publish button from the top right corner.
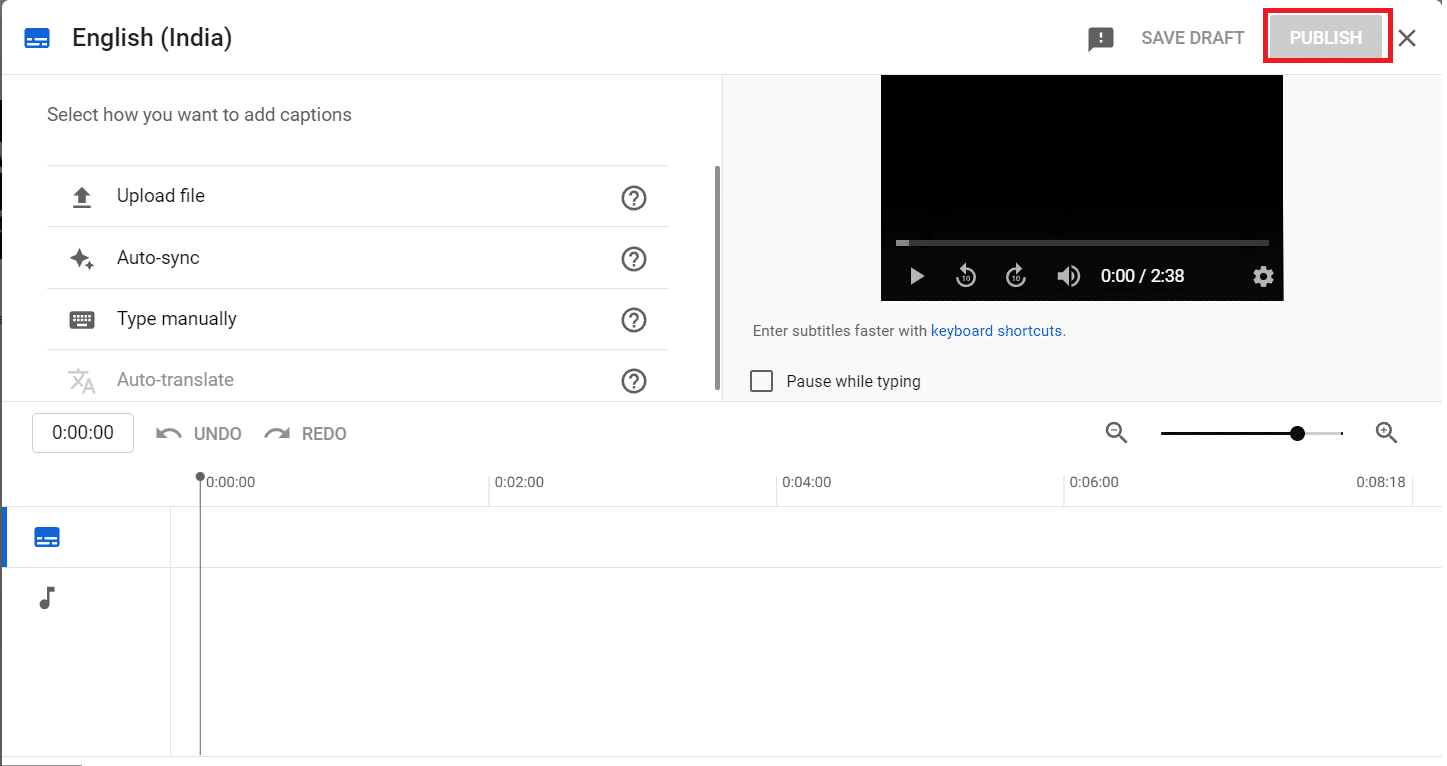
Now your YouTube video has been embedded with subtitles. This will help you reach more subscribers & viewers.
Q2. Do subtitles have any rules?
Ans. Yes, subtitles have certain rules that you are required to follow:
- Subtitles must not exceed the characters count i.e. 47 characters per line.
- Subtitles should always match the dialogue. It cannot be overlapped or delayed while watching.
- Subtitles should remain in the text-safe area.
Q3. What does CC mean?
Ans. CC means Closed Captioning. Both CC and subtitles display text on the screen by providing additional information or translated dialogues.
Recommended:
The above methods taught how to add or embed subtitles to a movie permanently using VLC and Windows Media Player as well as online tools. Let us know which method worked for you best. If you have any queries or, suggestions then, feel free to drop them in the comment section below.