Lock Screen acts as the first line of defense between your computer and an unauthorized person trying to access it. With Windows providing the option of Lock screen customization, many people personalize it to fit their style. While there are many who do not want to view a lock screen every time they boot their computer or wake it up from sleep. In this article, we are going to find out how to disable Lock screen in Windows 11. So, continue reading!
How to Disable Lock Screen in Windows 11
While you cannot disable Lock Screen directly, you can make changes in the Windows registry or Group policy editor to make this happen. You can follow either of these to disable your lock screen. Additionally, read here to learn more about How to Personalize your lock screen.
Method 1: Create NoLockScreen Key in Registry Editor
Here are the steps to disable lock screen through Registry Editor:
1. Click on the Search icon and type Registry editor and click on Open.

2. Click on Yes when the User Account Control confirmation prompt.
3. Go to the following location path in the Registry Editor.
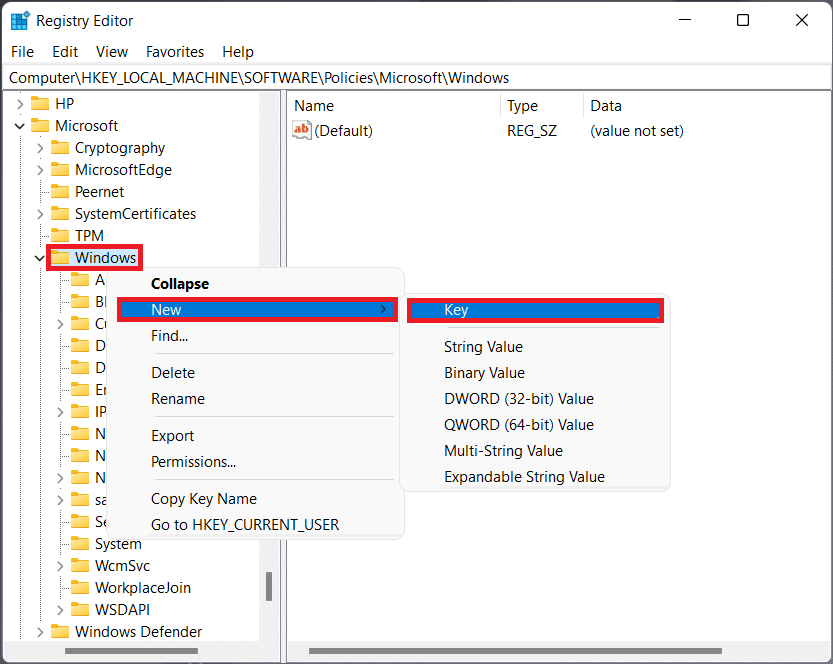
ComputerHKEY_LOCAL_MACHINESOFTWAREPoliciesMicrosoftWindows

4. Right-click on the Windows folder in the left pane and select the New > Key option from the context menu, as illustrated below.
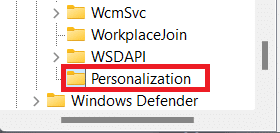
5. Rename the key as Personalization.
6. Right-click on an empty space in the right pane in the Personalization key folder. Here, select New > DWORD (32-bit) Value, as depicted below.
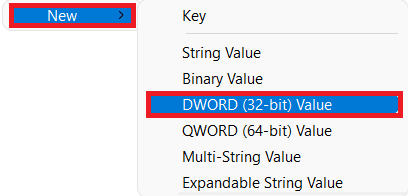
7. Rename the DWORD value as NoLockScreen.
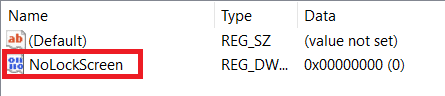
8. Then, double-click on NoLockScreen to open the Edit DWORD (32-bit) Value dialog box and change the Value data to 1 to disable lock screen on Windows 11.
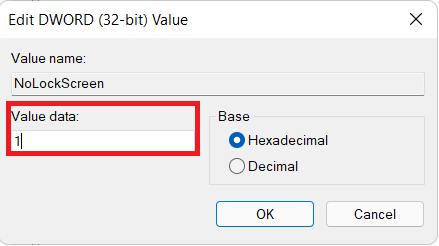
9. Finally, click on OK to save the changes made and restart your PC.
Also Read: How to Open Registry Editor in Windows 11
Method 2: Modify Settings in Local Group Policy Editor
Firstly, read our guide on How to Enable Group Policy Editor in Windows 11 Home Edition. Then, follow the steps mentioned below to disable lock screen in Windows 11 through Local Group Policy Editor:
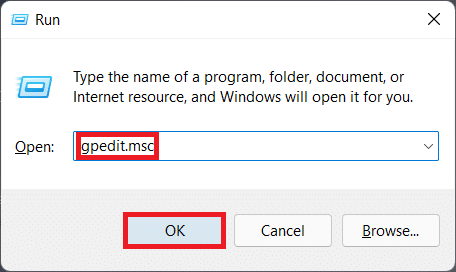
1. Press Windows + R keys together to open Run dialog box
2. Type gpedit.msc and click on OK to launch Local Group Policy Editor.
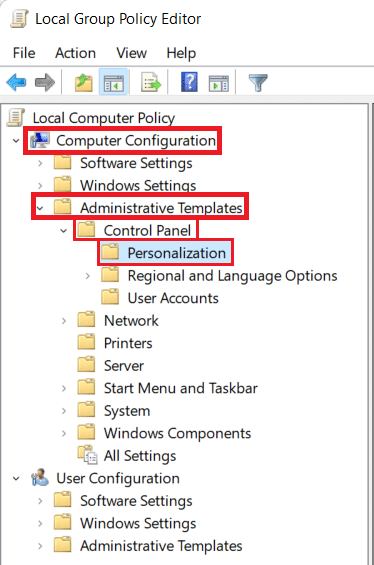
3. Navigate to Computer Configuration > Administrative Templates > Control Panel by clicking on each. Finally, click on Personalization, as depicted.
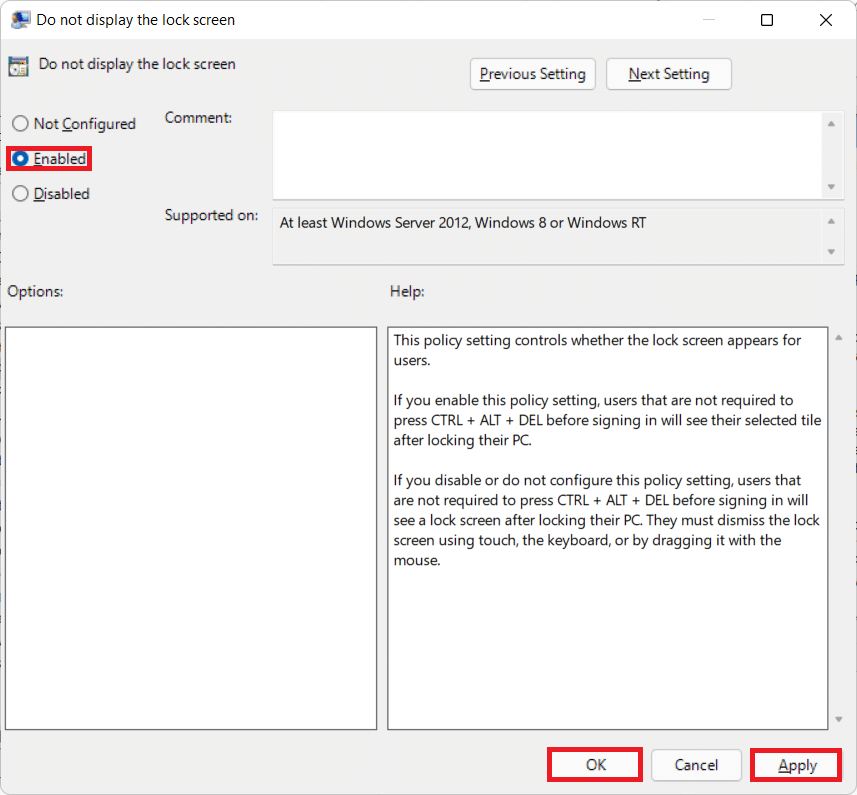
4. Double-click on Do not display the lock screen setting in the right pane.

5. Select the Enabled option and Click on Apply > OK to save changes, as illustrated below.
6. Finally, restart your PC and you are done.
Recommended:
With this article, you now know how to disable lock screen in Windows 11. Send us your feedback regarding this article in the comment section down below along with any questions you got.