Many applications and functions support the smooth running of every operating system by running in the background without requiring any user inputs. The same goes with the Services which are the main cogwheels behind the Windows OS. These components ensure the basic Windows features like File Explorer, Windows Update, and System-wide search are working properly. It keeps them ready & prepared at all times to be used, without any hiccups. Today, we are going to see how to enable or disable a/any service in Windows 11.
How to Enable or Disable A Service in Windows 11
Not all services run all the time in the background. These services are programmed to start according to six different Startup types. These distinguish whether a service is started at the time you boot up your computer or when it is triggered by user actions. This facilitates easy memory resource conservation while not diminishing the user experience. Before going through the methods to enable or disable a service on Windows 11, let us see the different types of Startup Services in Windows 11.
Types of Windows 11 Startup Services
As previously stated, services are required for Windows to work properly. However, there may be situations when you need to manually enable or disable a service. The following are the various methods for starting services in Windows OS:
- Automatic: This startup type enables a service to start at the time of system boot. Services that use this type of startup are generally crucial in the smooth functioning of the Windows operating system.
- Automatic (Delayed Start): This startup type allows the service to start after successful boot up with a bit of a delay.
- Automatic (Delayed Start, Trigger Start): This startup type lets the service start at boot but it needs a trigger action which is generally provided by another app or other services.
- Manual (Trigger Start): This startup type starts the service when it notices a trigger action that may become from apps or other services.
- Manual: This startup type is for the services that require user input to start up.
- Disabled: This option prevents a service from starting, even if it is required and hence, the said service doesn’t run.
In addition to the above, read Microsoft guide on Windows services & their functions here.
Note: You are required to be logged in with an account with administrator rights to enable or disable services.
How to Enable A Service in Windows 11 Via Services Window
Follow the steps mentioned below to enable any service in Windows 11.
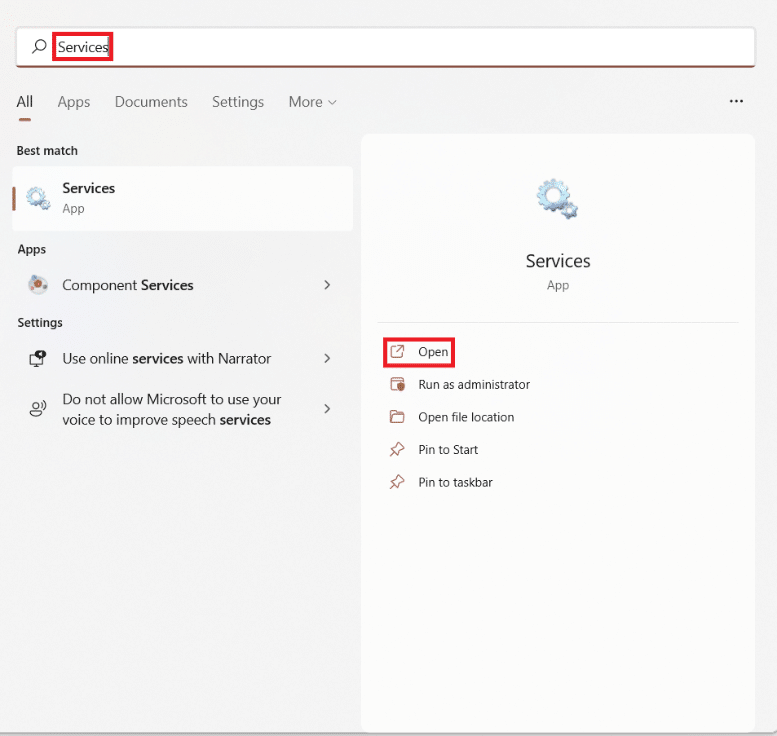
1. Click on the Search icon and type Services. Click on Open, as shown.
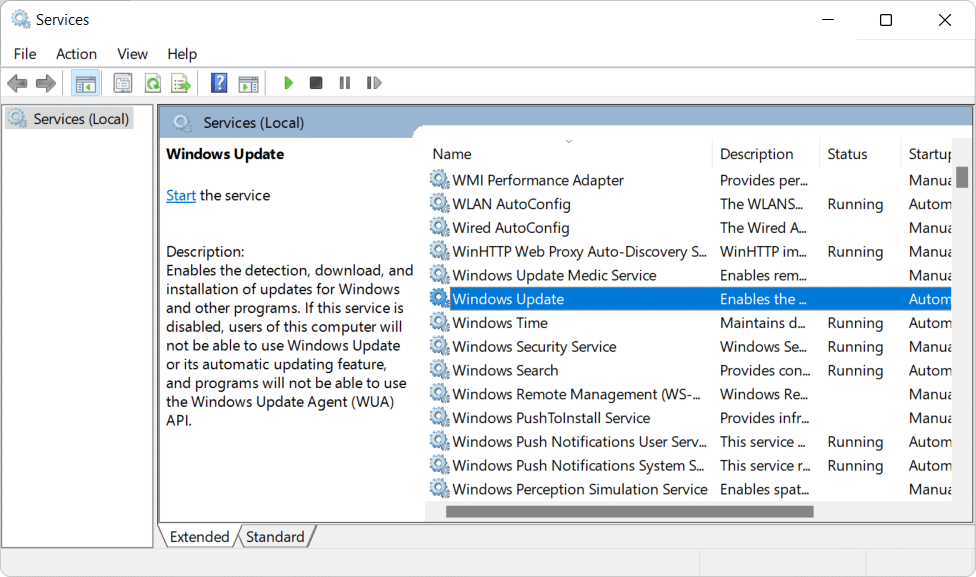
2. Scroll down the list in the right pane and double-click on the service that you want to enable. For example, Windows Update service.
3. In the Properties window, change the Startup type to Automatic or Automatic (Delayed Start) from the drop-down list.
4. Click on Apply > OK to save the changes. The said service will start next time you boot up your Windows PC.

Note: You can also click on Start under Service status, if you want to start the service immediately.
Also Read: How to View Running Processes in Windows 11
How to Disable A Service in Windows 11 Via Services Window
Here are the steps to disable any service on Windows 11:
1. Launch the Services window from the Windows search bar, as earlier.
2. Open any service (e.g. Windows Update) which you want to disable by double-clicking on it.
3. Change the Startup type to Disabled or Manual from the given drop-down list.
4. Click on Apply > OK to save these changes. Windows update service will not boot on startup henceforth.
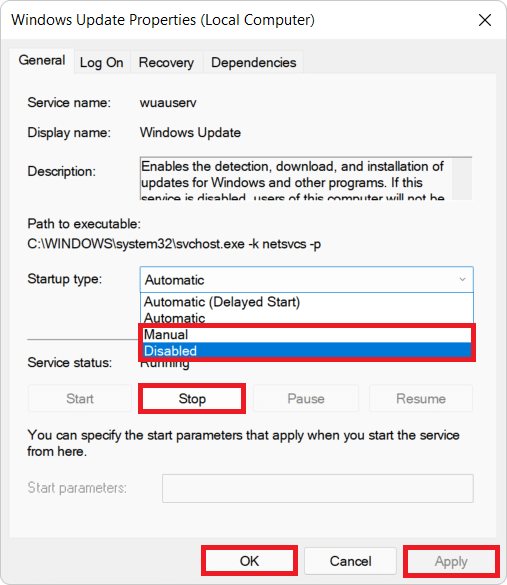
Note: Alternately, click on Stop under Service status, if you want to stop the service immediately.
Also Read: How to Disable Online Search from Start Menu in Windows 11
Alternative Method: Enable or Disable A Service Through Command Prompt
1. Click on Start and type Command Prompt. Click on Run as administrator, as shown.
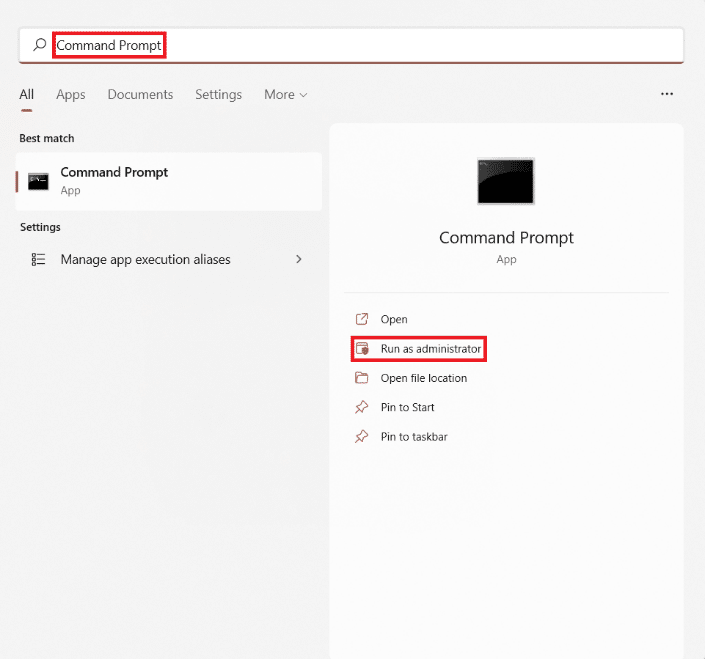
2. Click on Yes in the User Account Control confirmation prompt.
Note: Replace <ServiceName> with the name of the service you want to enable or disable in the commands given below.
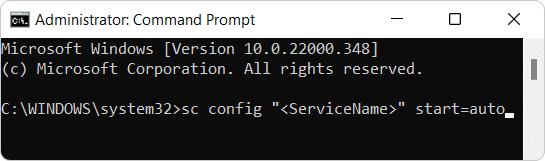
3A. Type the command given below and hit Enter key to start a service automatically:
sc config "<ServiceName>" start=auto
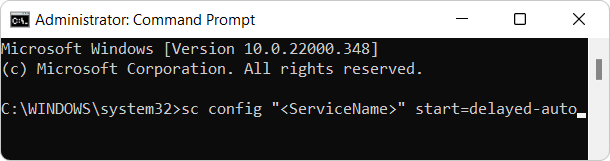
3B. Type the following command and press the Enter key to start a service automatically with a delay:
sc config "<ServiceName>" start=delayed-auto
3C. If you want to start a service manually, then execute this command:
sc config "<ServiceName>" start=demand && sc start "<ServiceName>"

4. Now, to disable any service, execute the given command in Windows 11:
sc stop "<ServiceName>" && sc config "<ServiceName>" start=disabled

Recommended:
We hope this article on how to enable or disable a service in Windows 11 helped out. Please reach out to us in the comment section with your suggestions and questions about this article.