With Windows 10 there have been many new features available, and today we will talk about one such feature called battery saver. The main role of battery saver is that it extends the battery life on Windows 10 PC and it does so by limiting the background activity and adjusting screen brightness settings. Many third-party applications are claiming to be the best battery saver software, but you don’t need to go for them as Windows 10 inbuilt battery saver is the best.
Even though it limits background apps to run in the background, you could still allow individual apps to run in battery saver mode. By default, the battery saver is enabled and is automatically turned on when the battery level falls below 20%. When battery saver is active, you would see a small green icon on the taskbar’s battery icon. Anyway without wasting any time let’s see How to Enable or Disable Battery Saver In Windows 10 with the help of the below-listed tutorial.
How to Enable or Disable Battery Saver In Windows 10
Make sure to create a restore point just in case something goes wrong.
Method 1: Enable or Disable Battery Saver in Windows 10 using Battery Icon
The simplest way to manually enable or disable battery saver in Windows 10 is using a battery icon on the taskbar. Just click on the battery icon and then click on “Battery saver” button to enable it and if you need to disable battery saver, click on it.
![]()
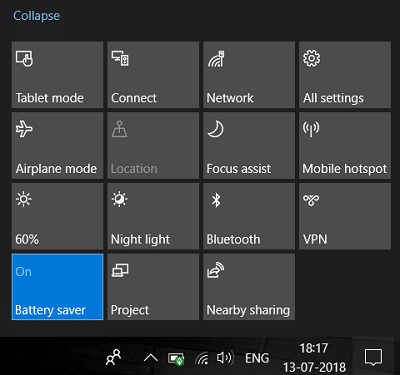
You could also enable or disable battery saver in action center. Press Windows Key + A to open Action Center then click on “Expand” above the settings shortcut icons then click on Battery saver to enable or disable it according to your preferences.
Method 2: Enable or Disable Battery Saver In Windows 10 Settings
1. Press Windows Key + I to open Settings then click on System.

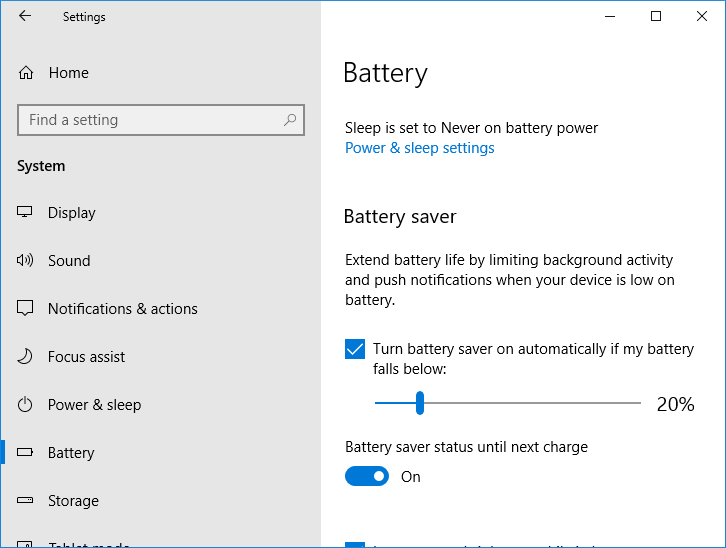
2. Now from the left-hand menu, click on Battery.
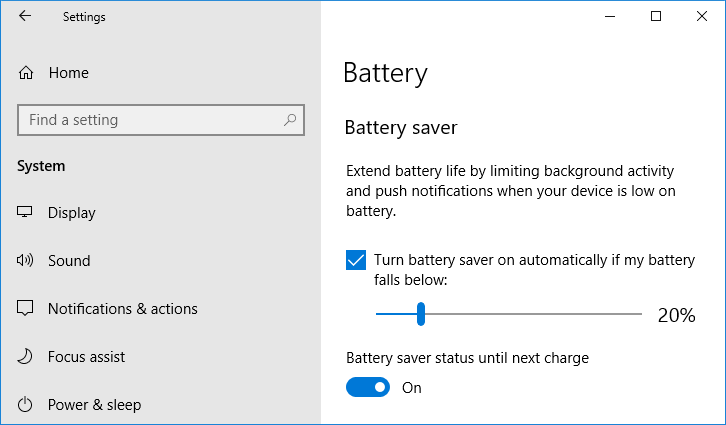
3. Next, under Battery saver make sure to enable or disable the toggle for “Battery saver status until next charge” to enable or disable the battery saver.
Note The Battery saver status until next charge setting will be greyed out if the PC is currently plugged into AC.
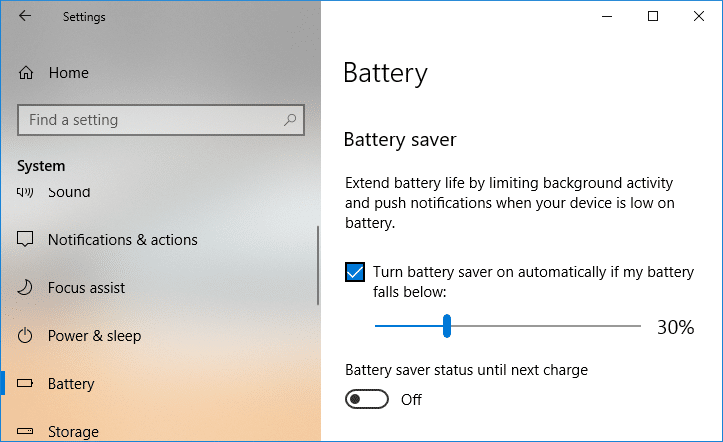
4. If you need battery saver to enable below a certain battery percentage automatically then under Battery saver checkmark “Turn battery saver on automatically if my battery falls below:“.
5. Now set the battery percentage using the slider, by default, it is set to 20%. Which means if the battery level falls below 20% battery saver will be automatically enabled.
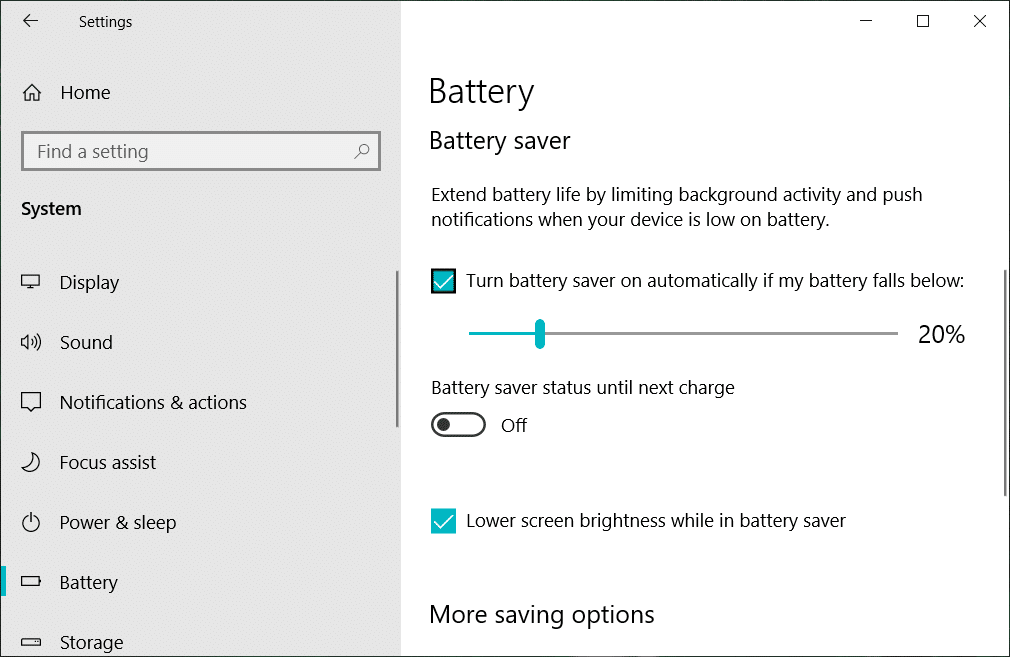
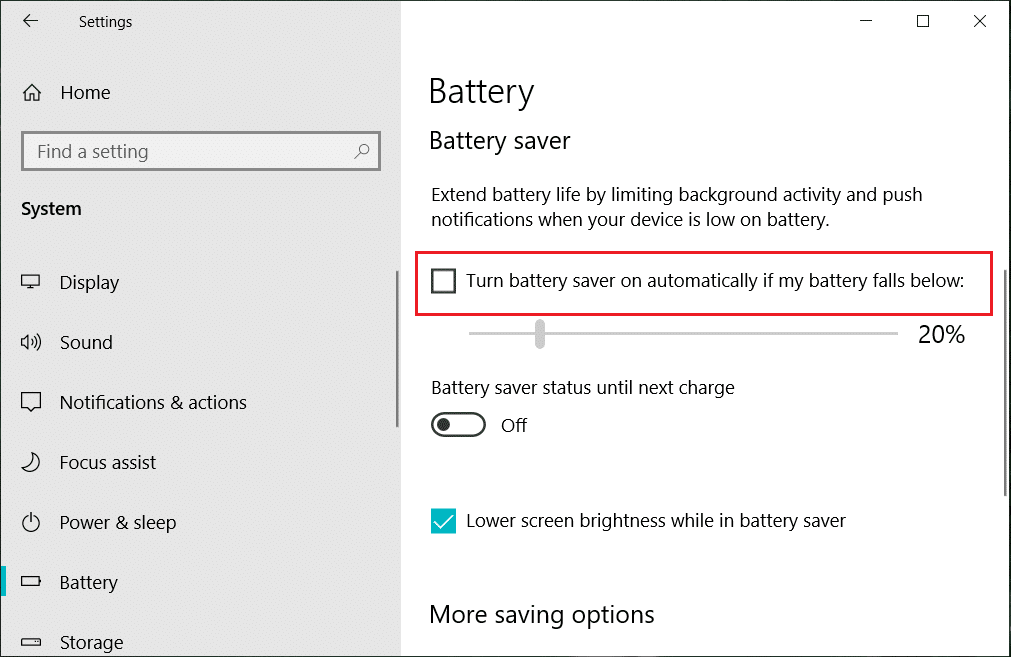
6. If you don’t need to automatically enable battery saver to uncheck “Turn battery saver on automatically if my battery falls below:“.
7. Reboot your PC to save changes.
Note: Battery saver also includes an option to dim the screen brightness automatically on Windows 10 to save more battery, under Battery settings just checkmark “Lower screen brightness while in battery saver“.
This How to Enable or Disable Battery Saver in Windows 10, but if this didn’t work for you then move to the next method.
Method 3: Enable or Disable Battery Saver In Power Options
1. Press Windows Key + R then type powercfg.cpl and hit Enter.

2. Now click on “Change plan settings” next to your currently active power plan.
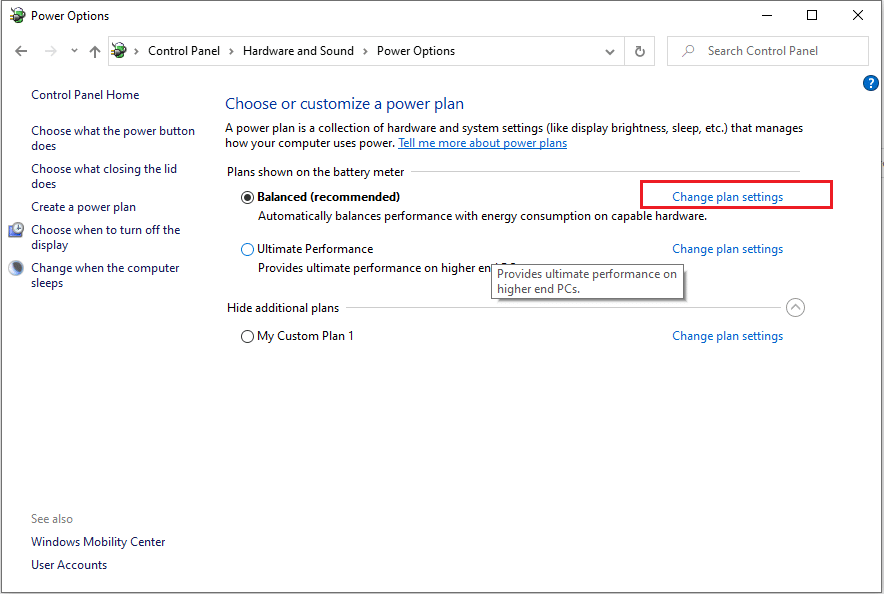
Note: Make sure you don’t select “High Performance” as it only works when connected to AC power supply.
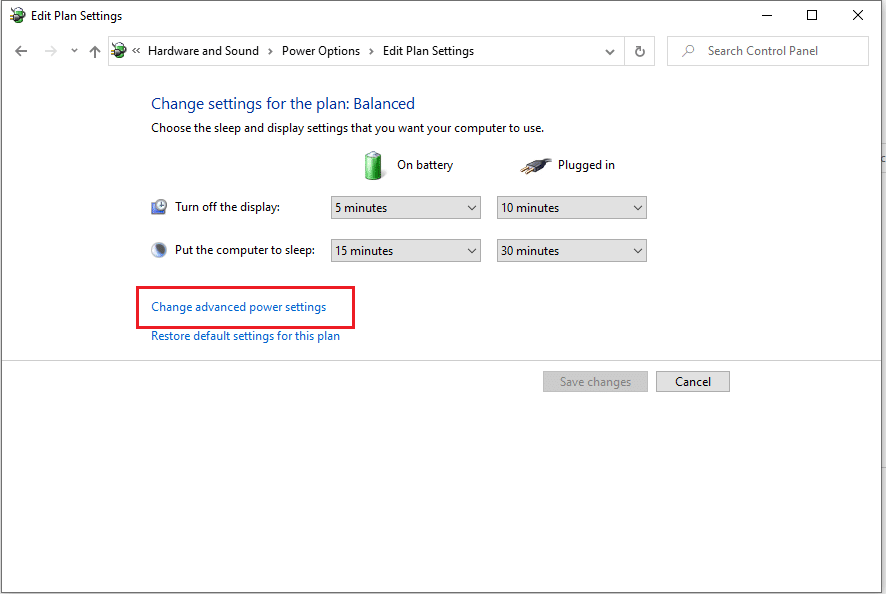
3. Next, click on “Change advanced power settings” to open Power Options.
4. Expand Energy saver settings, and then expand Charge level.
5. Change the value of “On battery” to 0 to disable Battery Saver.
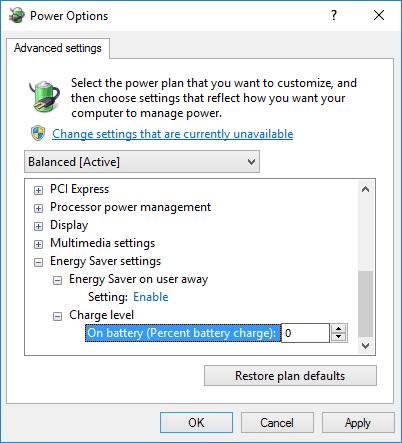
6. If you need to enable it to set its value to 20 (percentage).
7. Reboot your PC to save changes.
Recommended:
That’s it, you successfully learned How to Enable or Disable Battery Saver In Windows 10 but if you still have any queries regarding this tutorial then feel free to ask them in the comment’s section.